This is going to serve as a general purpose guide on how to build your own audio cables, and more specifically here for headphones.
In this tutorial, I will be building a Mini XLR to 3.5mm cable for the K7XX, but the practices used for this will apply for just about any connector you can think of. With a bit of practice that is.
Materials used for this build
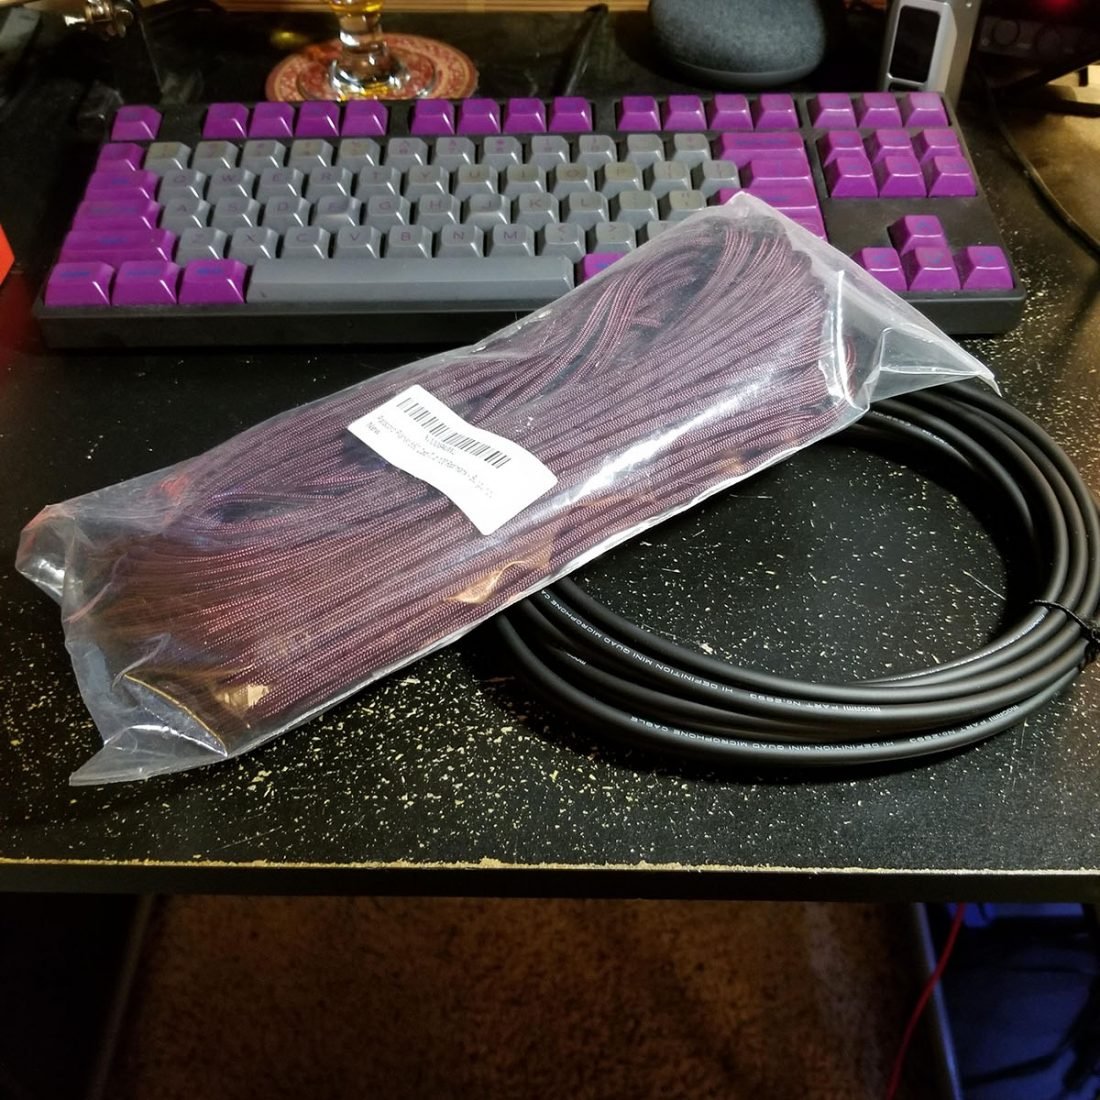
- Mogami W2893: Great cable for our purposes. The core wires are very thin, and very flexible, which makes for a great wire.
- Rean Neutrik Stereo 3.5mm: You can pick any 3.5mm you want, I just happen to like using these.
- CESS TA3F 3 Pin Mini XLR: Alternatively, if you wanted to order from Redco.
- Type III Paracord: Pick your color. I’ve found Type III paracord to be the best for a single strand, non-braided cables. You can easily fit all 4 of the core Mogami wires in. If you wanted to do a braided build with 1 or wires per piece of paracord, you could use 275 or 325 paracord.
- Weller WLC100 Soldering Station: If you don’t have one, this one is fantastic for the price.
- Weller ST7 Needle Tip: Extremely useful for soldering tiny wires like these.
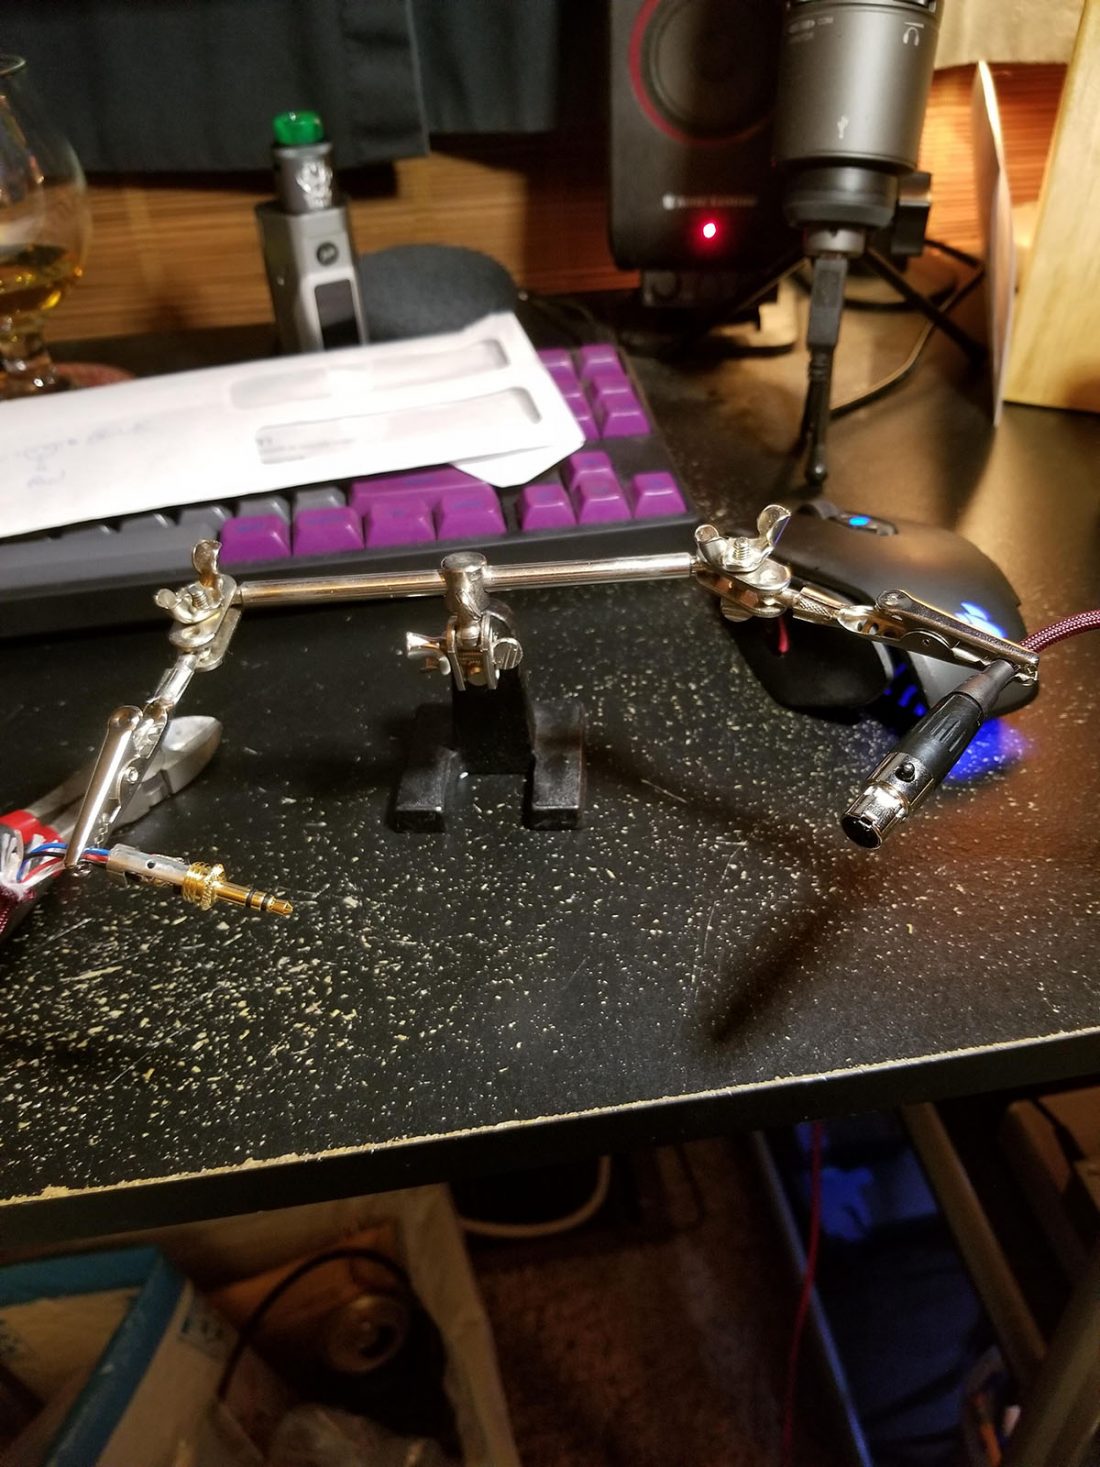
- Helping Hands: I have used these so much, everybody should have a set.
- 2:1 heat shrink: It helps to have a variety of sizes available.
- Multimeter: Cheap and effective
Making the Cable
1. Start by cutting lengths of paracord and the Mogami. Cut a little more of the paracord than the Mogami, too long is better than too short. Pull the strings out of the paracord and toss them.
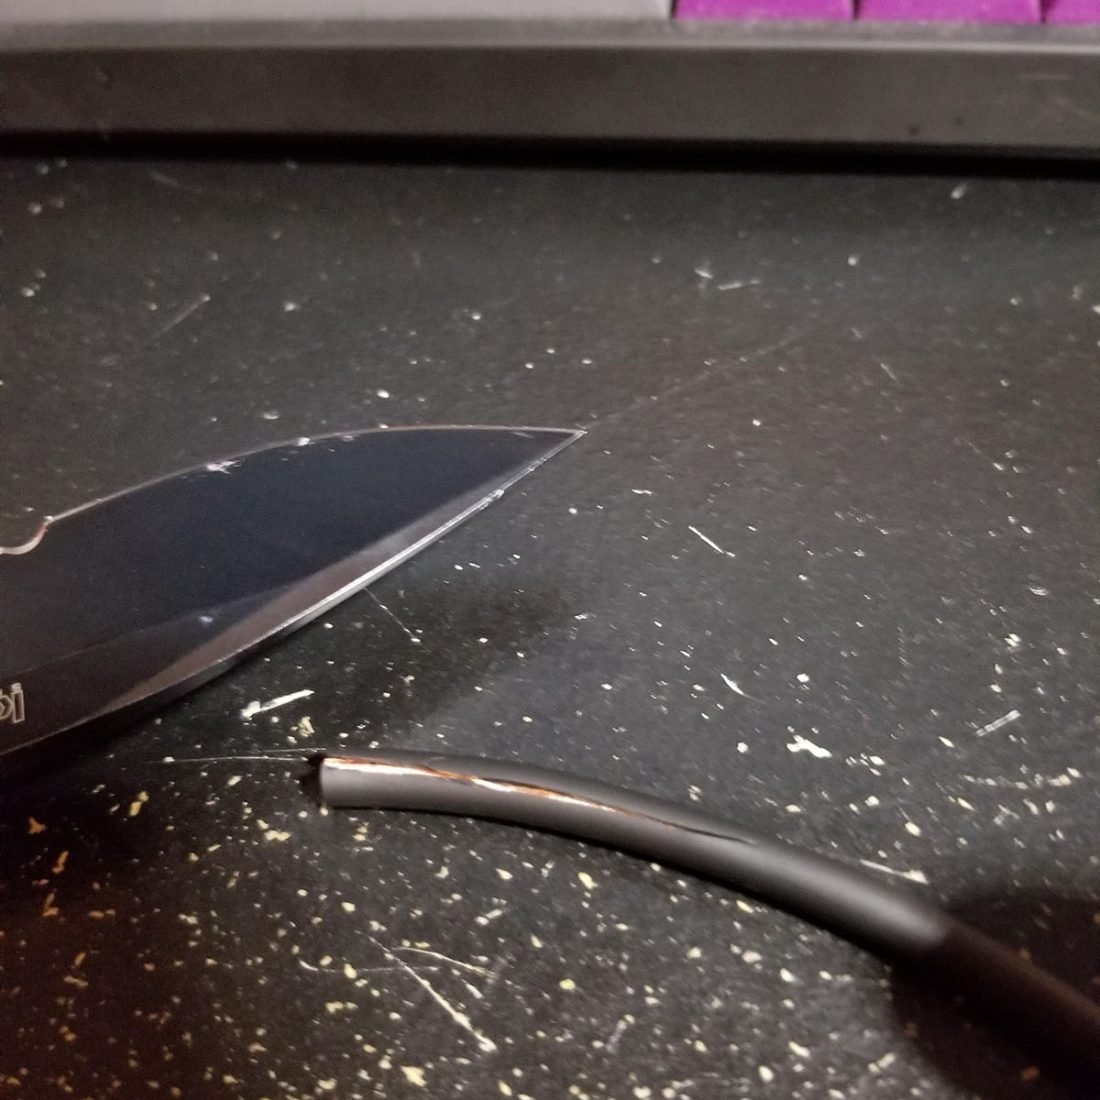
2. This is easily the most tedious of the entire process: removing the rubber sheathing from the Mogami. I haven’t found any better process to do this than just dragging a knife along it to split it open. It hurts your hands, and takes forever, but it works. Just be careful, the knife likes to slip a lot.
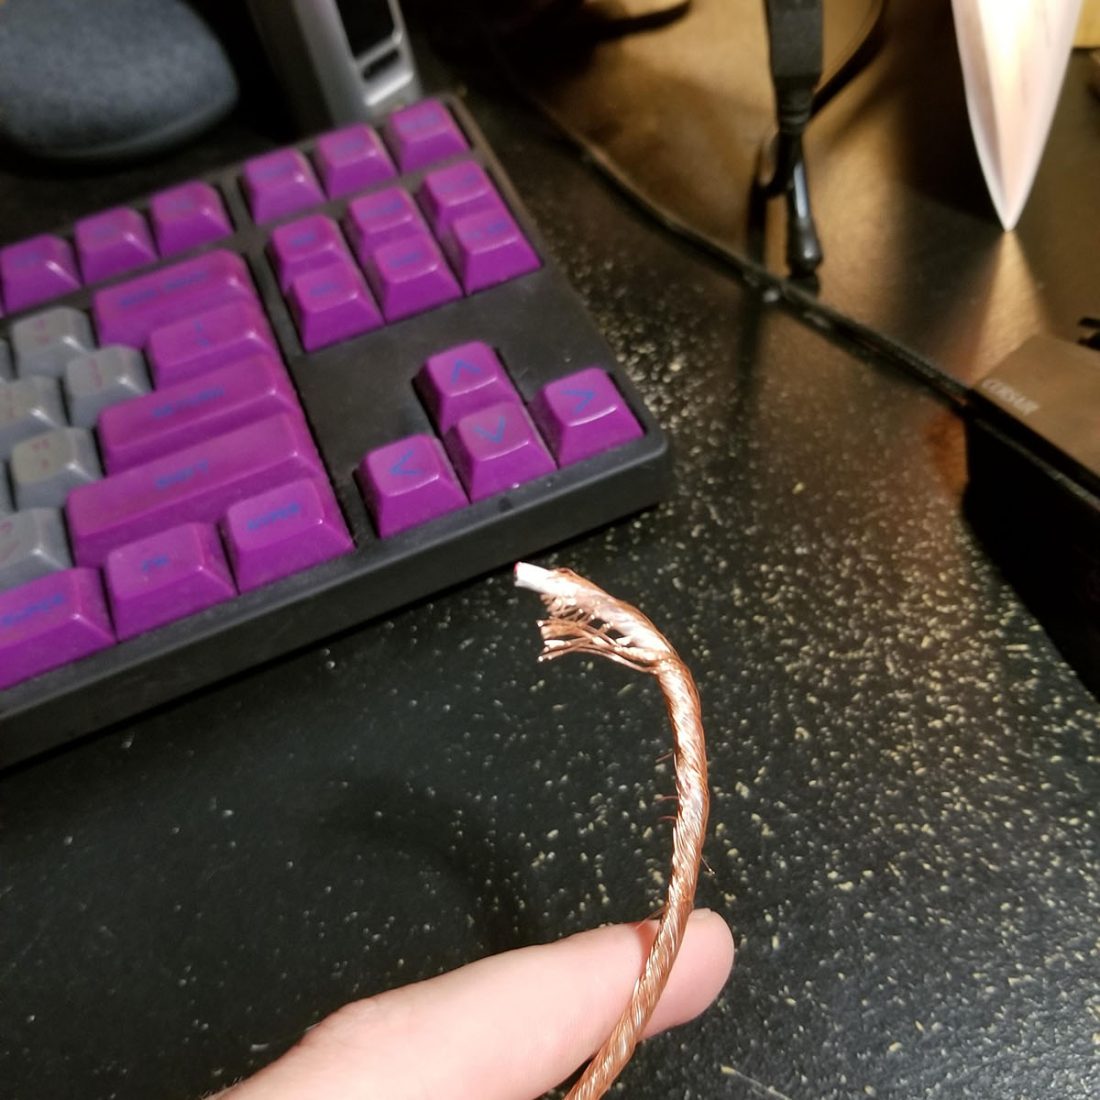
Once that sheathing is off you’ll be greeted with this mess of copper wire. This is the shielding, which prevents electronic signal interference. We also don’t need this for short runs like a headphone cable, we likely won’t be using it in any situations where this would matter. If you would like, you can keep this on, but it makes the cable less flexible in the end.
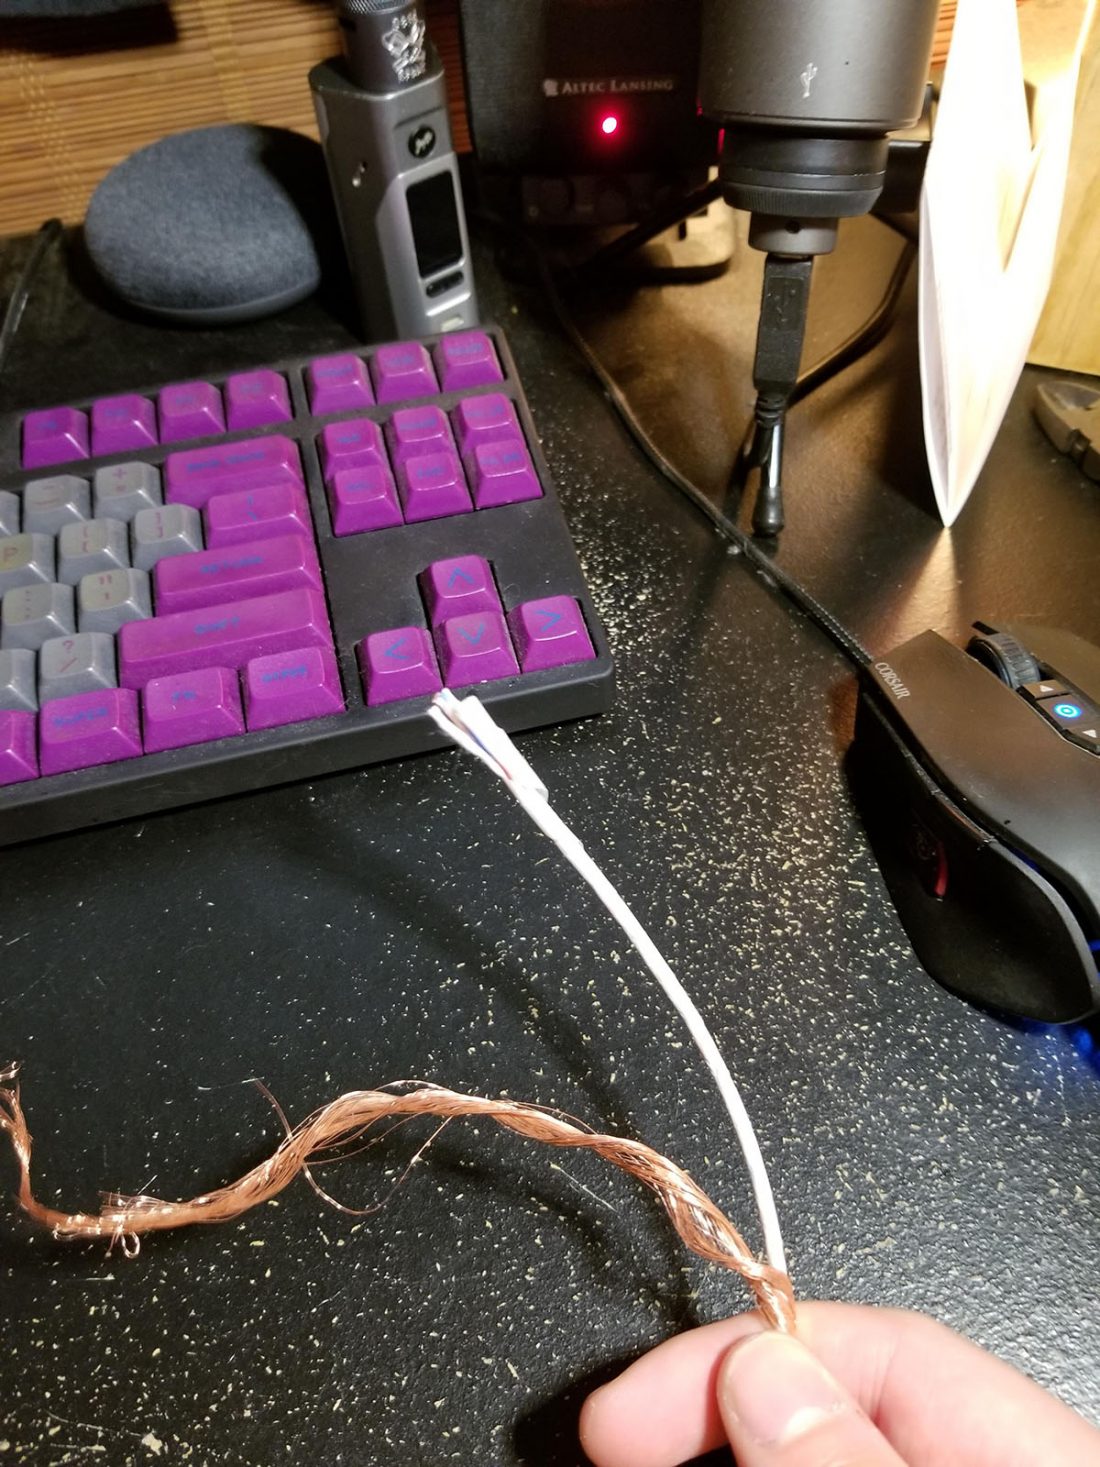
3. Don’t attempt to pull it off in one shot. Instead, unravel it from around the core. Pulling it off will give you nightmares of bunched up copper.
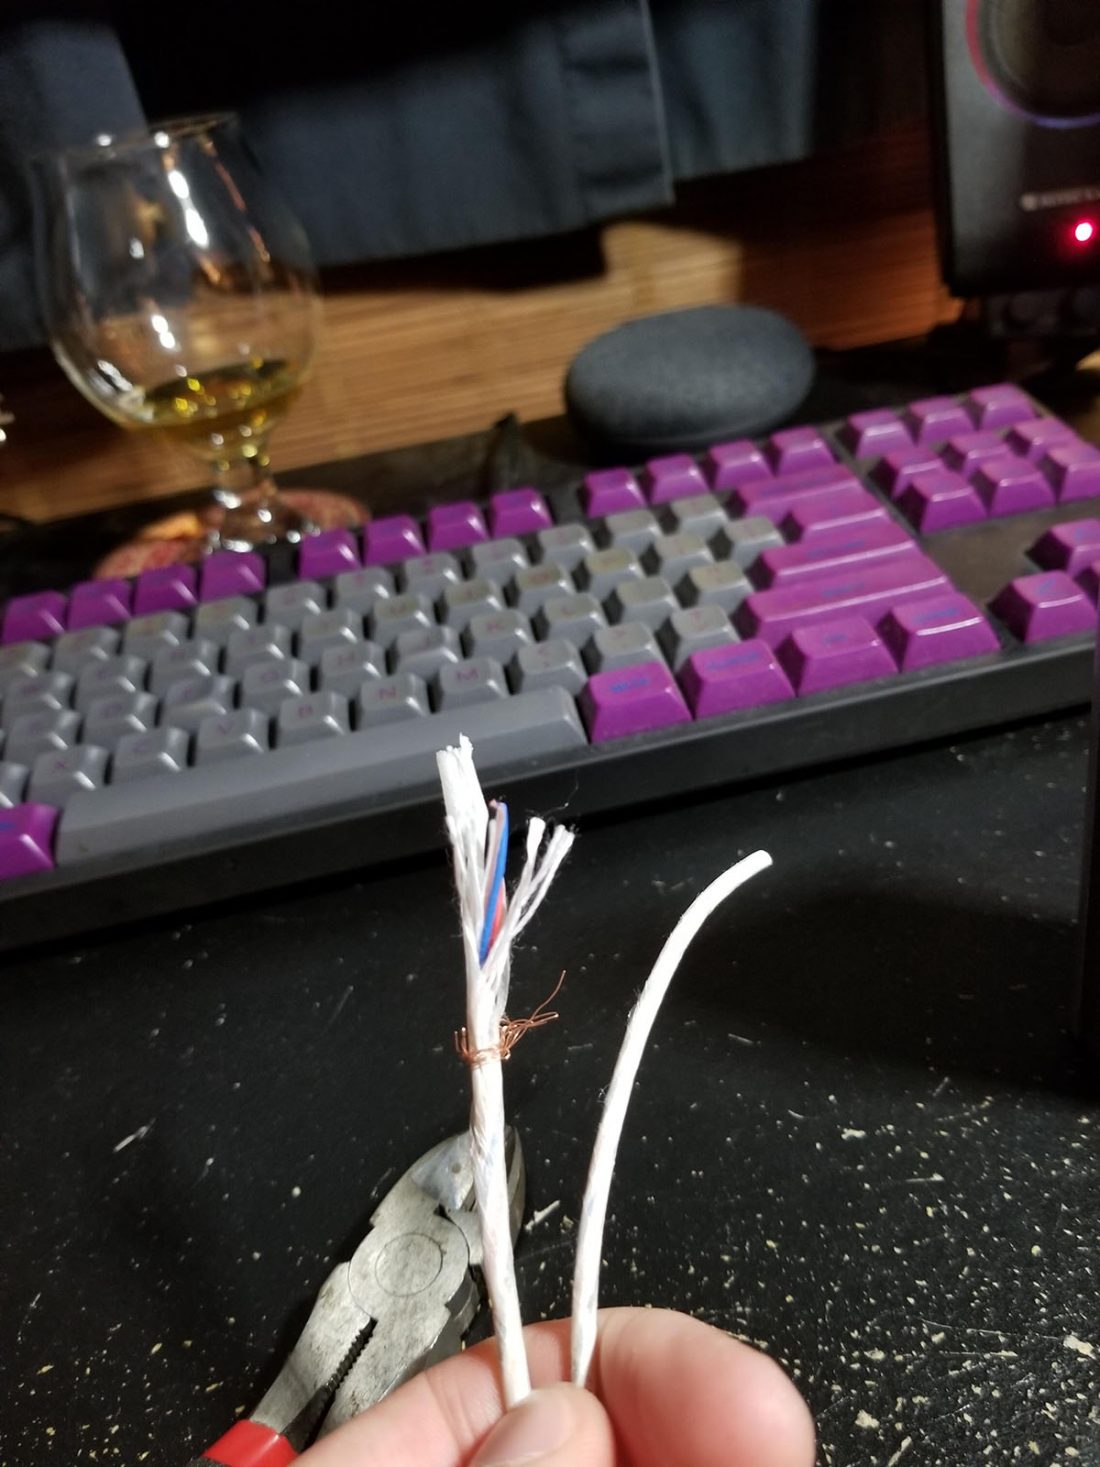
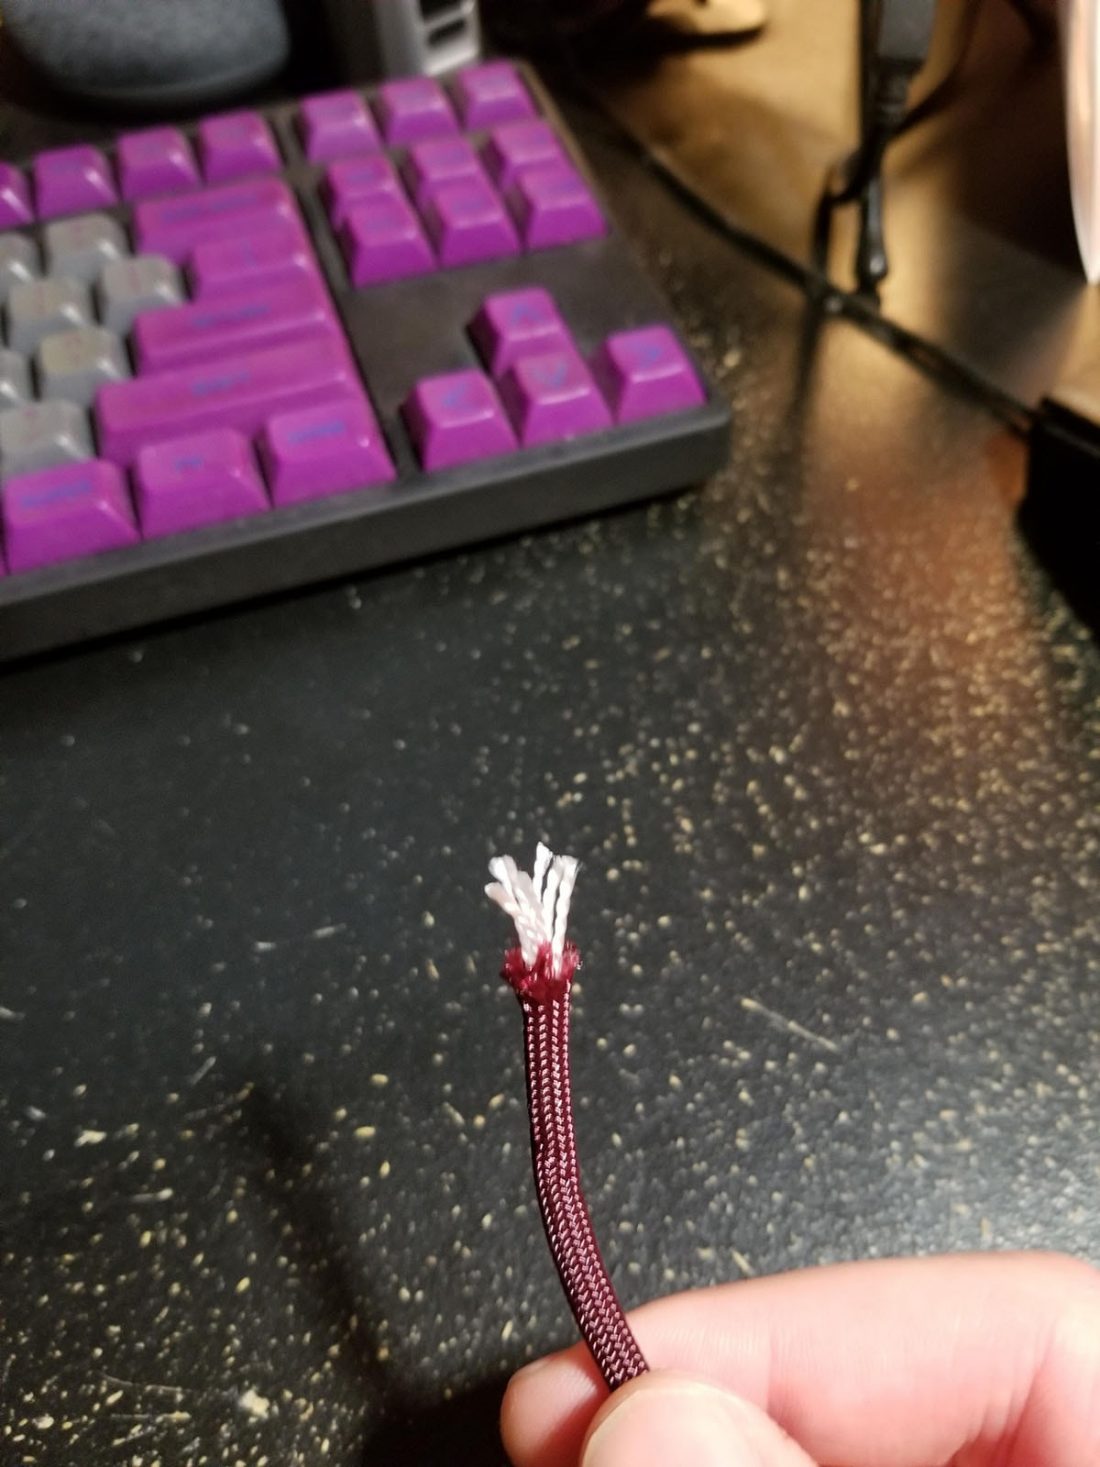
You’ll be left with this. The paper cover holds 4 thin wires, those are what we’ll be using. Keep the paper on, or take it off. I like keeping it on because it keeps everything underneath together.
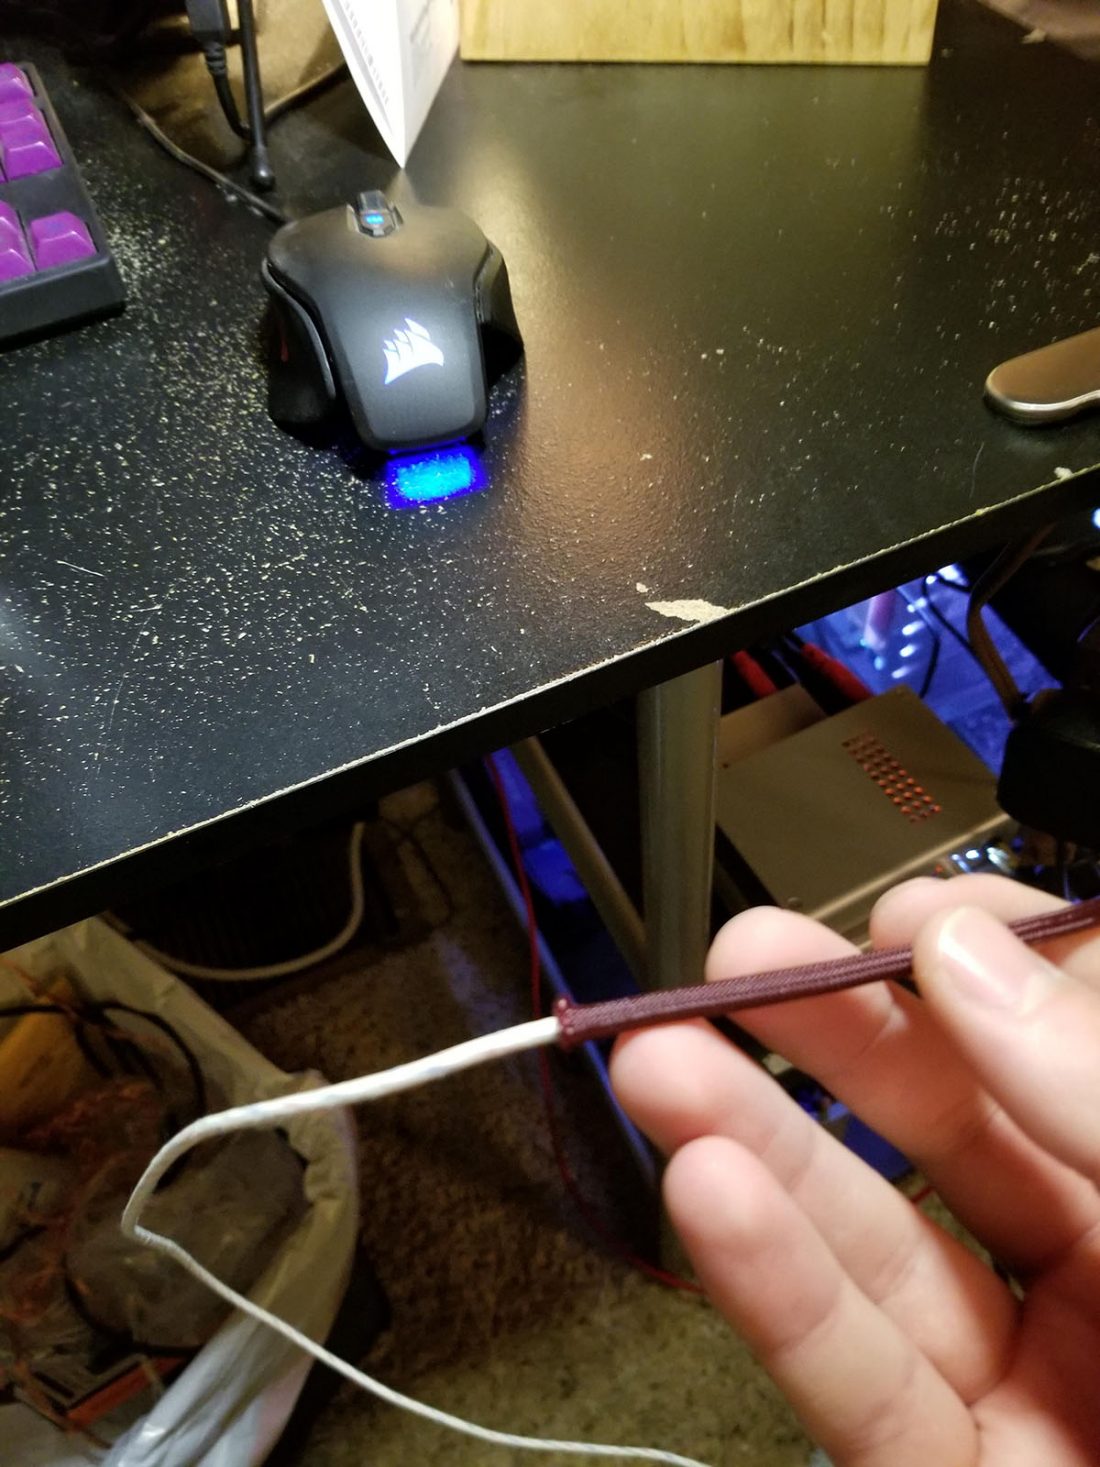
4. Start threading the Mogami through the paracord. It will only go in like this for a little bit, after a while it will not just push in anymore, and you’ll need to do what I like to call the “snake-and-pinch” method.
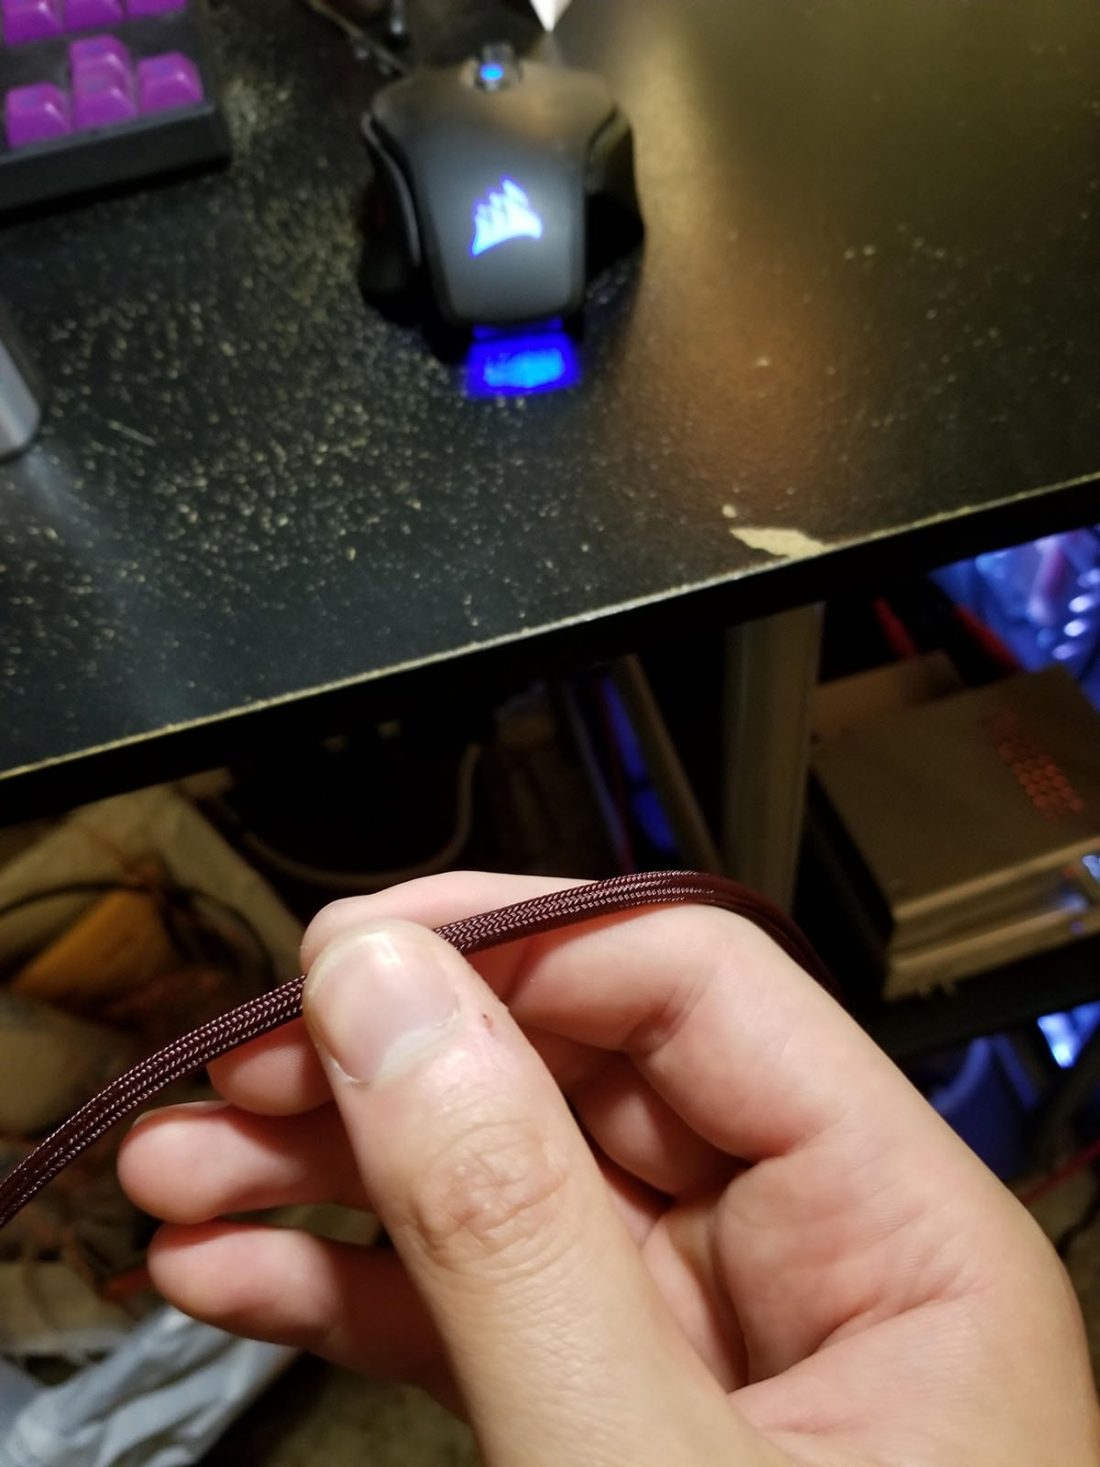
5. Basically, the snake-and-pinch is just pushing the paracord back little by little, pinching the wire inside between pushes. This is the easiest way to thread the whole thing through. It does take a bit but it goes faster than you’d think.
Done!
Assembling the Connectors
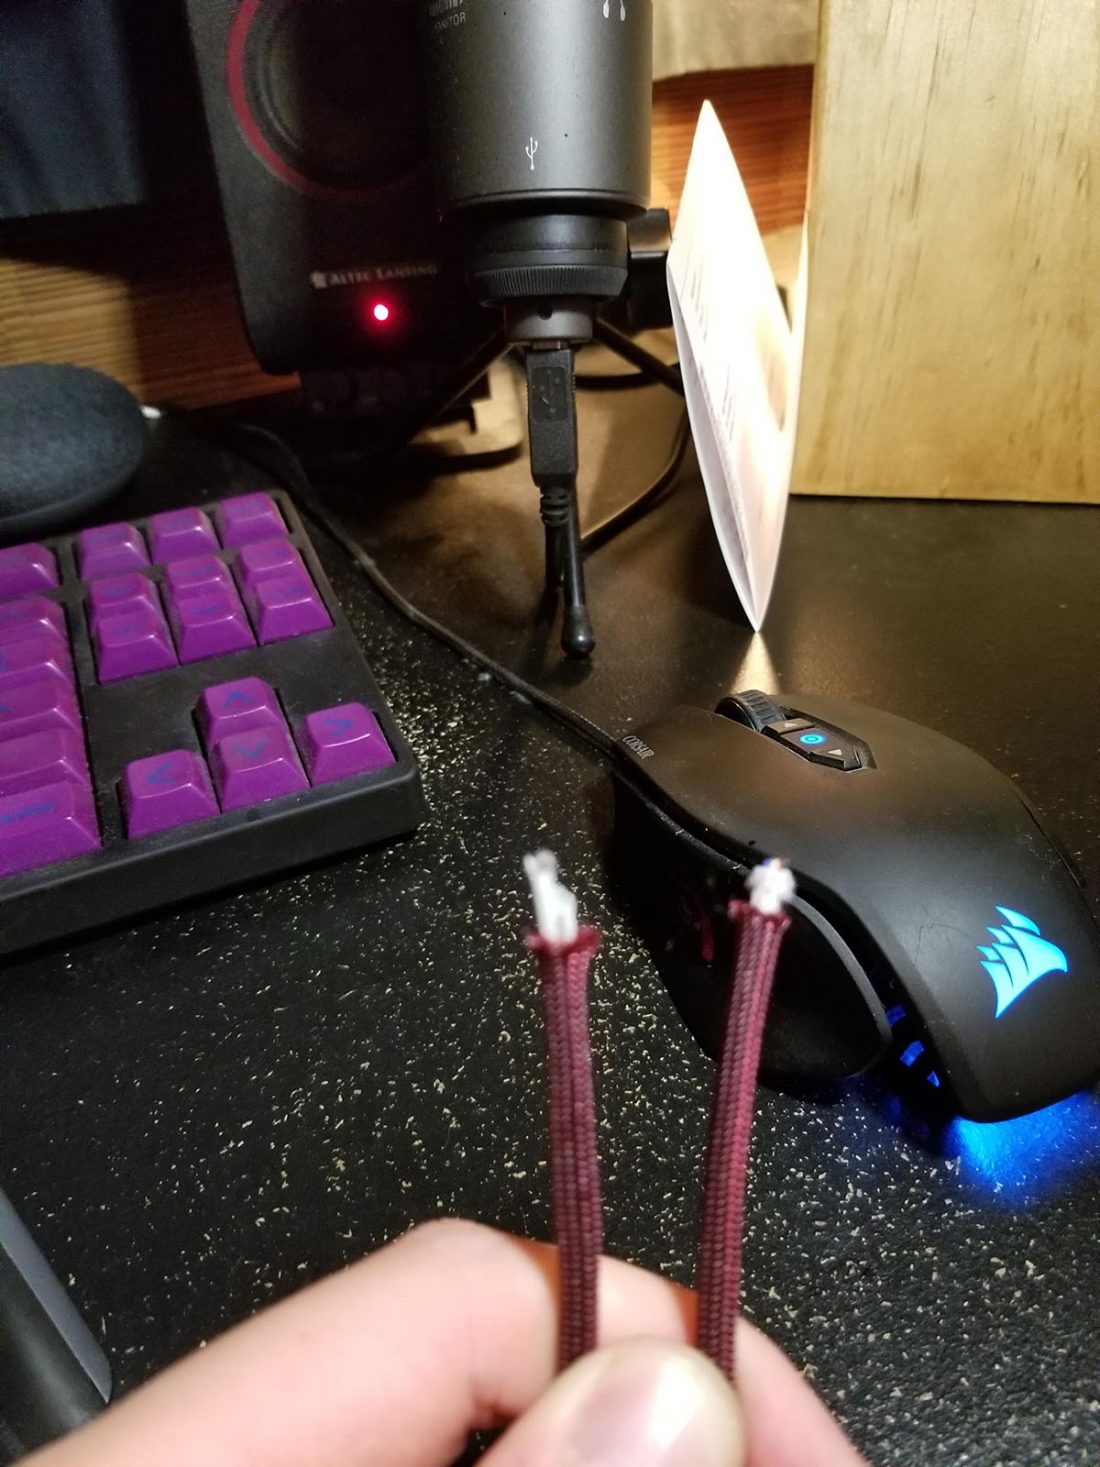
6. This is the original K7XX stock cable. I want to make sure which hole does what on the Mini XLR side, so I’ll use my multimeter to test. On the 3.5mm side, the following is always true of a standard TRS stereo 3.5mm connection:
- Tip – Left Channel
- Ring – Right Channel
- Sleeve – Ground
So basically we can just stick our multimeter in each of the 3 holes in the mini XLR to figure out what corresponds with what.
7. One of the easiest things to mess up while building a cable is putting things on before soldering the connections. If you forget to put something on, you’d need to desolder the connections, put the piece on, and then resolder it back together. Huge pain in the ass. In the case of our Mini XLR here, the boot needs to go at the end.
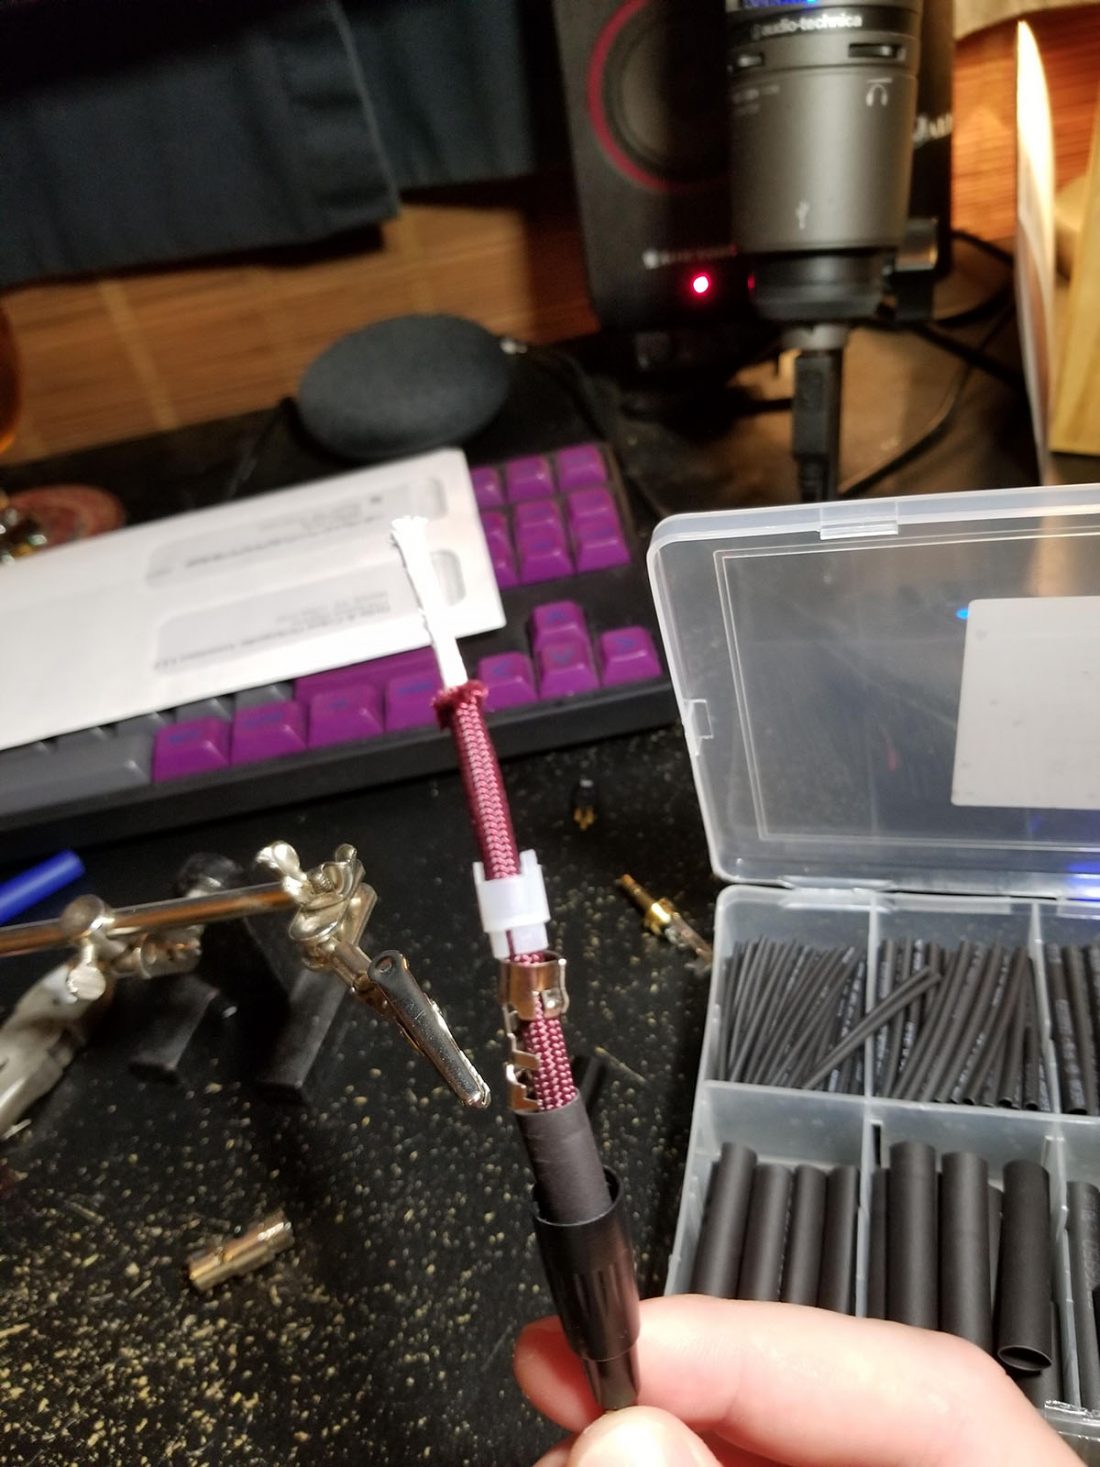
8. Everything on for the Mini XLR side. The order from bottom to top – Boot, heat shrink, wire clamp, connection cover. The order is very, very important.
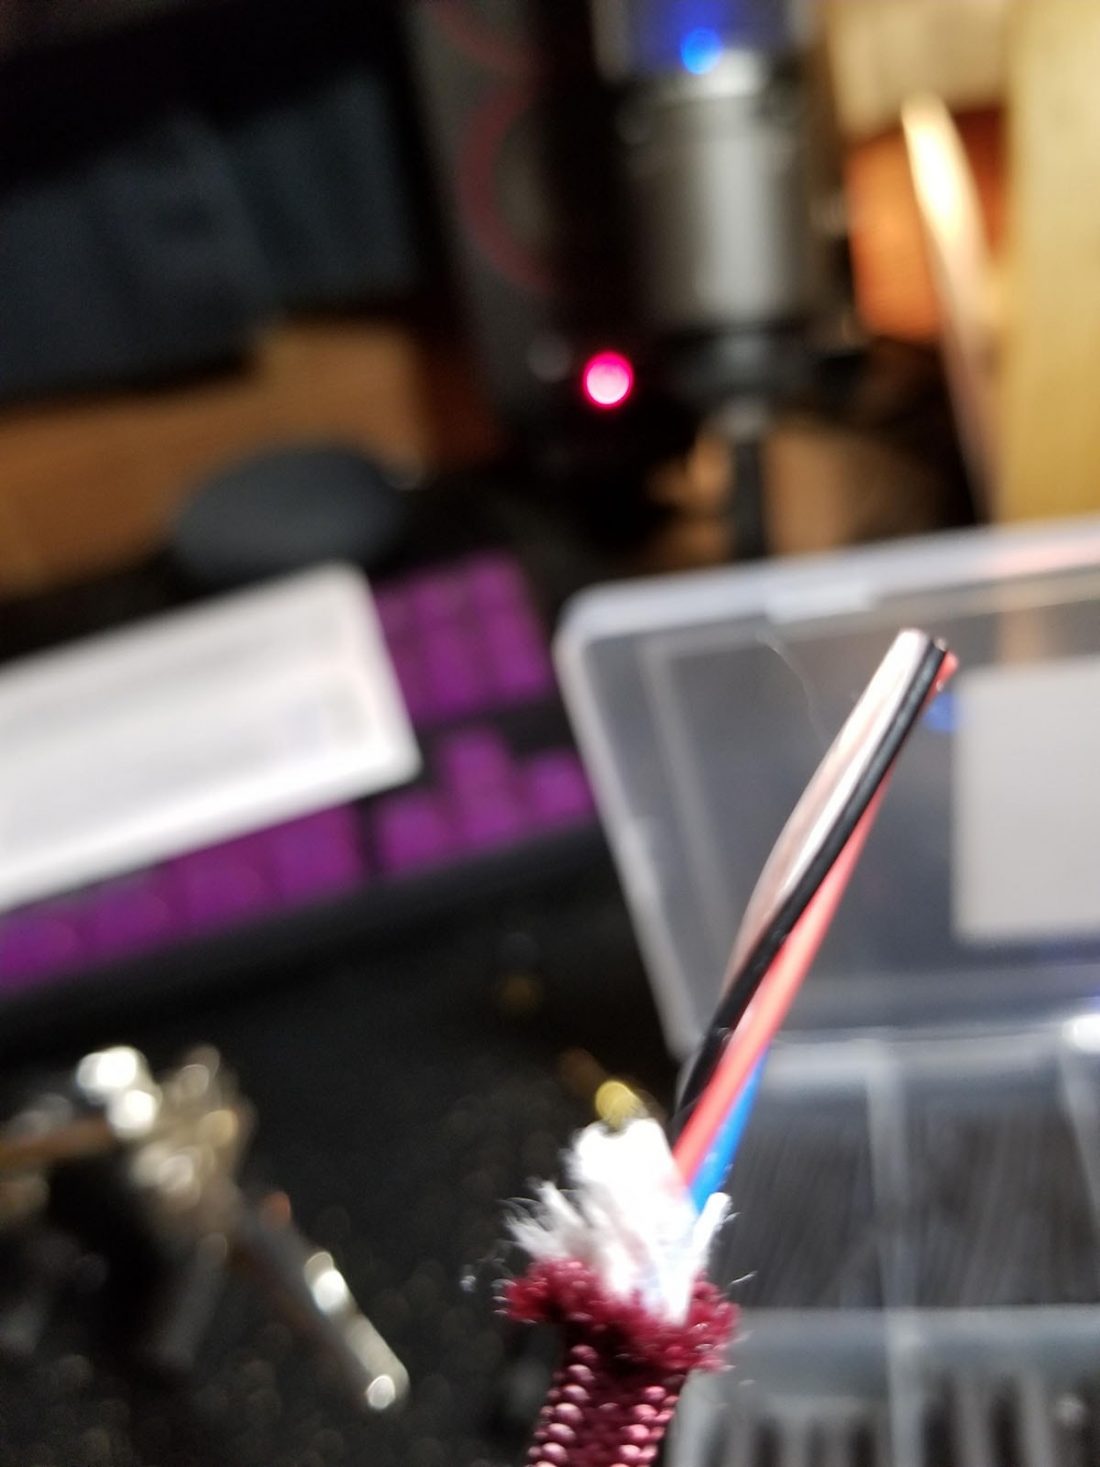
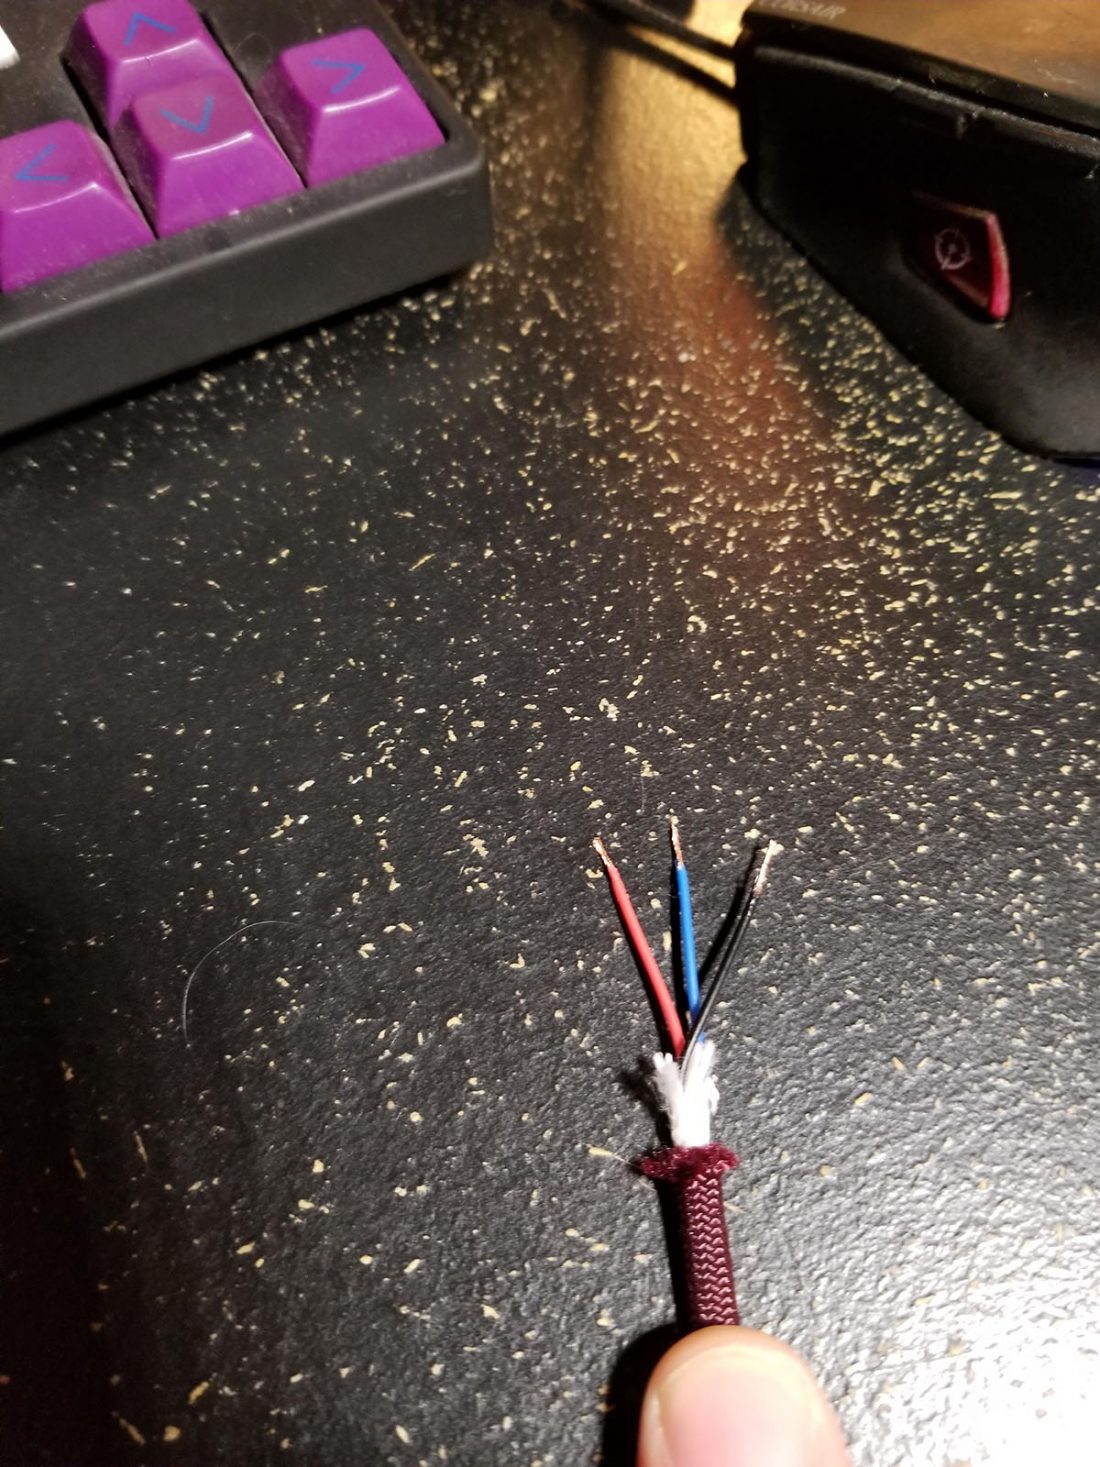
9. Paper stripped back. There are four wires in there, we only need 3 for this particular build. Go ahead and cut one of them back so it’s out of the way, I like to get rid of the clear one.
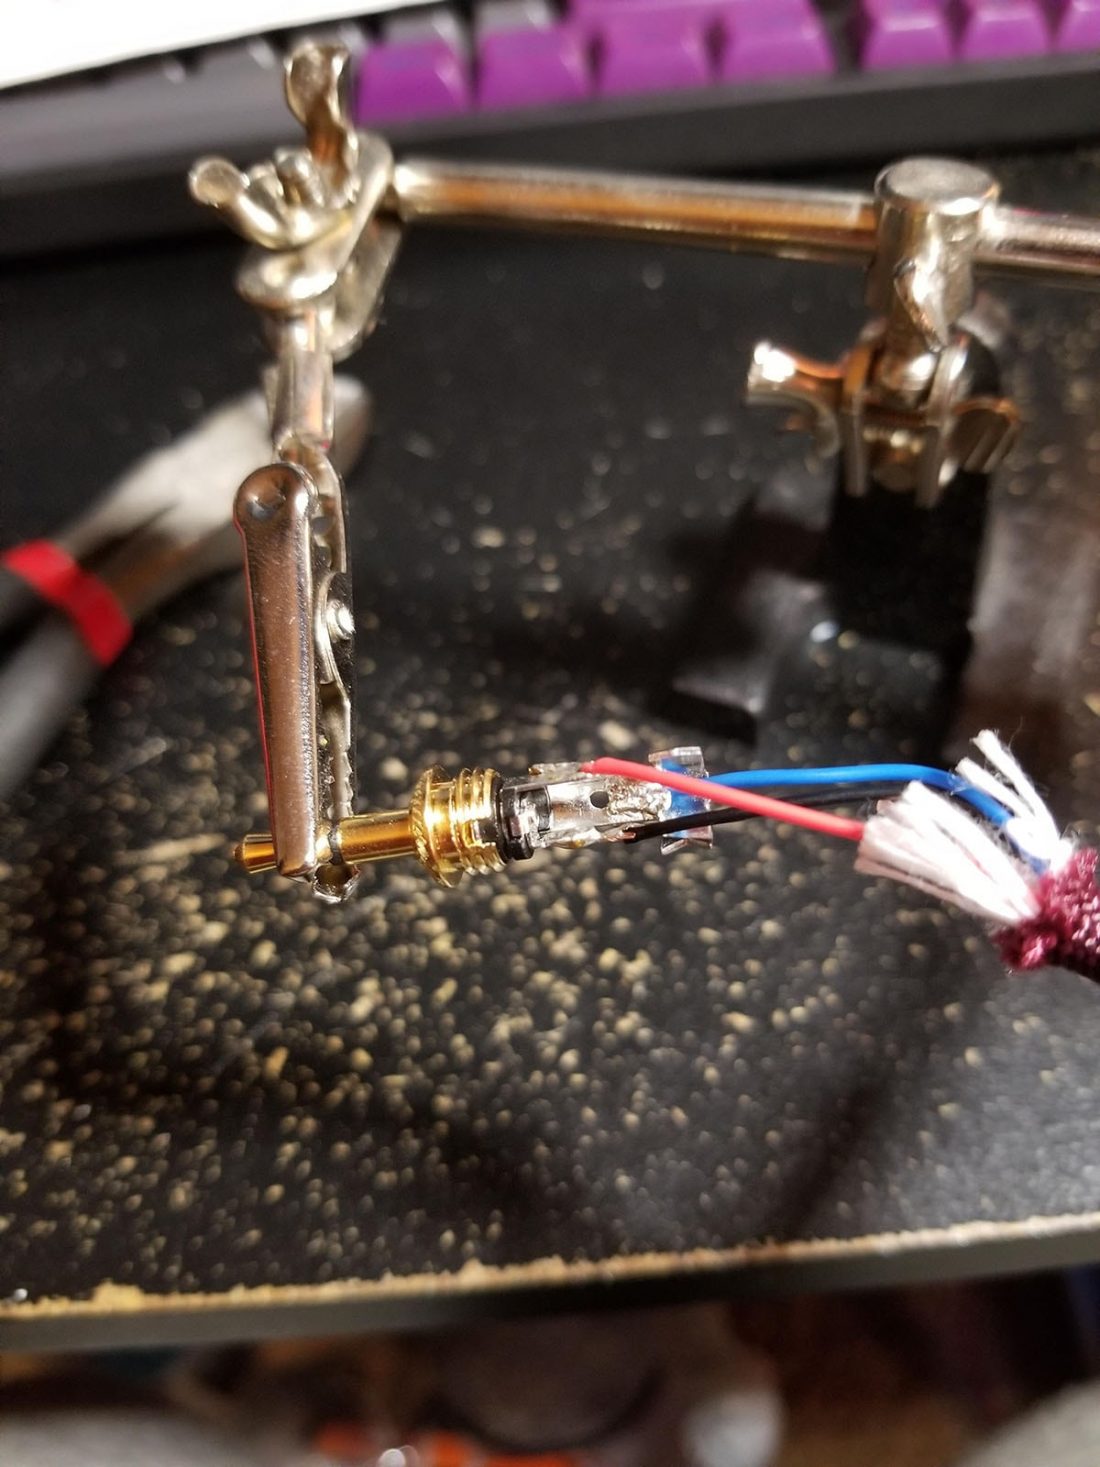
10. Strip the colored sheathing off. I carefully use a knife for this, as they’re too small for most wire strippers.
11. Tin the wires with your soldering iron.
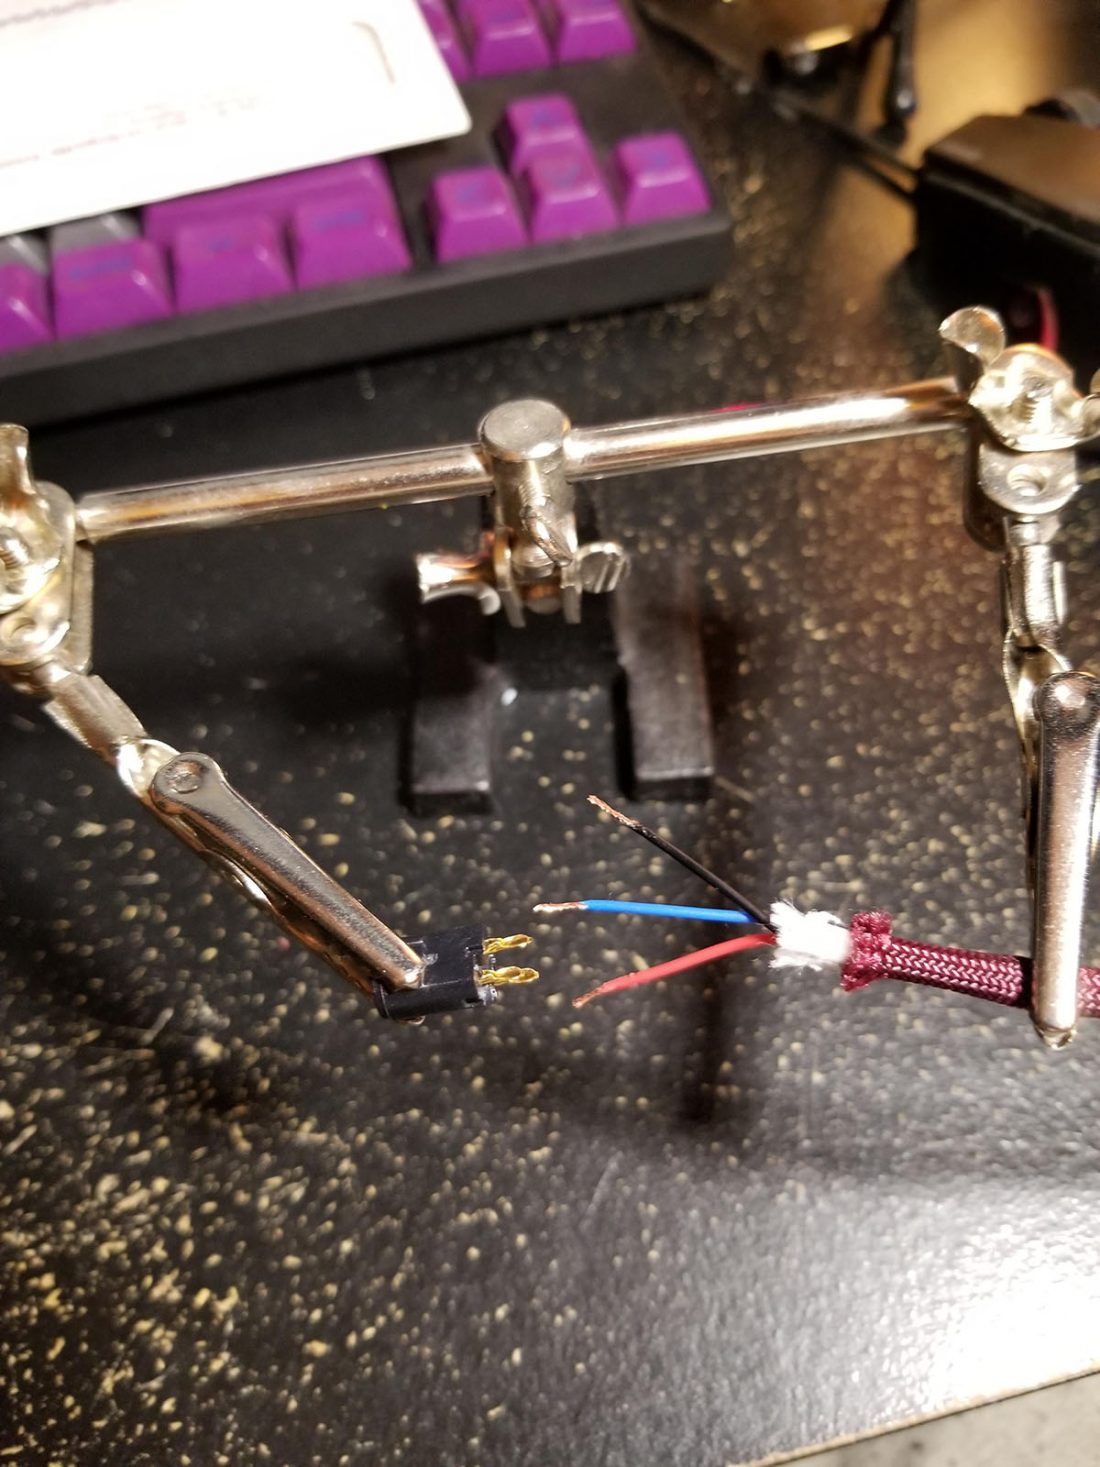
12. Tin the little cups of the connector too. Generally, I use blue for left, red for right, and black for ground.
I messed up this time, but luckily it doesn’t matter because I didn’t do the other side yet. I just have to remember: blue is ground now, and black is left.
13. Assemble all of it back together, slip another piece of heat shrink on the other side of the boot, and this side is finished!
For all heat shrink applications, you’ll want to measure how much you’ll be able to use. From experience I’ve learned, don’t go further than the covers.
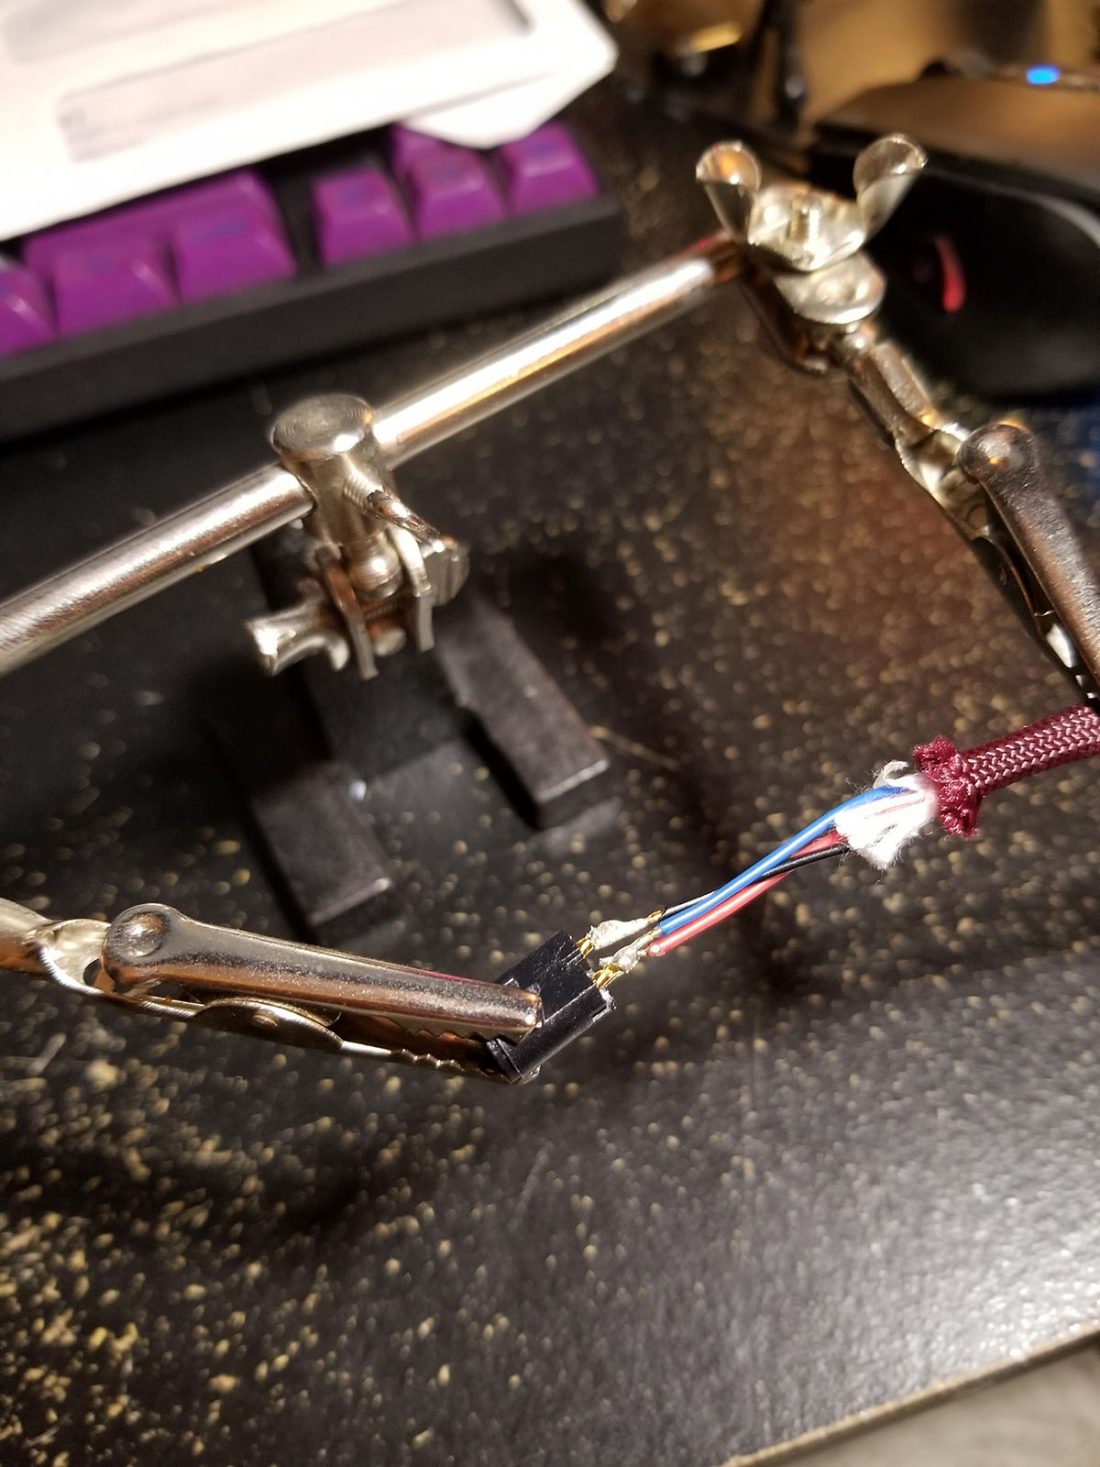
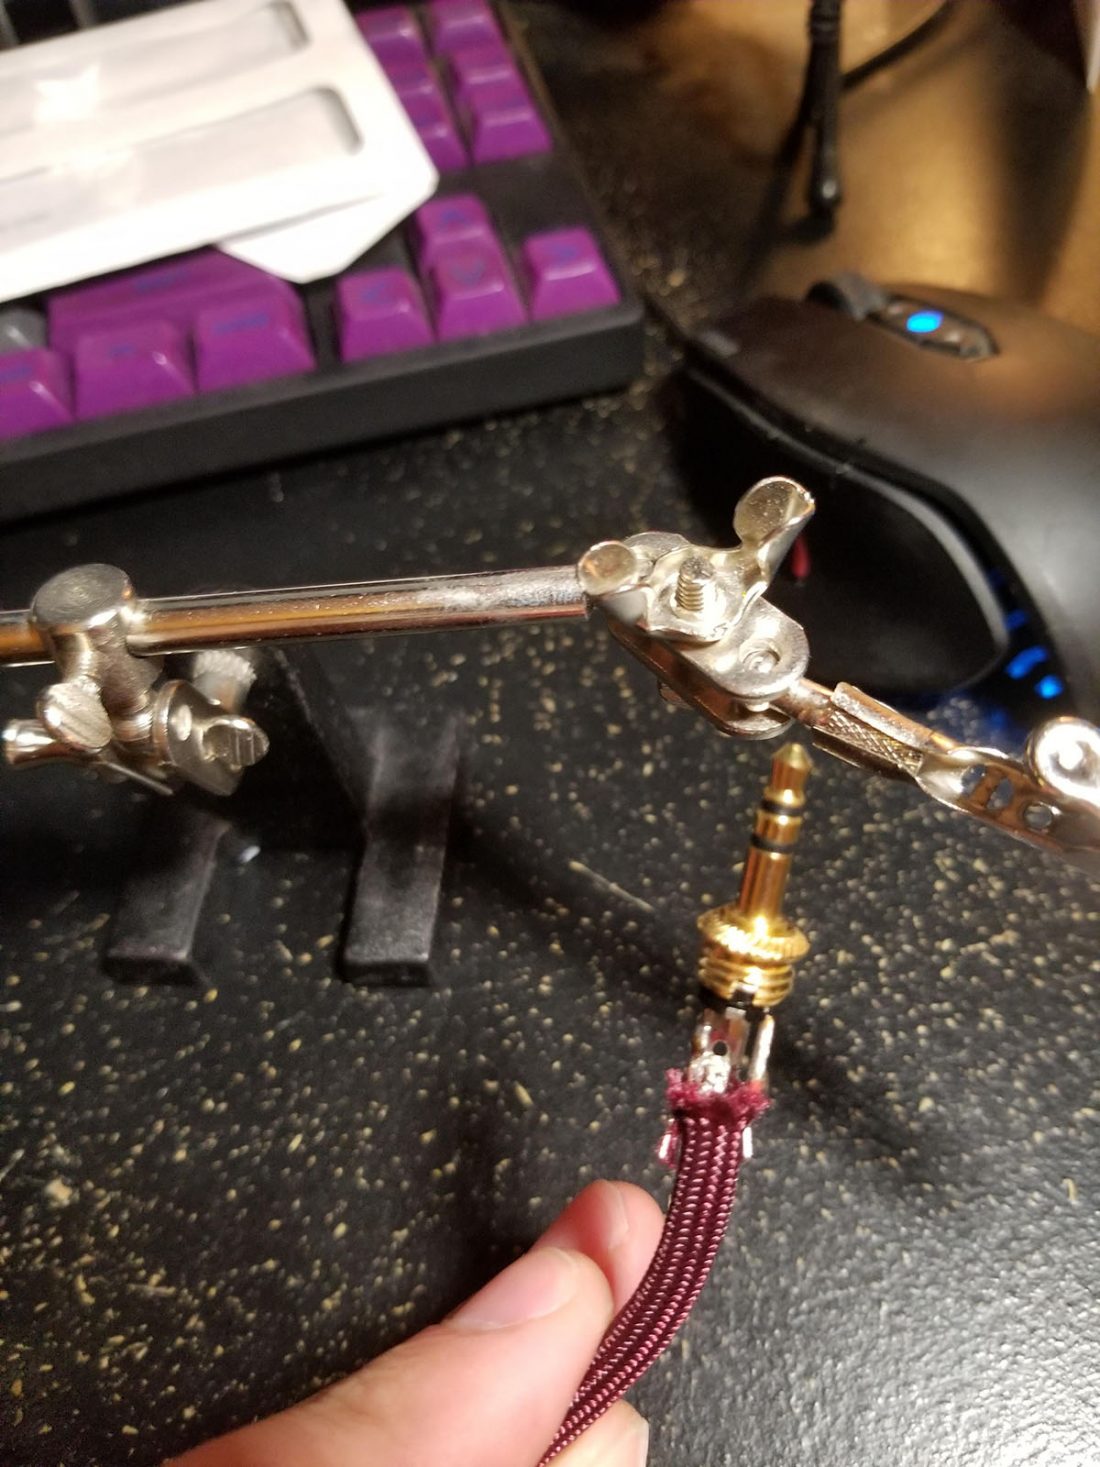
14. Wire up the 3.5mm side. Soldering things this small takes some good practice. Just keep a steady hand and don’t worry too much if you mess it up, you can always fix it. That’s why I like building cables, there’s not much you can break.
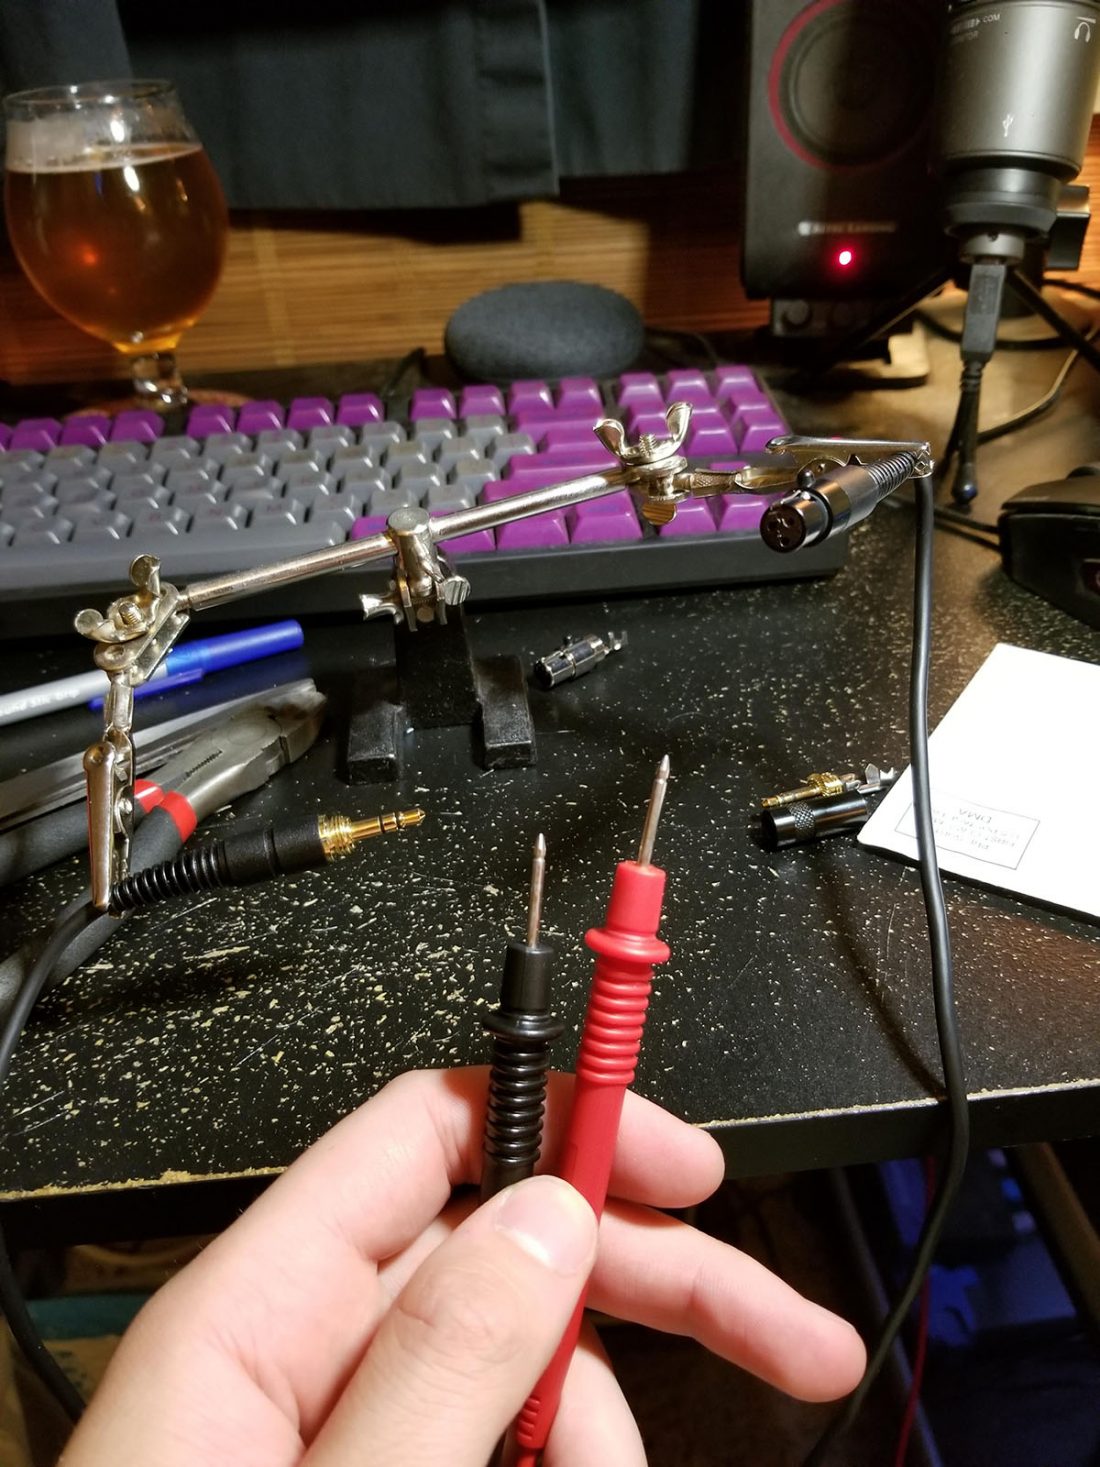
15. Test your connection before assembling. I really should have done this before I assembled the mini XLR side but I got antsy and my connections were clean.
Make sure you’re connections aren’t crossing anywhere. Check every possible combination with the multimeter – left to ground, right to left, etc.
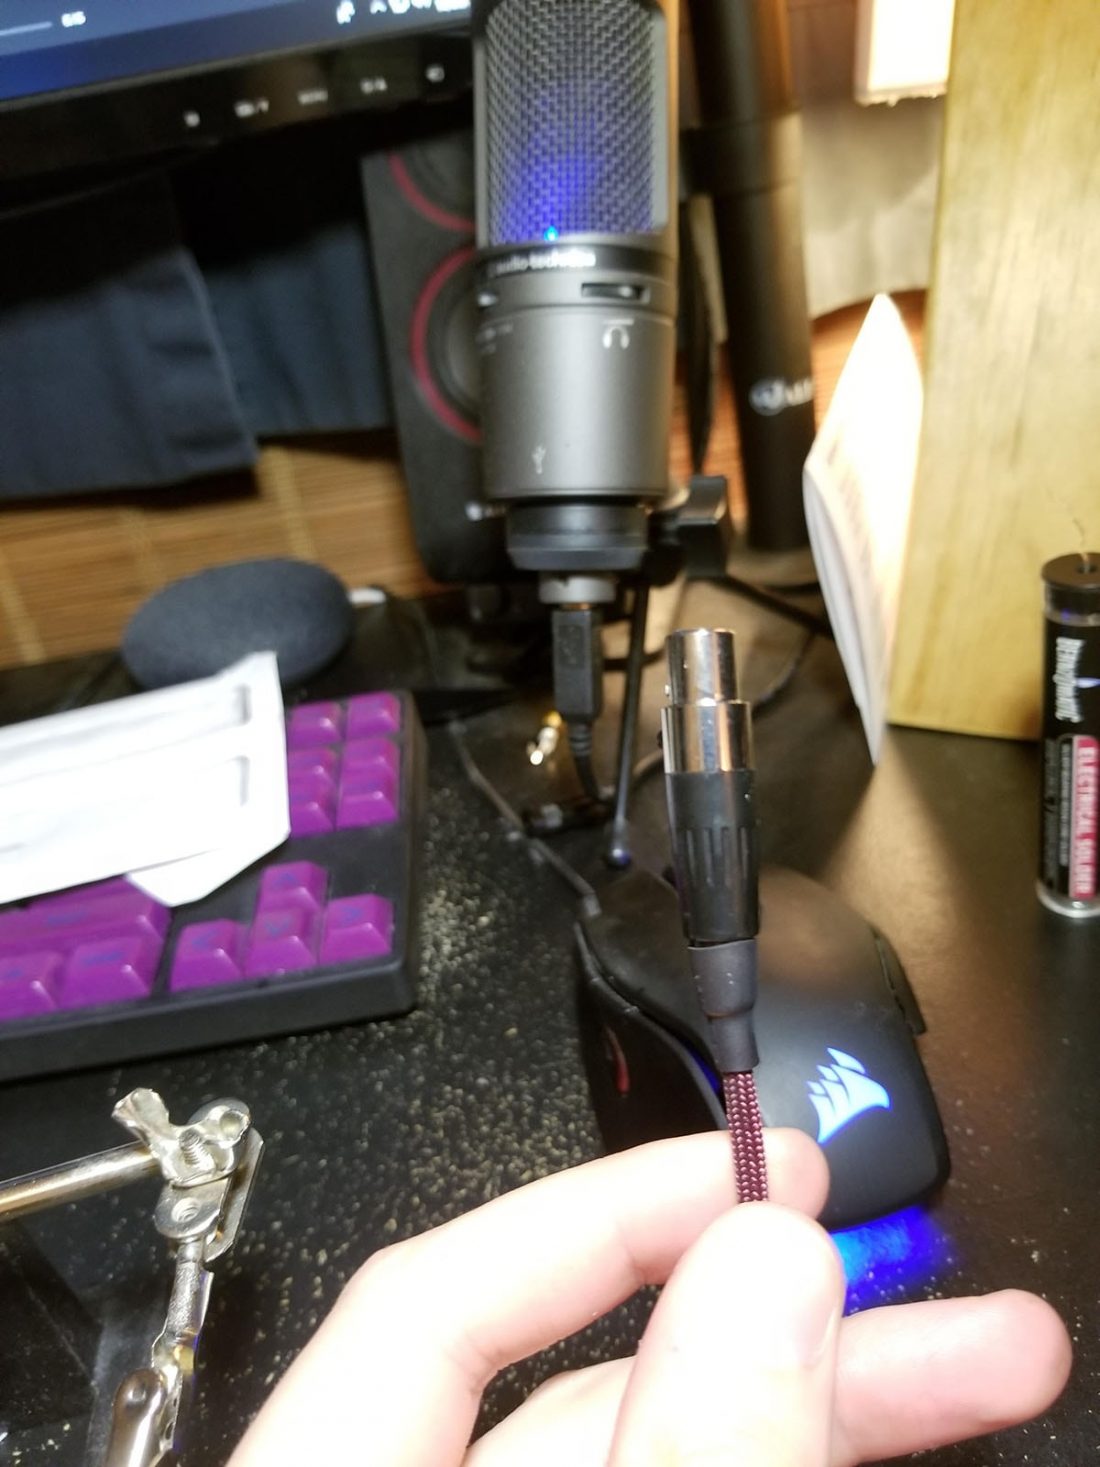
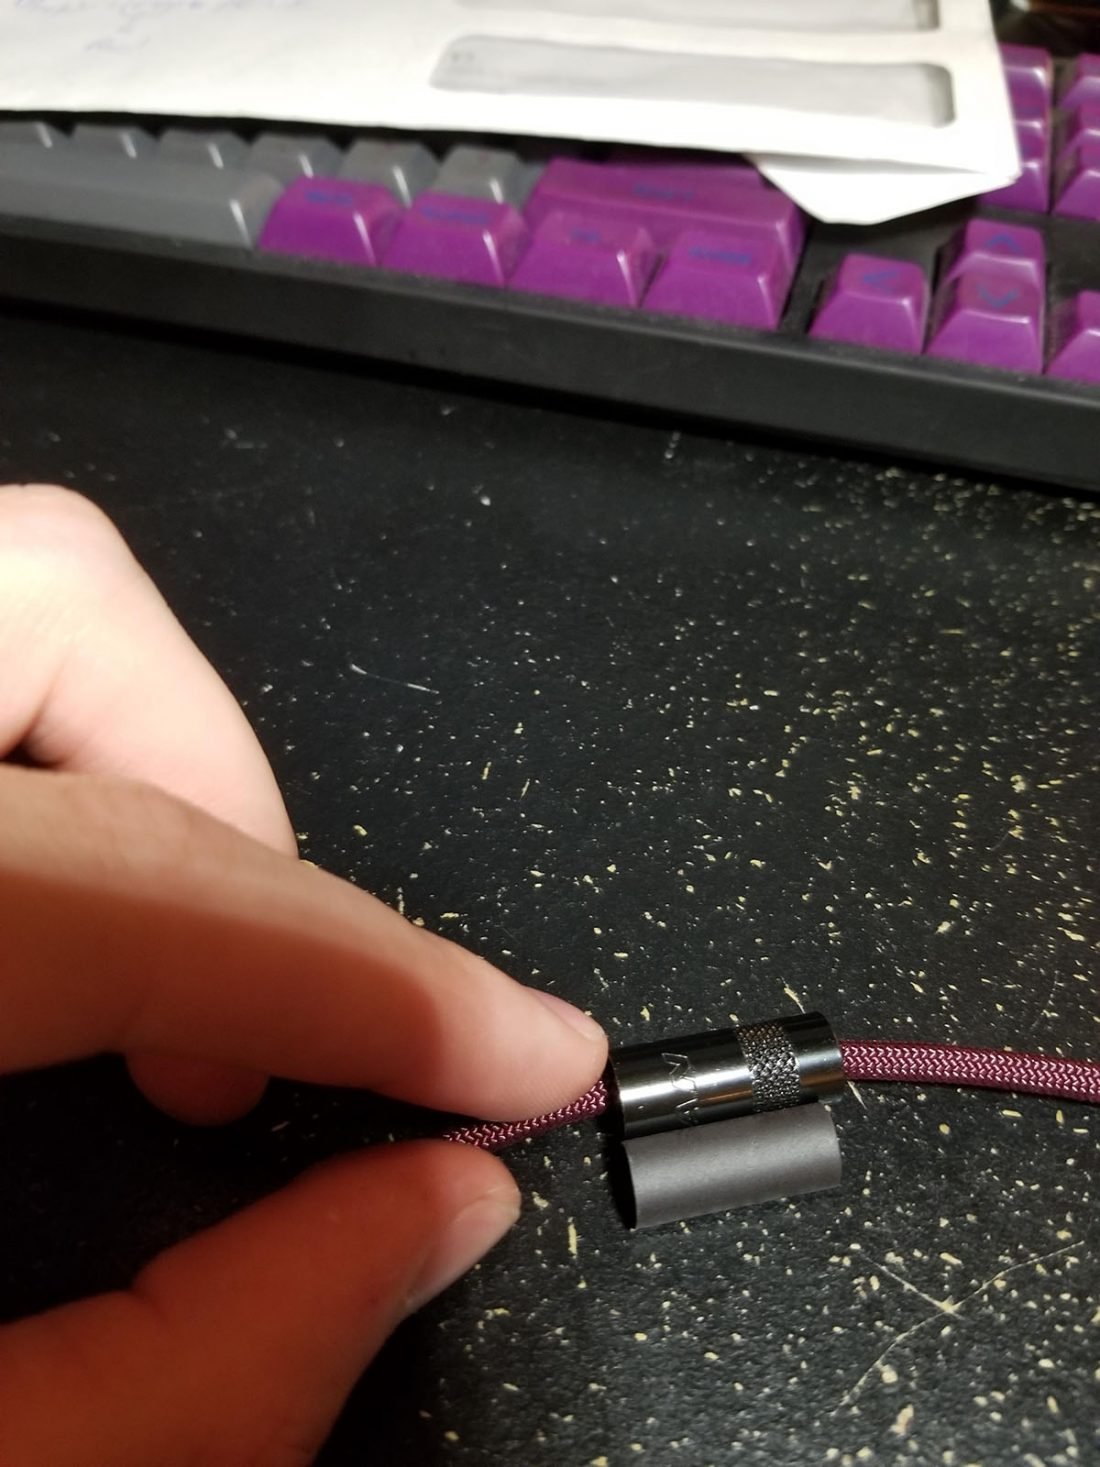
16. Stretch the paracord out before assembling, then clamp the strain relief on the jack down on the paracord. It should get tight.
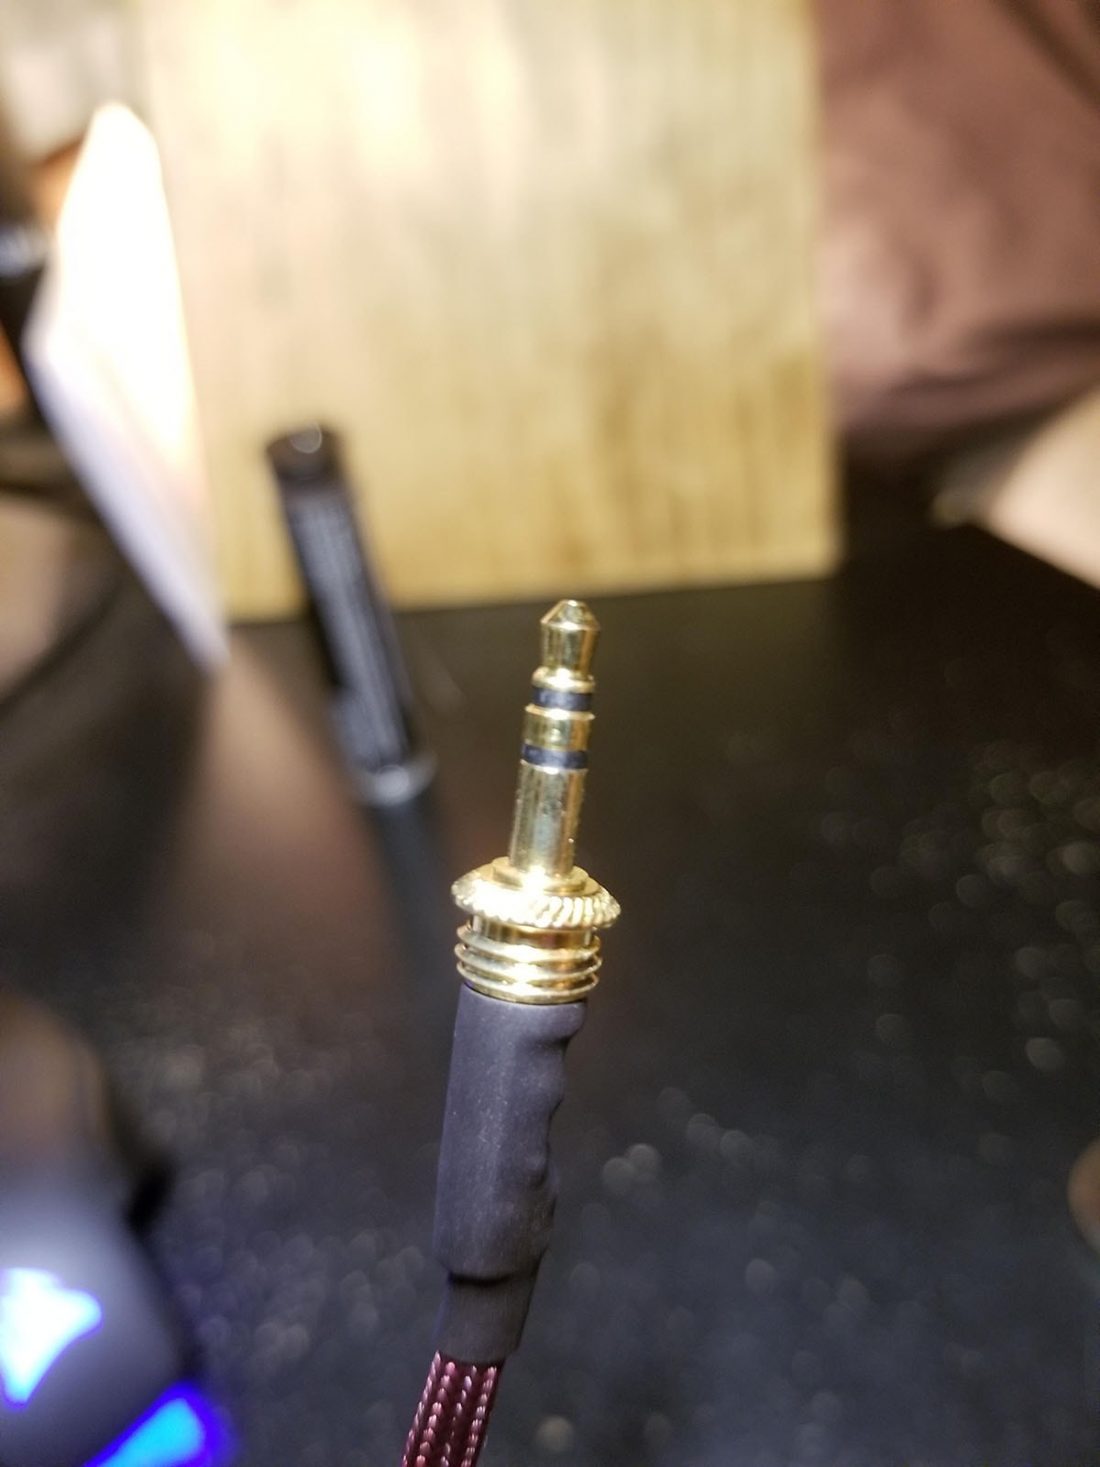
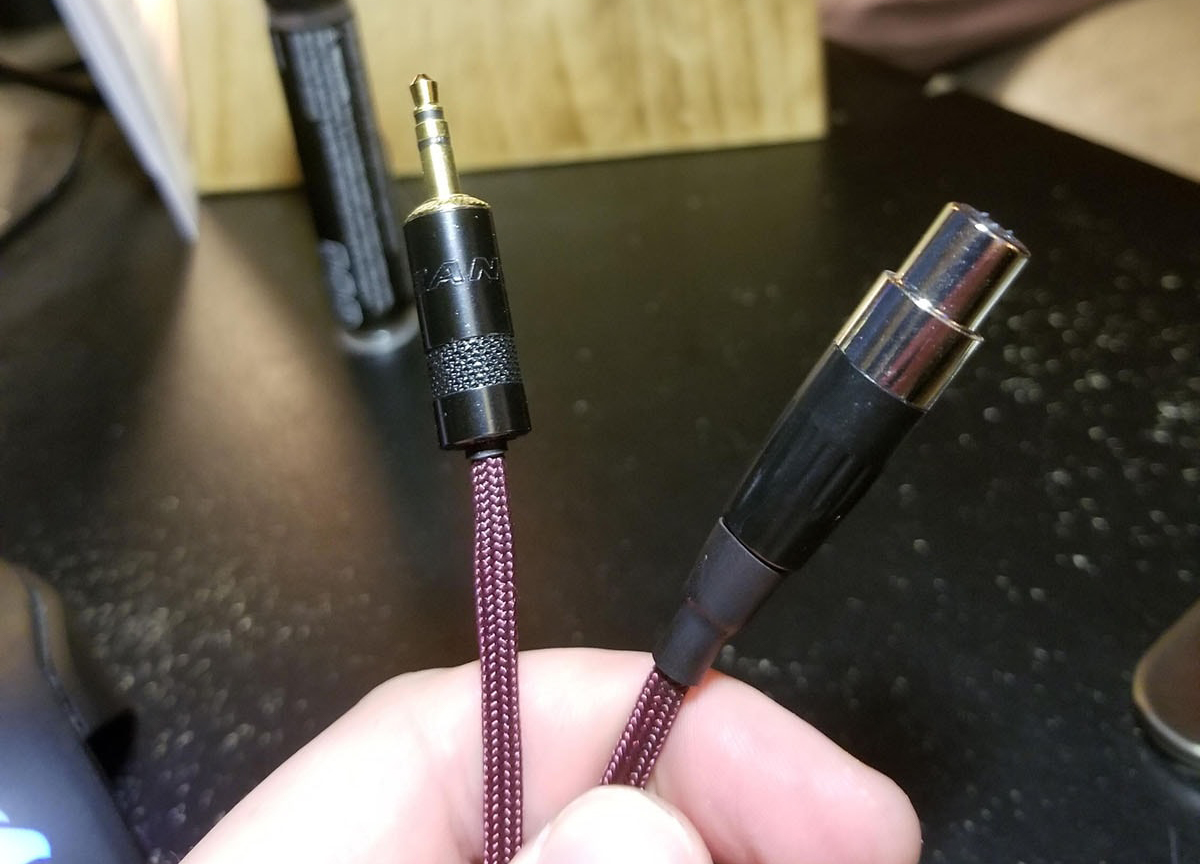
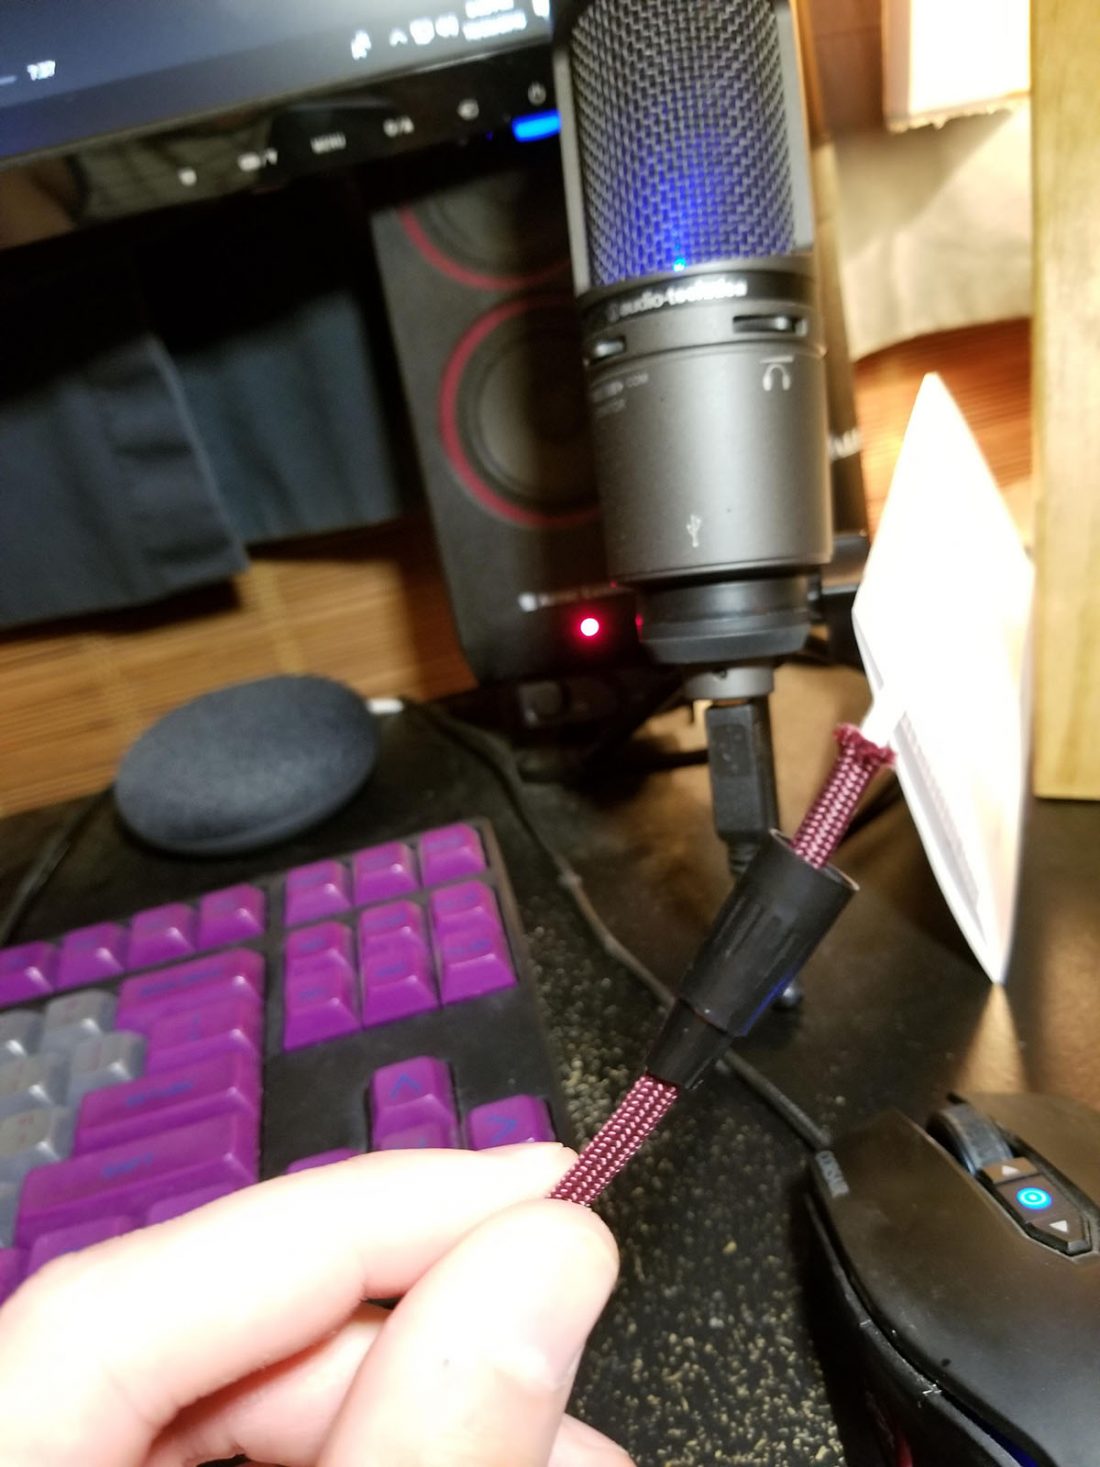
17. Here she is with our heat shrink over it.
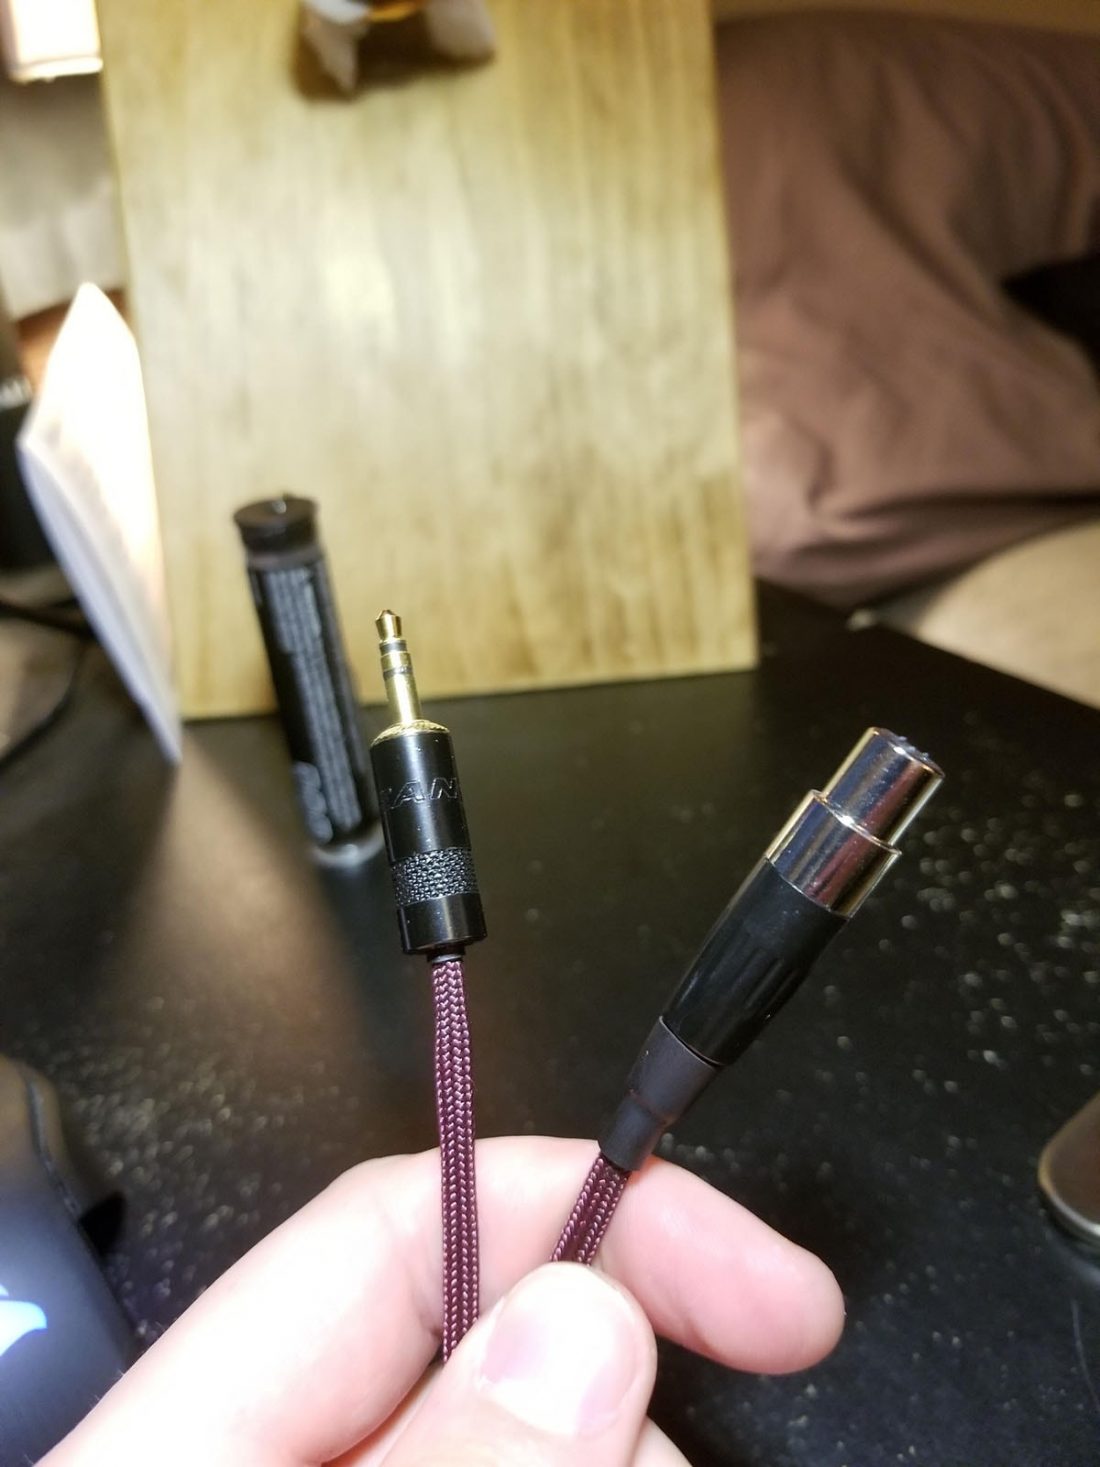
And that’s it!
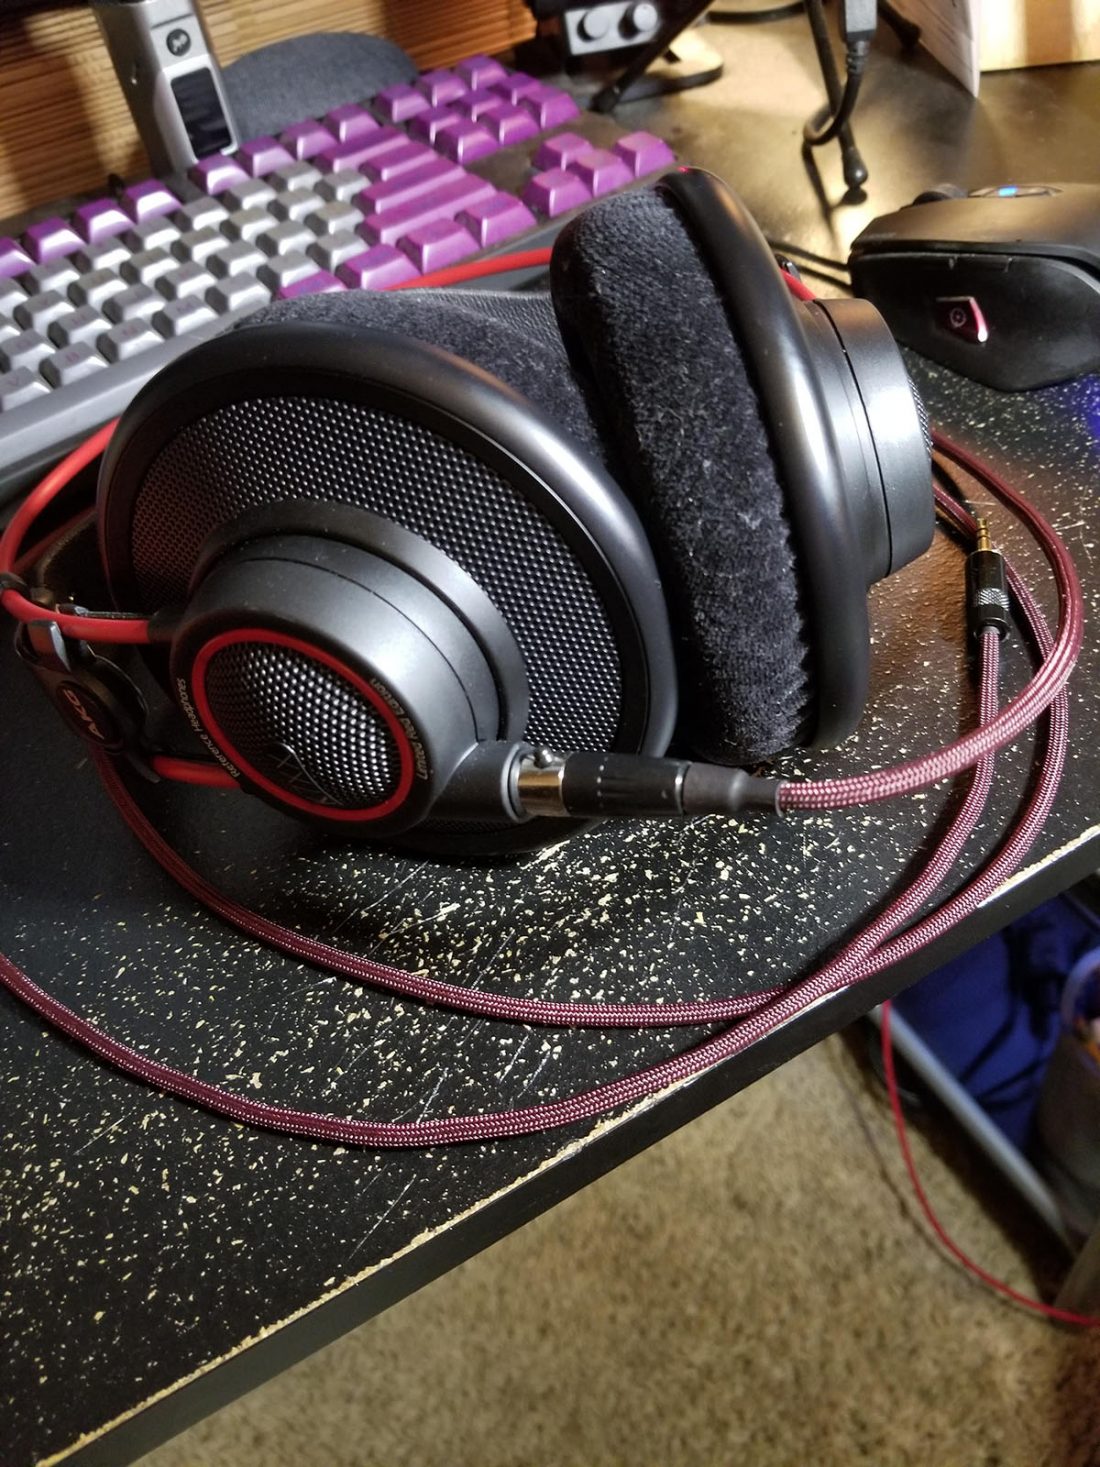
Pretty!
If you have any questions about this process or want me to add any information, message me on Reddit: reddit.com/u/demevalos
Why pay for Mogami cable when you’re just going to tear it apart and remove the shielding? Why not just buy some silicone jacket 26 or 28ga hookup wire for a fraction of the cost? it will be even more flexible too. You can even chuck it into a drill and give it a spin if you need twisted or heck… braid it.
I dunno, it just sounds counterproductive to get rid of the shielding which is one of the main selling point of that mogami cable.
And yes, you can easily pick up RF noise in a 6 foot cable.
In the name of all that’s holy, why?
It would be a lot easier to leave the Mogami cable sheath on, especially the shield. A pro tip I learned from experienced cable builders is to fill the connectors with hot glue once you confirm continuity. It simultaneously prevents the wires from coming off and shorting out and provides extra strain relief.
you can use a seam ripper to strip the cable