Learn how to clean your headphones and earbuds easily with this complete guide.
Regularly cleaning your headphones not only keeps them looking nice and smelling fresh but also prevents muffled sounds or even ear infections caused by accumulated dirt and debris.
However, headphones have delicate electronics and various types of foam, metal, and plastics, so improperly cleaning them can lead to more harm than good.
Keep reading as we discuss everything you need to know to clean your headphones, earbuds, charging case, and headphone jack safely and responsibly!
What You Need to Clean Headphones and Earbuds
Regardless of what type of headphones you are using, the materials required to clean them are usually the same.
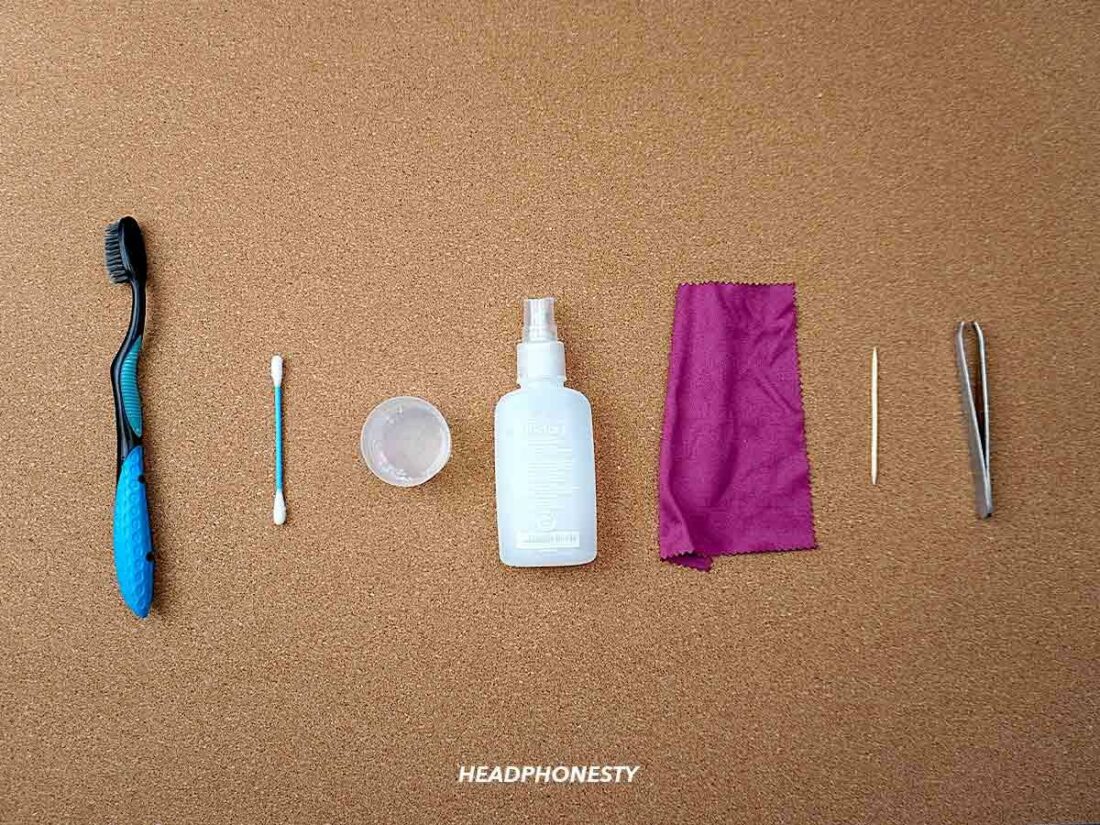
Here are the materials you need to prepare to clean your headphones:
- Soft-bristled toothbrush
- Cotton swab
- Soapy solution (1 part soap with two parts warm water)
- Isopropyl alcohol (preferably at least 70%)
- Lint-free cloth or paper towel
- Wooden toothpick
- Tweezers (optional)
How to Clean Headphones
Keeping your headphones clean makes them more comfortable to use and allows them to last longer. Here’s how to do so:
- Remove your headphones’ ear pads. This can be done in different ways depending on your model, but it technically only involves gently pulling the earpads off.
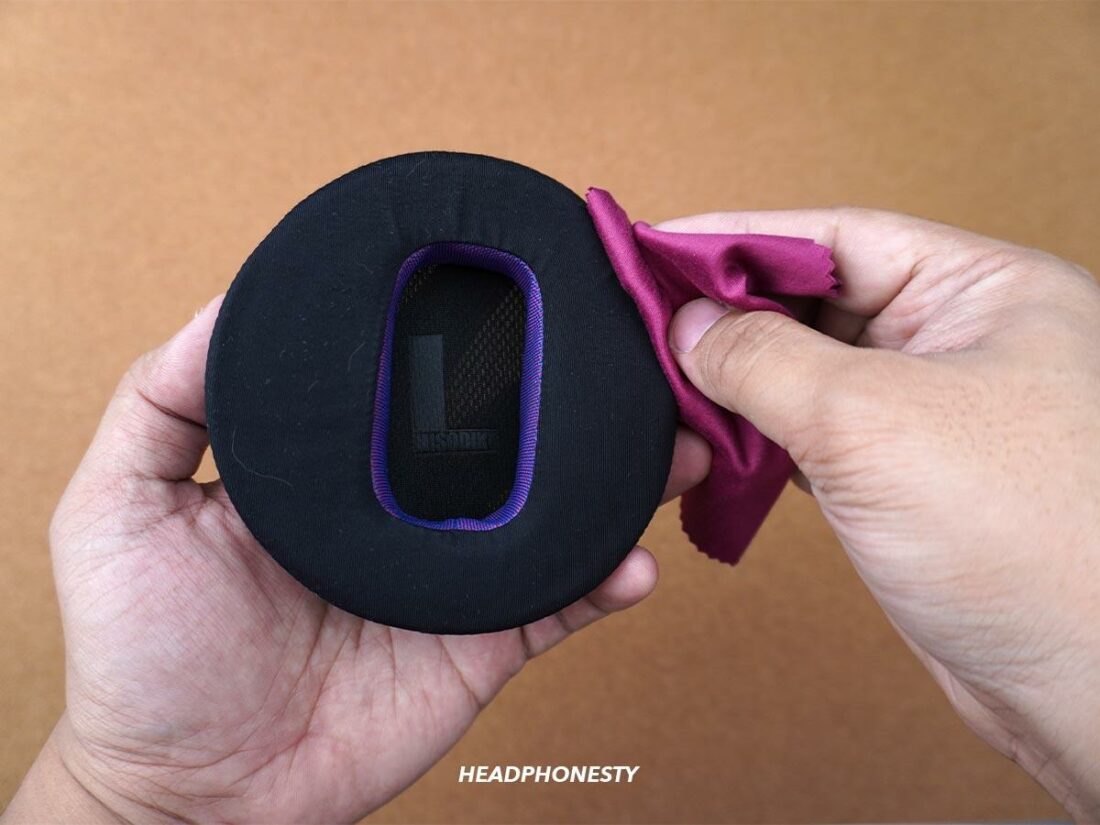
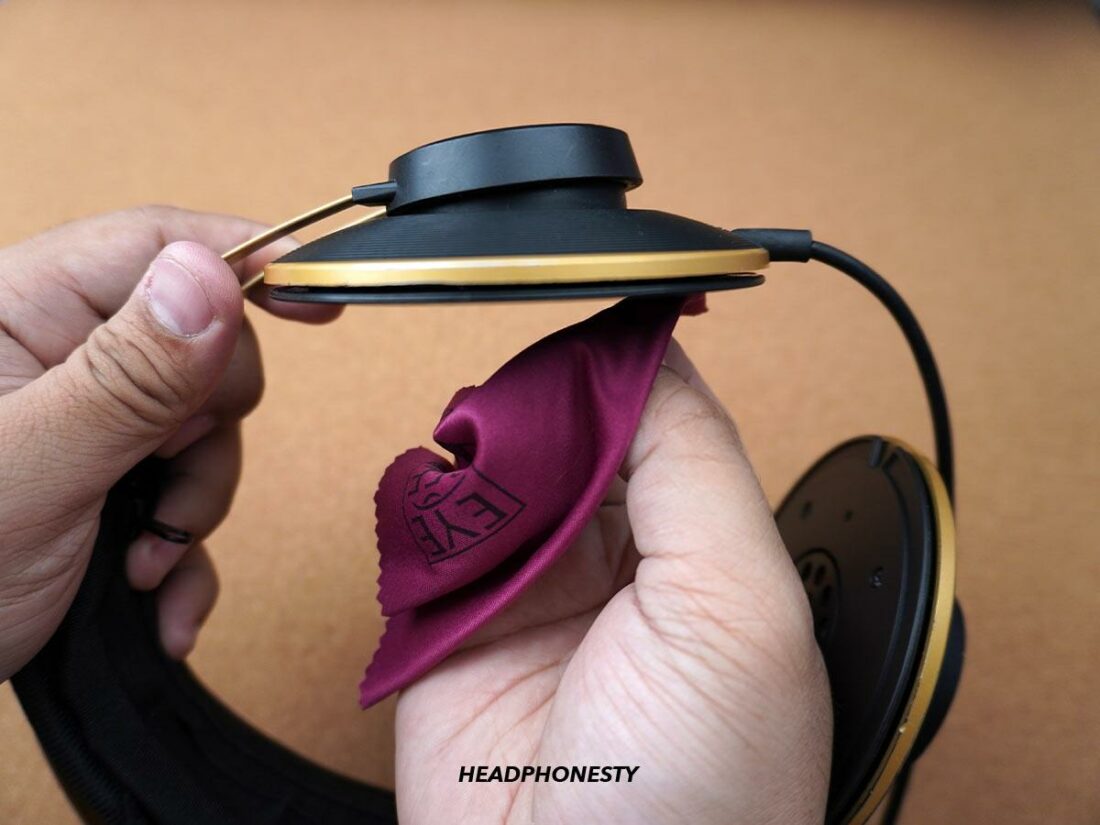
- Wet a cloth with the soapy solution and wring it to prevent water leakage.It’s preferable to use water instead of other cleaning agents like alcohol to minimize potential damage to the ear pads’ material. Alcohol can be quite harsh and thus slowly degrade the thin leather or velour covering the ear pads.
- Use the damp cloth to gently wipe the ear pads. But, do not put too much pressure, as you risk damaging the leather. Do this a few times until the dirt is removed.

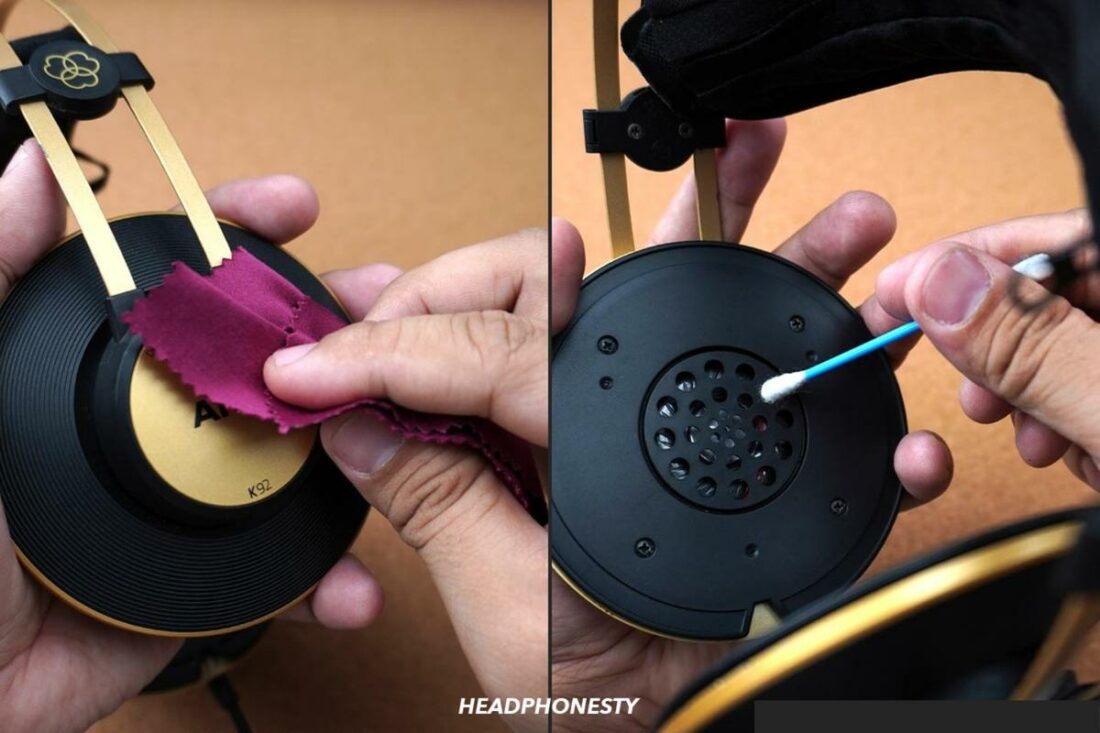
Gently wiping the ear pads with a damp cloth. - Once the cushions are done, wipe the base of the ear pads. If there are hard-to-reach areas, you can use a soft-bristled toothbrush.
- Set the ear pads aside to dry.
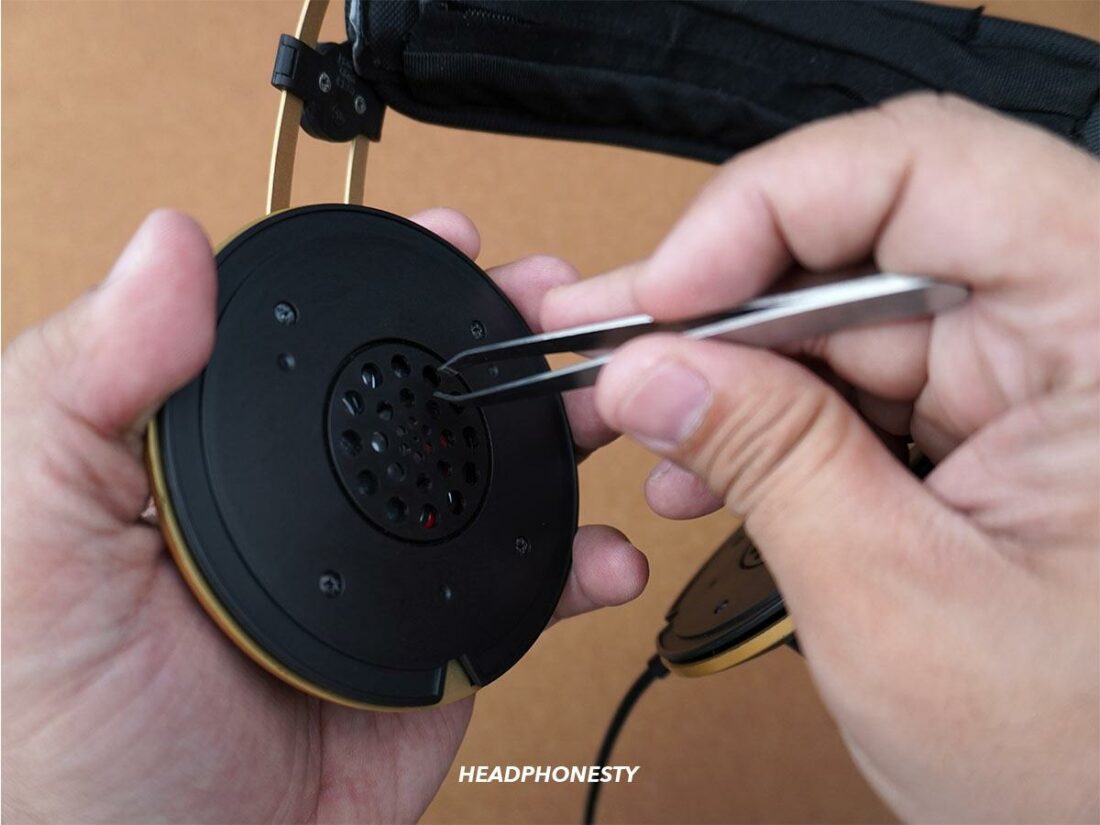
- Get a pair of tweezers to help remove hair and other debris that may have gotten stuck in the headphone drivers.Be as gentle as possible when cleaning near the drivers, as you don’t want to risk damaging them.
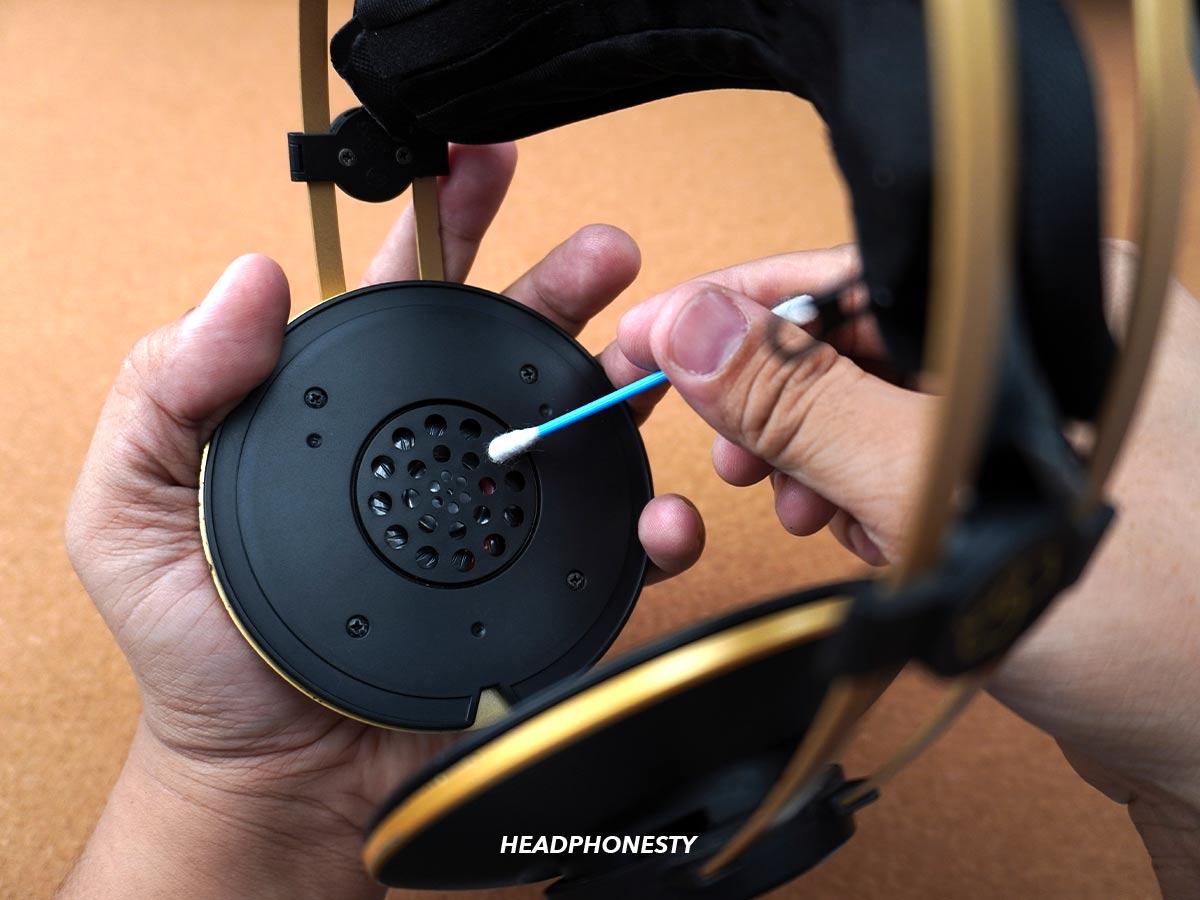
Use a pair of tweezers to help remove hair and other debris that may have gotten stuck in the headphone drivers. - Then, grab a lint-free cloth or paper towel, and damp it lightly with alcohol.
- Hold the ear cups at a 90-degree angle so the driver faces downwards. This prevents any moisture from going inside them.
- In this position, wipe the drivers gently with your damp cloth.
Holding the ear cups at a 90-degree angle while cleaning. - Expand the headband if they’re adjustable so all nooks and crannies are accessible.
- Then, grab your damp cloth and wipe the rest of the headphones.
- Use cotton swabs or toothpicks for areas that are harder to reach.

Cleaning the rest of the headphones. - Allow the cleaned parts to completely dry before reassembling your headphones.
How to Clean Earbuds
Since earbuds usually go inside the ear canal, learning how to clean them properly saves you from the risk of contracting ear infections. Follow these steps to clean your earbuds effectively:
- If your earbuds have detachable ear tips, remove them first by gently pulling them away from the earbuds.
If your earbuds don’t use ear tips, proceed to step 4. - Submerge the ear tips in soapy water.
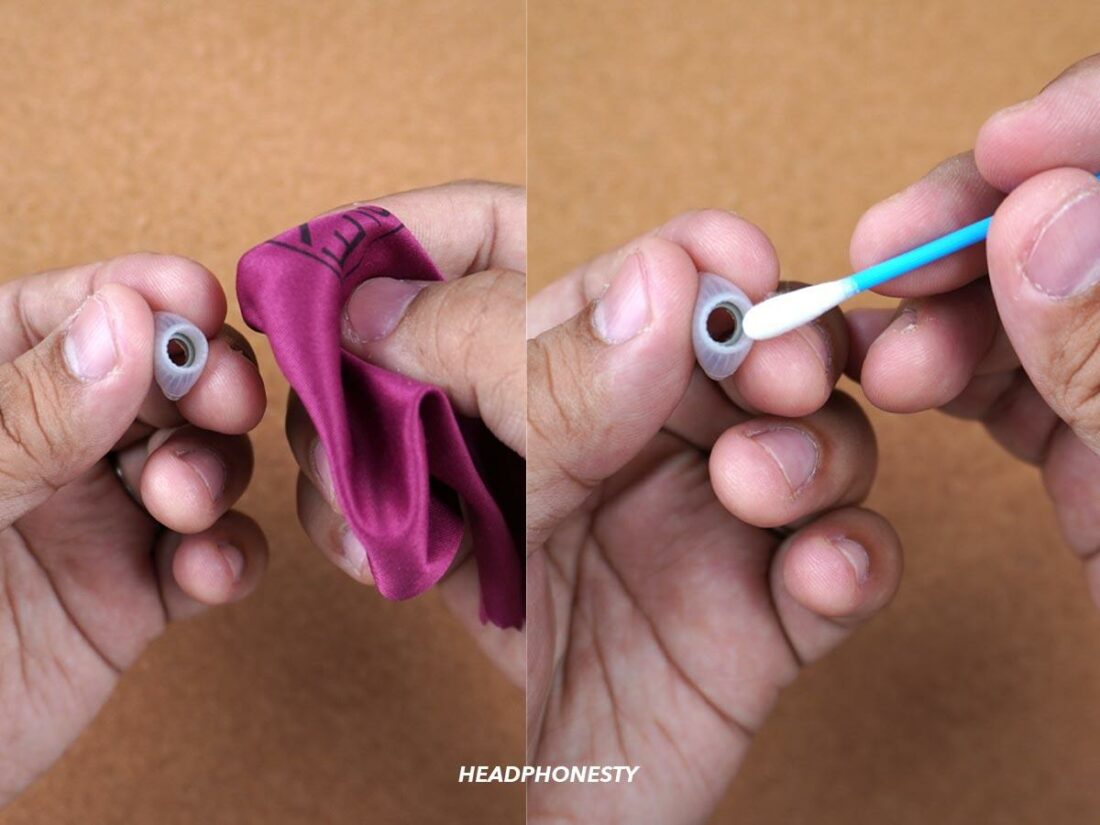
- After around five minutes, remove the ear tips from the solution and wipe them down.
- If there is any remaining dirt or earwax, use a cotton swab to get into the crevices that are harder to reach. Repeat the process until the ear tips are clean, then leave them aside to dry.
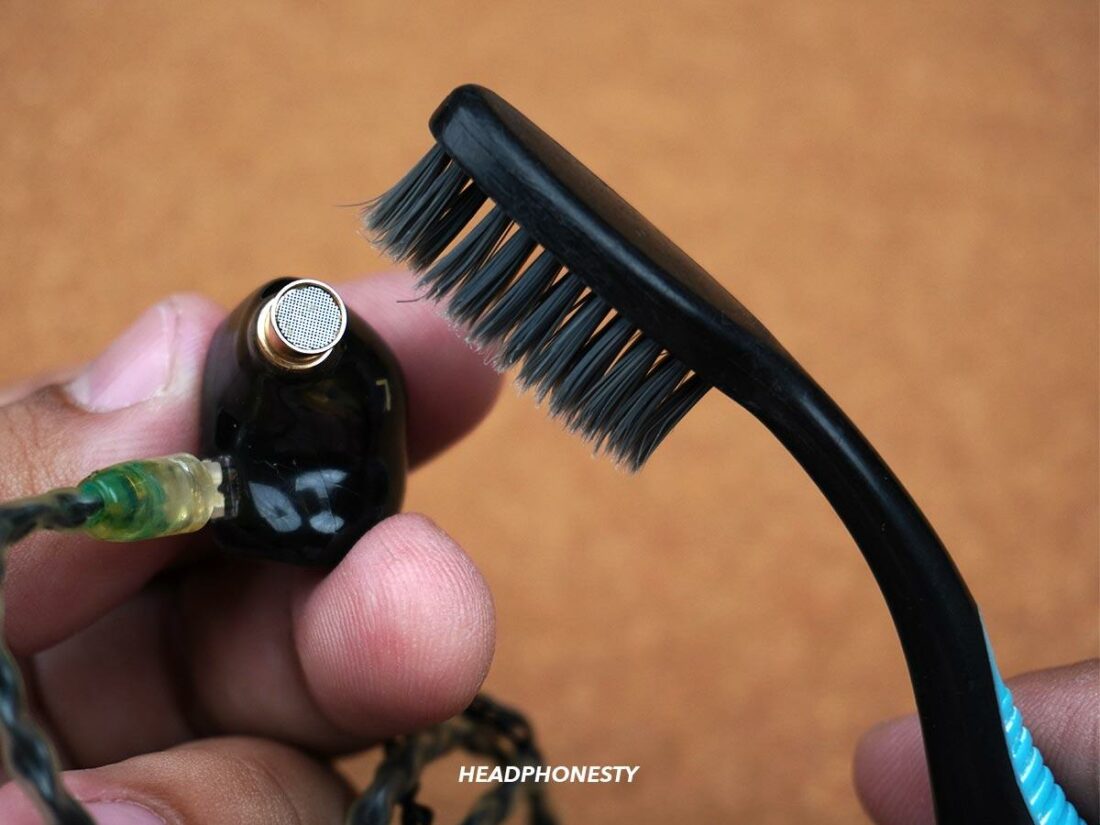
Using a dry lint free cloth and cotton swab to clean the ear tips. - Use a toothbrush to clean the earbuds’ speaker and mesh.You can use a wooden toothpick to remove more stubborn debris. However, do this as gently as possible, as you can tear the mesh if you use the toothpick forcefully.
Use a toothbrush to clean the earbuds’ speaker and mesh. - Wipe the rest of the earbuds with a lint-free cloth dampened with alcohol.
How to Clean True Wireless Earbuds’ Charging Case
Accumulated dirt can block the charging pins inside your earbuds’ case, causing potential issues with charging and connecting your TWS earbuds to your device. Cleaning your charging case prevents these problems. Here’s how:
- Wet a lint-free cloth with alcohol and use it to wipe the outside of the charging case.
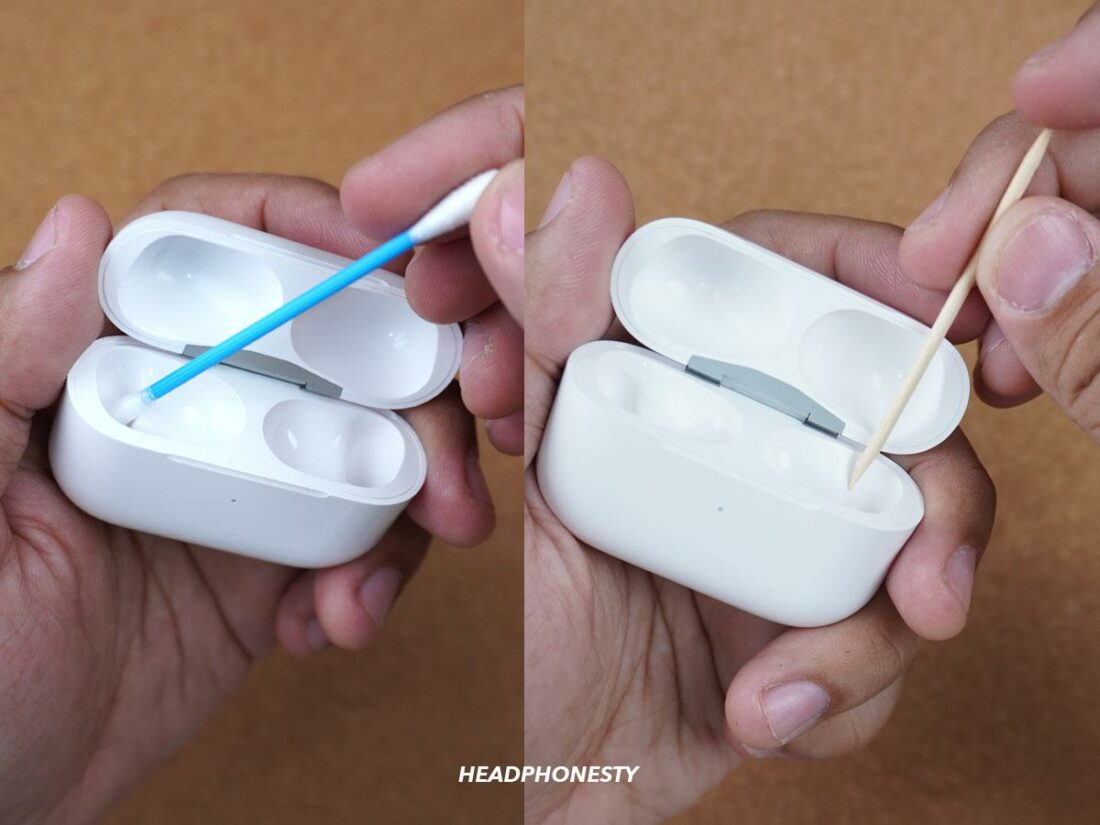
- Lightly dampen a cotton swab and use it to remove dirt from inside the case.
- Use a wooden toothpick to gently remove smaller, finer debris stuck in the edges of the charging case. Be careful not to poke or damage the charging pins inside the case accidentally.
How to clean TWS earbuds’ case using a toothpick and a cotton swab. - Wipe the case dry with a lint-free cloth.
How to Clean Headphone Jacks
It’s also best to clean the headphone jack to ensure your headphones will connect to your device without issue.
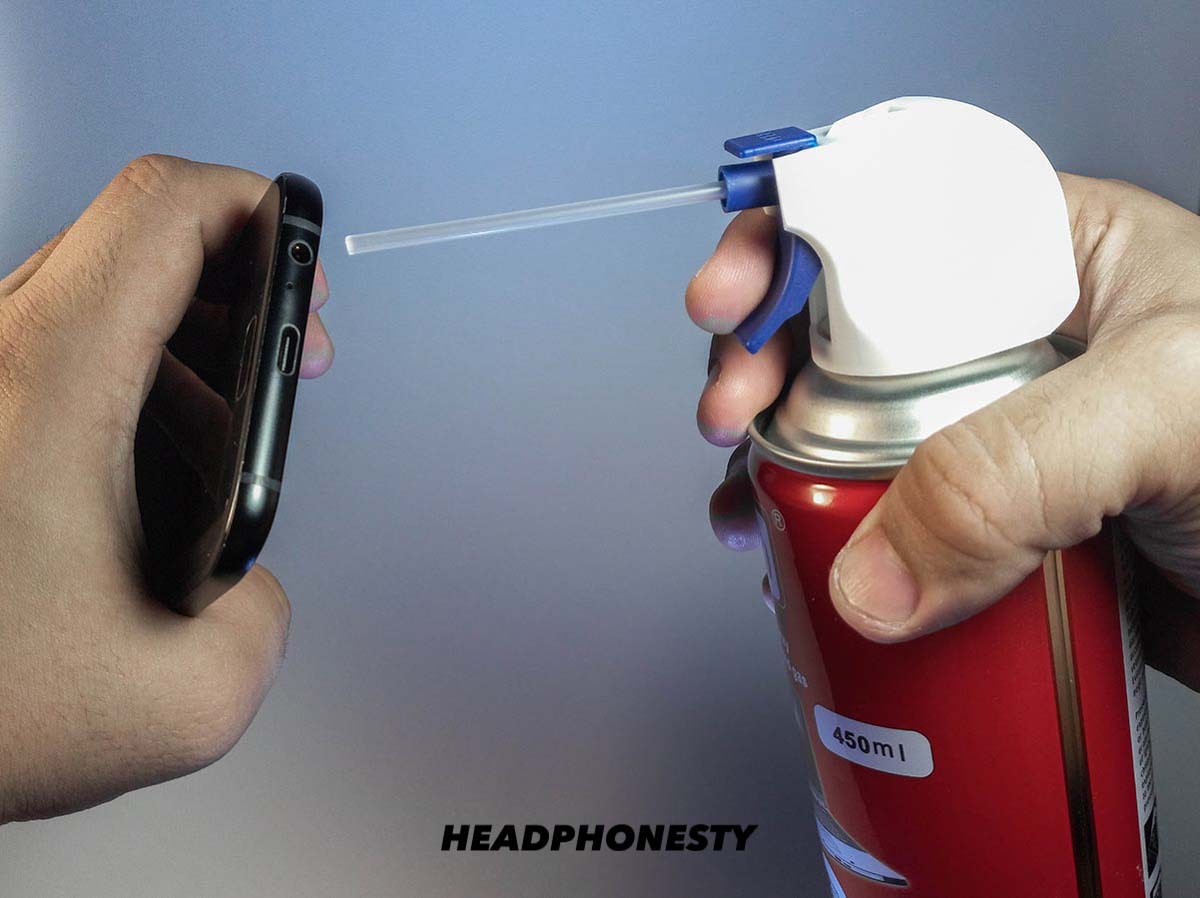
To do this, we recommend using a can of compressed air. The thin nozzle can concentrate a quick blast of air guaranteed to dislodge and remove most lint and dust trapped in the jack.
However, if you are worried that using compressed air will damage your headphone jack, there are other methods to try. You can also use an interdental brush, pipe cleaner, or a bent paper clip with attached double-sided tape. Insert any of these carefully into the jack, and gently try to dislodge any debris or blockade inside.
Frequently Asked Questions
- How can I remove the ‘sweat’ smell on headphones?
- Can I use hydrogen peroxide to clean headphones?
- How often should I clean my headphones?
How can I remove the ‘sweat’ smell on headphones?
To remove the sweaty smell from your ear pads, you try cleaning them and storing them with silica gel packets. These absorb moisture and help control humidity, thereby preventing the growth of molds that give off an awful odor. If this doesn’t work, you may need to completely replace the ear pads.
Can I use hydrogen peroxide to clean headphones?
You should avoid using hydrogen peroxide to clean your headphones. Although hydrogen peroxide helps dissolve earwax, it can also discolor or damage the material of your earbuds or headphones.
How often should I clean my headphones?
ENT specialists recommend deep cleaning your headphones once a week. This ensures you can quickly eliminate gunk and sweat that can cause ear infections. However, it’s good practice to wipe your headphones after every use to prevent dirt from accumulating.