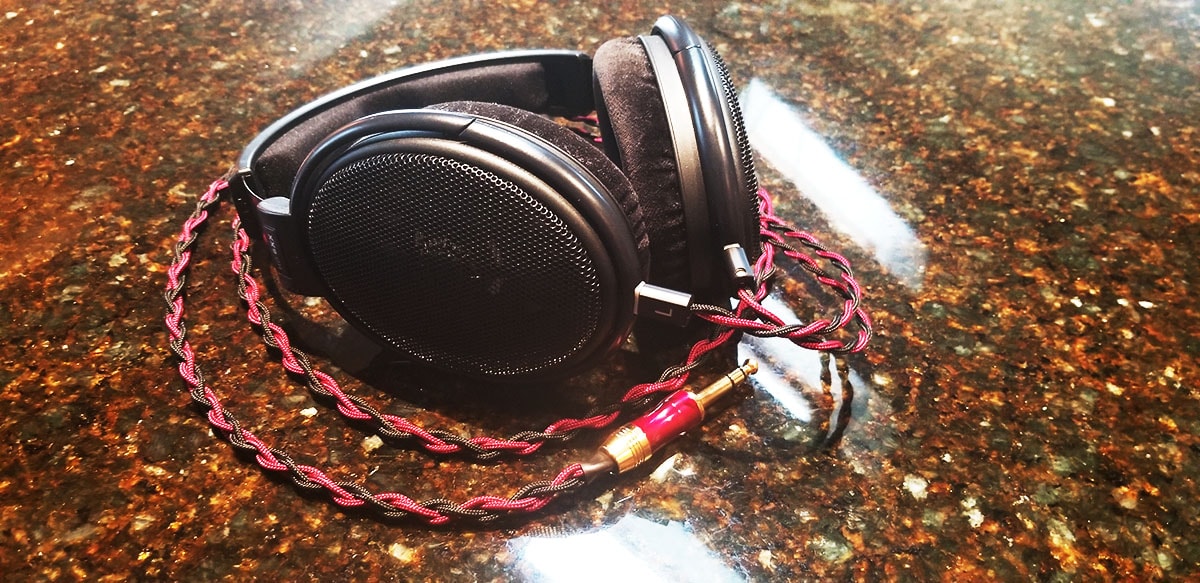
This will be a guide for creating a y-split braided cable for the HD 650/660S/600/all other variants that use this connector. It can be, however, be used to create any braided Y split cable of your choosing, you would just change the connectors to be what you want.
In this particular example, I’m going to be doing a 4 strand braid cable. Before getting started, I would suggest learning a bit about the soldering process if you haven’t already.
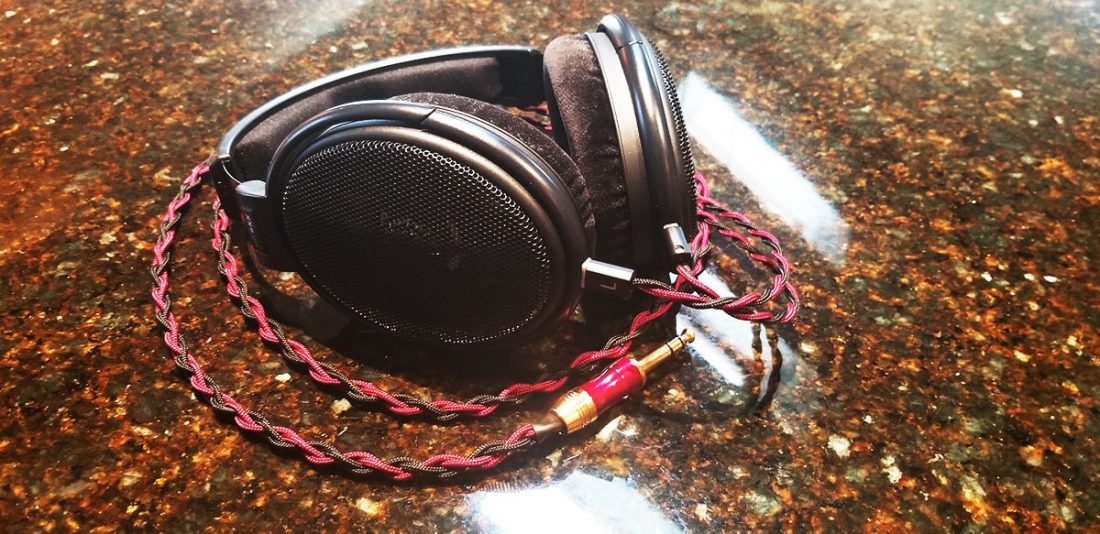
Materials Used for This Build
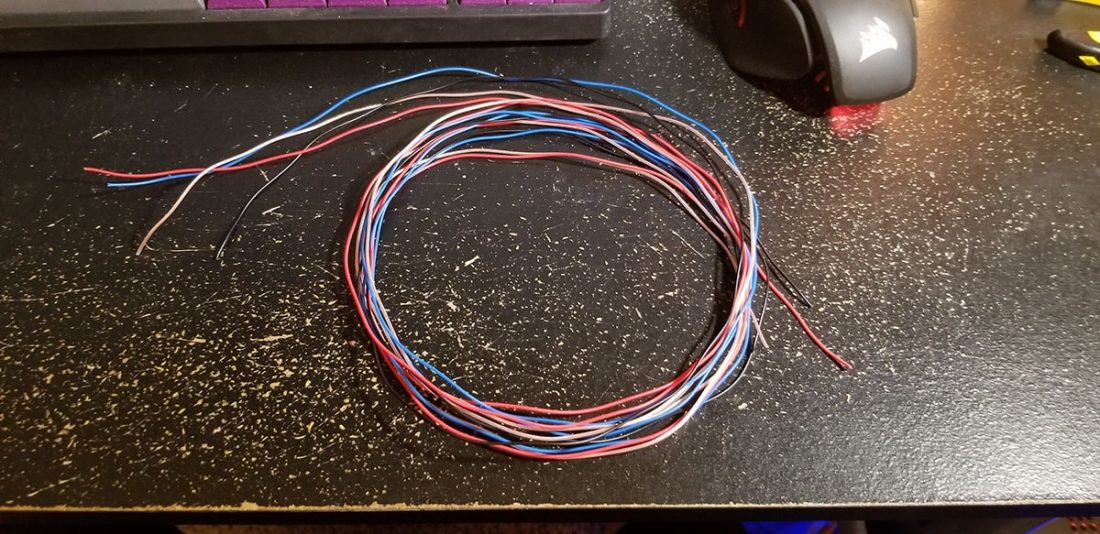
I choose to use Mogami w2893 for my cable builds. If you have a preferred wire already, by all means, use whatever kind you would like. If you use any wire larger than 26awg, you might have a hard time sleeving it through the 275 paracord.
- Weller WLC100 Soldering Station
- Kester 66/44 .8mm Solder
- Mogami w2893 Quad Mic Wire
- Needle Nosed Pliers
- Needle Nosed Tweezers
- 2:1 or 3:1 heat shrink in various sizes from 4mm – 8mm
- 275 Paracord from Paracord Planet
- 1/4 inch jack (or any amplifier termination of your choosing)
- Sennheiser Connectors (or any termination of your choosing)
- I highly recommend these HD 650 connectors from eBay: Sennheiser HD650 Connectors. They make the process much simpler than the Cardas style connectors and provide a strain relief screw.
Making the Cable
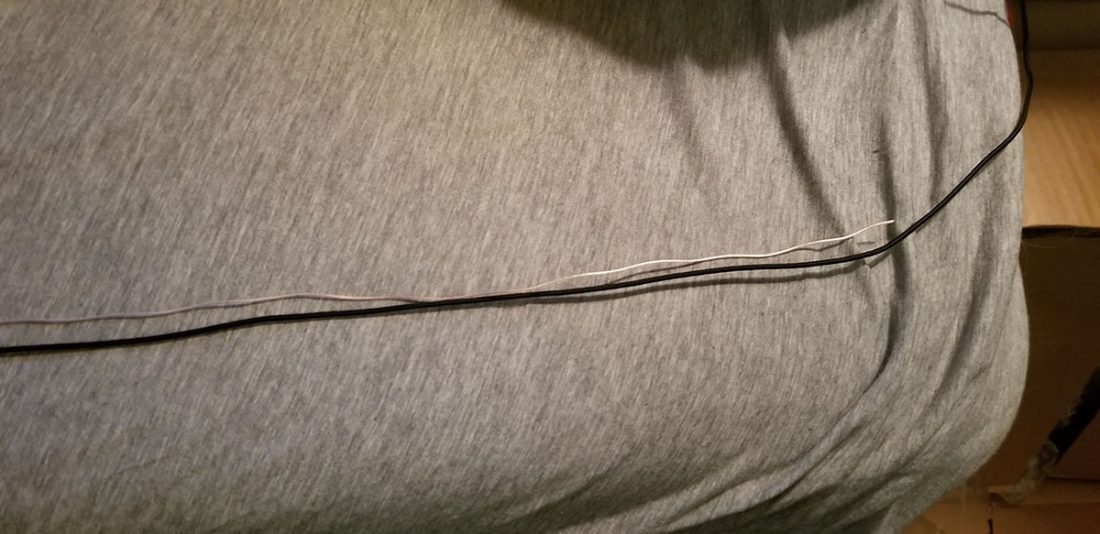
1. We’re going to start off by measuring the length of cable that we want. In this picture, I’m measuring the Mogami wire against a wire that I’ve completed already, as I wanted them to be the same length. If you have an ideal length that you’re aiming for, measure the Mogami against a measuring tape.
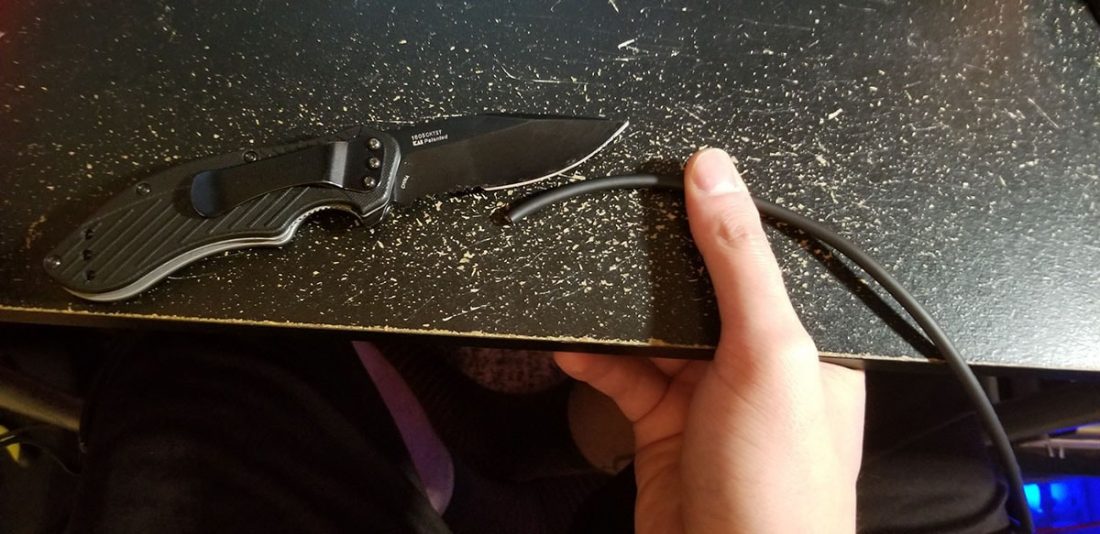
2. To cut this sheathing off, we need to drag a knife along it to cut it open. Keeping your thumb out of the way, use it to hold the wire down while cutting. You want to press hard enough for the sheathing to cut, but not so hard where you’ll cut the copper wire underneath.
3. Start by cutting the end of one side, then flip the wire around to continue cutting the other way.
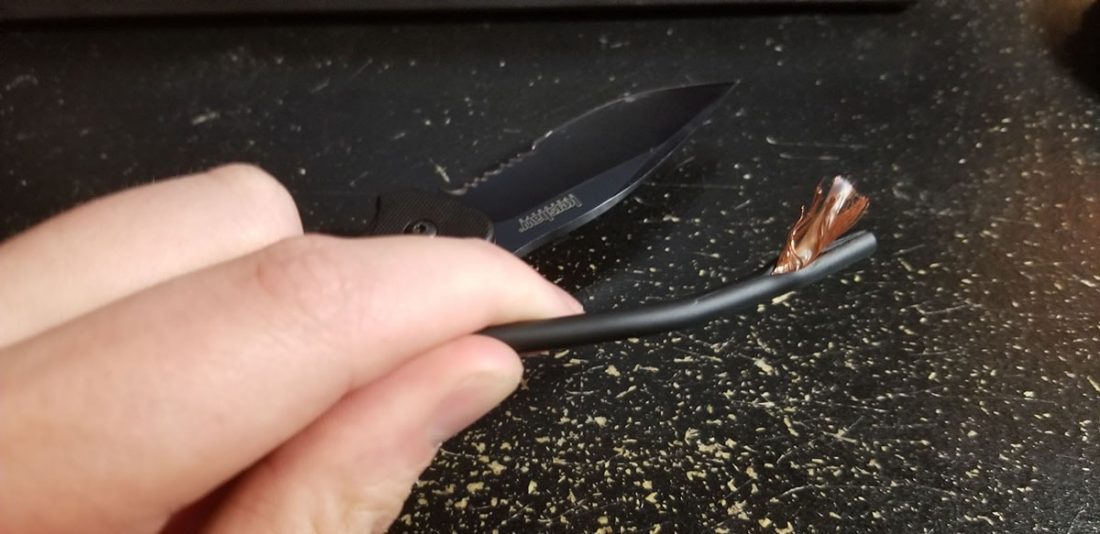
3. Once the whole wire has been cut into, pull the wire out of one of the ends and rip the sheathing open with it.

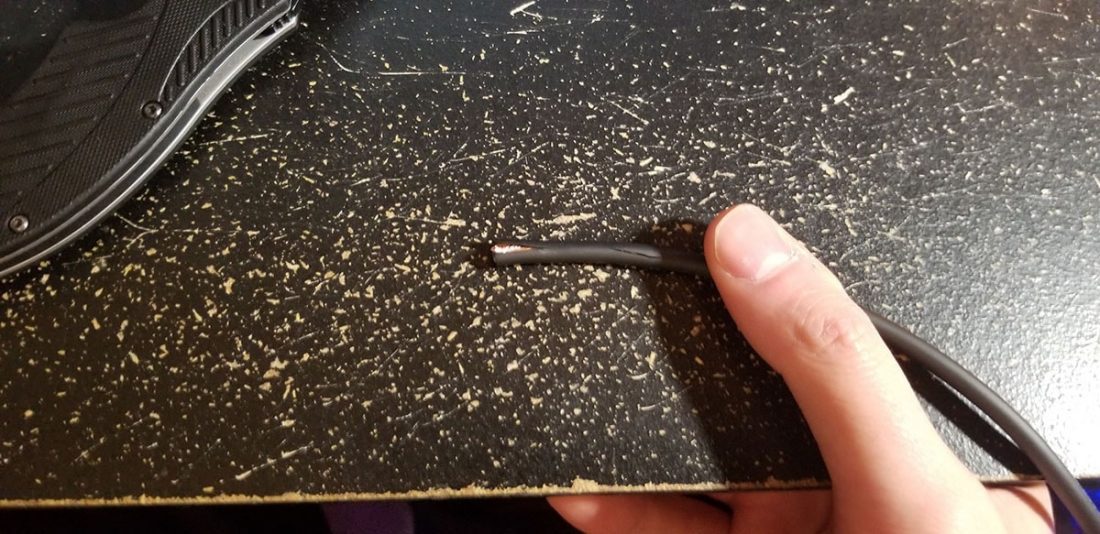
Here’s what you’ll be left with, a nice copper mess.
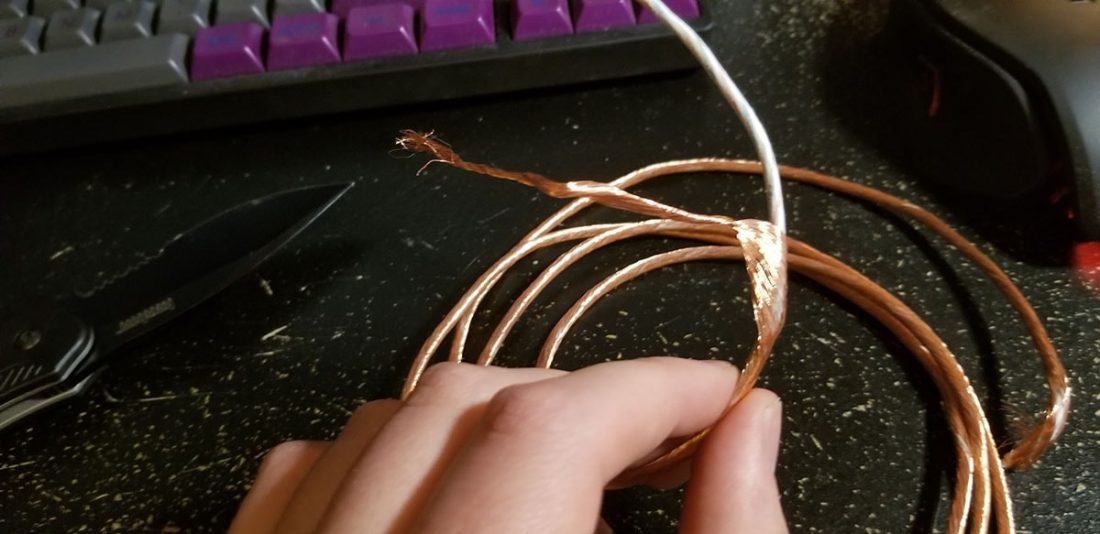
4. Unravel the copper from around the paper, don’t try to pull it all off in one shot. You’ll end up with a disaster of twisted copper. Instead, unravel it until it gets to be in your way, twist like shown in the picture, and cut it off. Keep doing this until the whole thing is off.
5. Do the same with the paper.
You’ll see nylon strings under there, leave those for now. Just unravel the paper.
6. Now do the same with the strings.
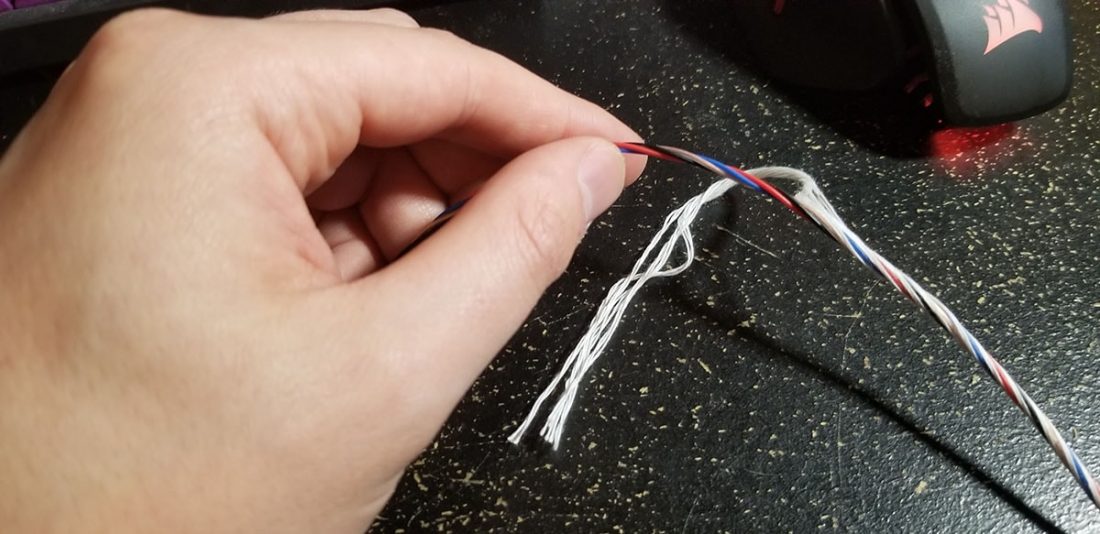
7. Twist, pull, twist, pull…
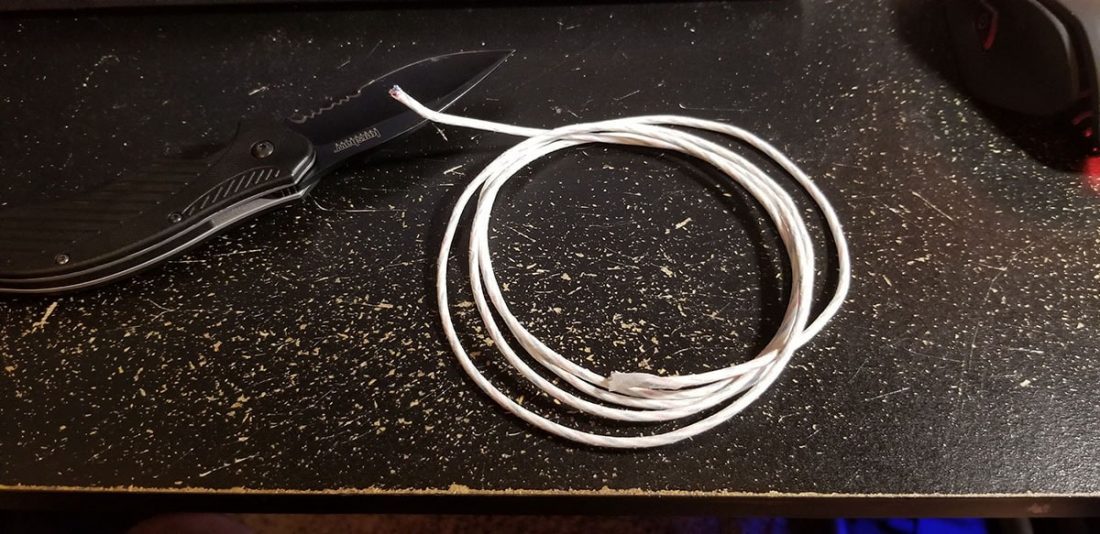
8. Now we’re left with just our wire, and two nylon strings in the middle.
9. Begin untwisting. You can kind of free-for-all this now, just don’t break anything.
11. All unraveled
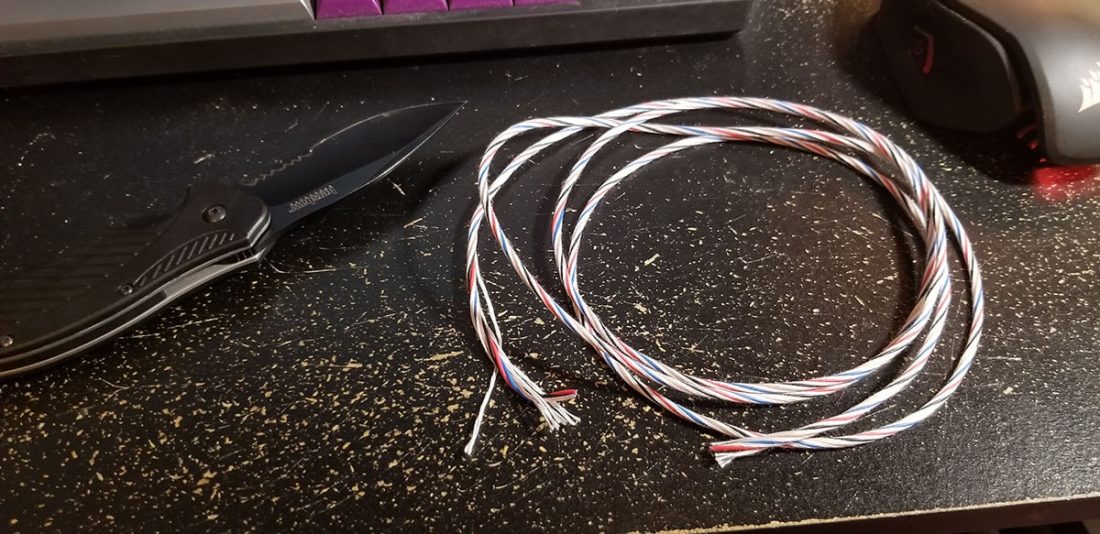
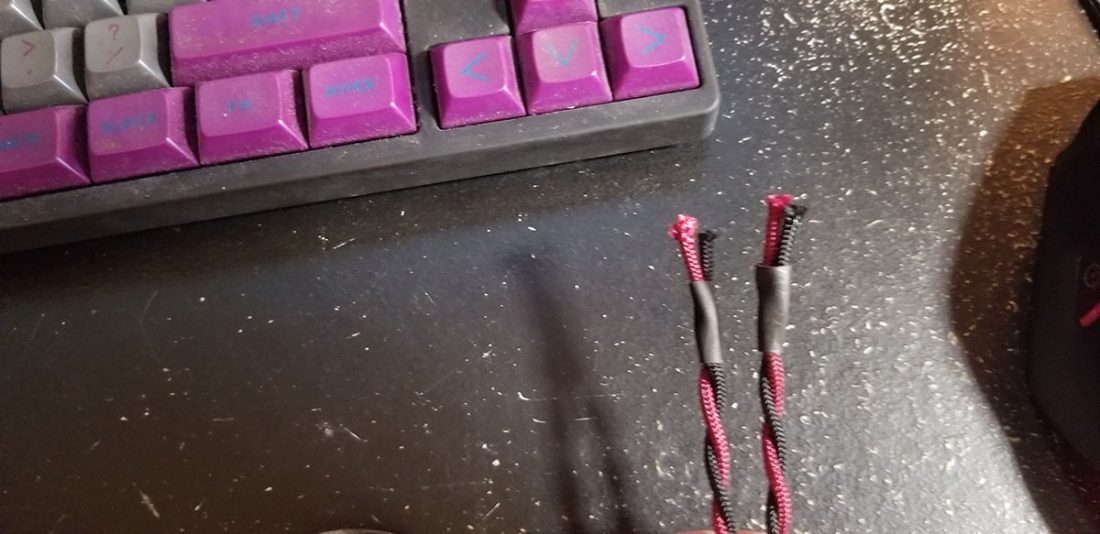
12. Now we’re going to measure our wire against the paracord. We’re going to need 4 strands of paracord cut. Cut it slightly longer than the wire, because paracord likes to fray. We can always cut the excess away.
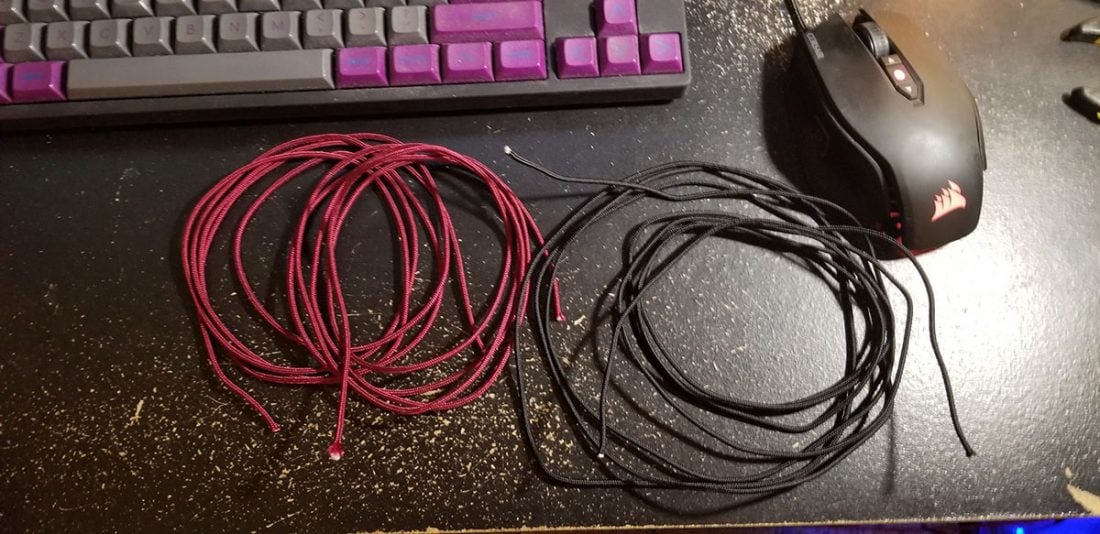
13. 2 strands of black, 2 strands of maroon.

14. Pull the strands out of the paracord, we don’t need them.
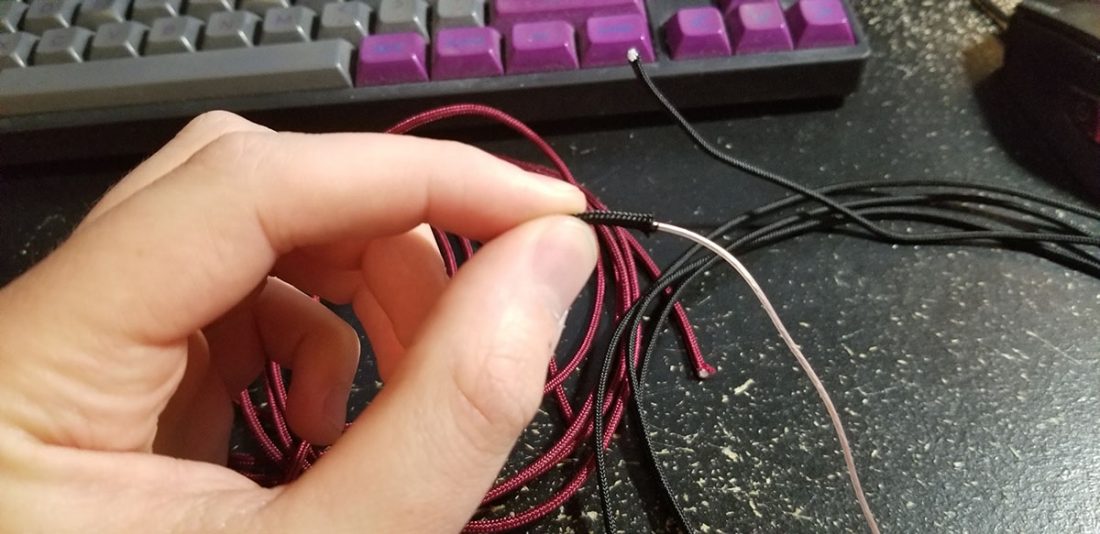
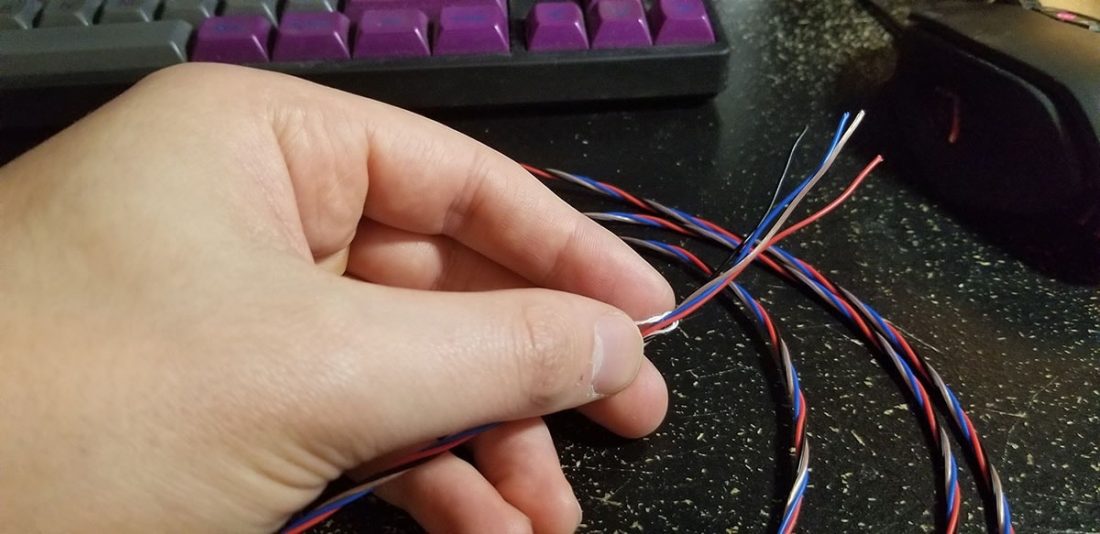
15. Now start threading through as much of the wire as you can by just pushing the wire through. If you’re going to be using two colors, I like to do ground wires in the darker color paracord, and positive wires in the lighter color. So in this case, I’ll be putting the black and clear wires into the black paracord, and the red and blue wires into the red paracord.
16. When you get to the point where you can’t just push the wire in anymore, we’re going to do what I like to call the “snake and pinch“, where you push the wire through while holding the paracord, then pulling the slack out from the back. This is gonna take a while, but we need to do it for all 4 strands.
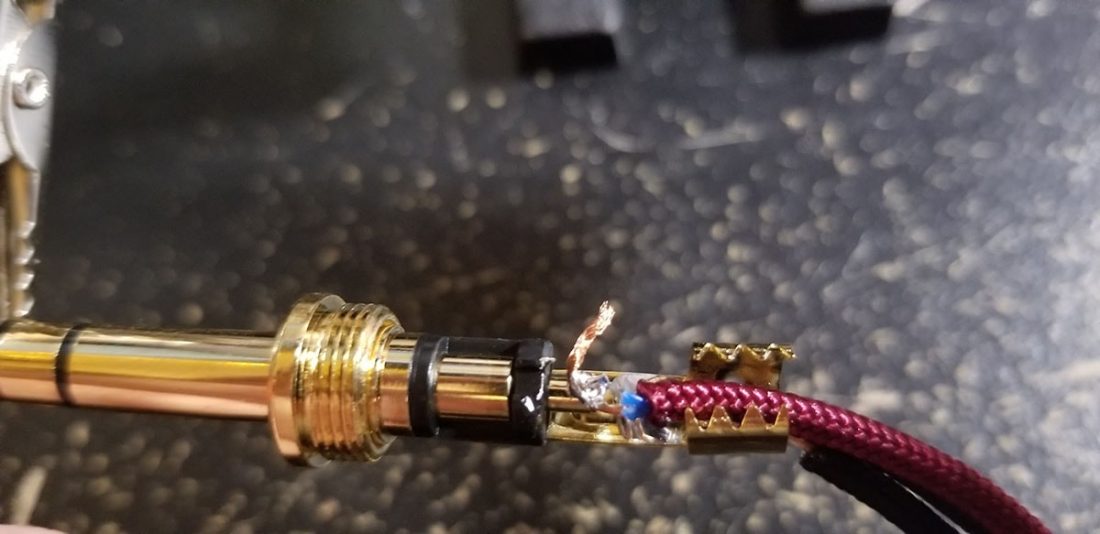
Soldering Part 1 – ¼ inch Jack
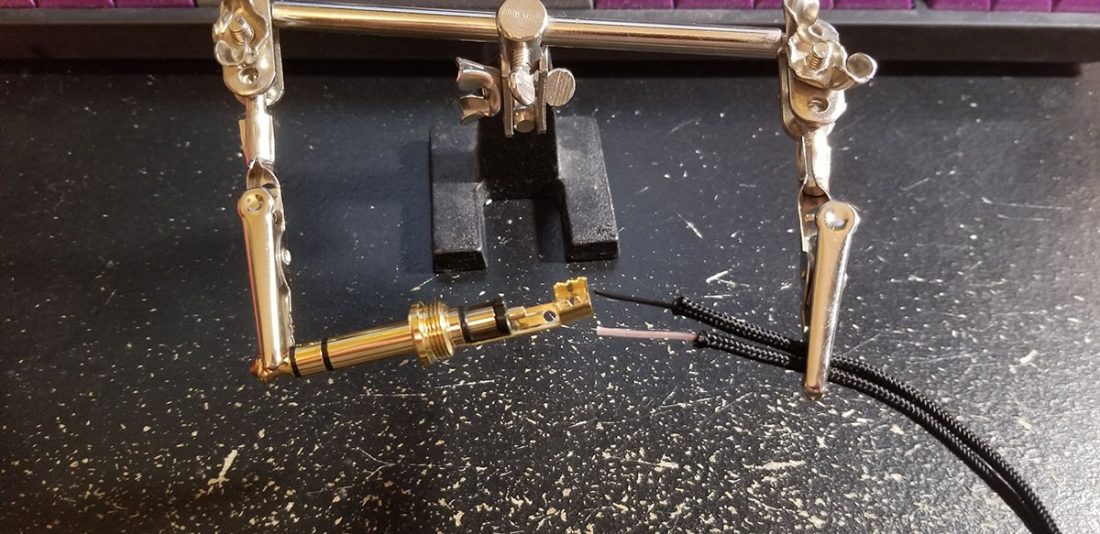
17. Once you’ve done all 4 strands, it’s time to start soldering. Since I’m using a 1/4 inch jack in this example, I’m going to solder the black and clear wires to the ground.
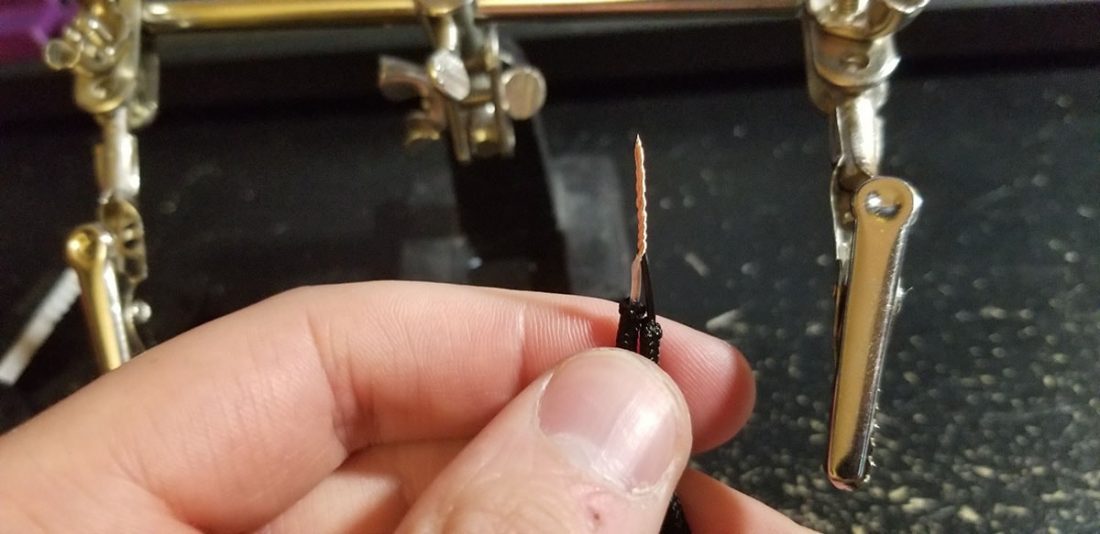
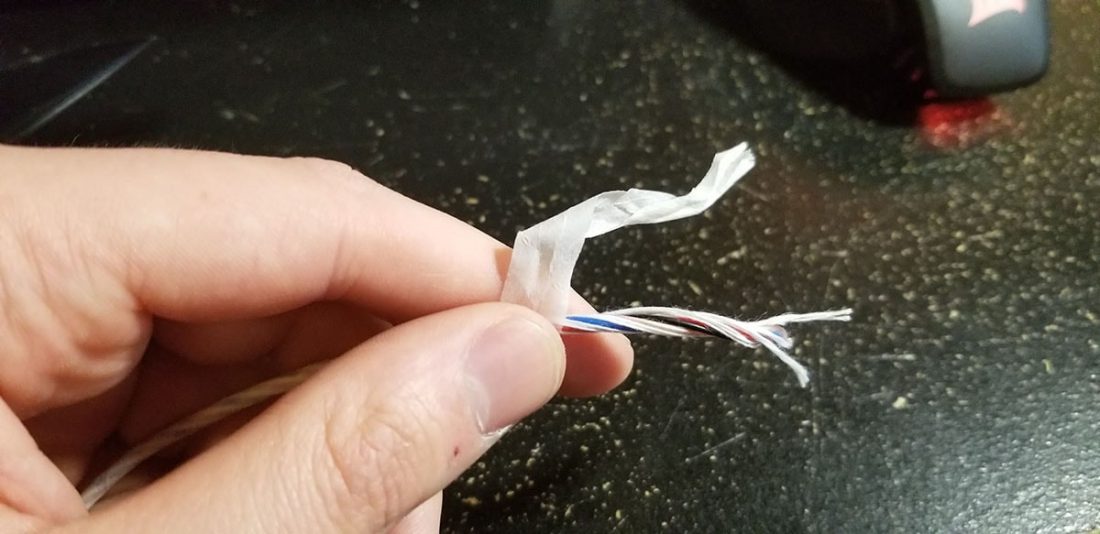
18. Strip them back a bit, and twist them together
Make sure your connections aren’t crossing anywhere. Check every possible combination with the multimeter – left to ground, right to left, etc.
19. At the end of this, we want all of the wires to be the same length. So here, I pushed through enough so the furthest up wire would end up the same length as our two grounds.
20. Soldered into place.
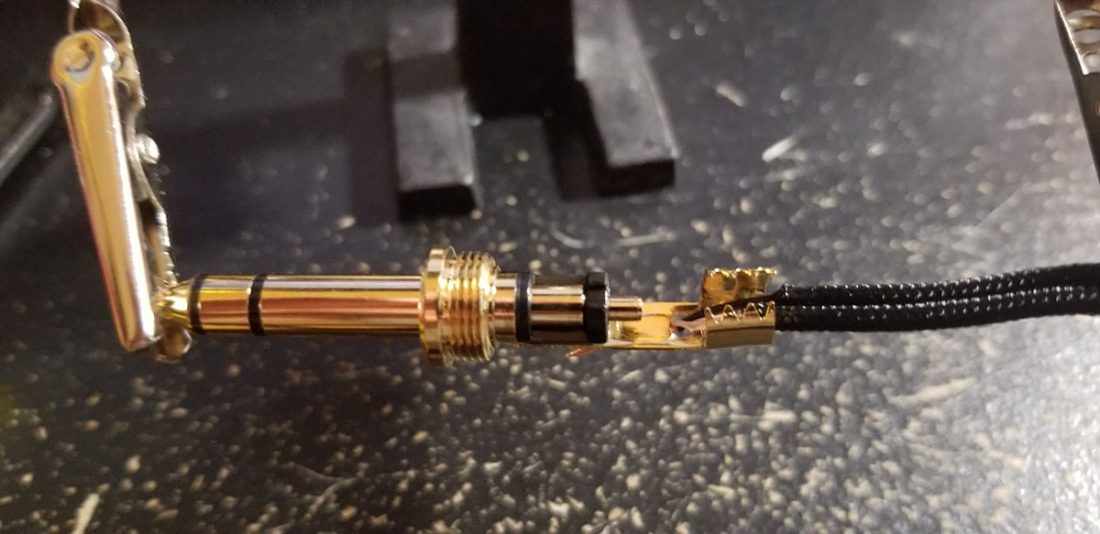
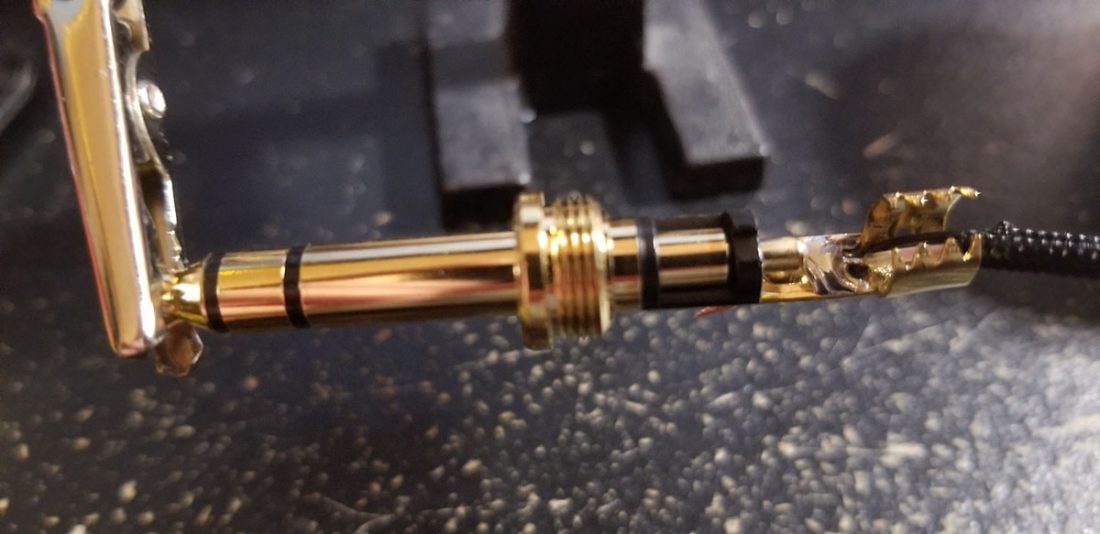
21. Did the same thing with our Tip connection (left positive).
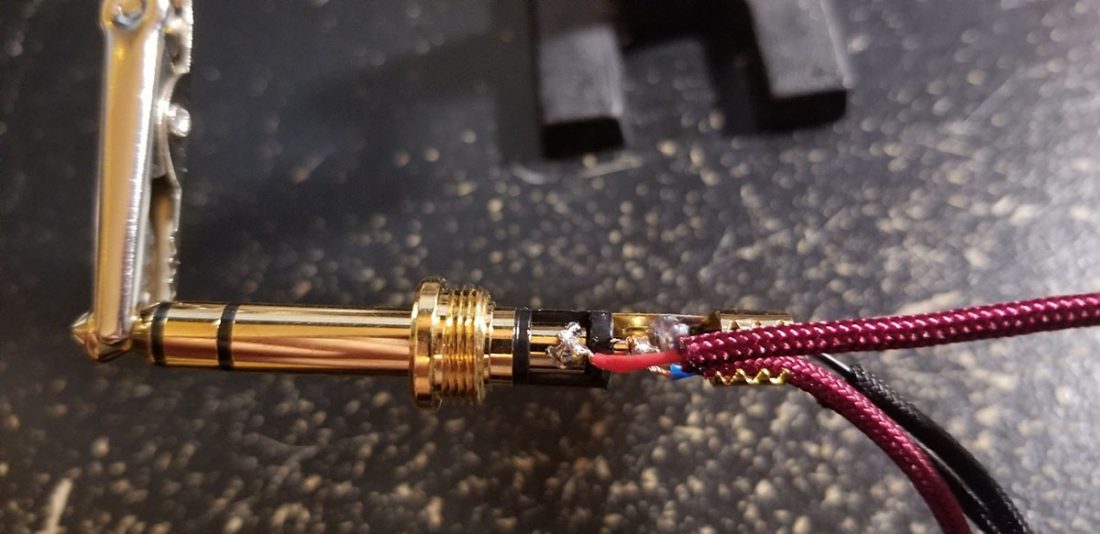
22. And then our Ring connection (right positive). You want to do your best to make sure no connections are touching that shouldn’t be.
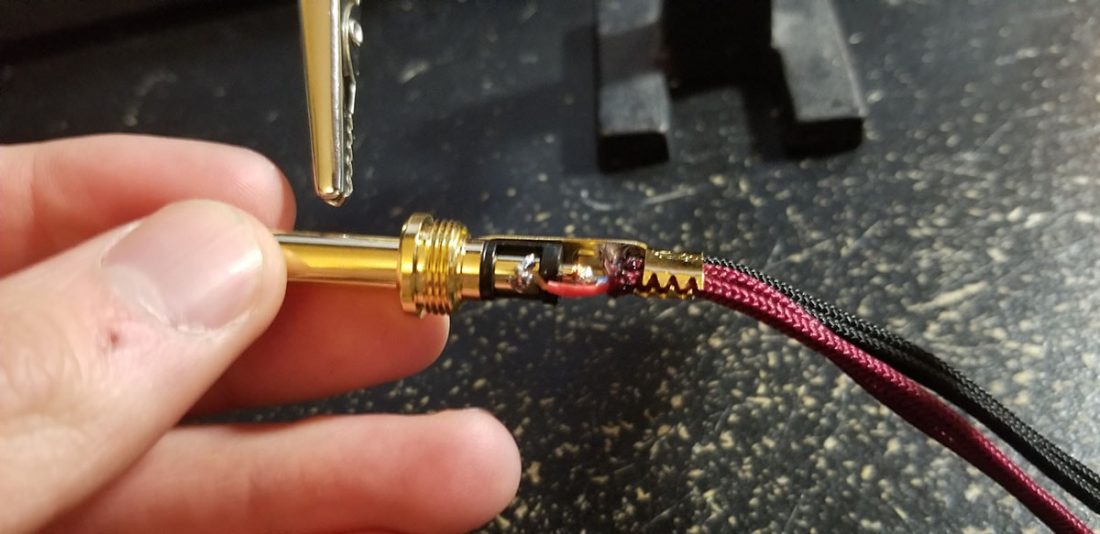
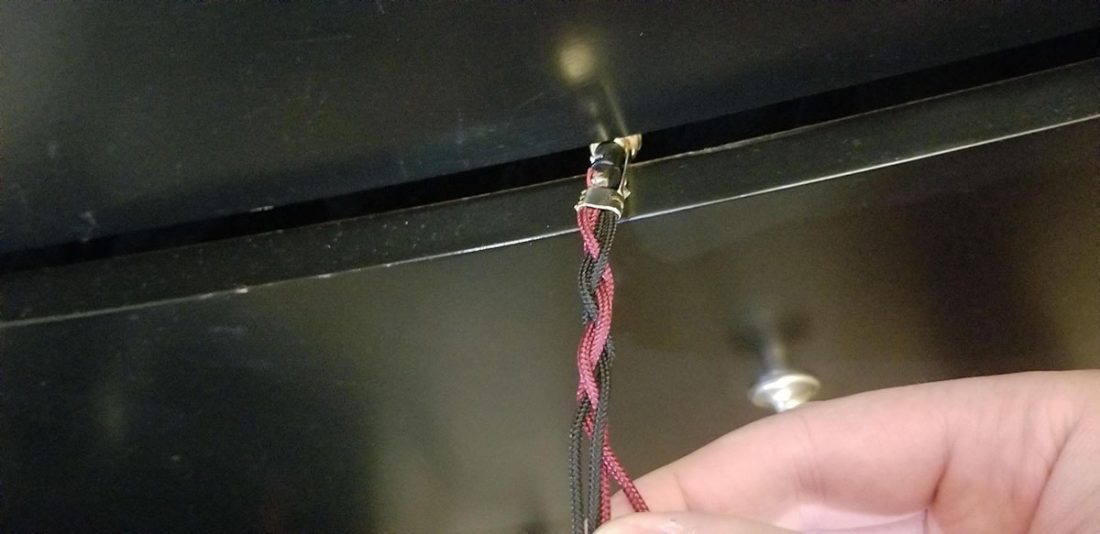
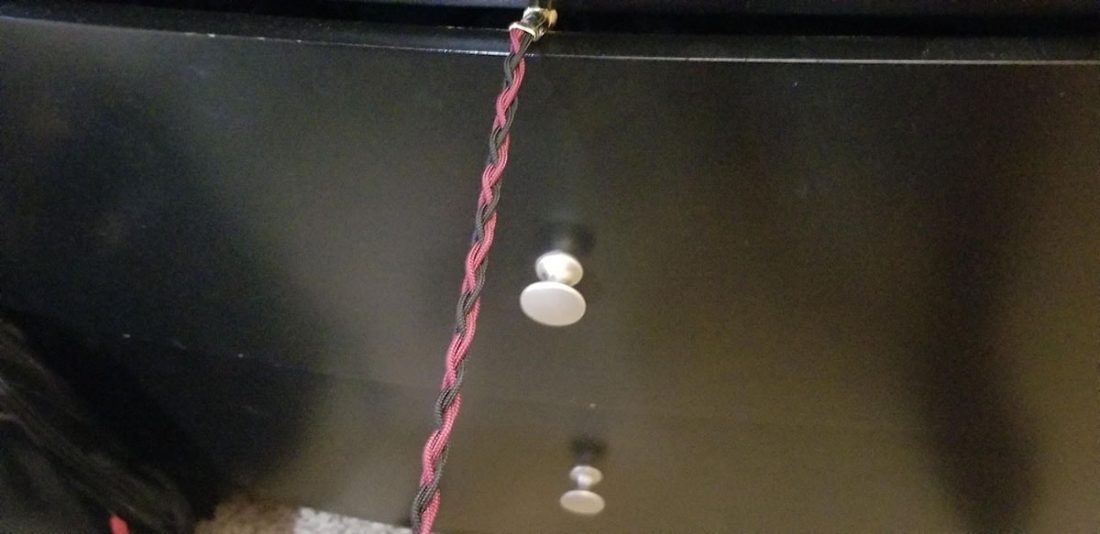
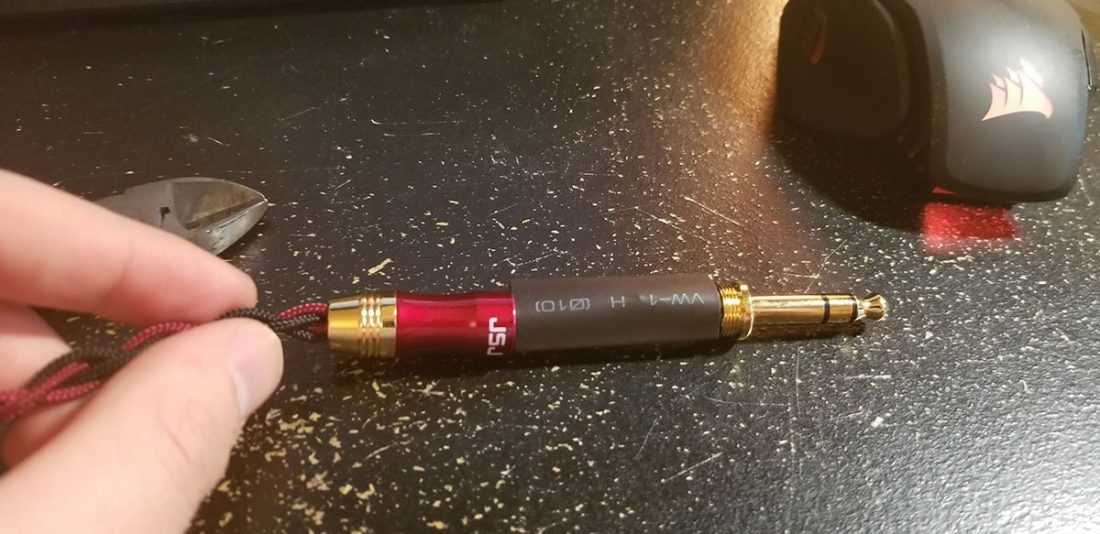
23. Pull the paracord over the wire as far as it will go, and then clamp the strain relief down if you connector has one. Make it tight, we don’t want the paracord slipping off the wire while we’re braiding.
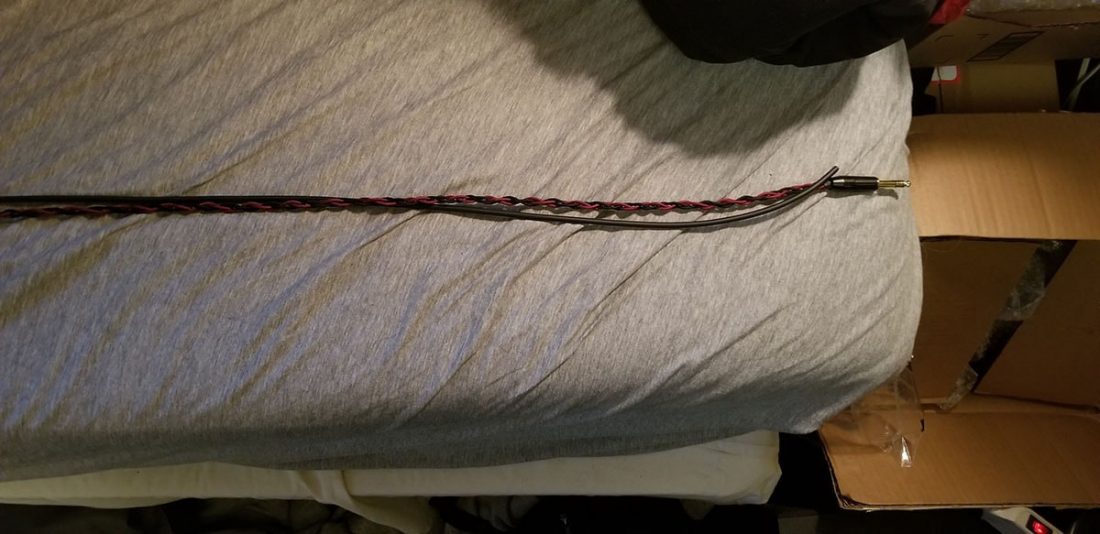
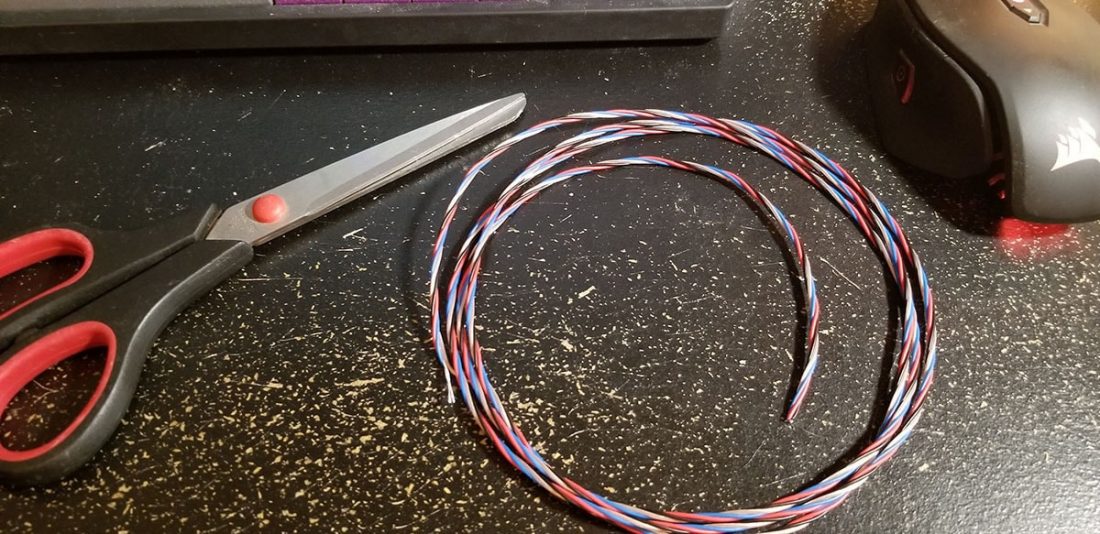
Braiding the Cable
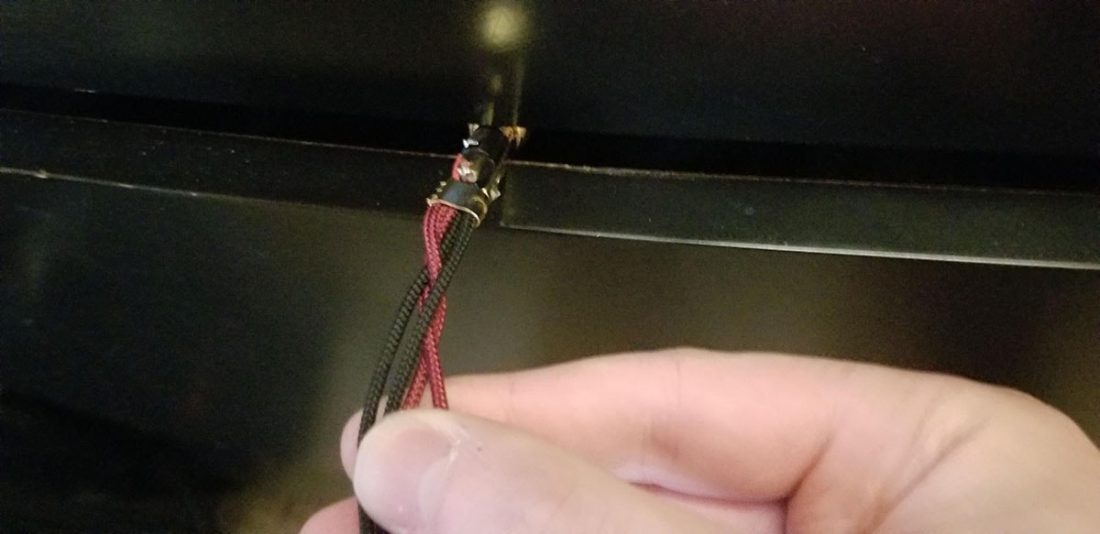
24. It’s time to start the most annoying part of this: the braid. I used my dresser to hold the connector in place while straightening out all of the wires. To do our braid, I followed a text walkthrough I found on head-fi by user jmlpartners.
Start with the four wires side by side.
- Take the leftmost wire and cross it OVER its TWO neighbors.
- Take the rightmost wire and cross it OVER its ONE neighbor.
- Take the leftmost wire and cross it UNDER its TWO neighbors.
- Take the rightmost wire and cross it UNDER its ONE neighbor.
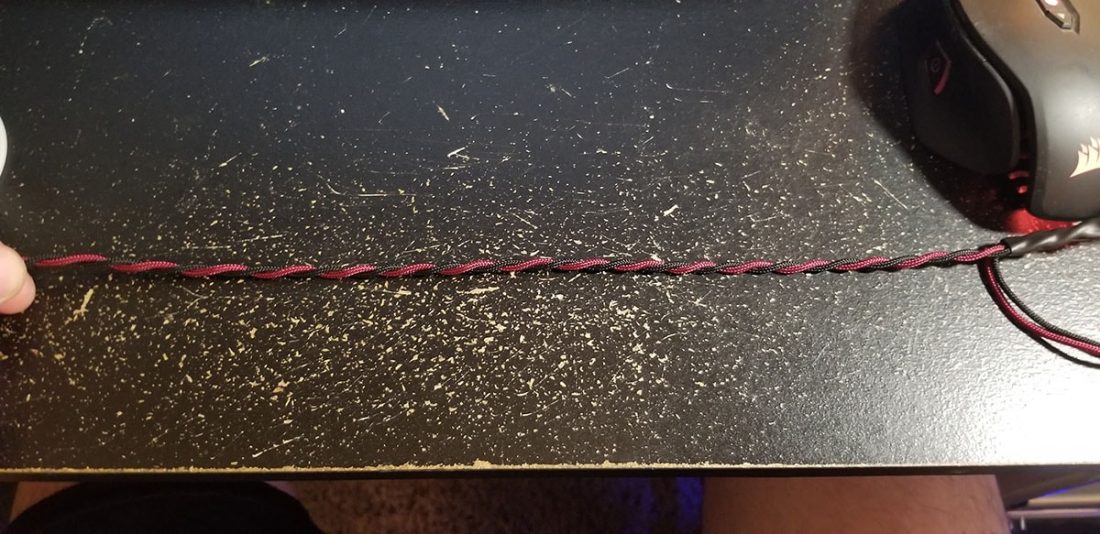
Repeat steps 1-4 until you get to the Y split.
25. It’s very easy to lose your place, and if that happens, you need to start over again. The best advice I can give you is to really focus, and have some sort of phrase to say that helps keep your place. Mine was “Over two, over one. Under two, under one.” This helped tremendously.
26. Keep going until you’re ready to get to the Y split.
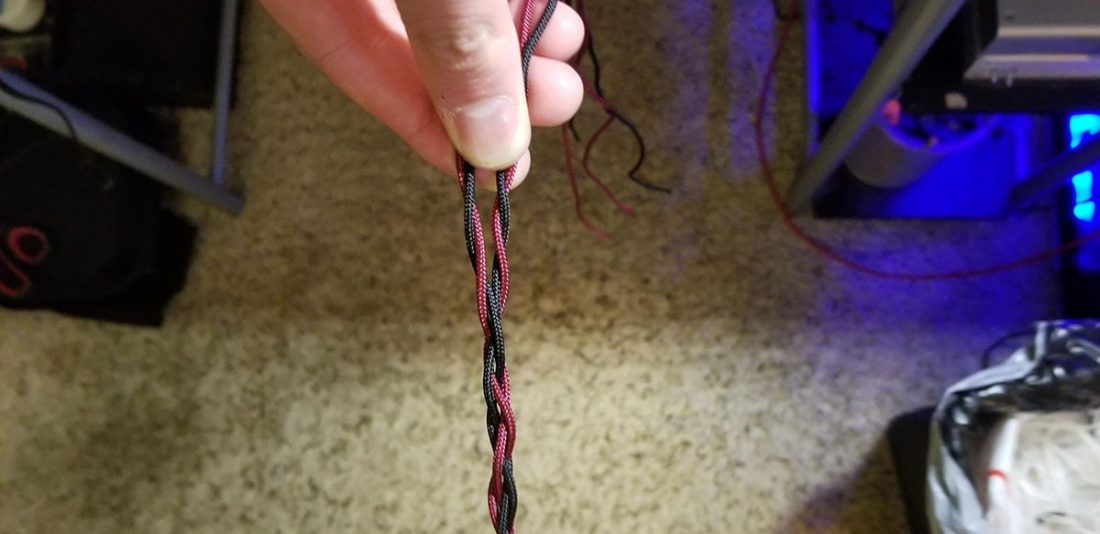
27. I like to leave about a foot of cable for the Y split, but it’s up to you when you want it. Now take either red wire and twist it with either black wire. Then twist the remaining two. Hold them in place while you slip a piece of heat shrink on.
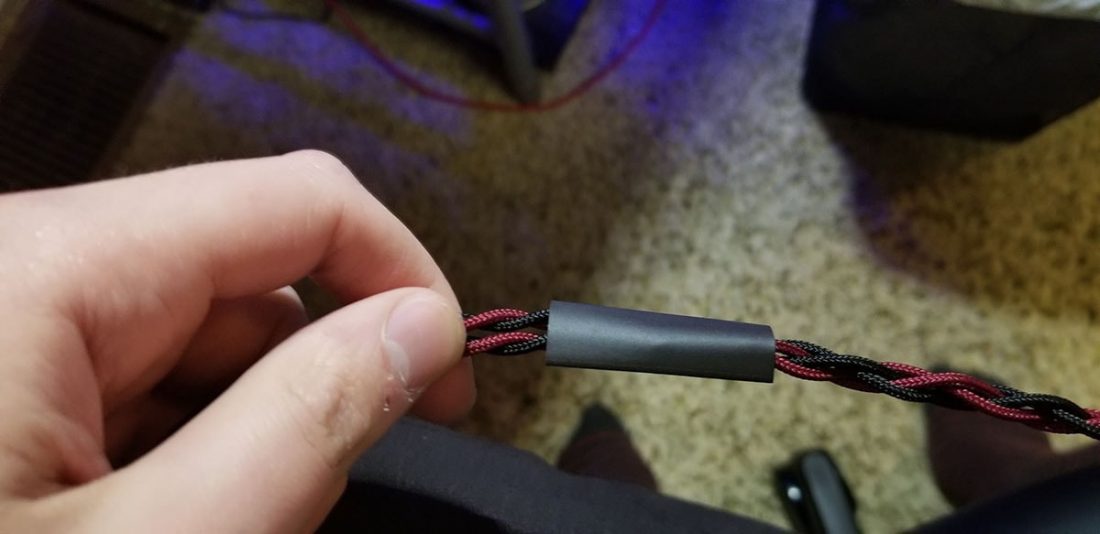
28. The heat shrink isn’t entirely necessary, as the braid will hold itself, but it will make the rest of our job much easier. If you want to, you can take it off when the cable is done and it will hold its shape.
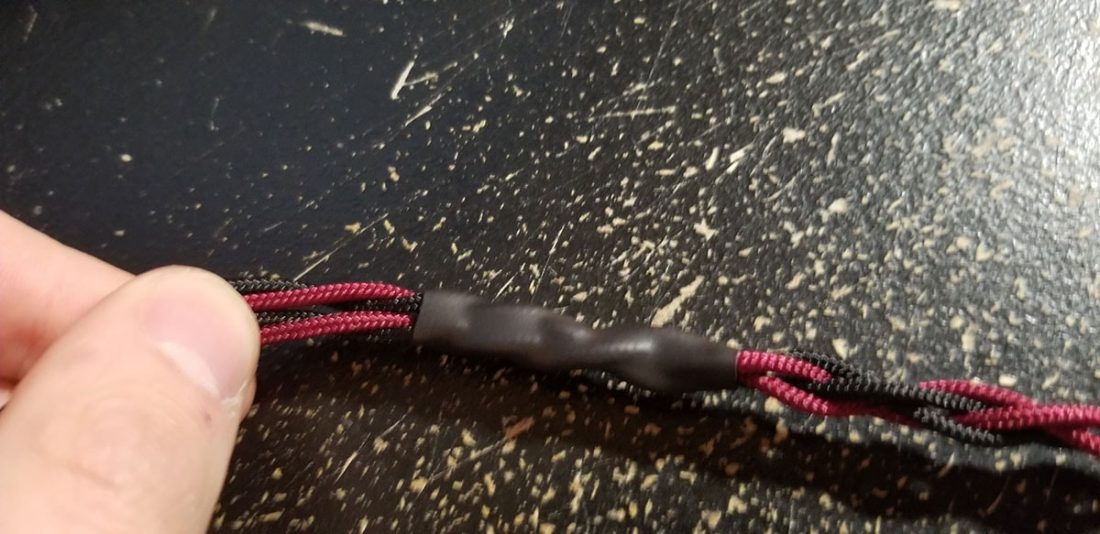
29. Heat shrink shrunk.
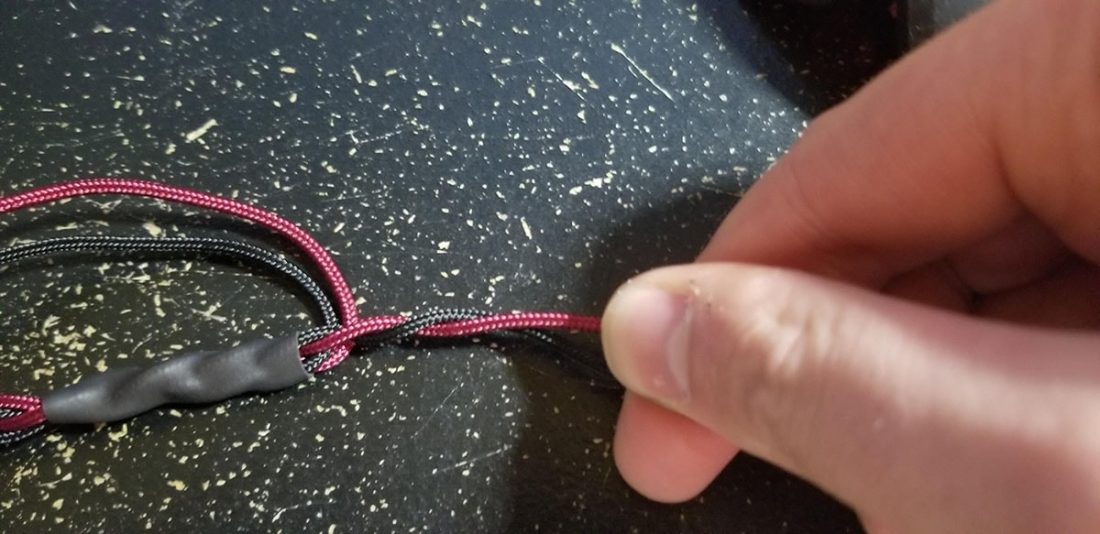
30. Twist your two wires together by twisting, and then pulling, then twisting, then pulling…
31. When you have the whole thing done, it should look nice like this, but it won’t stay that way if you let go…
32. So we’re going to temporarily hold it together with some more heat shrink.
33. Do this for both sides.
34. Now is the last time that you can put your amp-side connector covers on. I use heat shrink, and then just the cover over it.
Soldering Part 2 – The 2 Pin Connector
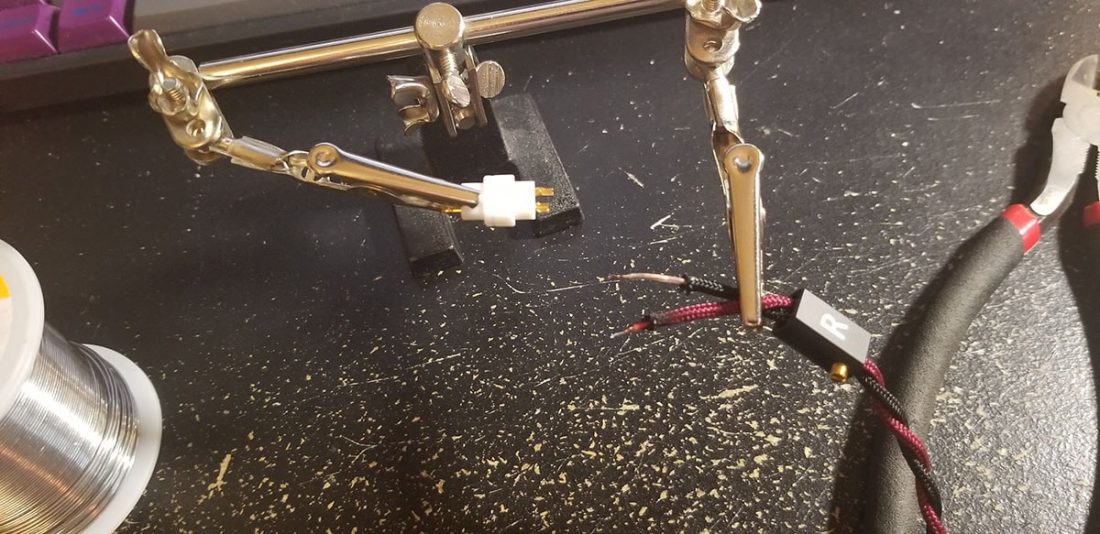
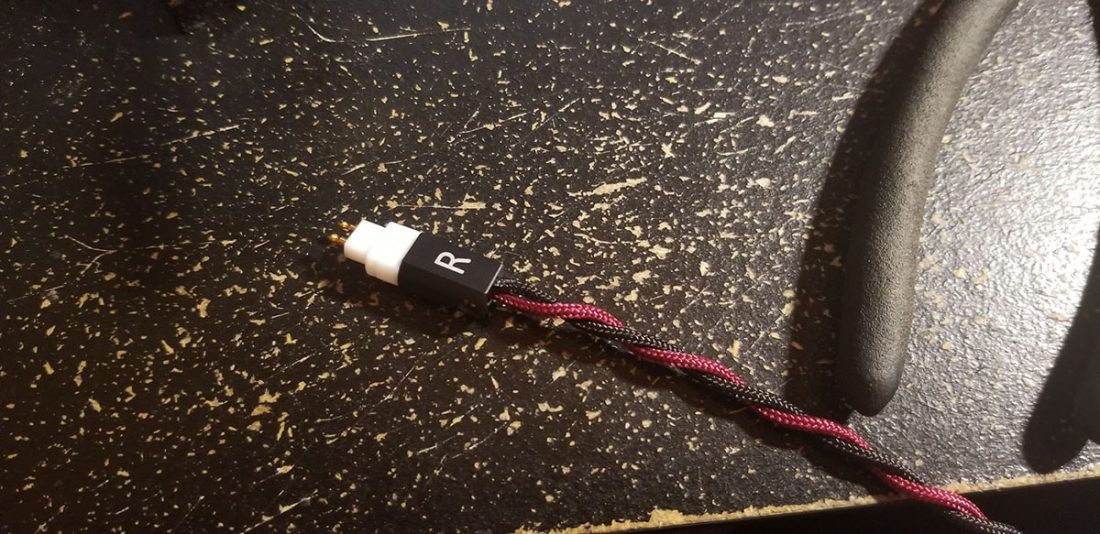
35. Note that because this side has the red wire, I’m using the right side Sennheiser connector. Orientation matters with these!
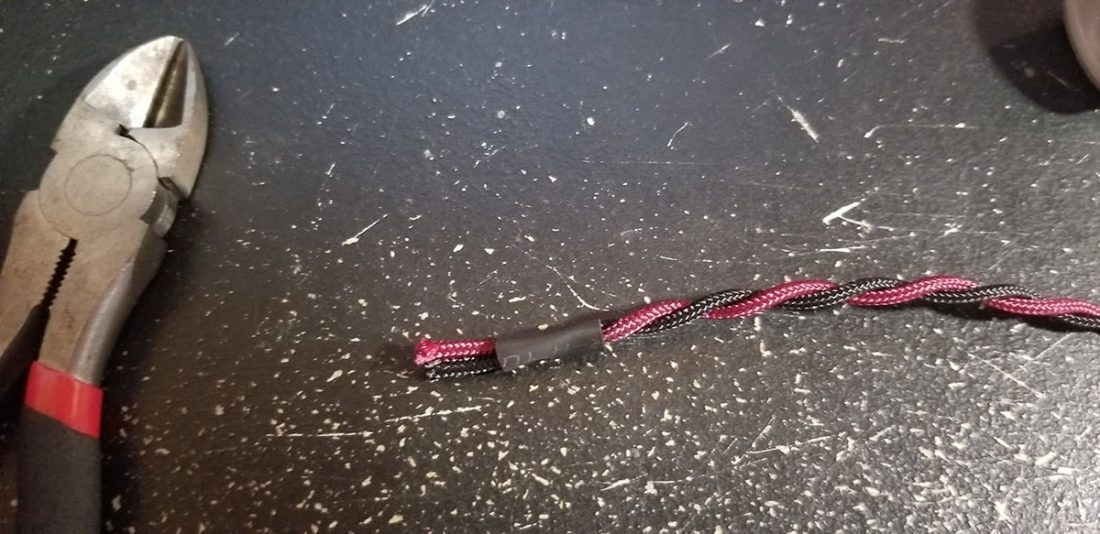
Helping hands are the best. If you chose to use the connectors I linked earlier, put the barrel on now. If you had excess paracord, trip it back, but not more than where the wire ends. If you cut back too much, you’ll see the actual wires on the finished product.
Strip the ends of your wires, tin them, and solder them to your connectors. On Sennheiser connectors, the bigger pin is ground, and the smaller pin is positive.
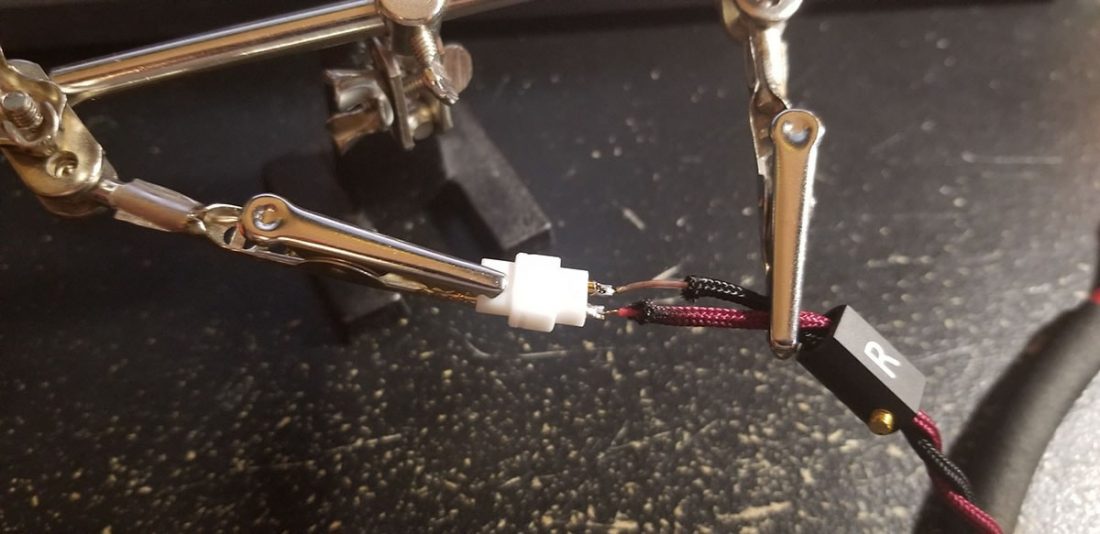
36. Soldered up.
37. Pull the barrel up to the connector, and tighten down both screws. The one in the side is a strain relief, which will help keep everything in place. If you want to really make sure everything stays, stick some hot glue in there.
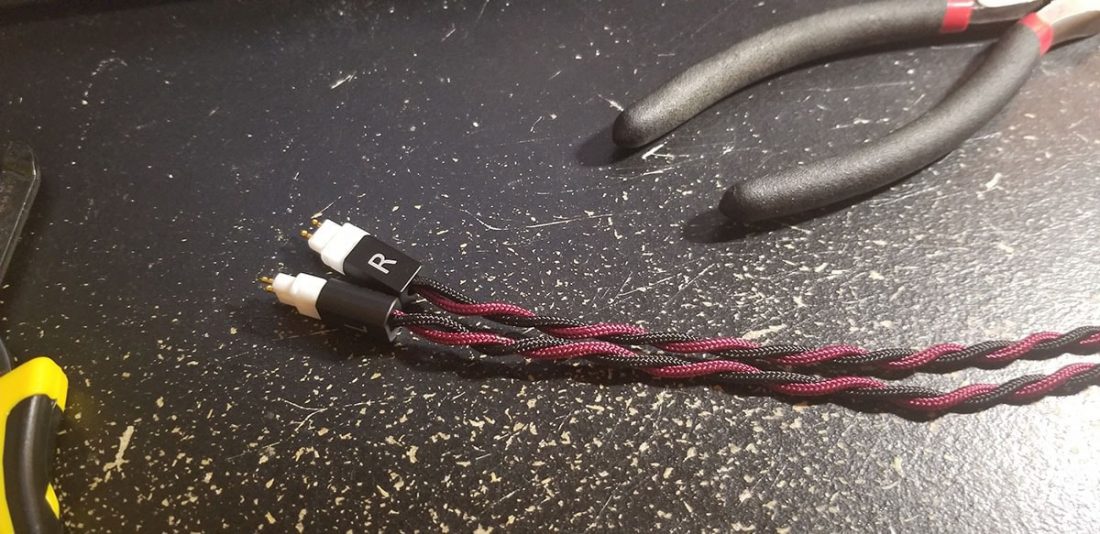
38. Do the same with our left side.
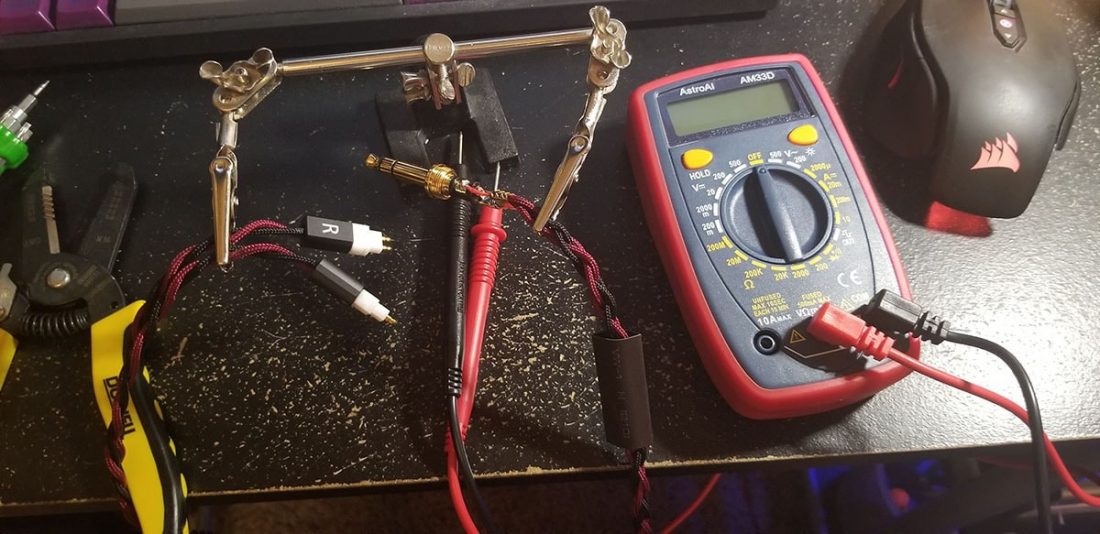
39. Test each connection with a multimeter to our jack. The big pins should give a signal on only the sleeve, and the little pins should be only read on their respective connections (left little pin = tip, right little pin = ring). If everything lines up and you have no crossing connections, you’re done!
Sound Check
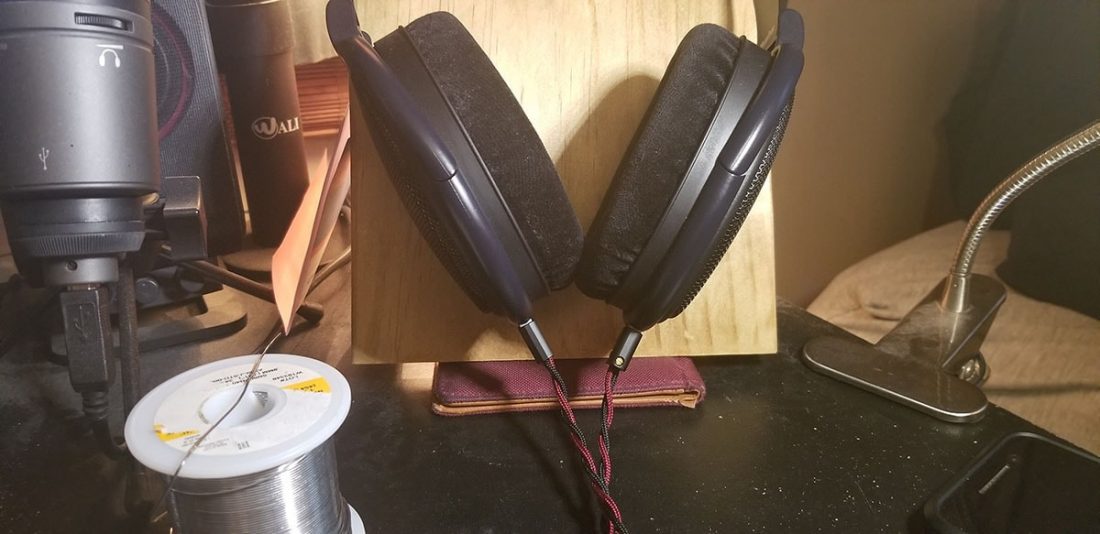
40. Do a quick sound test. I like using this page to check for left and right, as well as polarity: AudioCheck. Also test with your favorite music, make sure it sounds the same!
Enjoy your new cable!
If you have any questions for me, feel free to reach out on Reddit.
Great article. I was hoping to get some clarification. I will be doing a similar project, but will be terminating with 2.5mm TRS connectors at the headphones. My question is how to solder the left and right channels. Will I solder to the ring for the right channel and to the tip for the left channel? To be more specific, this cable will be for Hifiman HE 400i headphone. Any information you could provide would be great.
Great question. I use tip and sleeve for both sides as a standard practice. Since the ring is close to the ground, it might cause issues in this case
Hi,
Thank you for the great article! I took the same principle from you and then made a 3.5mm balanced cable. I hope it will work.
https://imgur.com/gallery/RFS58dn
There is the link 🙂
thank you!
Hi, I have tried to do this as shown in the link, my left channel is working but not my right channel.
And now when I played the audio test the left cable plays “left and right” audio. How can I fix this problem?
Great guide. Made a beautiful cable for under $30 and it beats stock quality in terms of materials. Sounds the same (as it should)
It’s not a huge deal, and I probably could have avoided this if I had researched better, but for this guide in particular, you may want to specifically recommend a TRRS 1/4 jack. There’s a couple different kinds of 1/4 jacks out there, and the one I grabbed I didn’t realize till later was TRS which will only do mono. You need TRRS to do stereo like you have in this guide.
I apologize but a 1/4″ TRS jack is what is needed, not a TRRS (TRRS would be for only if one is planning to have a microphone along with speaker/HP). It should be (T)ip, (R)ing, (S)leeve. In the case of a TRS, both sides’ “negative” wires (1 on each side) will be twisted and soldered to the (S)leeve of the 1/4″ plug, with the Left side to the (T)ip, and Right side to the (R)ing – and both sides’ negatives and a ground wire (if used) combined and wired to (S)leeve.
Dis regard my previous comment. I thought TRS was mono, but apparently it’s stero. TRRS is stereo with mic.