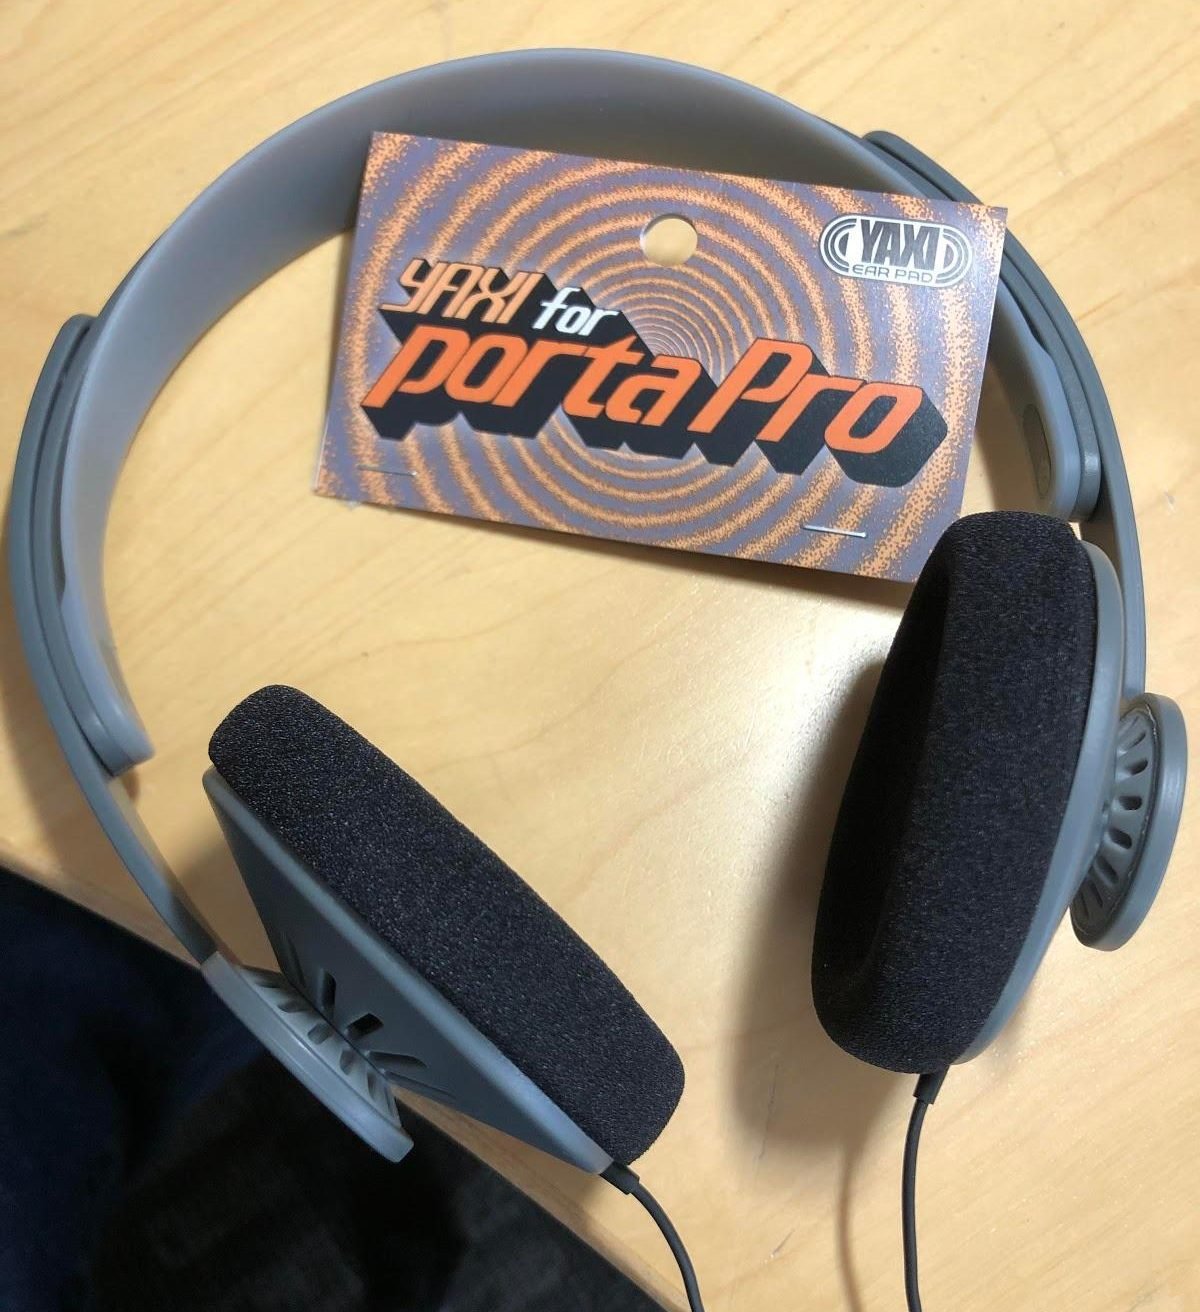
Learn how to replace the Koss KPH30i’s earpads with the Yaxi earpads.

For those looking to make their KHP30i headsets look brand new, earpads replacement is an effective technique. A great alternative earpad replacement is the Yaxi set which is sold from Japan but delivered worldwide.
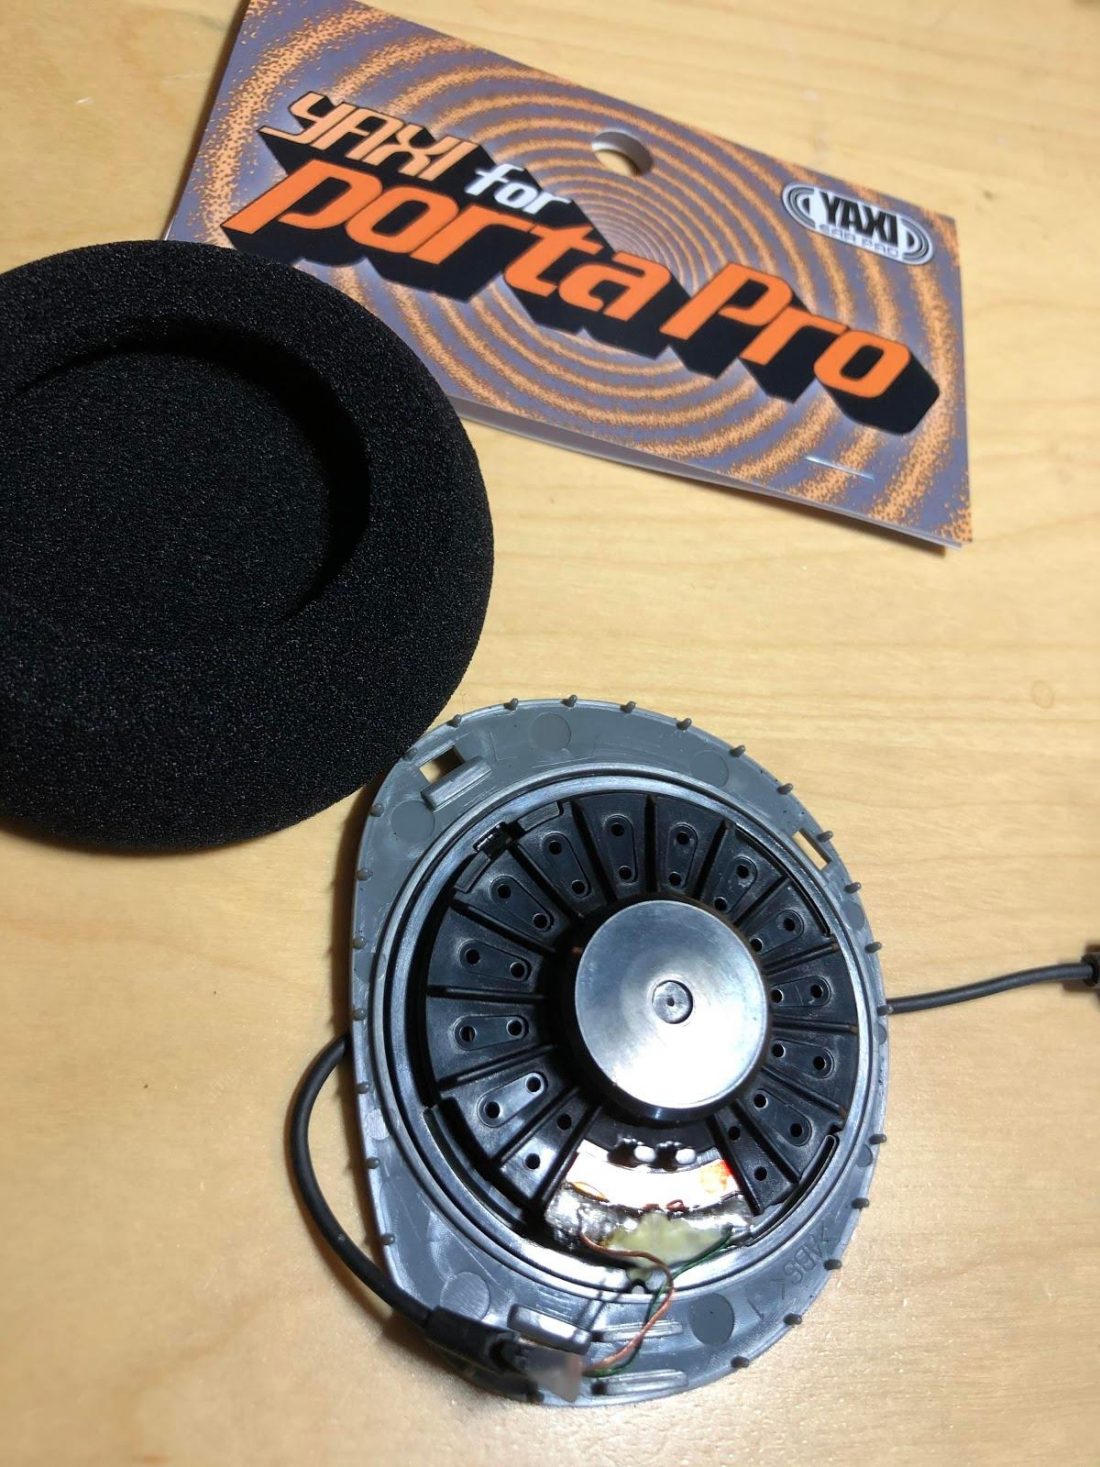
The Yaxi earpads are originally intended for PortaPros but are widely used for the KPH30i as they are just as suitable with each other.
Here’s a step-by-step guide by Reddit user /u/its_the_peanutiest that helps you do the replacement successfully and without damaging anything in your Koss headset.
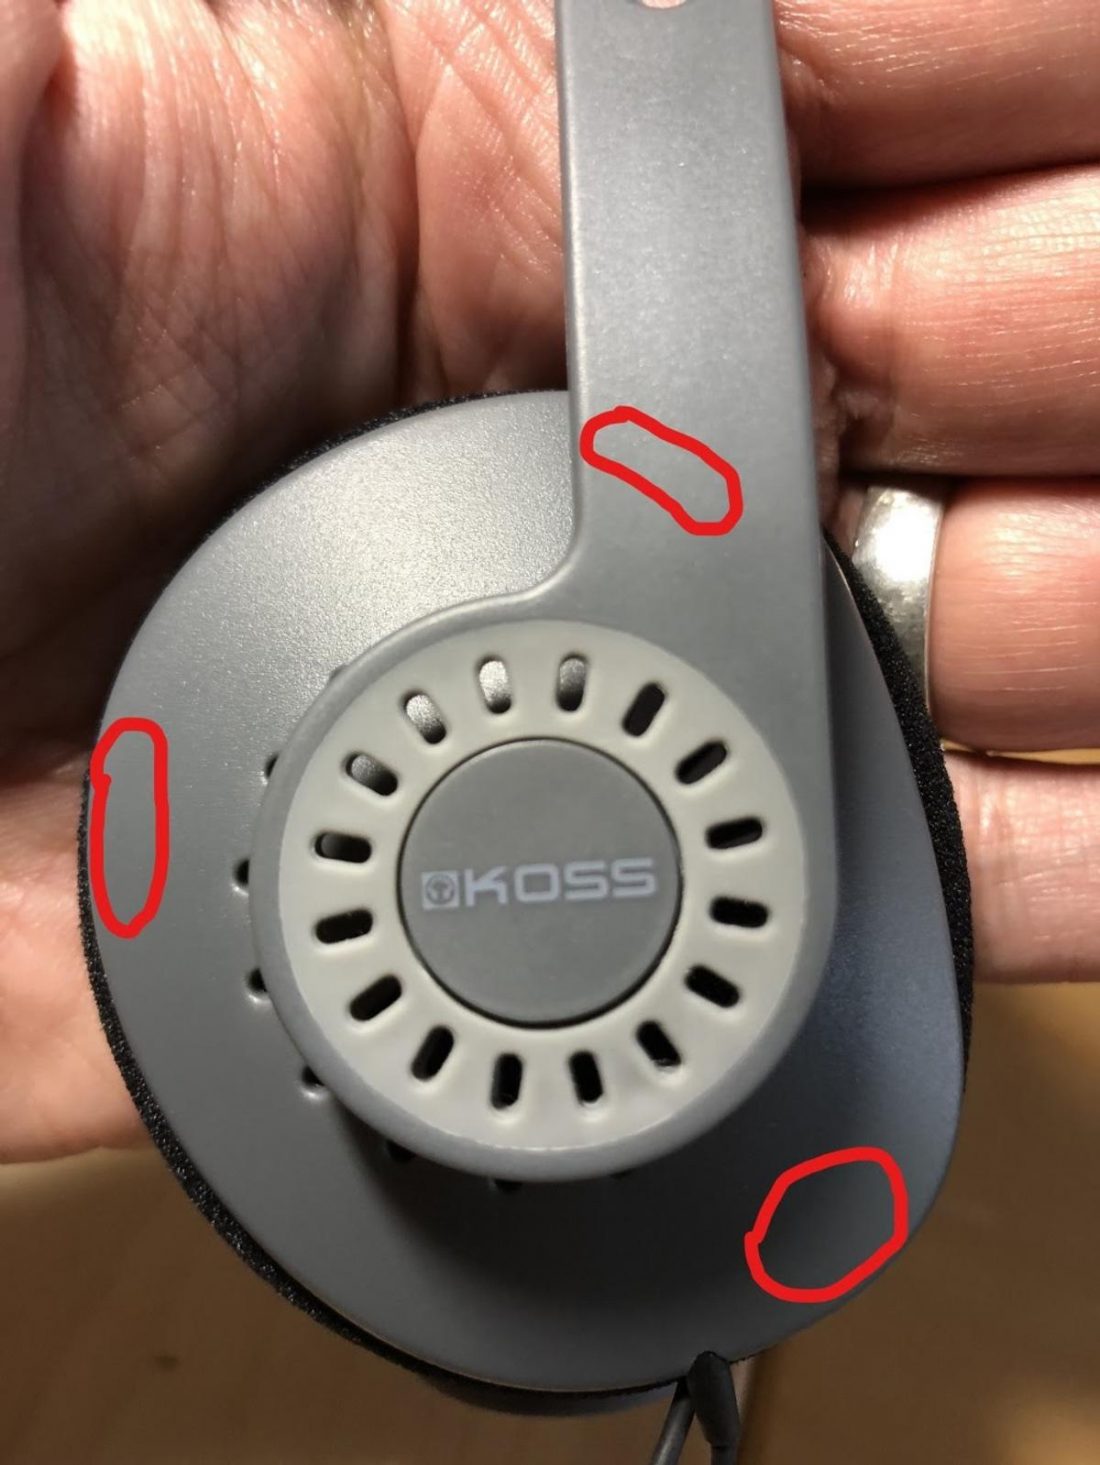
Step 1: Locate The Tabs
The areas indicated by the red markings are the approximate positions of the three tabs that hold the driver to the earcups.
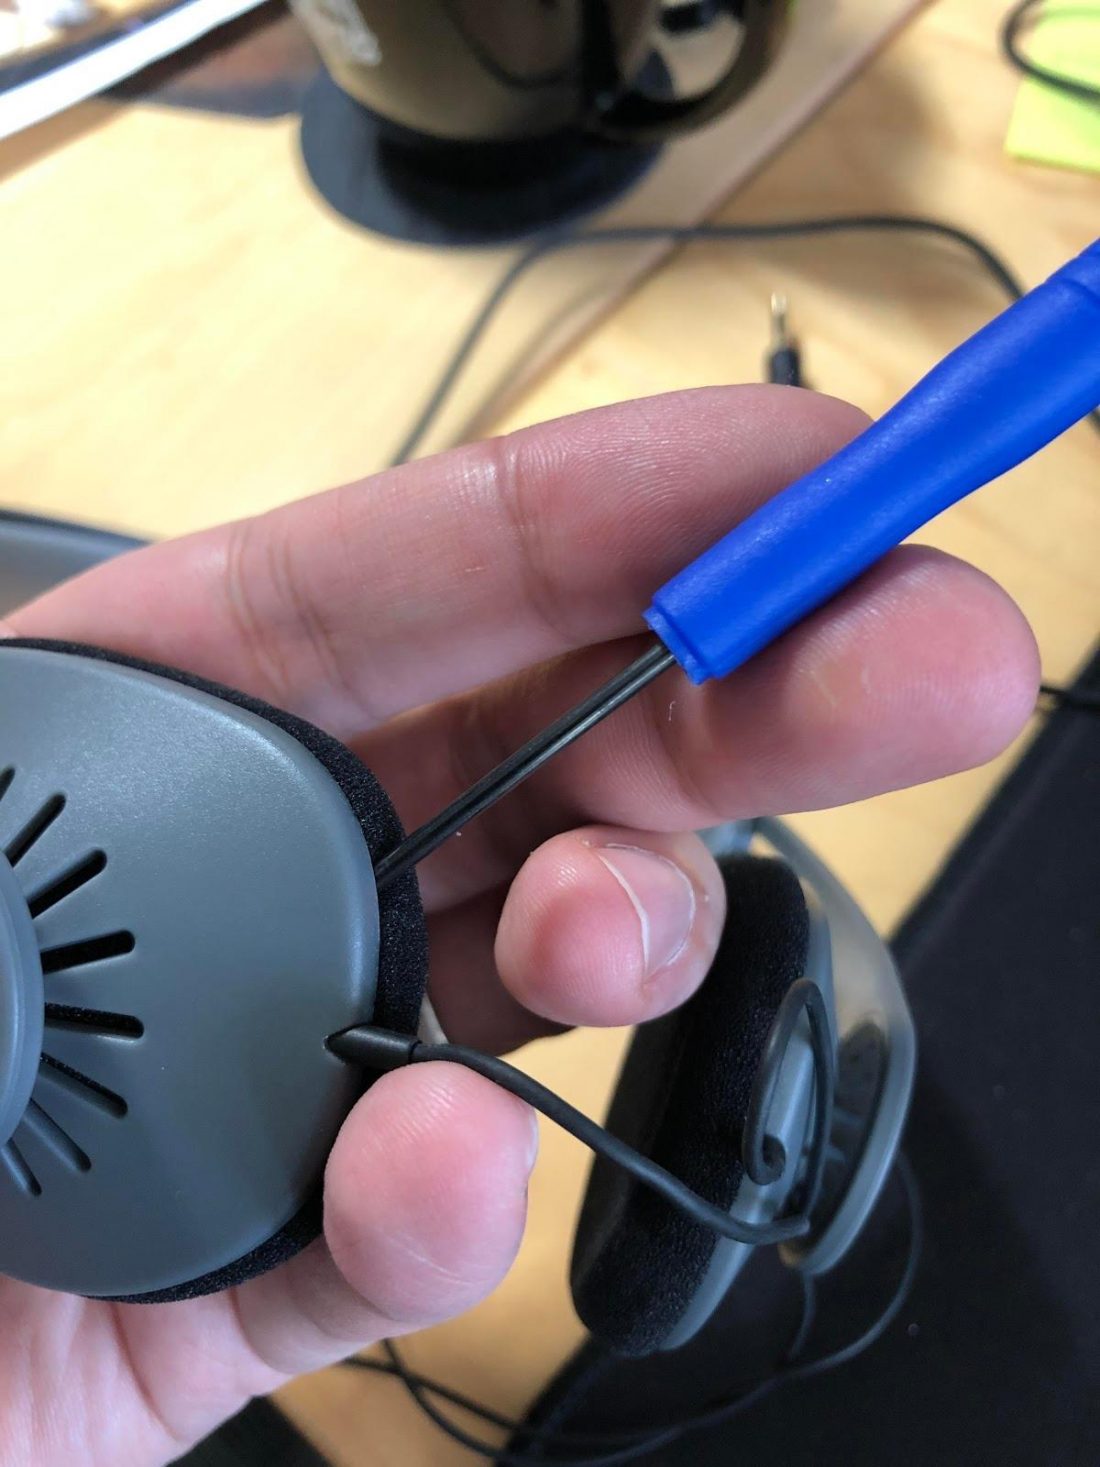
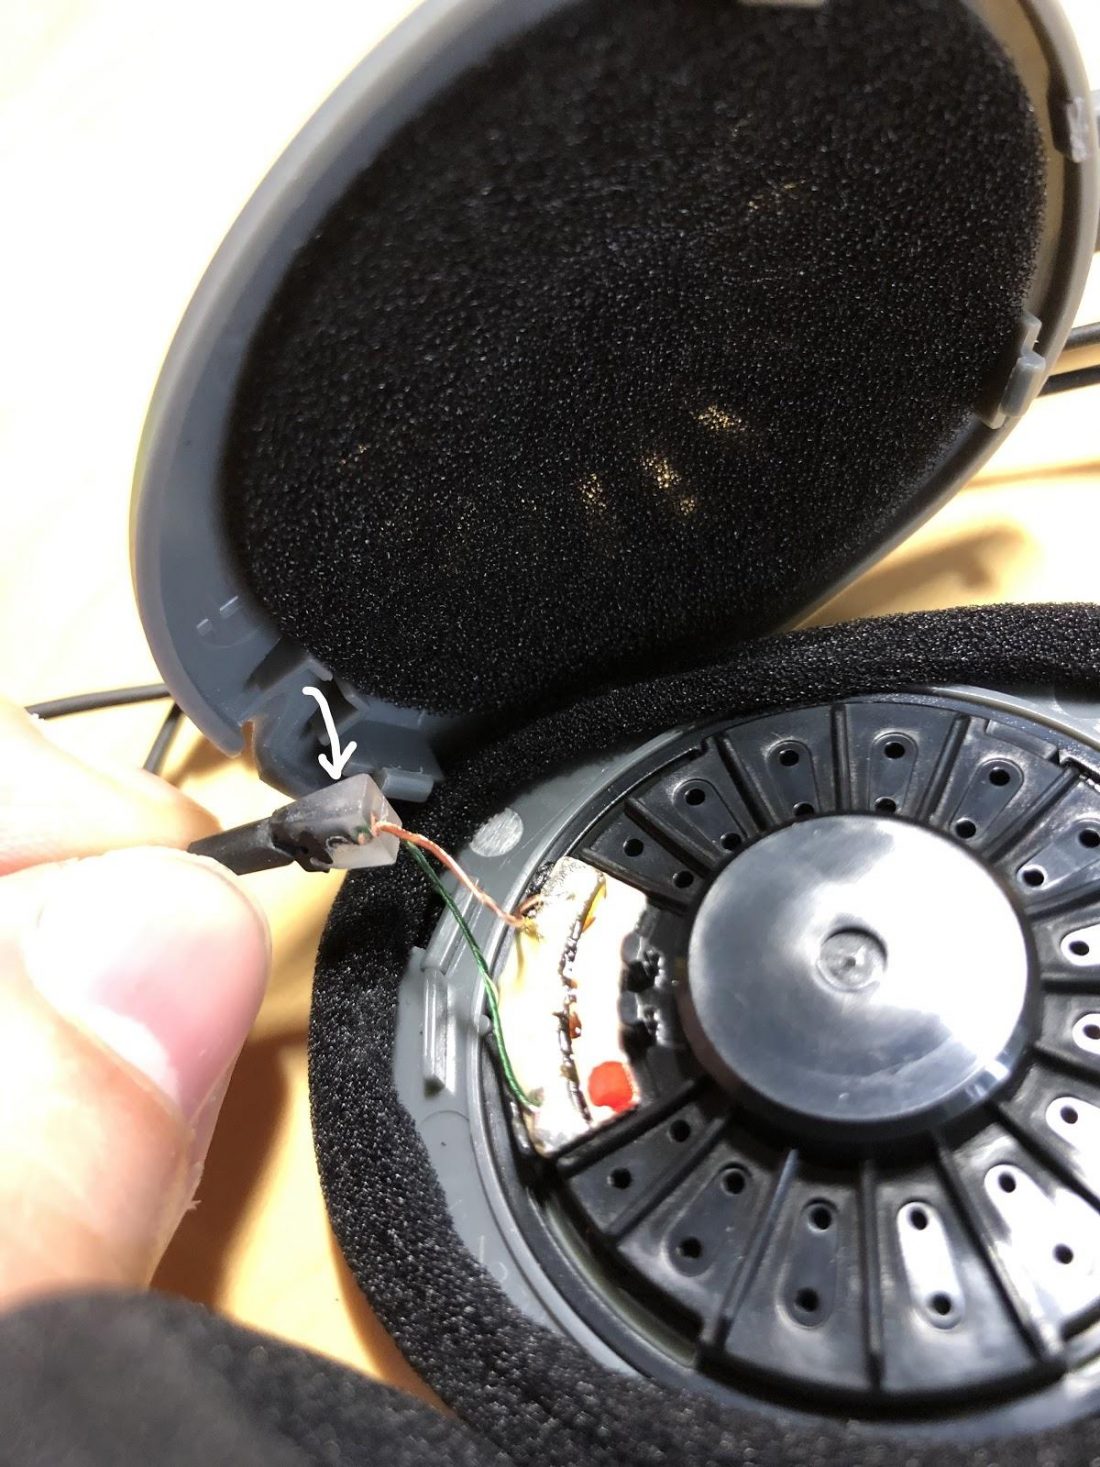
Step 2: Pry It Open
Starting at the bottom clip near the wire seems to be the easiest start point. Try to find a small screwdriver to gently get an edge near these clips and slightly pry with minimal force.
It does not take a lot of pressure at all. The point is that you are trying to separate the driver from the earcup as gingerly as possible since the clips are prone to breaking.
You should be able to feel and/or hear the moment the clip was released. Then move on to the next one.
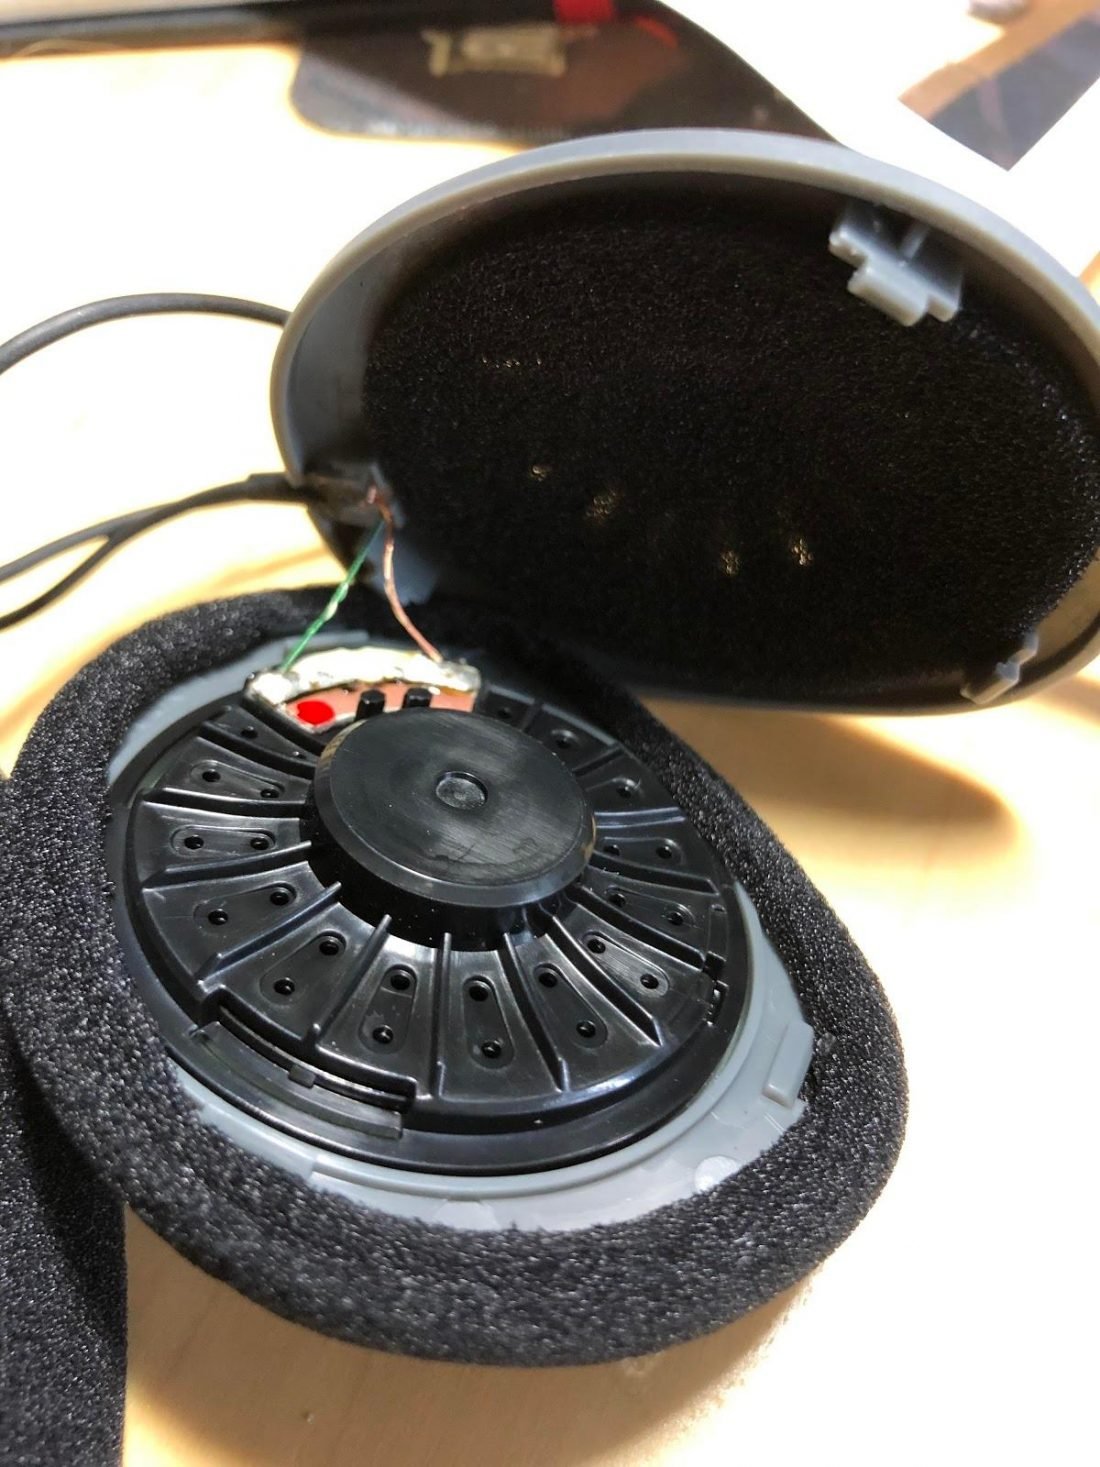
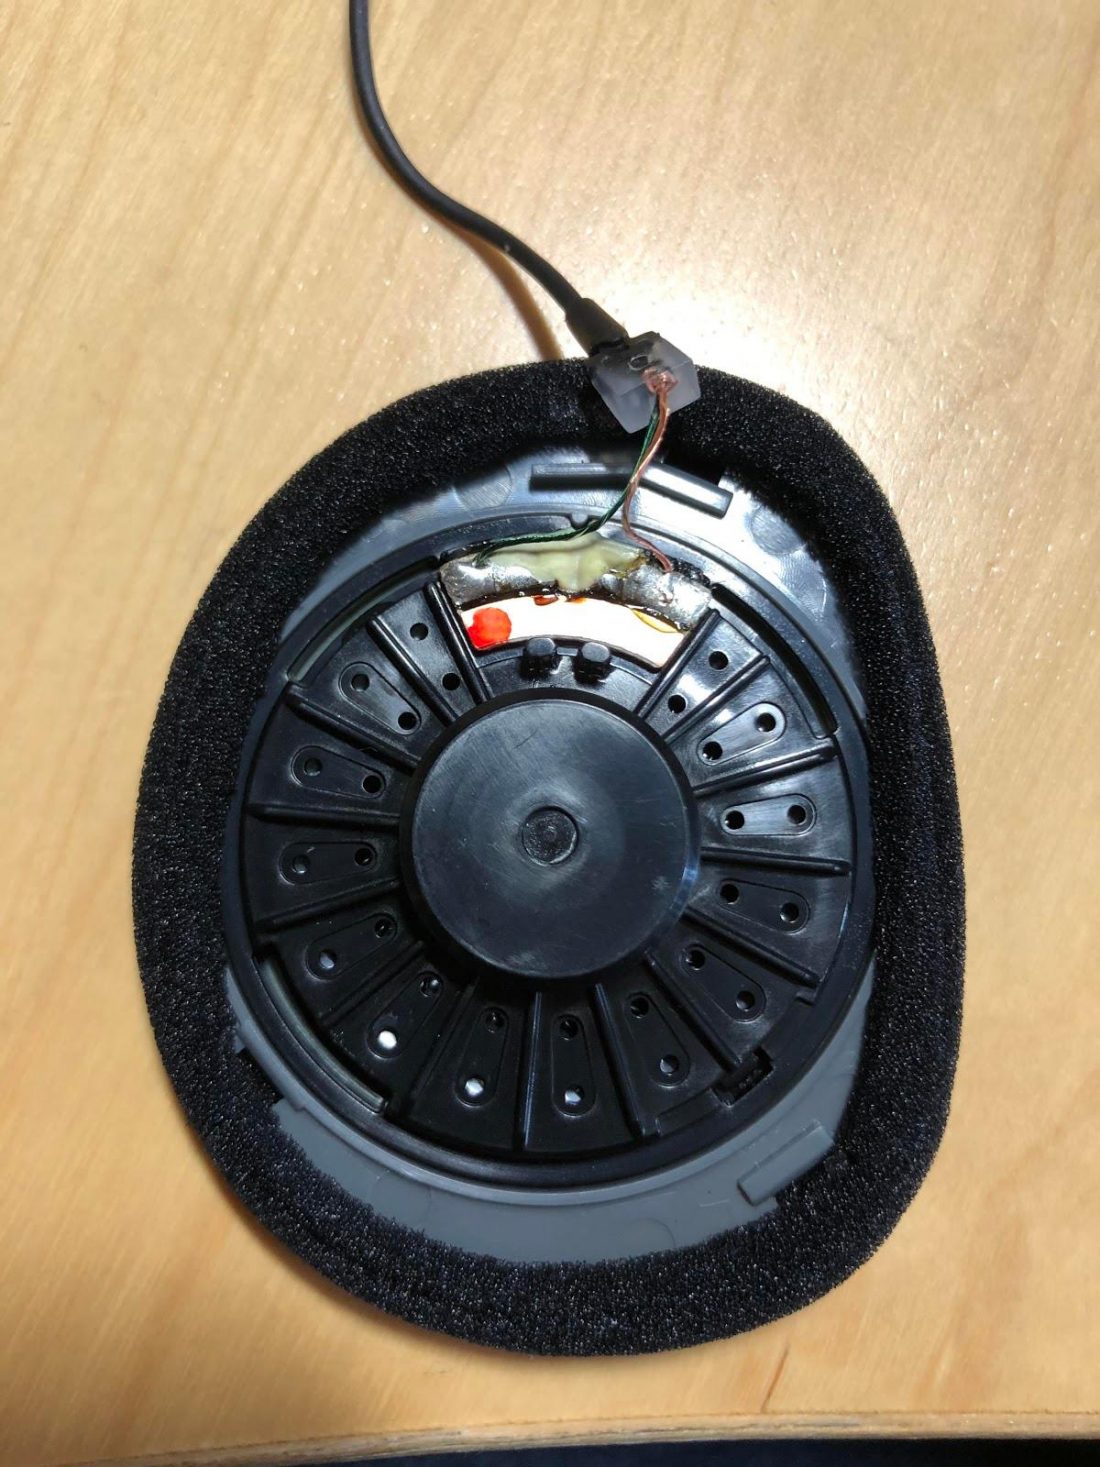
Step 3
When all three clips are released, the driver can now be separated from the cup. Note that the wire is still attached (and will remain as such) but that there’s a small wedge-like housing through which the wire passes once it enters the headphone.
Step 4: Remove Housing From Frame
The housing sits inside a frame on the cup, as seen above. If it hasn’t fallen out of this little frame on its own, the housing is safe to be removed from the frame to give you a little more room to work.
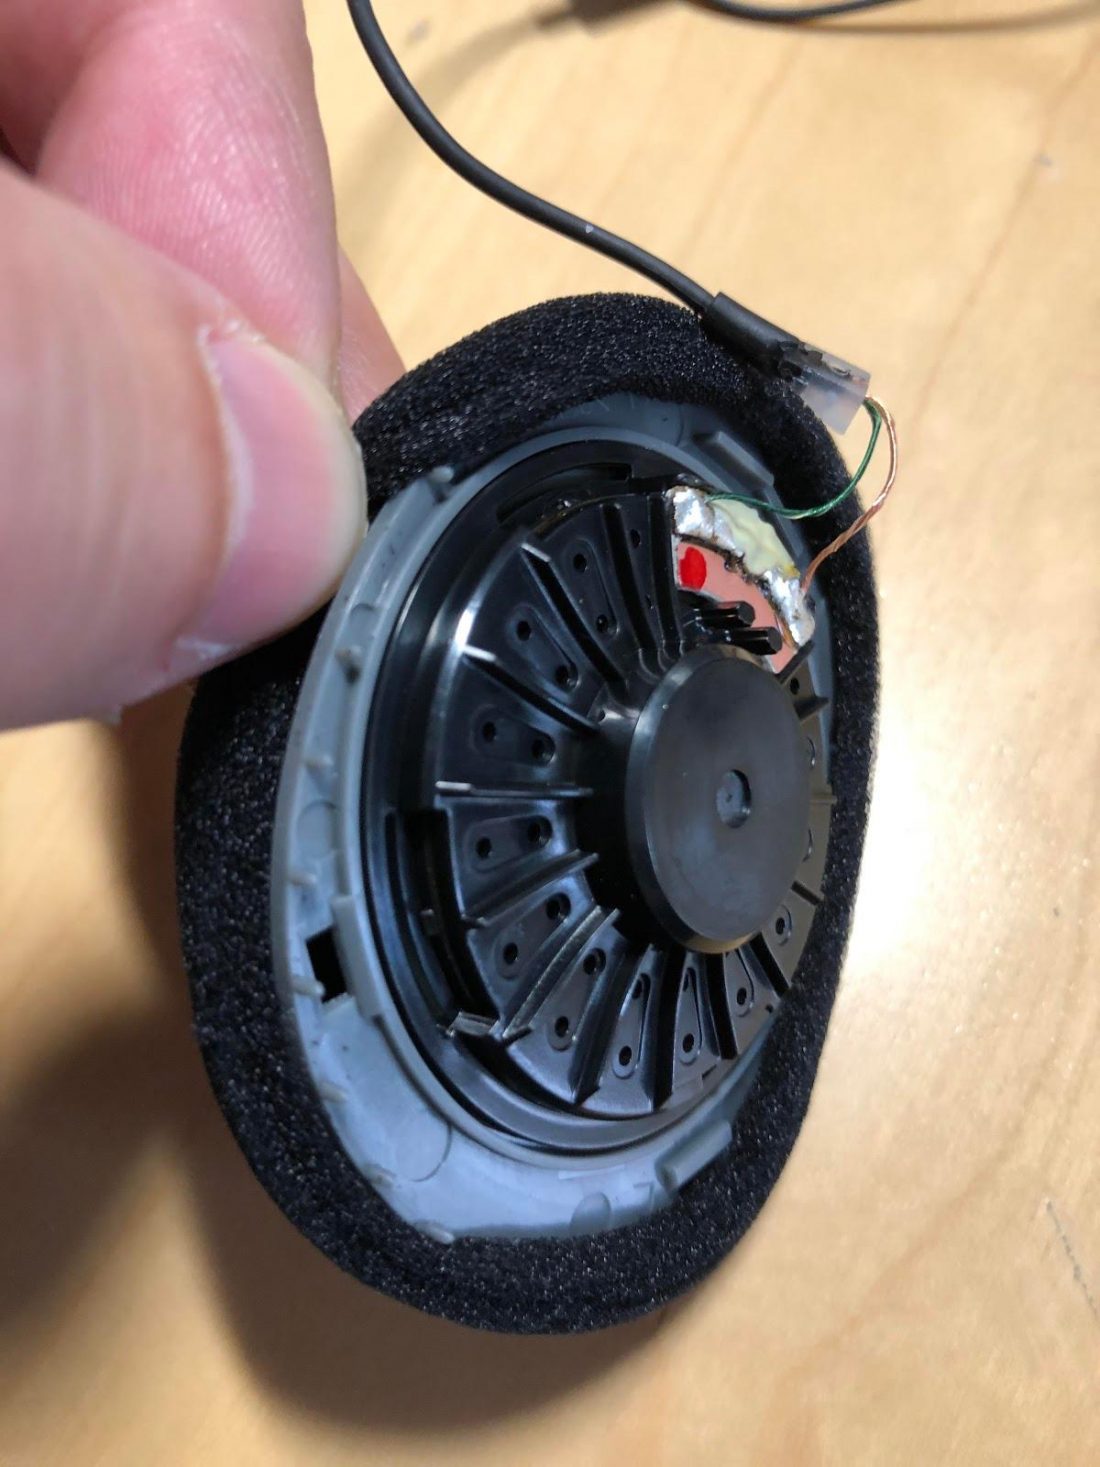
Step 5
Here is the driver with the stock earpad that is free and clear from the headband and ear cup.
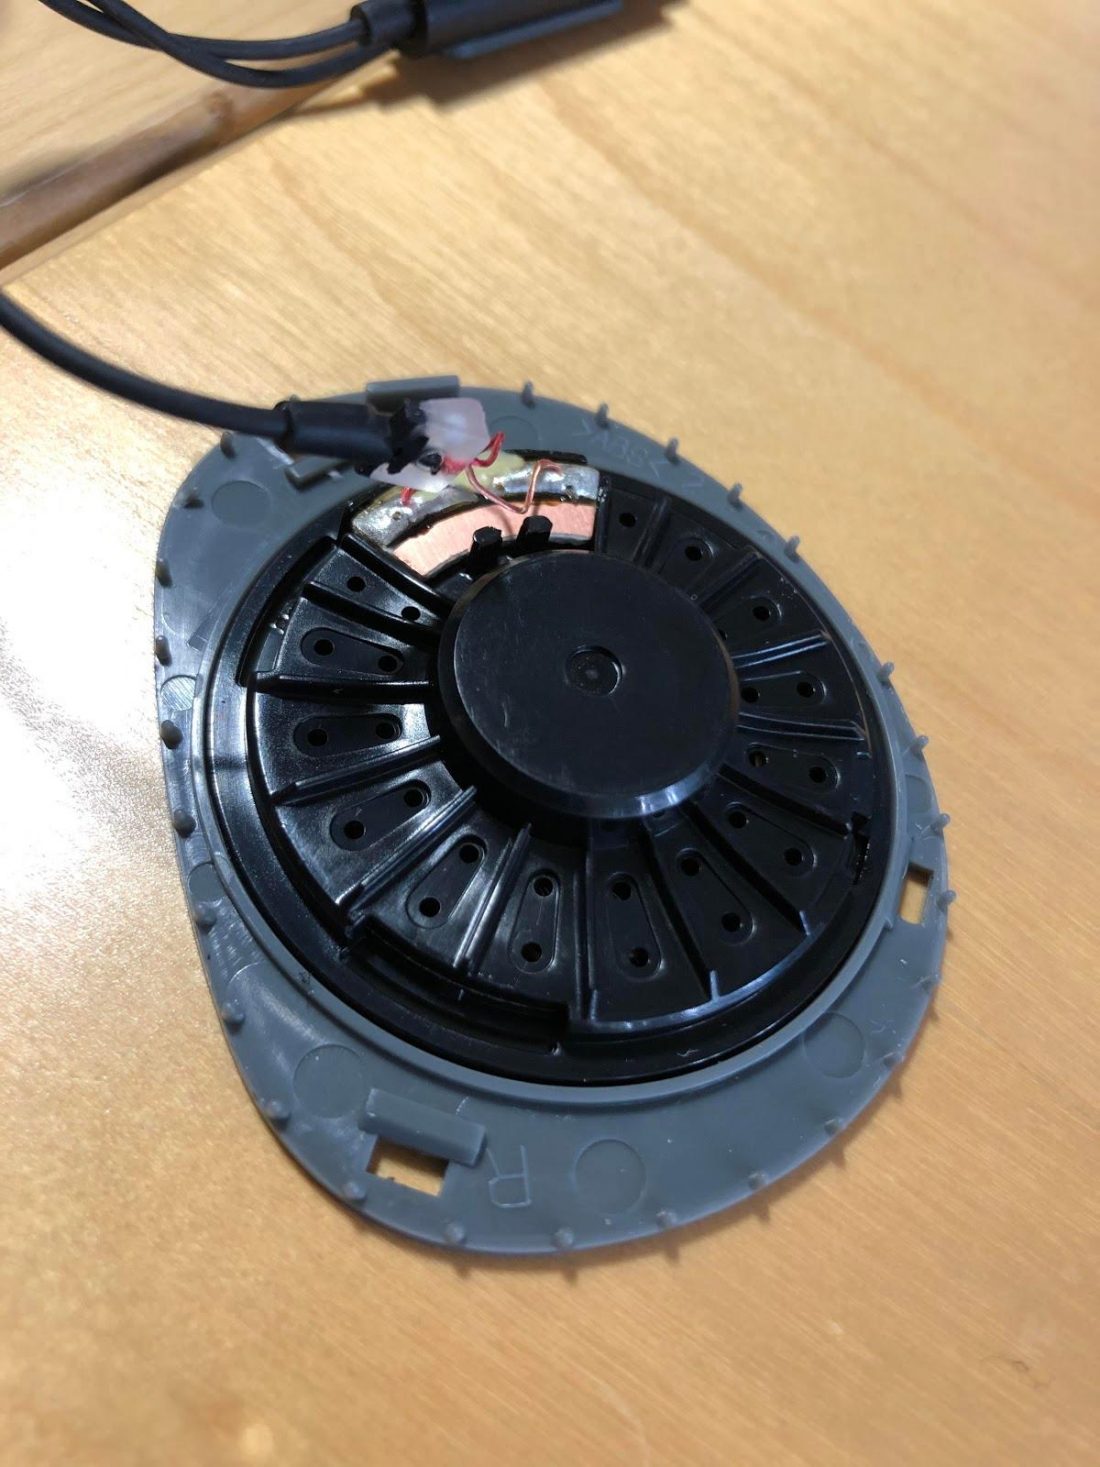
Step 6: Remove Stock Earpads
Gently pull the edges of the foam earpads to release them from the small pins that hold them underneath. Be extremely gentle as the foams can tear easily. Work your way around until the pads are off.
Step 7
Successful pad removal with no broken pins.
Step 8: Put on Yaxi Earpads
Don’t worry about the Yaxi earpads being round while the driver for the KPH30i is more oval or ear-shaped. As mentioned earlier, they fit just fine.
Now slowly work on putting the pad onto the driver, doing the opposite of what you did when you took the stock pads off. You’ll need to slightly lift the edges to get them over the pins.
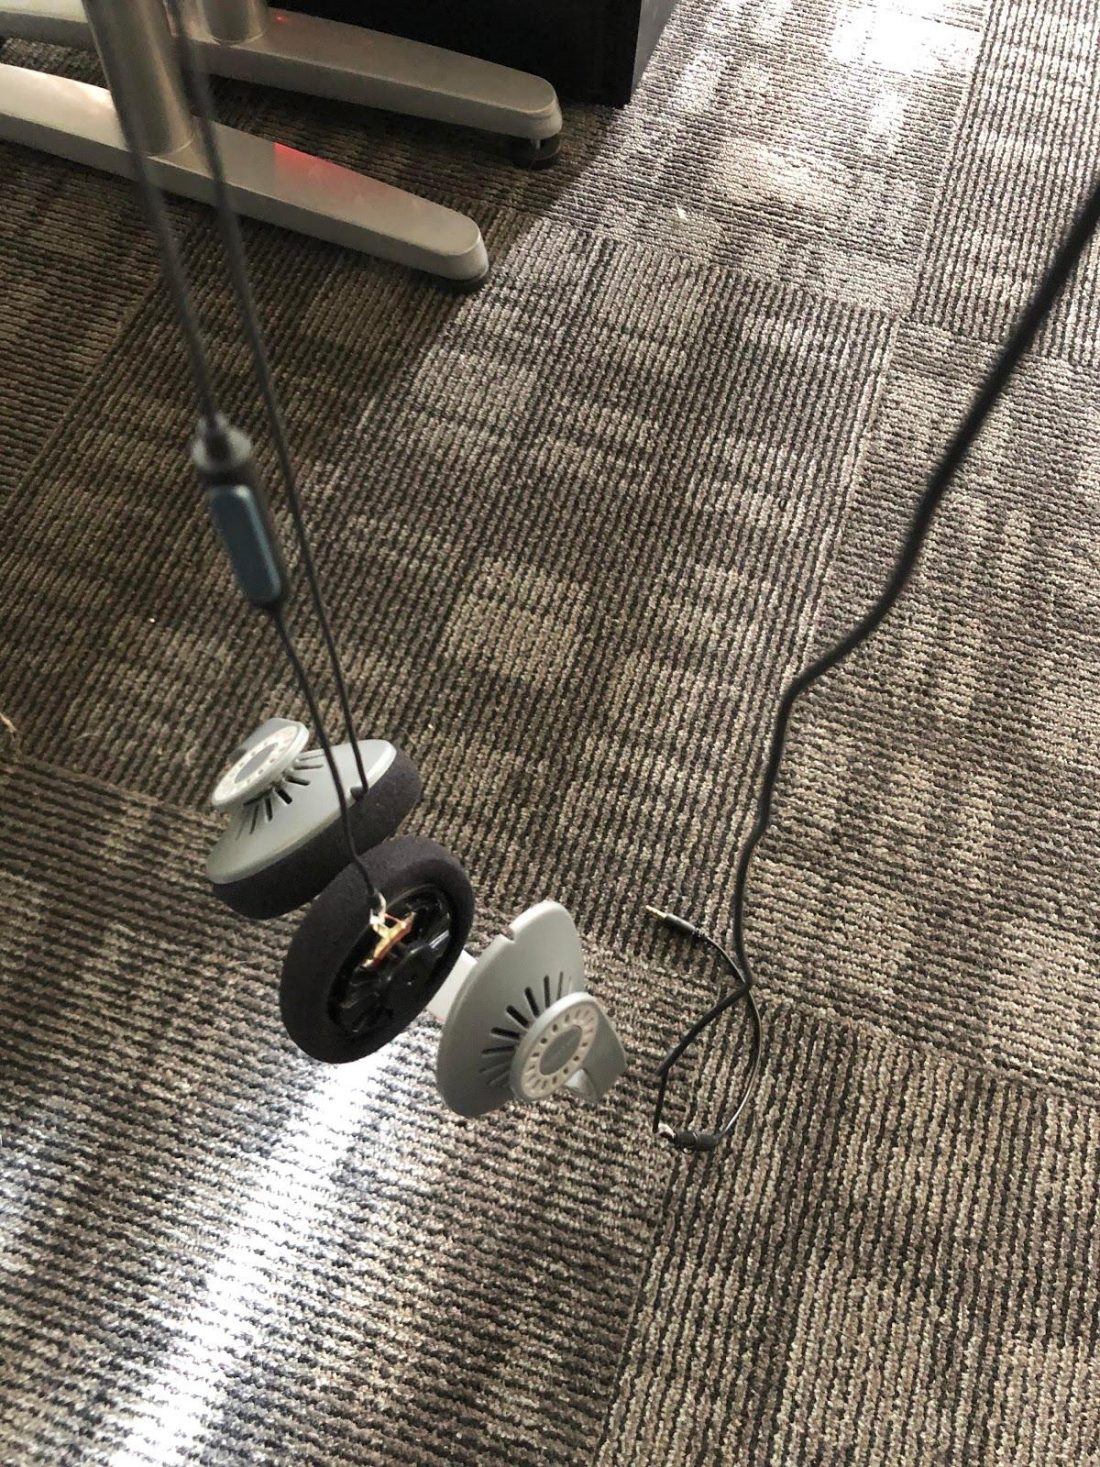
Step 9 (Optional): Unkink The Wire
I noticed that while I was working on the loose driver that it had spun around a few times on my work table and sort of formed a little bit of a kink on the wire.
In order to prevent putting it all back together only to have the wires be all wound up with no way to unkink them, I decided to do a little hang routine to release any wind-up in the wires.
Once the spinning has stopped, I knew the wires were straight and I proceeded to reattach the drivers to the cups. Remember to line up the little wire wedge housings on each ear to the frame it gets held in place on in the cup.
Then line up the tabs between the drivers and the cups and press down over the area where the tabs are until you hear them click in.
Step 10: Success

Handy write up, thank you. I tip I saw that helped me was to tear the old stock pad off. That way you can see the locking tabs and target them directly. Loving these headphones!
Cheers 🙂