Here are a few quick and easy fixes for when your headphones stubbornly keep falling out of the audio jack.
It can be the most annoying thing to plug in your headphones only to find out that the headphone jack is loose and not working.
Most of us are used to things working as advertised. And so if we realize that the headphones won’t go into the jack, it can become a major inconvenience. It’s not always possible to use your speakers instead, especially if you’re out in public.
But don’t fret. You don’t have to go to the repair center right away. There are several things you can do to learn how to fix a loose headphone jack.
For best results, we recommend that you start with simple, non-invasive solutions with minimal risk of damaging your device.
What’s Causing the Loose Headphone Jack?
Before you fix any problem, it’s essential that you find out what’s causing it in the first place.
This lets you pick the most appropriate solution so you don’t have to opt for harder fixes that may damage your device.
A loose headphone jack may cause different problems. One of which is when the headphone plug falls out constantly from the port. It may also cause hearing static on your headphones, as well as stereo problems.
Learn more about headphone jacks and plugs to help you understand the problem better.
The following are quick and simple ways to diagnose a loose aux jack.
Plug the headphones into another device
The first test is to insert the headphones into a different jack. If the plug still will not fit, then you don’t have a problem with the headphone jack. You have a problem with your headphones. In this case, you may want to think of getting a new pair of headphones.
Check for size differences
Factory defects and wear and tear caused by extended use can also cause unnoticeable size changes that affect how the plug fits inside the jack. It’s also possible that the audio jack itself has some damage because of misuse.
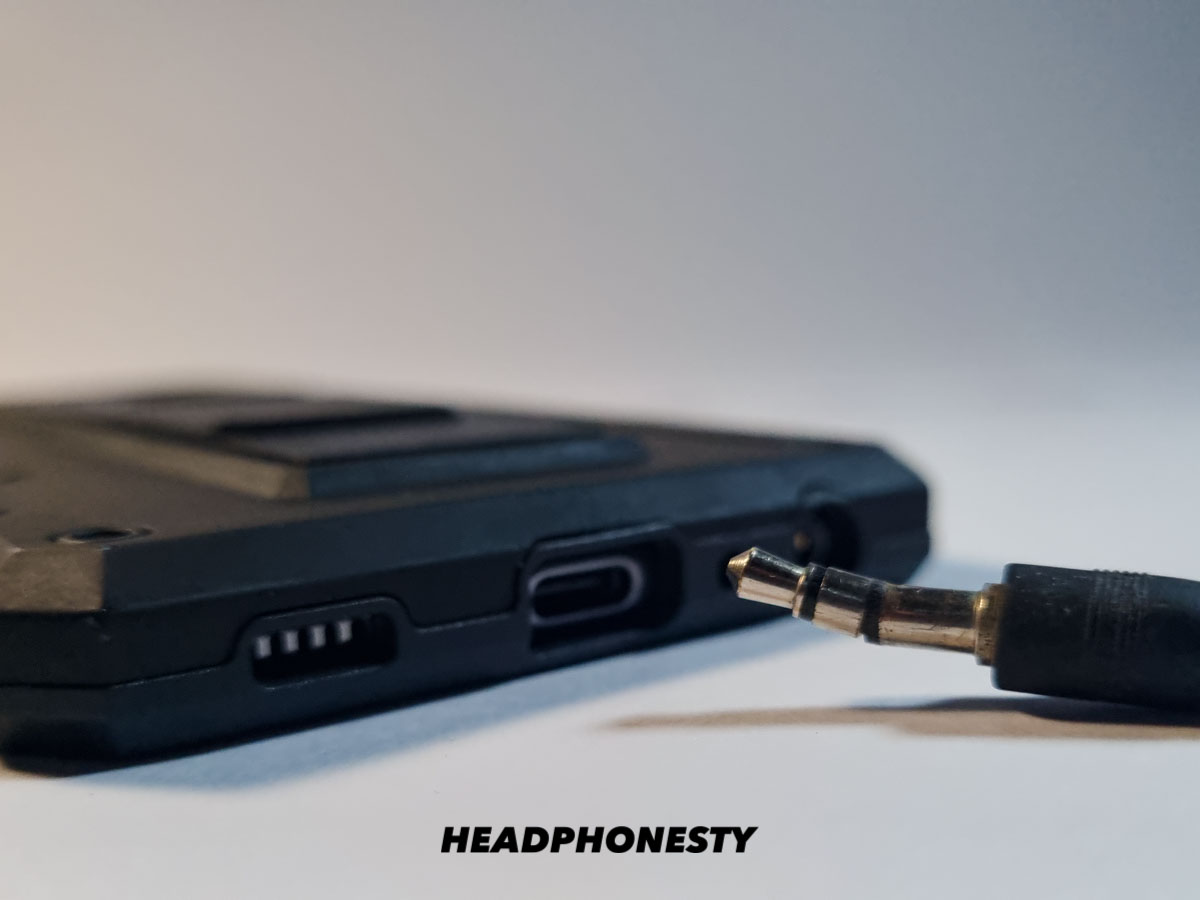
Check for dust or debris
Dust, dirt, or even lint collecting inside the headphone jack can prevent the plug from clicking in. Get a flashlight and shine it into the jack to make sure it’s free from clogged up debris.
Inspect for signs of corrosion
Corrosion of the headphone plug or jack can also cause size changes. Corrosion happens because of exposure to moisture. If the plug or jack shows some rust or discoloration, it’s likely corroded. If that’s the case, it may be time to get new headphones or give the headphone jack a good cleaning.
Make sure the device’s case isn’t getting in the way
Some phone cases are too thick or do not fit snugly with the phone model. This prevents the headphone plug from being inserted fully in the port. To see if this is the problem, try removing the phone case before placing the headphone plug.
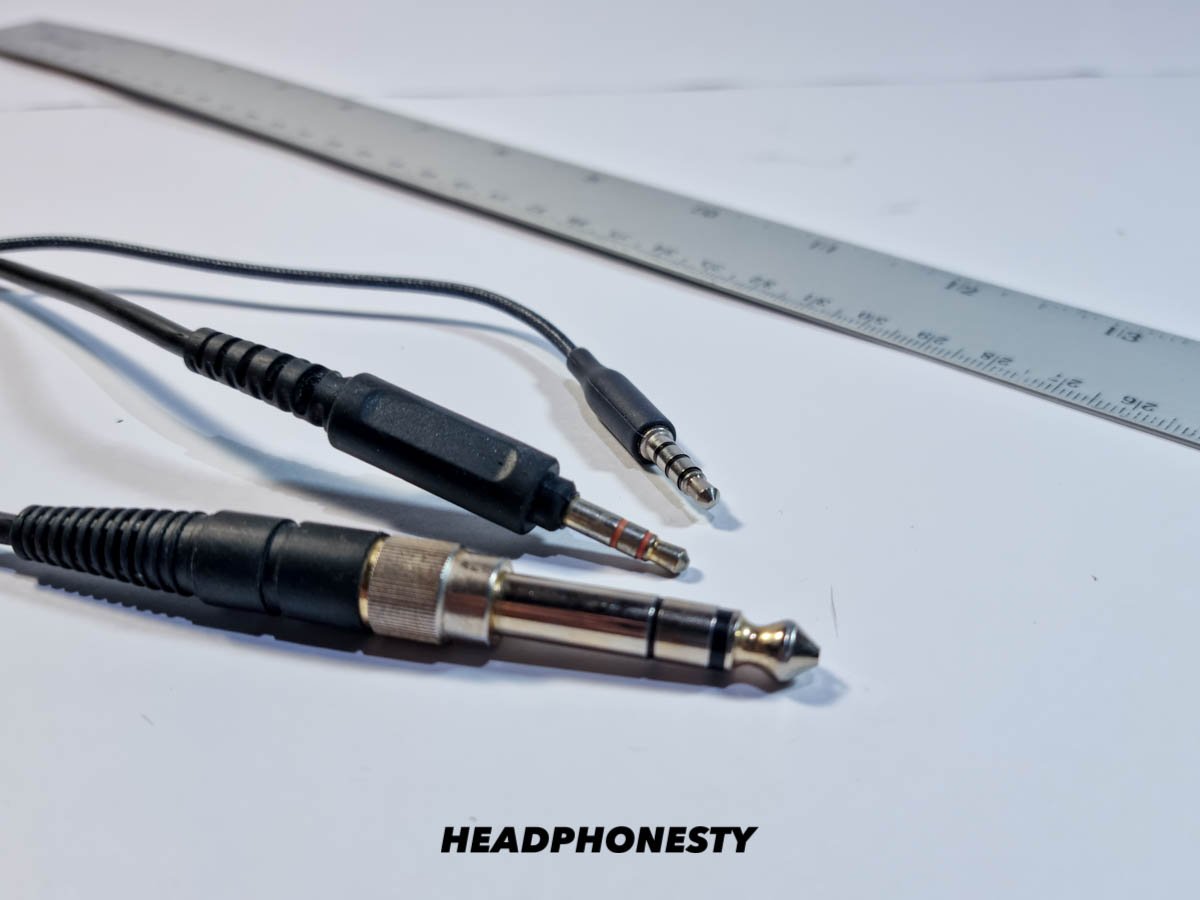
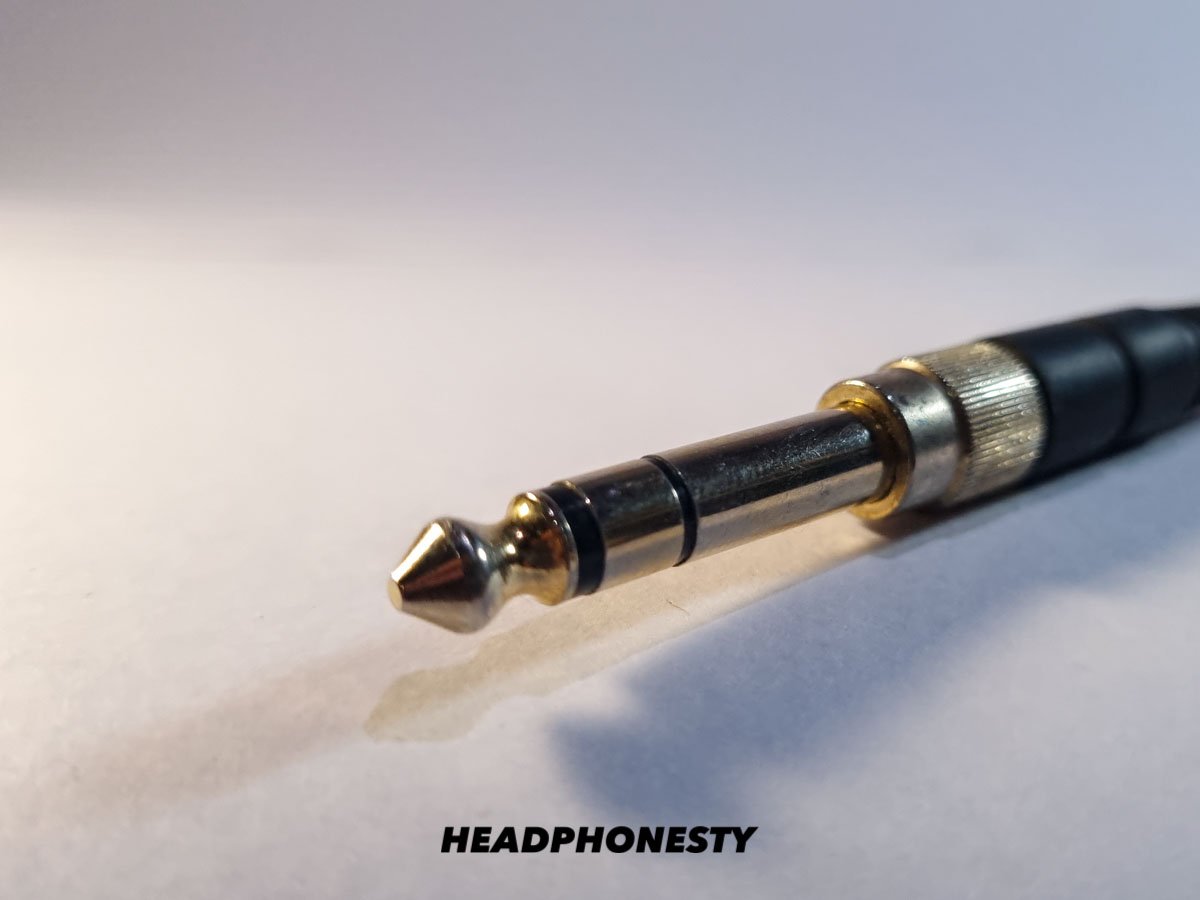
See if the headphone plug is still straight
A slight bend can cause your plug to not fit well inside the jack. If that’s the case, check out our separate guide on how to fix a bent headphone plug.
How to Fix a Loose Headphone Jack
Now that you know why your phone or PC’s headphone jack is loose, it’s time to fix it.
There are three things you can do to keep the audio plug from falling out. You can:
Clean the headphone jack
If you peered into the jack and found debris, it’s a good sign. It means you may not have to repair or replace the jack at all. You simply need to clean it.
How to remove debris in the headphone jack
- Flatten out a paper clip.
- Wrap the edge of the paper clip with double-sided tape.
- Carefully insert the sticky end into the headphone jack.
- Press the paper clip tightly to the bottom of the jack and twist. This will get the debris to stick to the tape.
- Repeat the steps, checking regularly into the jack to make sure no debris is left.
- Clean the jack with a Q-tip and alcohol.
If it doesn’t work:
- Use a toothpick instead of a paper clip.
- If you have a 1/16-inch drill bit, you can use that too. The shape of the drill bit can make it easier to pick up the debris than a toothpick or a paper clip.
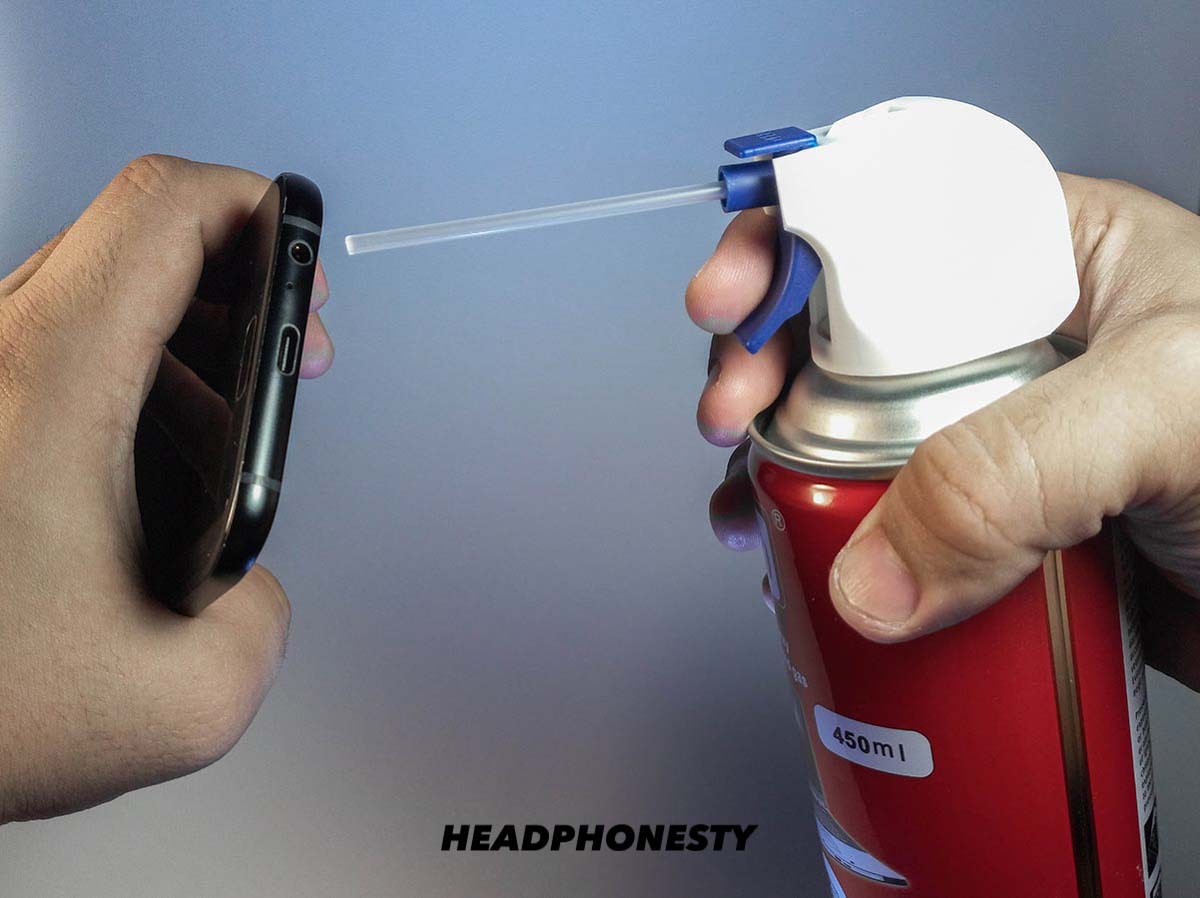
- Use compressed air to blow air into the headphone jack. The pressure from the air can push the debris around to make it easier to lightly tap it out.
For other tips, check out our guide on how to clean your headphone jack.
How to remove corrosion in a headphone jack
- Get yourself an interdental toothbrush, the kind that is used by people wearing braces to clean hard-to-reach parts of their teeth. You can easily find an interdental brush at any grocery store.
- Dip the brush in 70% isopropyl alcohol. Tap the brush so that it’s moist but not soaking wet.
- Insert the brush into the headphone jack with your device turned off. Move the brush up, down, and in circles. You have to do this a few times to make sure the jack is thoroughly clean.
Adjust the headphone pin
- Cut a thin strip of aluminum.
- Wrap it around the base of the headphone plug until it’s thick enough to make it fit into the audio jack.
Repair the headphone jack
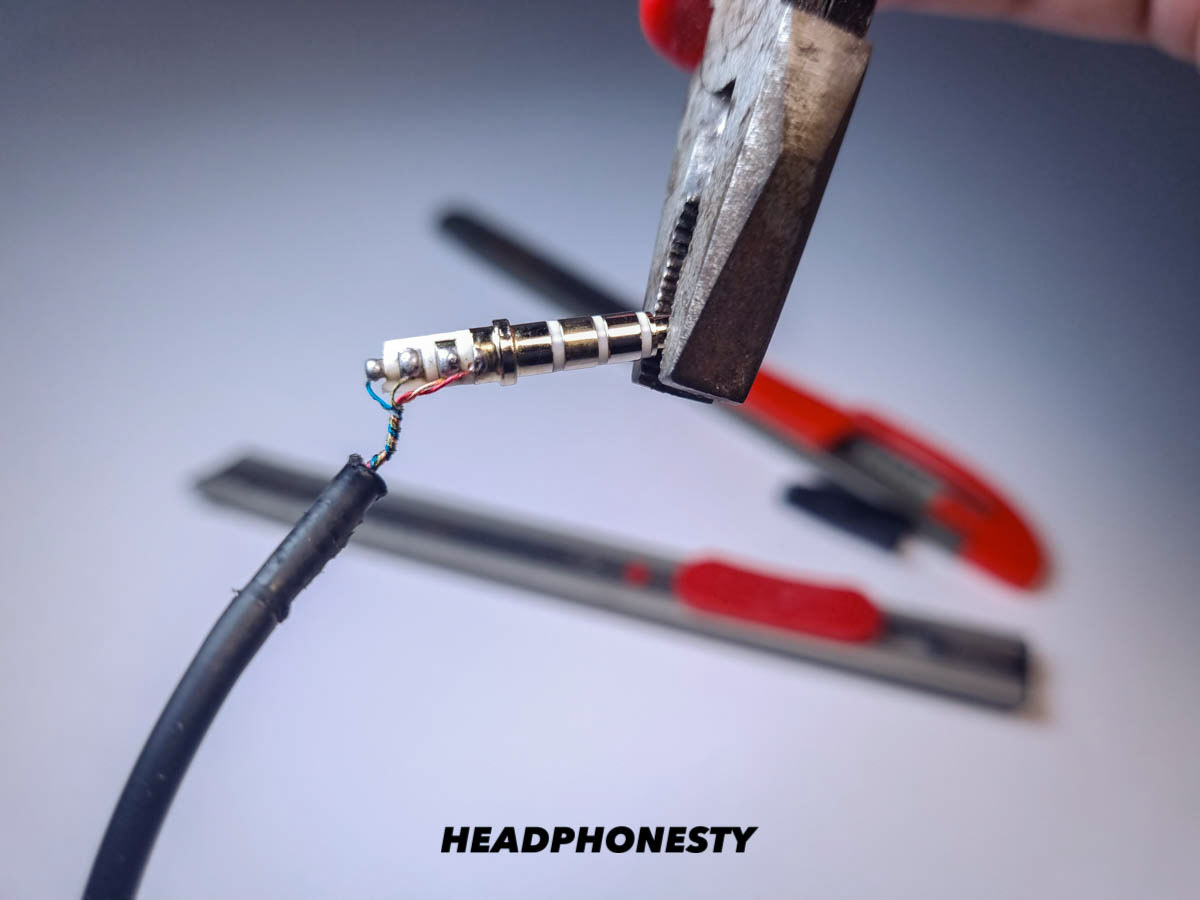
If none of these DIY fixes work for you, you may have to open the device and make more invasive repairs.
Keep in mind that opening your device could void your warranty and may even cause irreparable damage if you didn’t do the repair correctly. It can also cause additional issues like short circuits in the headphone wires if not done properly.
It’s always best to take advantage of the warranty and get your device repaired by authorized professionals.
But if you insist on repairing the jack yourself, make sure you’re absolutely confident in your DIY skills. Only you are accountable for any damage that may be caused by repairing the device yourself.
If the warranty for your device has expired and you need to save the money you’d have to spend at a repair center, this may be the only option for you.
The following videos provide clear step-by-step instructions for fixing your headphone plug or jack:
- How to repair the headphone plug without soldering
- How to repair the headphone plug with soldering
- How to repair the audio jack on your phone
- How to repair the audio jack on your desktop PC
- How to repair the audio jack on your laptop
Conclusion
Just like when fixing the headphone wires, fixing a loose headphone jack only involves a quick, simple fix that doesn’t risk damaging your device. In case you need to open your device, you need to make sure you’re fully aware of the risks involved.
The methods we shared above are useful if you need to use your headphones right away so you can stay focused on work and prevent distractions while listening to high-quality music or podcasts that you love.
If you find other issues, feel free to read through our ultimate guide on how to fix your broken headphones.
Have we helped you fix your loose headphone jack? What particular method helped you? Have you found another method that works? Let us know in the comments below.
Thanks. You solved my problem. After struggling with the headphone jack, it was the device’s case which was getting in the way
Hi
Your drill bit suggestion worked great for me! I had tried using a toothpick and compressed air earlier but they did not work for me.
Thank you
You’re a lifesaver! The paper clip hack worked for me. Thank you so much!
fabulous… hahaha.. marry me!!
it was the protective cover that was resisting my headphones…
Dust bunnies! Who knew? Thank you so much!
It works but i can’t hear anything from my headphones
Thanks bruv, the tape trick worked perfectly. I’d tried compressed air with no success. Gonna start cleaning the lint out of my pockets more thoroughly
foil idea won’t work because the foil would cover the ground, right and left speaker segments that need to be separate
I was skeptical but… the damn foil worked.
Dude the 1/16th drill bit did it for me
Didn’t ask plus ratio
Tooth pic and double si9ded tape did it for me. Hauled out loads of gunk and works perfectly now. Thanks a million !!!!
Thanks! Toothpick & Tape helped me get the debris out, very helpful