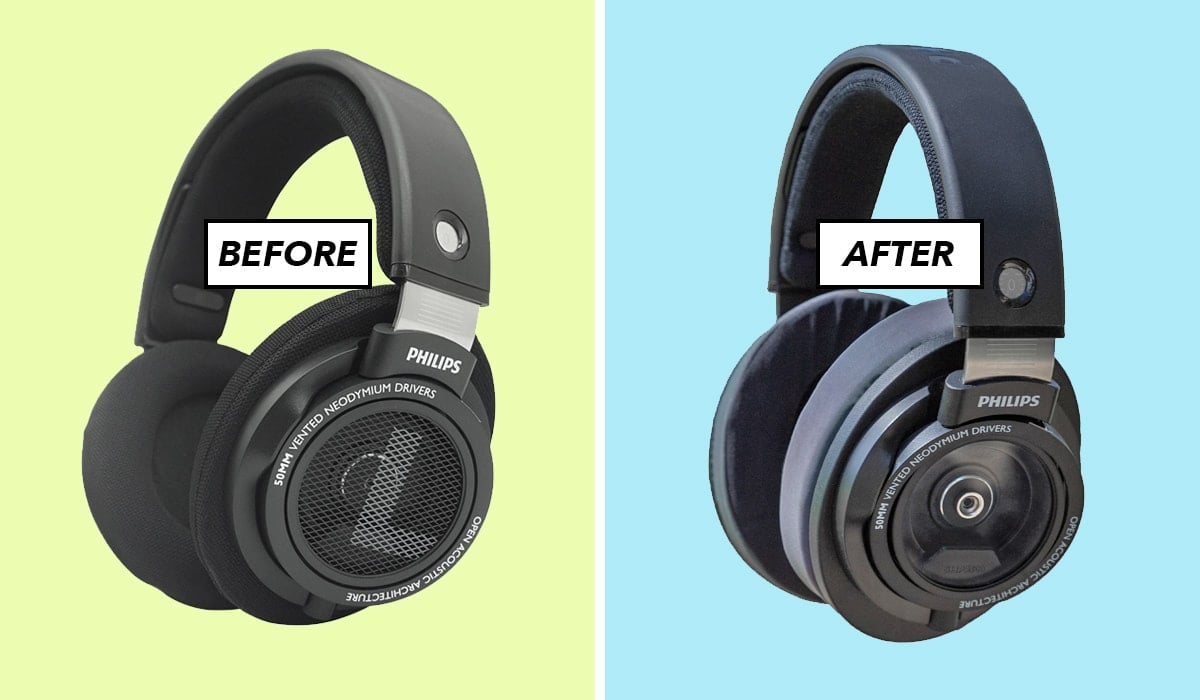
No, this doesn’t magically transform the 9500 into “HD820 lite,” but with this guide your SHPs will surely look like them!
In this tutorial, I will show you how to alter the way the Philips SHP9500 look and sound, while also enhancing their comfort, and changing them to a more closed-back design. I got the inspiration for this idea from a YouTuber named Maxime S.
Since my early teens, I have been obsessed with different types of audio gear and have tried out many styles of headphones. I quickly figured out my preference for over-ears. They often are more comfortable, sound better, and look pleasingly bulky (at least from my perspective).
It may come as no surprise that I have a huge affinity for transparent electronics. The frame of my glasses is transparent, my last phone had a translucent back-cover, and I even altered my Nintendo Switch to have a see-through housing. Heck, my main reason for buying these headphones was to modify them and make them see-through!
I know for most audiophiles out there, the SHP9500 are by no means the gold standard of headphones but they are quite exceptional for their price.
Materials and Tools Needed
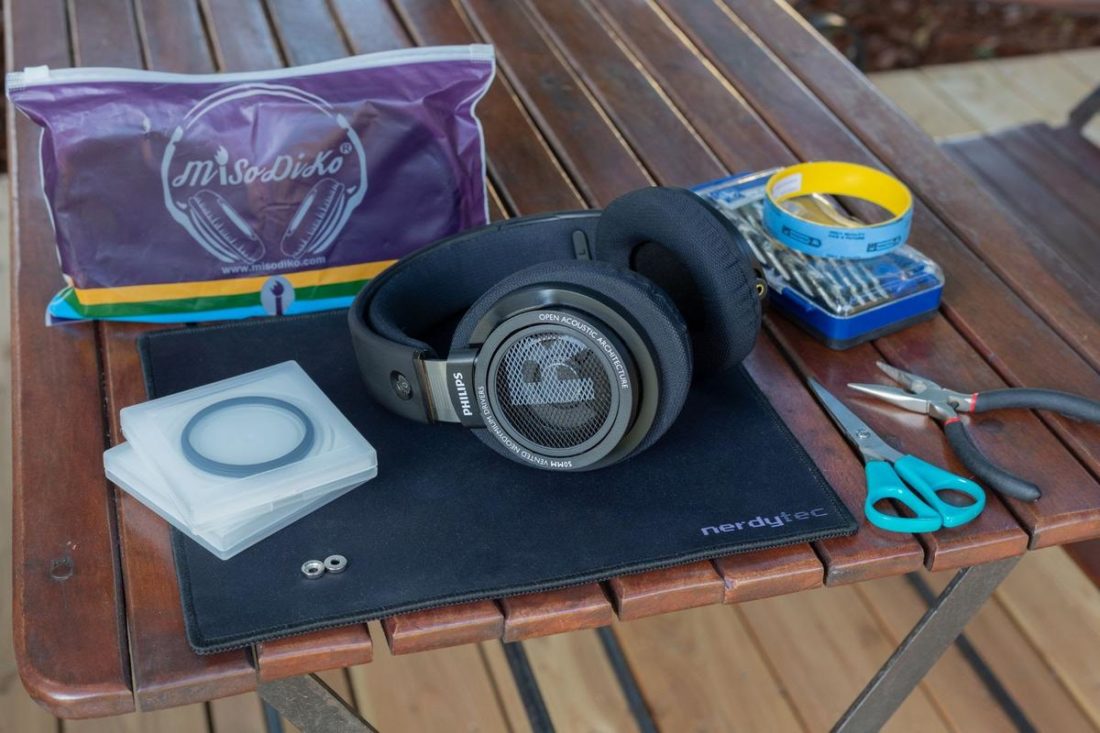
- Two 58mm UV filters (normally used for camera lenses)
- Two ring-shaped neodymium magnets
- Double-sided Molding tape
- Work mat
- Screwdriver set
- Pliers
- Scissors
- Optional (but highly recommended): Misodiko ear pads
Altering your headphones will void your warranty!
How to Dismantle the SHPs
As with many inexpensive headphones, the companies have to lower the price somehow in order to be competitive, and Philips certainly does so with the SHPs. However, as you can hear the electronics are not the cheap part. The materials used in the housing are!
This black plastic is sufficient to withstand day-to-day use, but even then scratches will emerge sooner or later. You have to be quite cautious to not bend or damage the plastic of the SHPs.
Steps
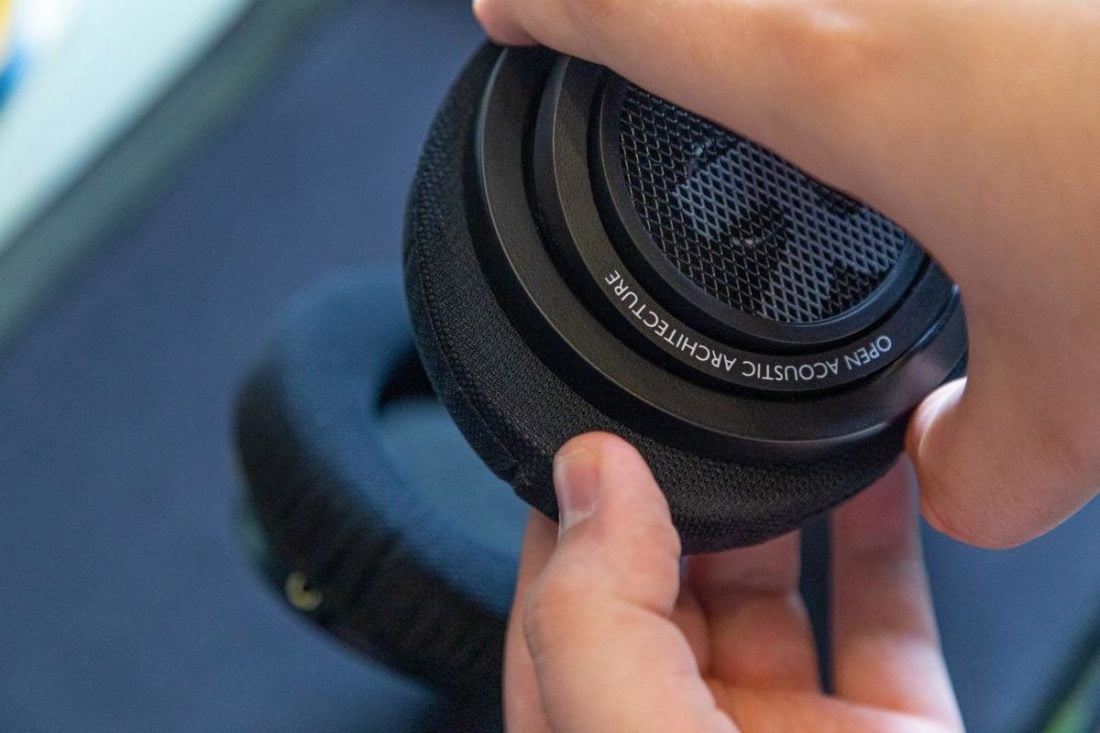
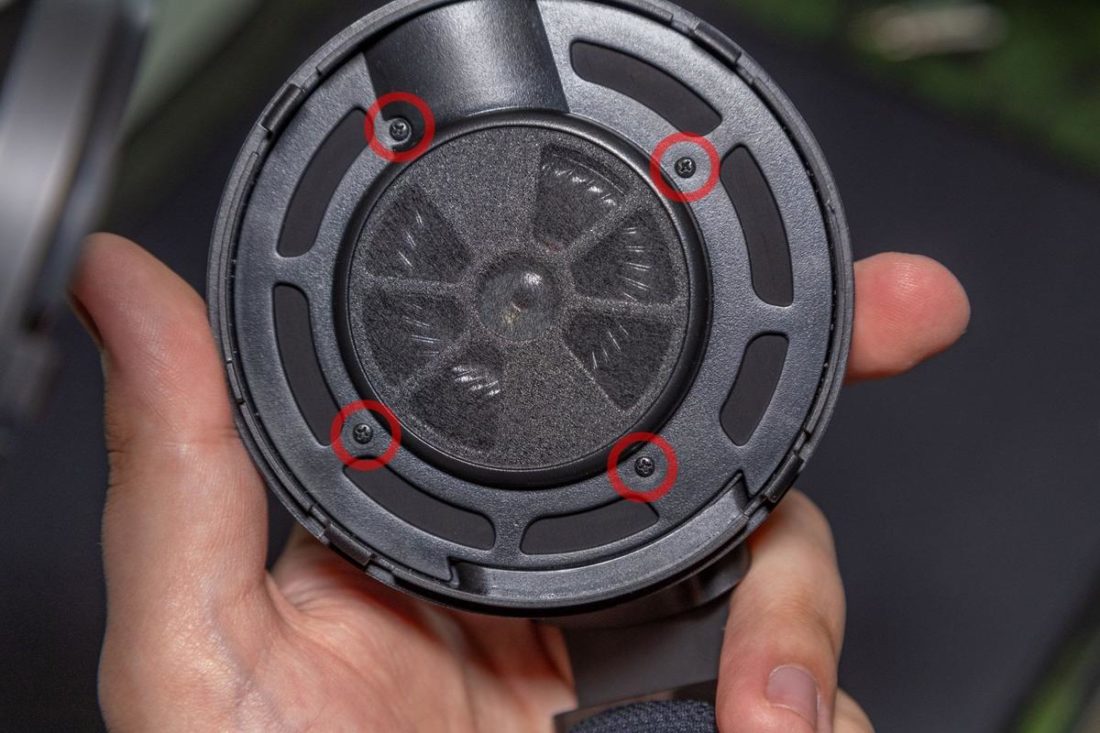
- Firmly hold one of the housings with your thumb. Push the ear-pad away from you while your index finger slightly presses against the headphone’s inner edge. This requires some force and can sound like you broke your headphones but rest assured the plastic is just especially rigid.

Firmly hold and push. - Unscrew the four screws with a tiny crosshead bit. If they don’t fall out by themself you can use flat pliers to gently pull them out in a turning motion.
Keep the screws in a safe place. - Now you should see the metal-grill-holder coming off. If not, use a flathead bit (or plastic spudger) to gently push the plastic ring away from the housing.

Don’t use too much force here. - The metal-grill can easily be popped out of the holder with your thumbs.
Use both thumbs to pop out the metal grill. Success!

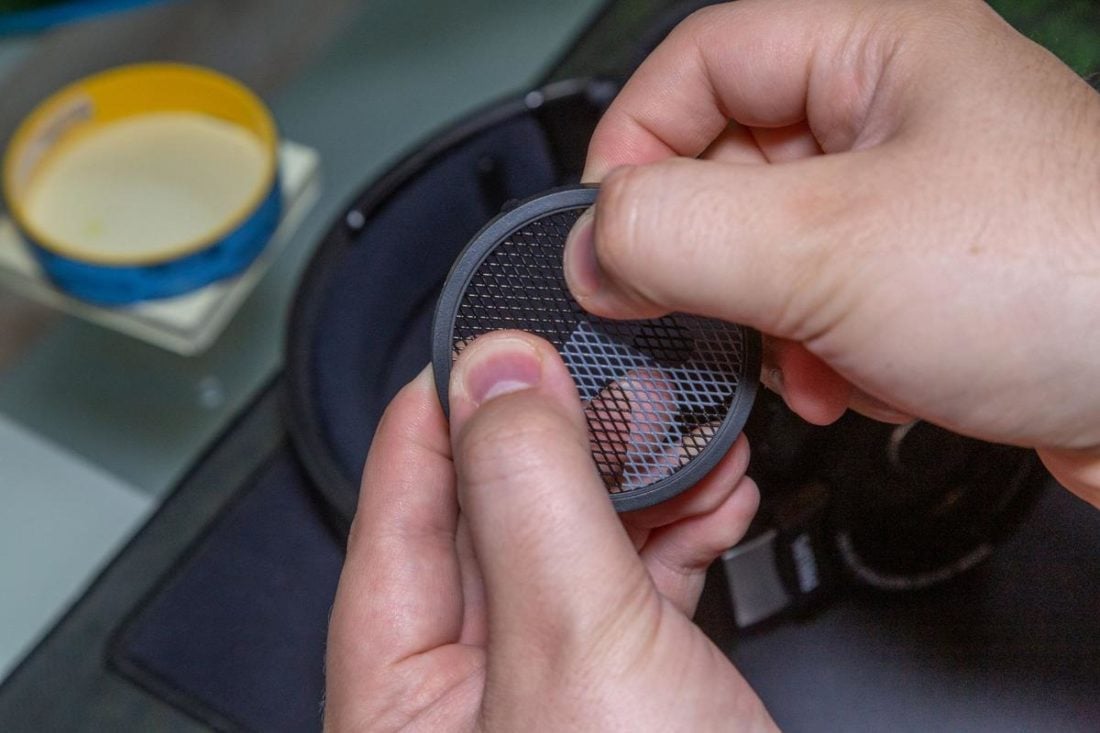
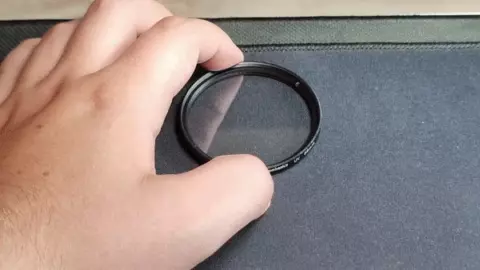
Disassembling the UV Filter
Take caution! This type of glass is extremely brittle! Wearing safety glasses is recommended!
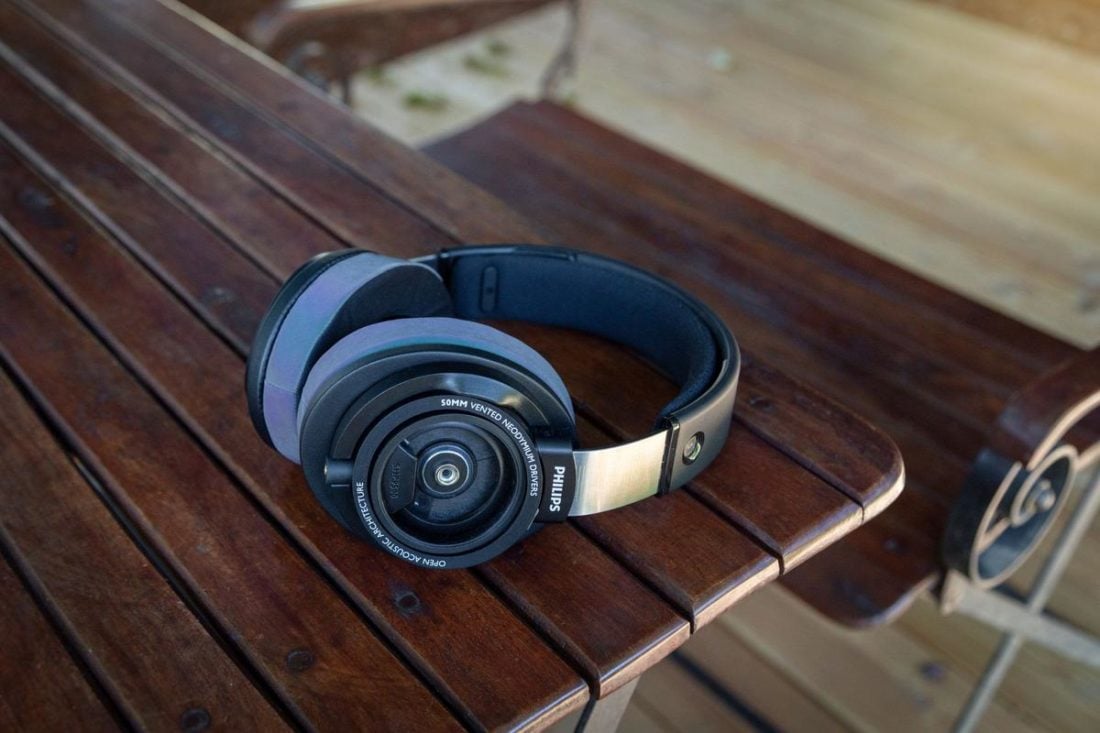
I am using two Amazon Basic UV filters. The filter glass is exactly 58mm in diameter and has the right fit for our purpose. Besides looking better, the glass panels turn the headphones into a somewhat closed-back design while maintaining the soundstage and improving the bass response.
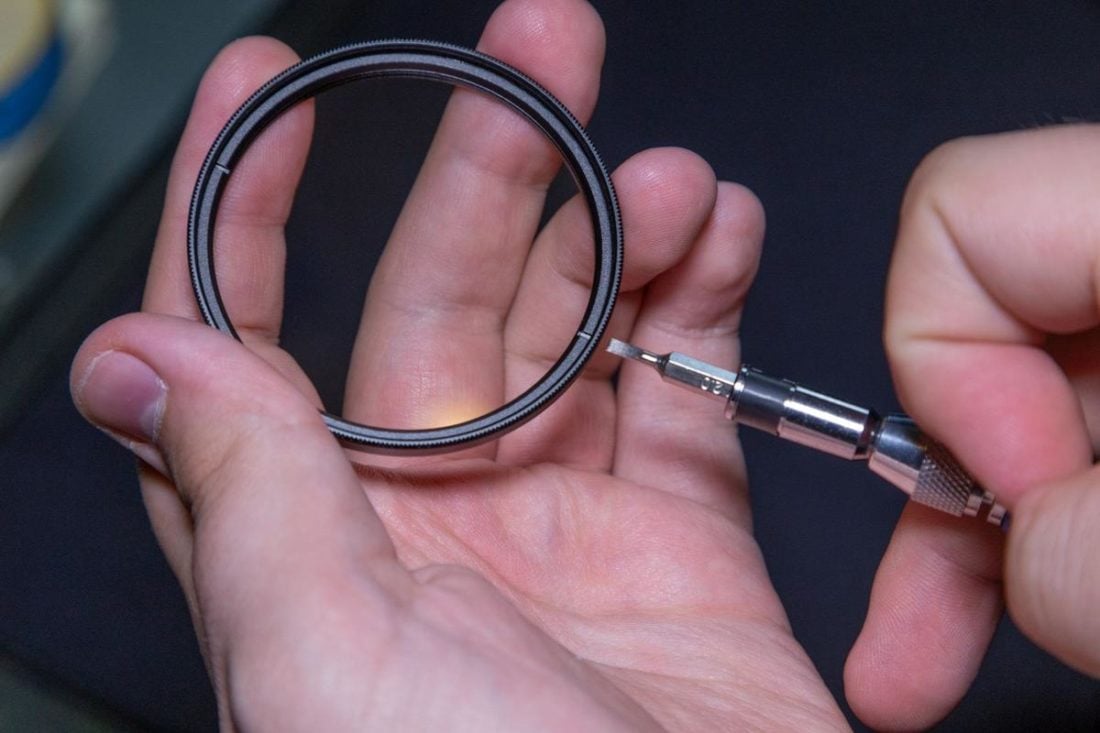
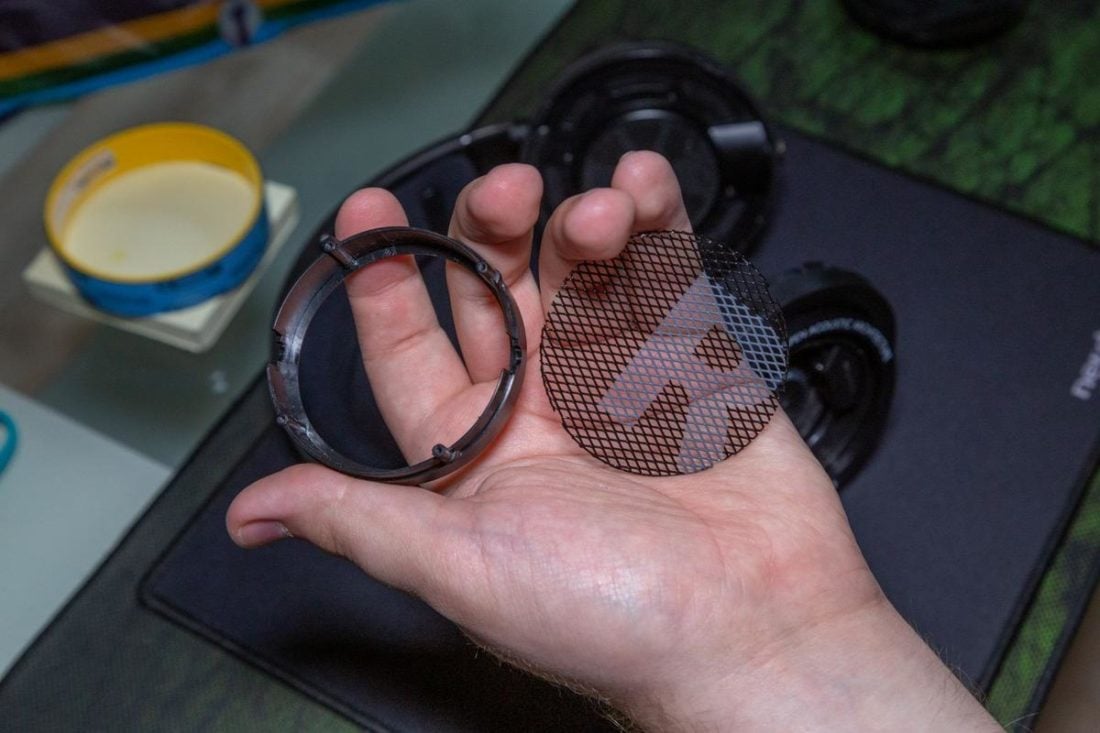
There are special tools that can be used for unscrewing such filter rings but the Amazon Basic ones are easy to dismantle with a small flathead bit.
- Press the filter down on the working mat while you put the bit in one of the slits in the inner ring.
- Now, with some light pressure rotate counterclockwise and away from the glass so that there will be no scratches on the glass. Do not push down towards the glass! Also don’t touch the glass surfaces too much. The fewer smears on the glass the better!
Of course, you can use other types of glass for such a modification, and there are other methods like cutting optics grade glass with special equipment. Please comment below if you find a better, more durable alternative.
Installing the Glass Inside the Grill Housing
Steps
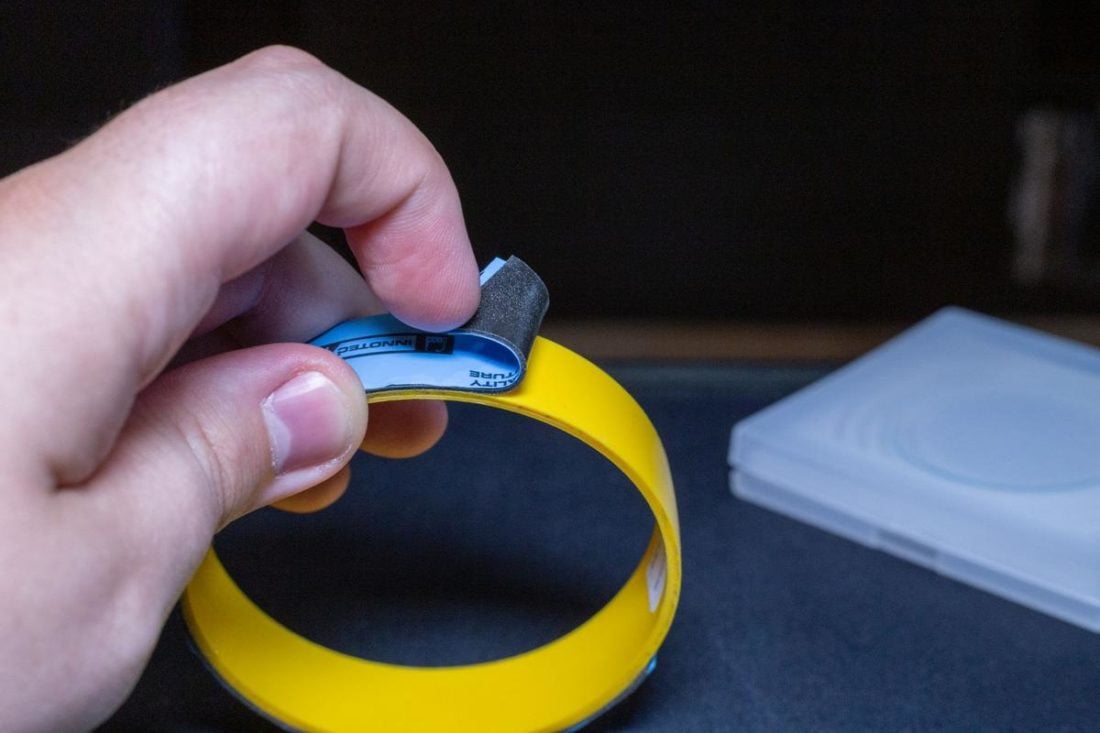
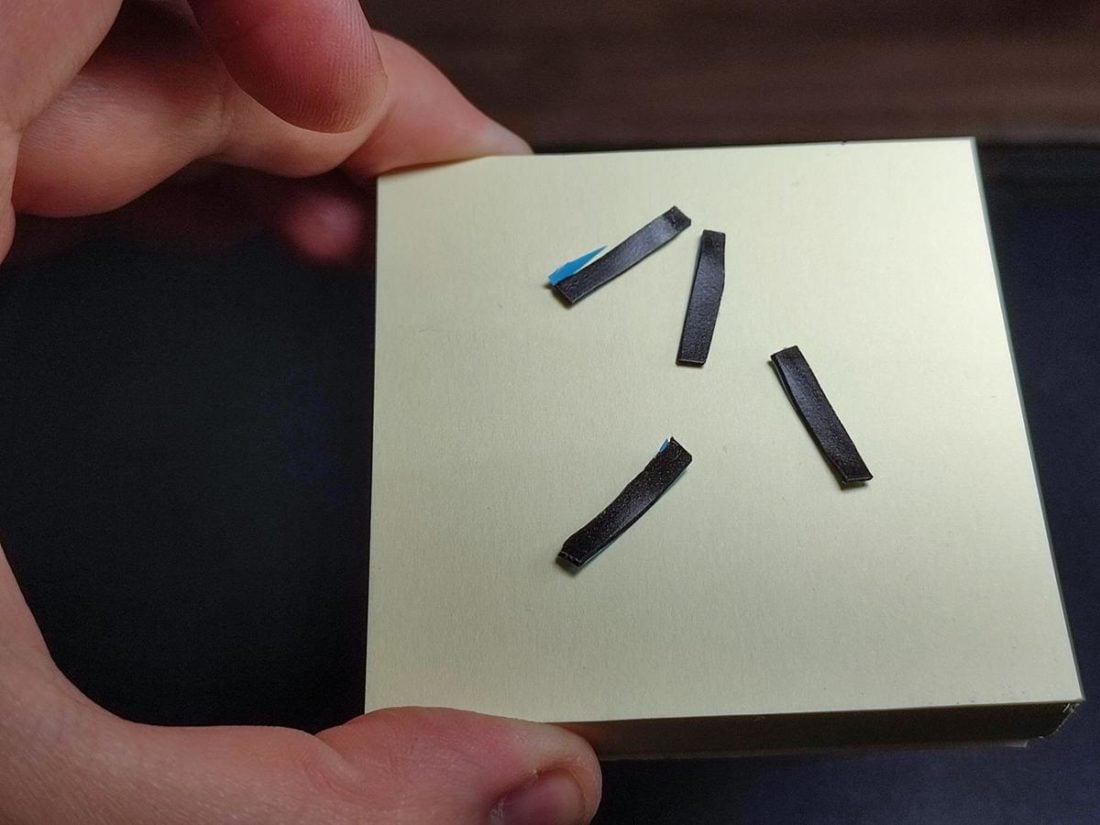
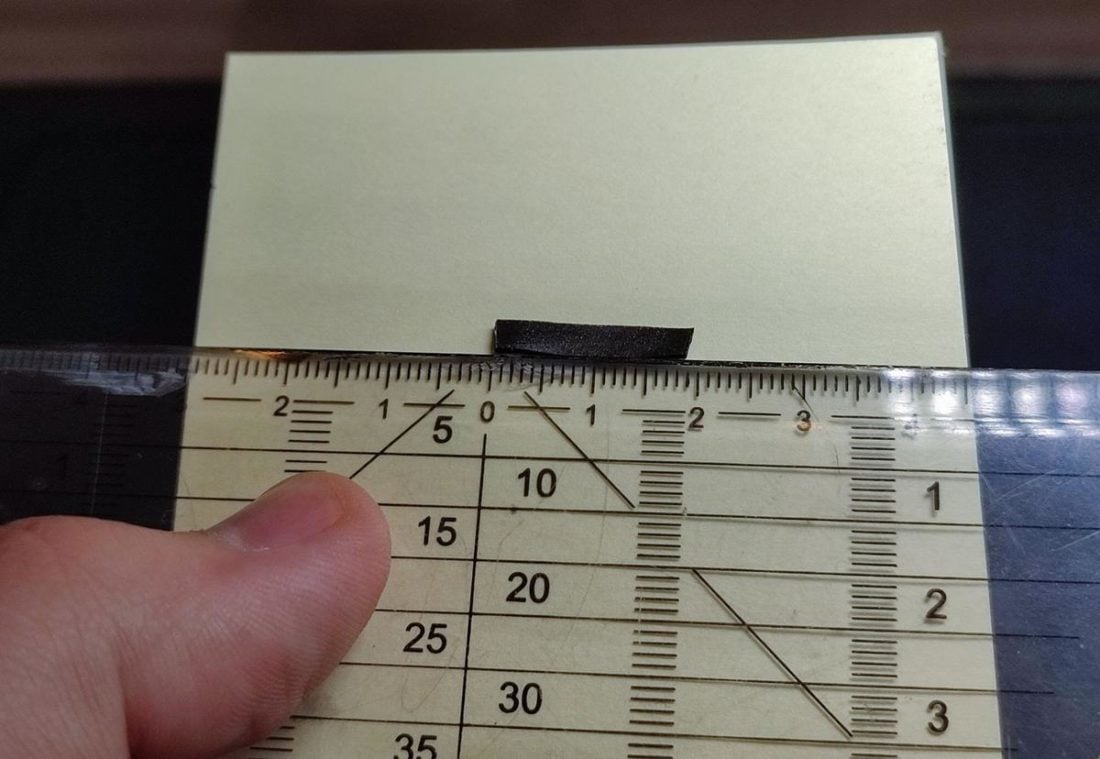
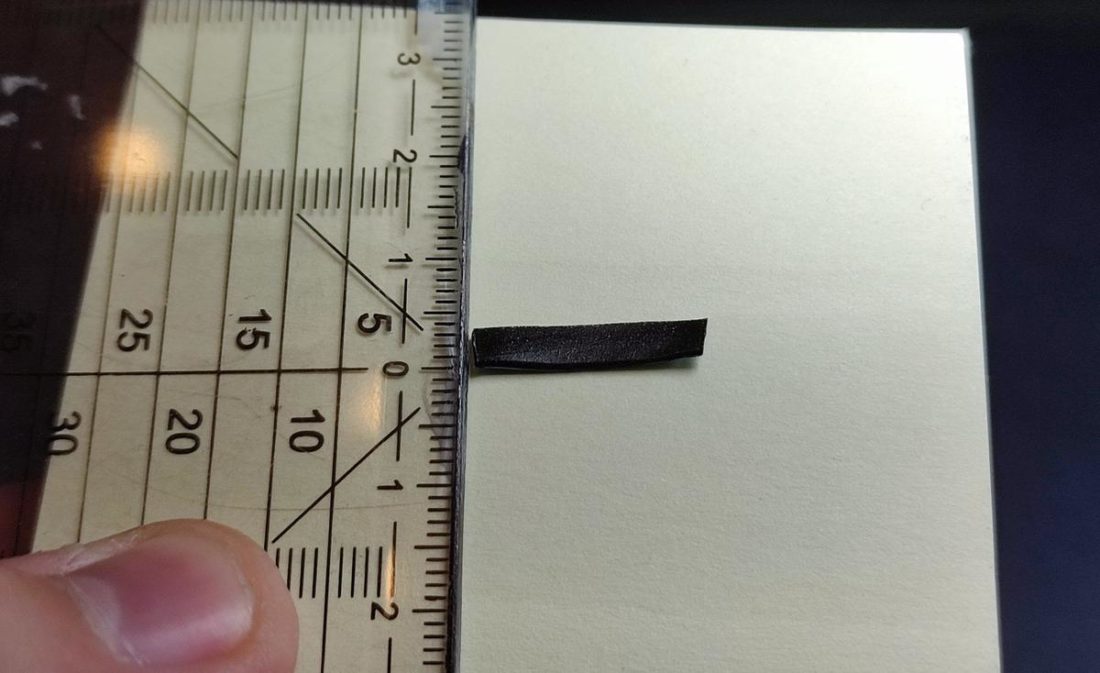
- Take the molding tape and cut off four pieces. Each piece should be at least 15mm long but not wider than 4mm (otherwise you will not be able to screw the grill-housing back into the headphones). Don’t remove the second protection film just yet.

The 4 pieces of tape. 
Approximately 15mm long 
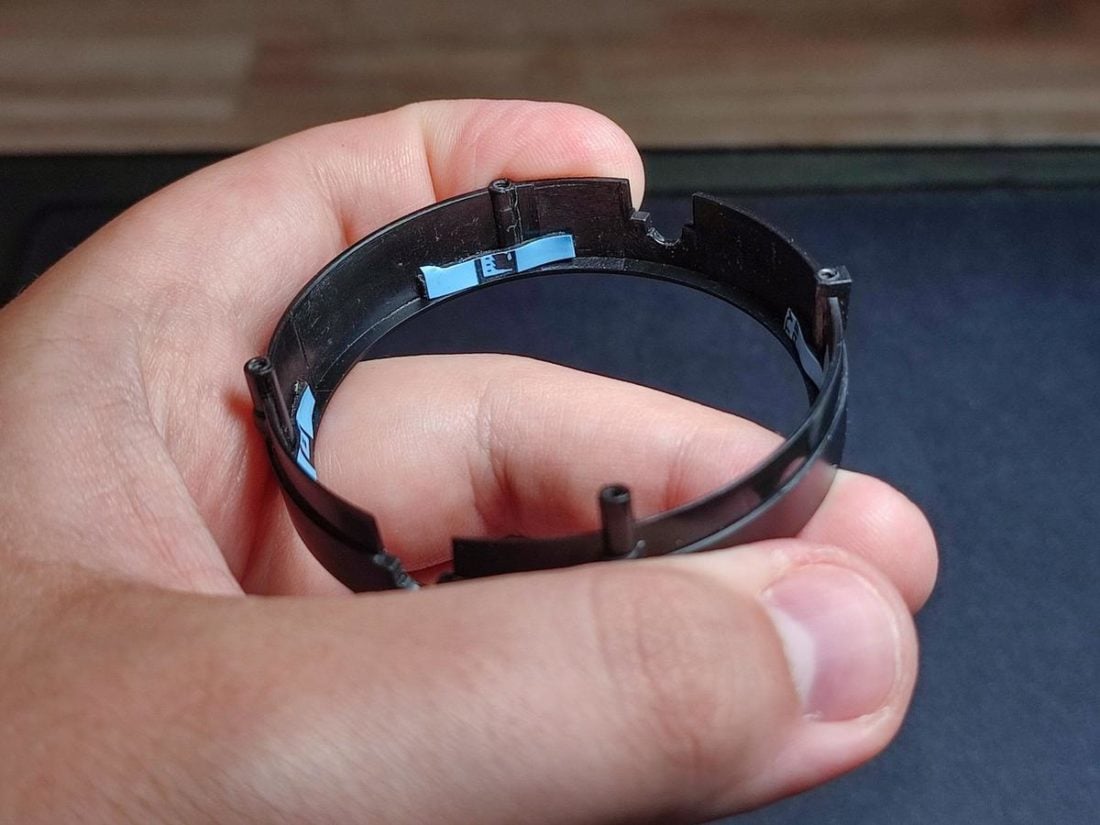
Approximately 4 mm wide. - Next, you stick the pieces inside the grill housing ring. There are four tubes with threads in them. Stick the molding tape pieces on the lower part as shown in the picture and remove the protective film.
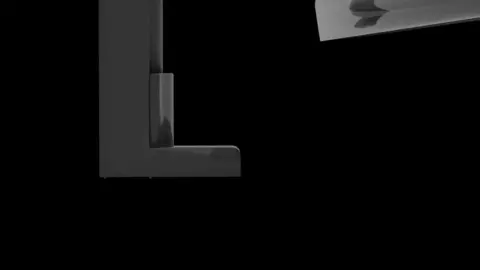
I highly suggest pressing firmly against the molding pieces so that they stick to the plastic and stay in place as well as possible. - Insert the glass as shown in the gifs. The glass plate has to be pushed in the crease between the small plastic rim and the molding tape.

Here is a quick animation I made to better show you how to insert the glass in the plastic ring. (step 3) - Then take a piece of paper towel, grab a hold of the glass plate with your fingers and slightly push it towards the molding tape again while laying the plate down onto the bottom of the plastic ring. It’s important to not just push the glass in as you may dislocate or crumple your tape pieces if you aren’t careful.
- Now wrap the screwdriver with a paper towel and attach it with duct tape so that its head functions as a soft stick.
- Use this tool to firmly push the glass plate down again to ensure that there is no gap between the glass and the plastic rim.
This is the tricky part: steps 4 to 6
Installing the Magnets Onto the Drivers
Here comes the part where you install magnets into your headphones to modify how the driver works and therefore change the way the SHPs sound. I suggest that you try it with magnets on before putting everything back together.
In the end, I removed the magnets because, with my preferred music, they push the highs too much for my liking. Vocals, on the other hand, sound better than the stock SHPs, but drum heavy parts do not sound that great with the magnets installed. That is, of course, just my opinion and I highly recommend that you try it for yourself!
Steps
- Put the SHPs on a table so that one housing lays flat on the working mat while the other hangs underneath the table.
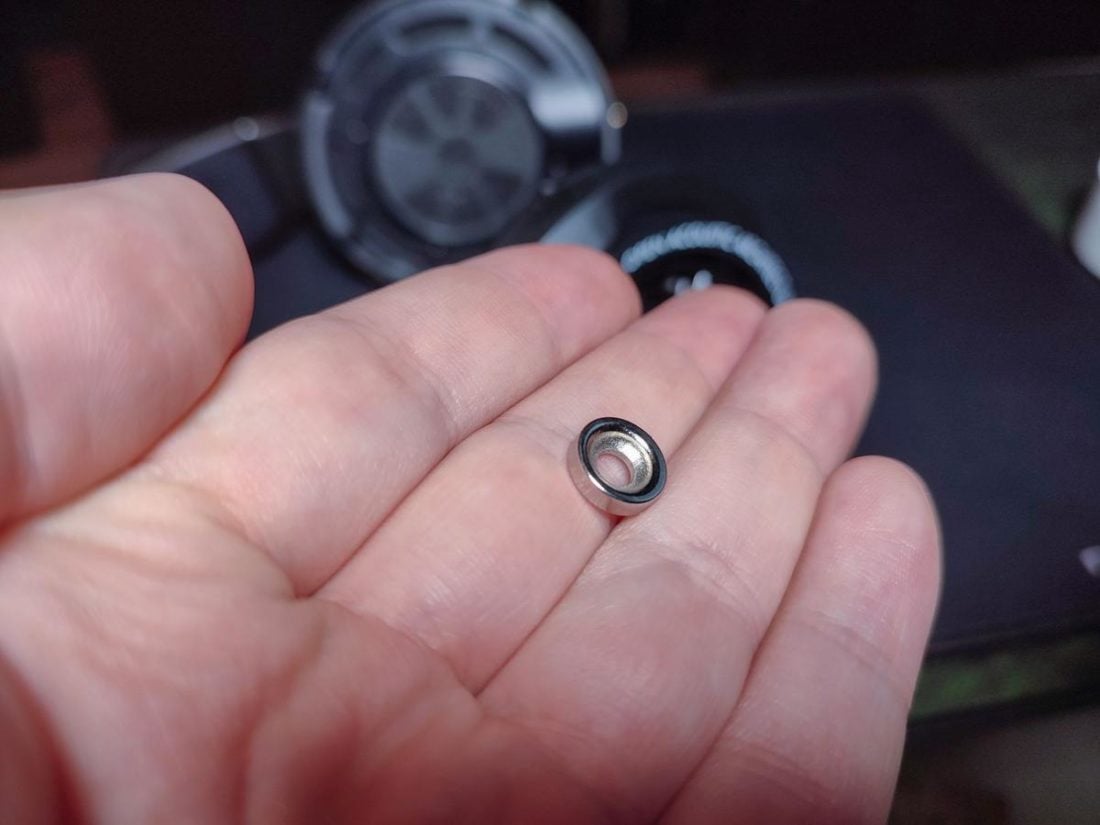
- Use flat pliers to hold one neodymium magnet securely. Make sure that the magnet towers above the plier’s tips otherwise you will scratch the foil on the driver. (The flat side of the magnet lays on the driver while the countersunk hole points away from the headphones)
- Secure the housing with one hand and stabilize your other hand with the working mat.
- Now you have to align the hole of the magnet with the driver grill. BE CAREFUL! The magnet is stronger than you might think. We don’t want to scratch the foil of the driver.
- Now you can let the magnet snap onto the driver.
- Align the magnet again with something non-magnetic if it is not exactly above the driver grill.
Putting Everything Back Together
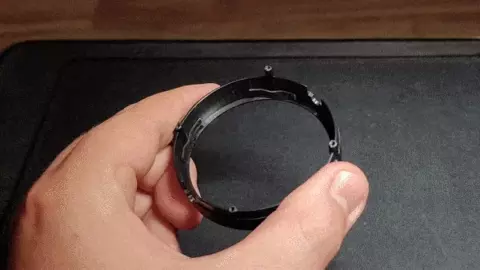
- Before you put everything back together make sure that there is as little dust inside the housing and on the glass as possible. For that, you can use a damp cleaning cloth or compressed air. [gif 5]
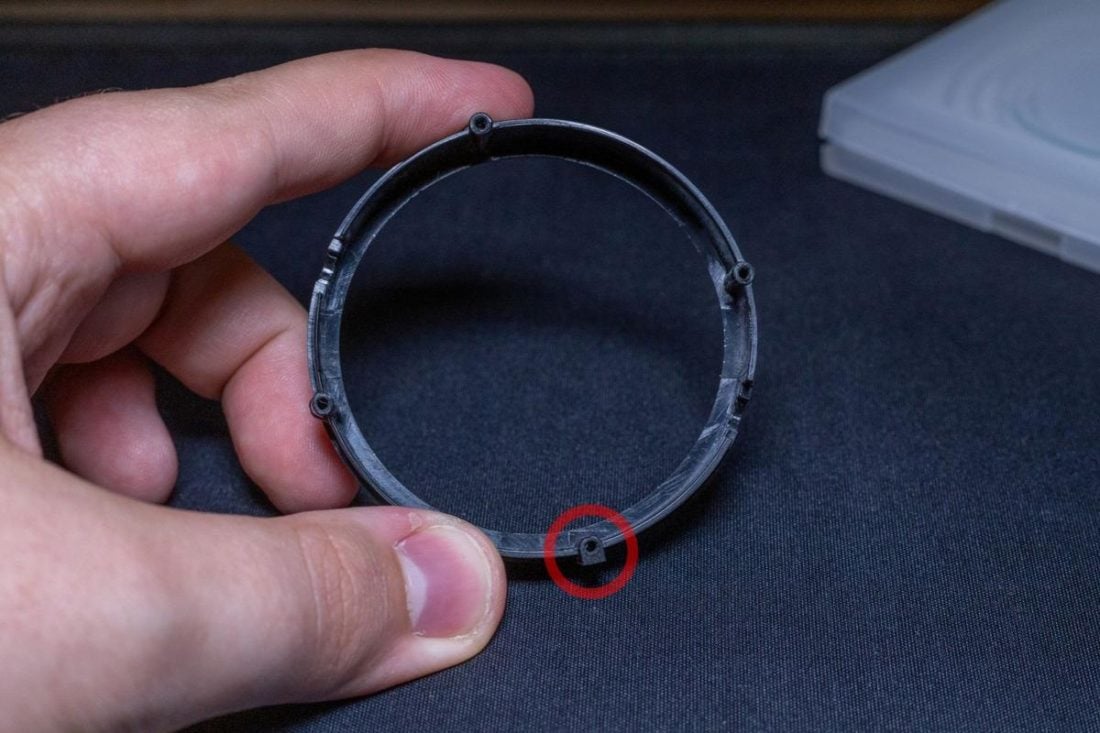
- Next take a look at the threads of the grill housing. They each have a different height but one of them has an angular shape to it. This one has to go in the biggest opening of the housing as it can be seen in the pictures. Be careful to not tighten the screws too firmly otherwise the plastic threads may get damaged.
The thread with the angular shape belongs to the biggest opening in the housing. 
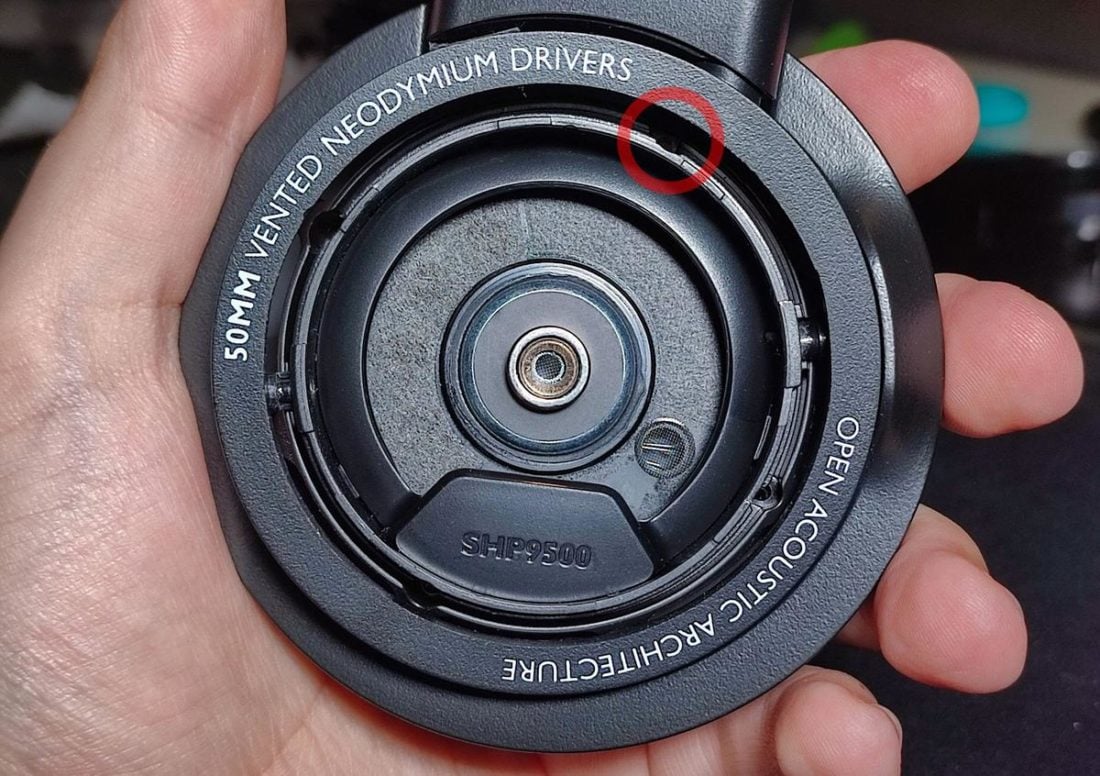
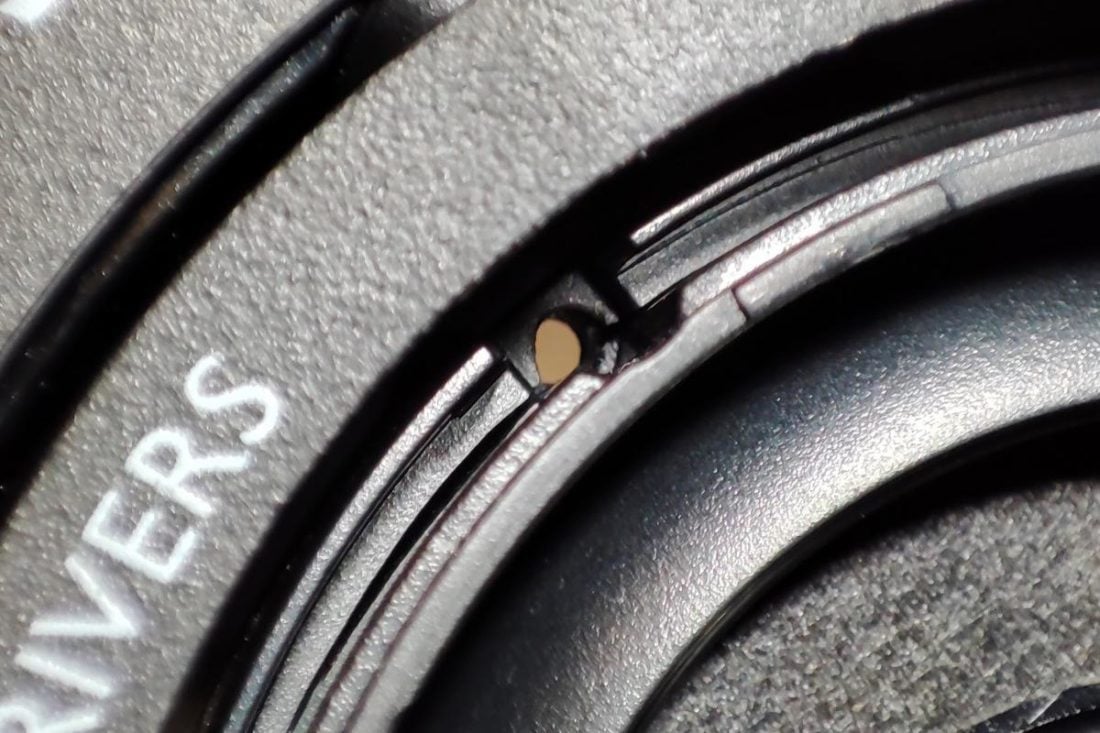
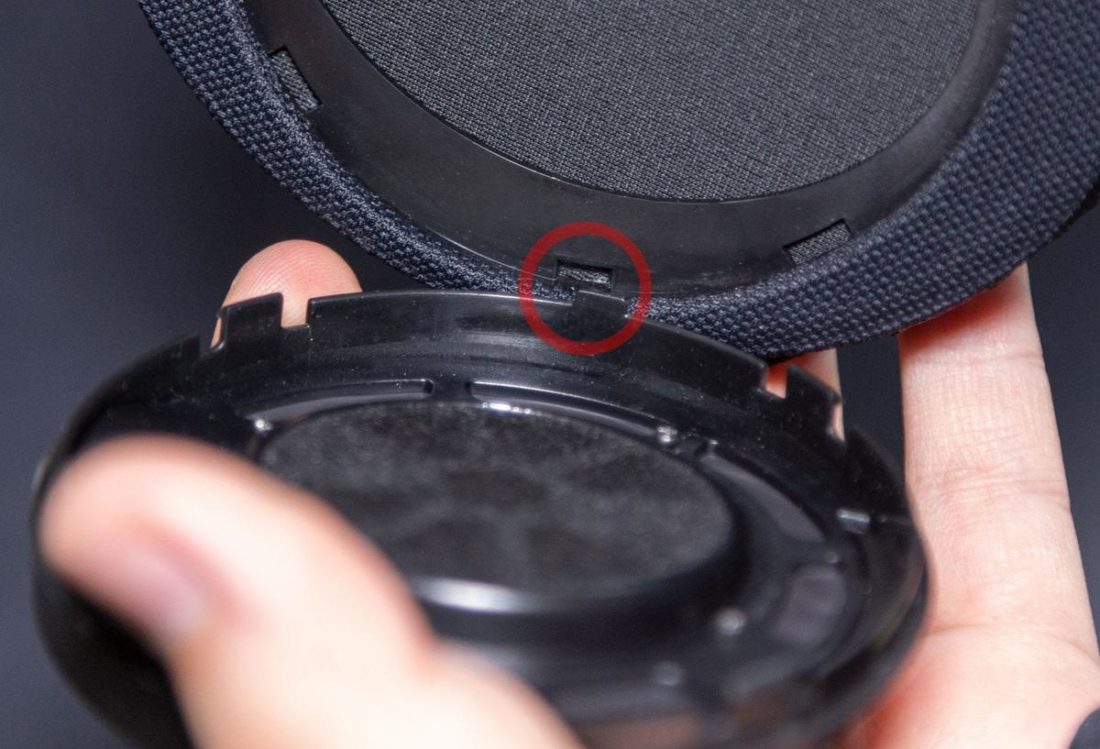
This picture shows the right housing, on the left housing the hole is mirrored. The hole has more space for the bigger, angular thread. - For the ear cups, you will have to align the mounting clips properly with the slits in the housing as shown in the picture.

Align the clips with the slits.
Change the Ear Pads for Better Comfort and Sound
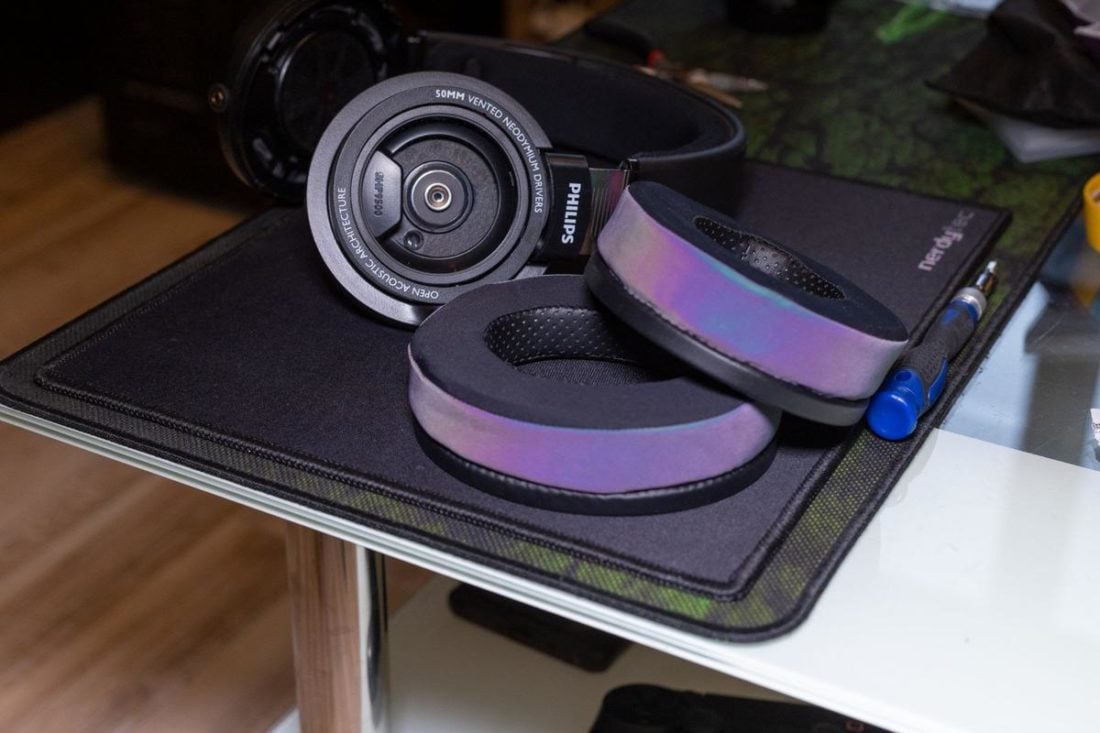
The Misodiko ear pads are filled with a cooling gel which makes longer music/gaming sessions more comfortable. They also change the sound by increasing the distance between your ears and the drivers. They mount the same way as the stock ear pads.
Conclusion
Regardless of whether you do only the glass mod or do it in combination with the magnets and ear pads, your SHP9500 will be aesthetically brought to a new level and given a new distinctive look and sound. Just make sure to take care of the glass plates and keep them clean. Of course, your modifications don’t have to stop here. I already considered incorporating LEDs to light up the interior. Remember, there are no limits to one’s creativity!
How does the sound compare from the modded version to the stock version?
It’s more focused and a little bit more overall bass 🙂
(Sry for late answer, thought I already replied to you back then)
I know this article is a bit old at this point, but curious as to how the pads impact bass response. Is it mid-bass, sub-bass, or general quantity that improves?
Hey! With the pads alone I would say general quantity but not that much though. With the glass combined it gets even a little bit better.