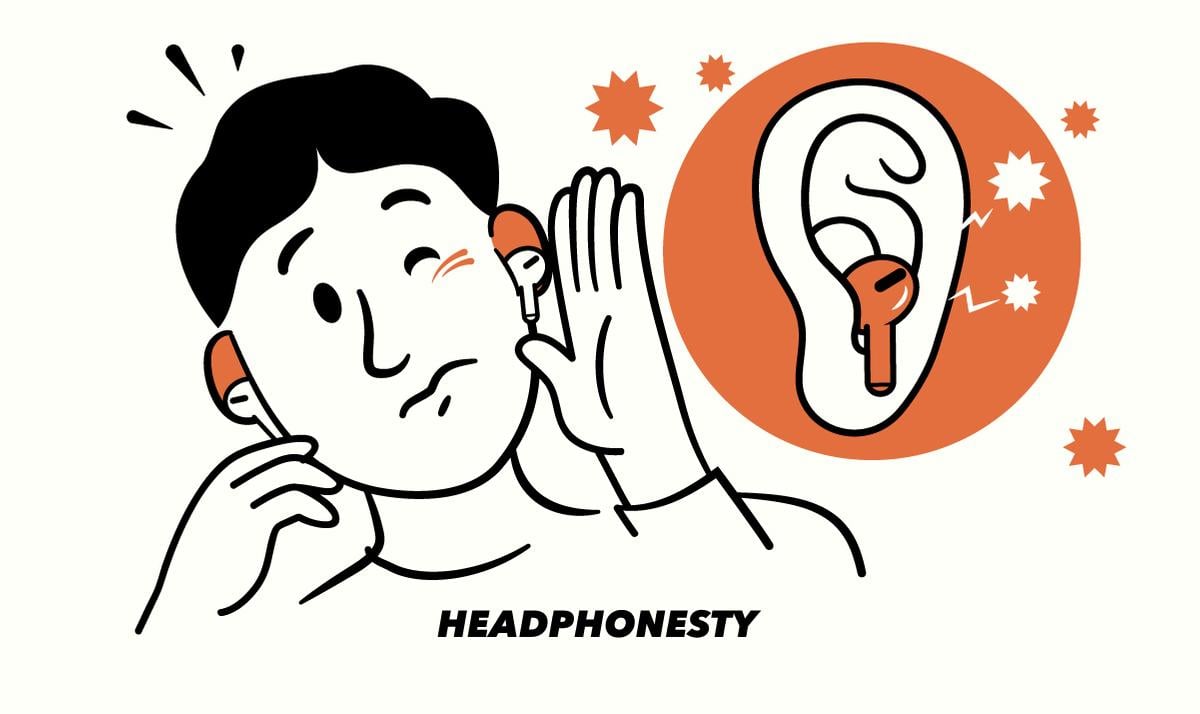
Find out why your AirPods hurt your ears and what you can do to prevent further discomfort.
Despite their convenience and functionality, nothing can justify using AirPods if they continuously irritate your ears.
What’s worse is that taking them out constantly to try and adjust them only interrupts your meetings, calls, games, or music listening. You’d be left asking: Is this really worth the cash I spent for AirPods?
We understand how frustrating this can be. That’s why we’ve created this guide to explain why your AirPods, AirPods Pro, or AirPods Max are causing you discomfort. Plus, the tried and proven solutions to help alleviate the pain.
Let’s get started!
Why Do AirPods Hurt Your Ears?
There are several possible reasons why wearing AirPods might hurt your ears. Here, we break down the leading causes:
- Your AirPods don’t fit you properly
- You’re wearing the AirPods wrong
- You’ve been wearing them for too long
- Ear infections
Your AirPods don’t fit you properly
If you’re experiencing ear pain when wearing AirPods, it could be because they are not compatible with your ear profile.
Unfortunately, AirPods 1, AirPods 2, & even the new AirPods 3 only come in one standard size. And since everyone’s ears are different from each other, this one-size-fits-all approach may not match your ear profile and will become uncomfortable to wear.
Wearing AirPods that don’t fit your ears forces its hard plastic shell against your skin and cartilage, causing unnecessary pressure and pain.
With the release of the AirPods Pro, Apple has moved on from its one-size-fits-all approach. However, despite offering up to three different sizes for its replaceable ear tips, some users have still reported issues with fit and comfort.
Worse, even the AirPods Max are being called out for being uncomfortable despite their entirely different form factor. For this variant, some users have feedback about the uncomfortable clamping force causing discomfort. This pressure has resulted in listeners experiencing headaches around the temple region and soreness behind the ears.
You’re wearing the AirPods wrong
Though it might sound like the most obvious advice, you may actually be wearing your AirPods incorrectly.
Wearing them the wrong way not only affects the sound quality but also causes discomfort, leading to an overall unpleasant experience. AirPods are made to follow the shape of your ears so they have specific curves here and there that won’t be comfortable when forced to fit the wrong way.
In addition, if worn incorrectly, your AirPods won’t sit snugly in your ears, increasing the likelihood that they become dislodged and fall out when you move around.
You’ve been wearing them for too long
Sometimes, wearing your AirPods for too long can cause chafing of the skin, itchiness, and even ear pain. Not only is this uncomfortable but listening to your AirPods nonstop without any breaks can also damage your ear health.
Overexposure to sounds for long periods can cause temporary or permanent hearing loss, especially when doing so at high volumes. This can lead to ear pain and other symptoms like tinnitus and ringing in your ears.
To avoid hurting your ears, it’s recommended that you wear AirPods for only up to a maximum of 90 minutes. While they’re off, gently massage your ears and let them rest for about 10-15 minutes before resuming your listening activity.
Ear infections
While ill-fitting AirPods or over-excessive use are possible culprits for soreness and aches, we can’t exactly rule out ear infections.
Unlike normal ear pain where your ear cartilage feels sore and aching, ear infections can often be felt inside your ear canal or around the eardrums and can remain painful even when you remove your AirPods. Sometimes, your ears may become inflamed and you might even notice discharge.
Ear infections can result from improper use of your AirPods, such as sticking them too deep into your ear canal or wearing them for too long. Doing so closes off the ear canal from the outside, allowing sweat and moisture to build up alongside your ear wax. This creates the ideal environment for bacteria to fester, which can easily lead to ear infections.
How to Stop AirPods (Gen 1, 2, & 3) From Hurting Your Ears
Despite their universal sizing, there are workarounds and tips to stop your AirPods 1, 2, and 3 from hurting your ears.
Here’s are some tips on how to prevent standard AirPods from hurting your ears:
Wear your AirPods (Gen 1, 2, or 3) properly
Knowing how to wear your AirPods (Gen 1, 2, or 3) are important especially if you intend on using them for long durations. While these variants typically only rest on your ear lobe and not the ear canal, this doesn’t mean you can just simply push them in and hope for the best.
Here’s how to wear your standard AirPods properly:
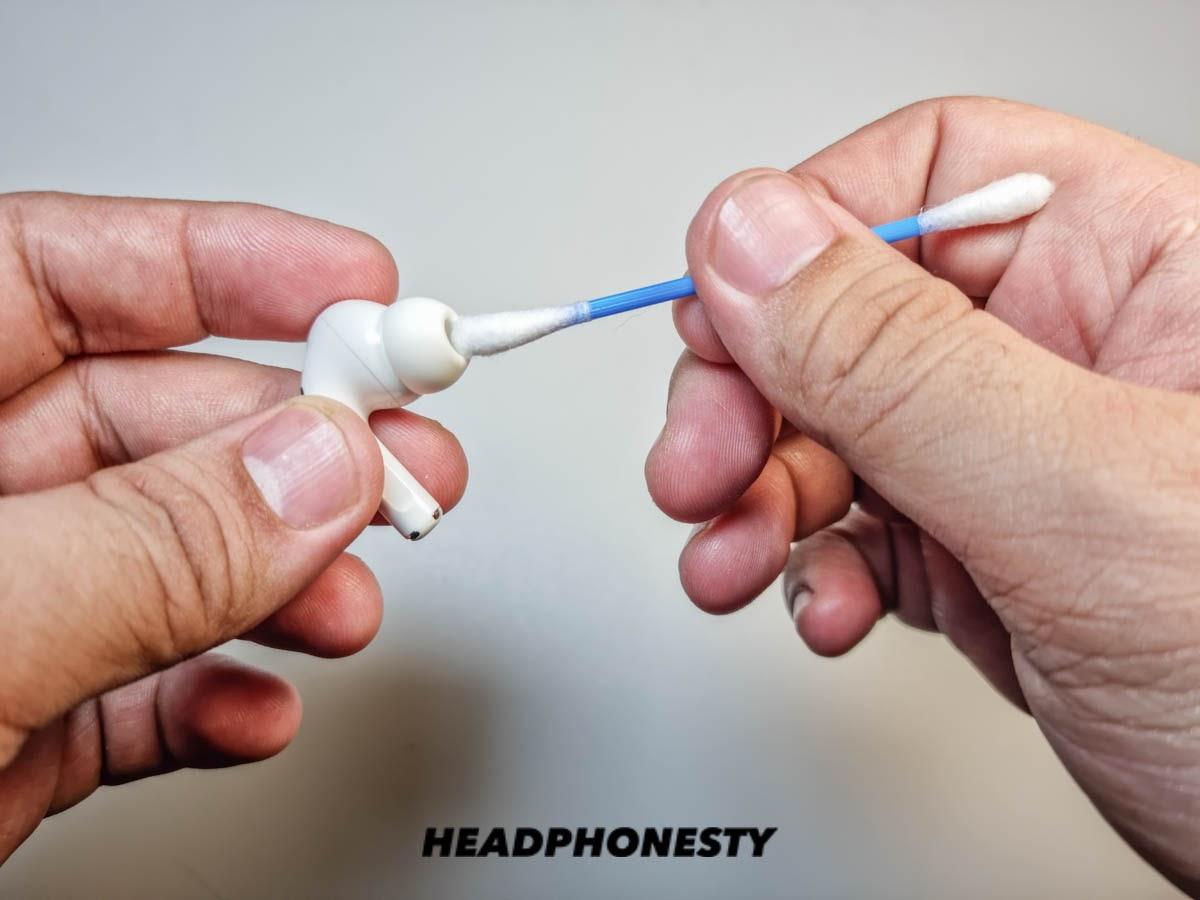
- Wipe the speakers with a cotton swab. Gently wipe off any oil, dirt, or residue from the tips of your AirPods. Oil and dirt can cause your AirPods to slip out from your ears. A cotton swab damp with 70% isopropyl alcohol is great for cleaning them off, but take care especially around the areas near the speaker grilles to avoid any liquid damage from seepage. This will give the earbuds a clean surface with more grip.

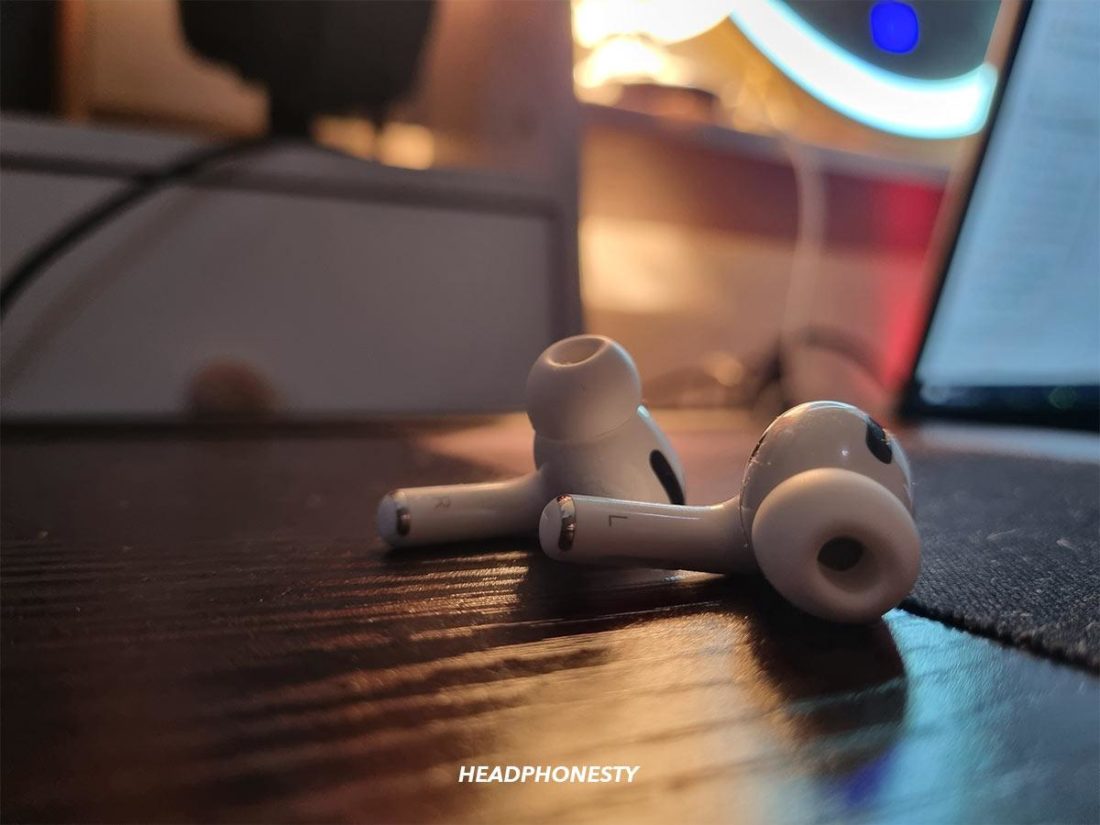
Cleaning AirPods with a cotton swab For a more detailed discussion, check out this guide on cleaning your AirPods. - Check the L & R marks on your AirPods. Each AirPod is meant to be worn in either your left or right ear. Check the letter in your AirPod’s stem and align them accordingly.

L & R marks on AirPod Pro’s stems - Gently press your AirPods in. Press the AirPods into your ears. Make sure that the stem is vertically aligned with your head as if it’s forming a line that is parallel with your face. This alignment is important for the next step of this process.
- Rotate and wedge in the AirPods to secure the fit. Lastly, rotate the AirPods until you feel that the earbuds are tight and secure in your ear. This “locked” position should happen when the stem of your AirPods are almost parallel to your jawline.
Try doing this in front of a mirror, it will be much easier for you to get a comfortable and secure fit.
Wear one AirPod at a time
Although it might be a little unpleasant, wearing your AirPods over time can help your ears adjust and the discomfort or pain you’re experiencing may eventually subside.
However, this means you’ll have to bear the pain for a while. To avoid overwhelming pain, you can simply try wearing one AirPod at a time.
Alternating your AirPods allows each ear to take a break while still being able to use them with a connected device. As a side benefit, this also helps save your AirPods’ battery life and allows you to use them for longer.
How to Stop AirPods Pro From Hurting Your Ears
AirPods Pro are slightly larger than the AirPods (Gen 1, 2, and 3), and they come with three replacement ear tips sizes to cater to more users. However, if you’re still experiencing pain, here are some ways to stop your AirPod Pros from hurting your ears:
Wear your AirPods Pro properly
Due to the inclusion of silicon replacement tips, wearing your AirPods Pro correctly is different compared to the standard AirPods. Follow these steps to wear your AirPods Pro the right way:
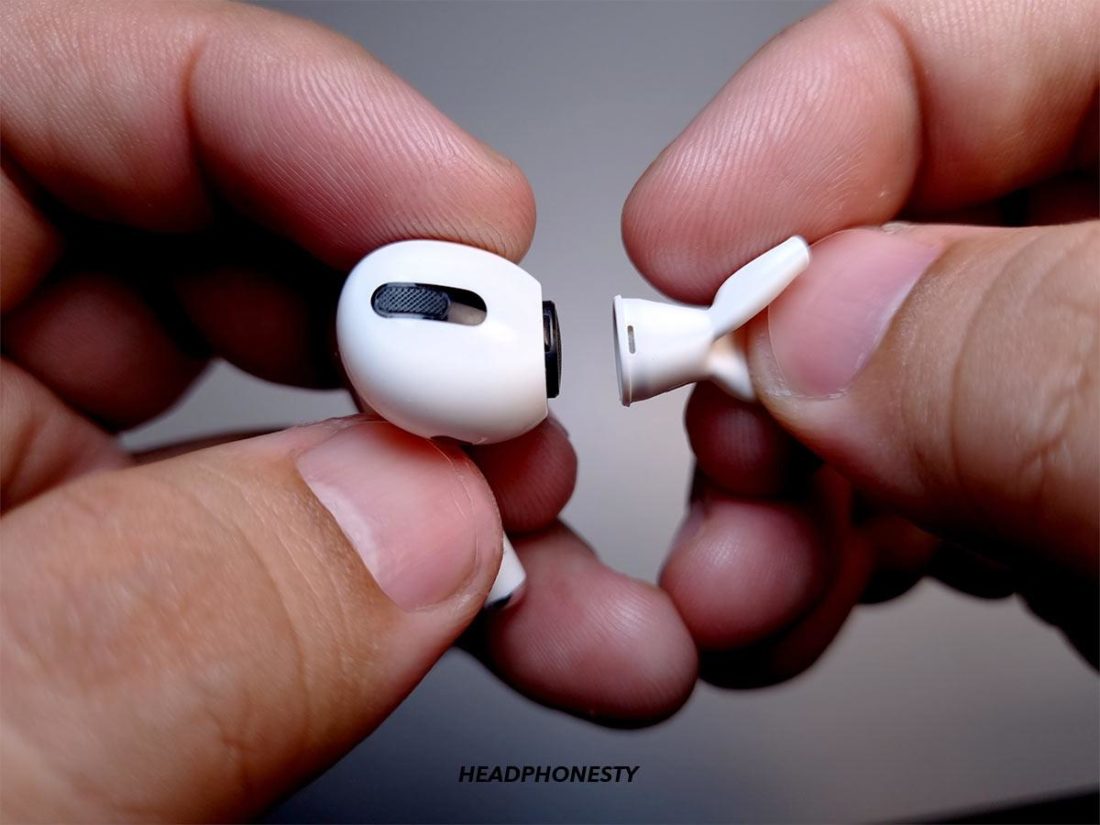
- Flip the silicone tips and check their size. To locate the sizing letter on your AirPods Pro, look for S, M or L etched on the inside of the ear tip near its base. The AirPods Pro come with medium-sized tips by default, with the small and large-sized tips included in the box if you need to switch them out.
AirPod Pro’s tip size - Align the sizing letter with the black vent. For the best fit, line up the sizing letter with the black vent of your AirPod Pro. Push them together and you should hear a click when you’ve connected them properly.
How to properly place AirPods Pro tip - Press in, rotate, and wedge. Like when putting on the standard AirPods, you should follow the press-rotate-wedge motion. Press in your AirPods to a comfortable fit, and rotate the earbuds until you feel them form a comfortable wedge onto your ear.

Choose the right ear tips for AirPods Pro
As mentioned, your AirPods Pro comes with three different sized tips (small, medium, or large) that you can swap out to achieve a comfortable fit. Apple has a neat feature, the Ear Tip Fit Test to help you find the right size to use.
Follow these steps:
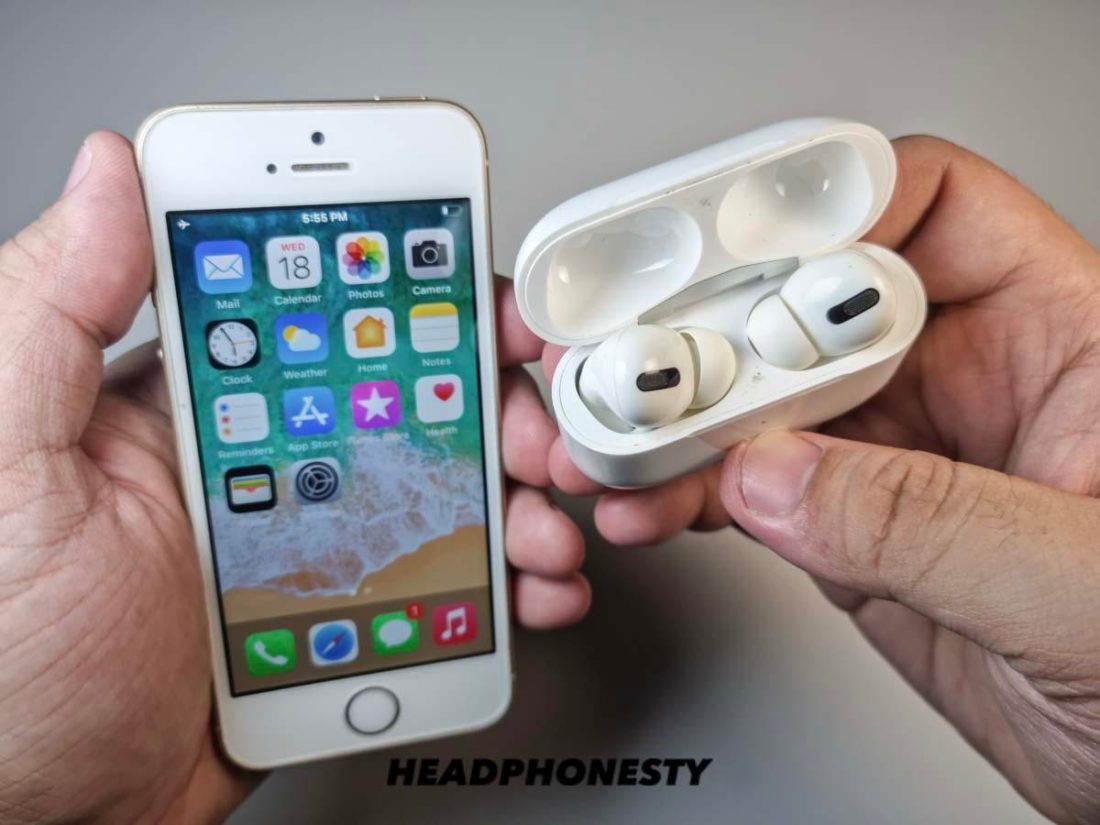
- Once you’ve worn your AirPods Pro, connect them to your iPhone.
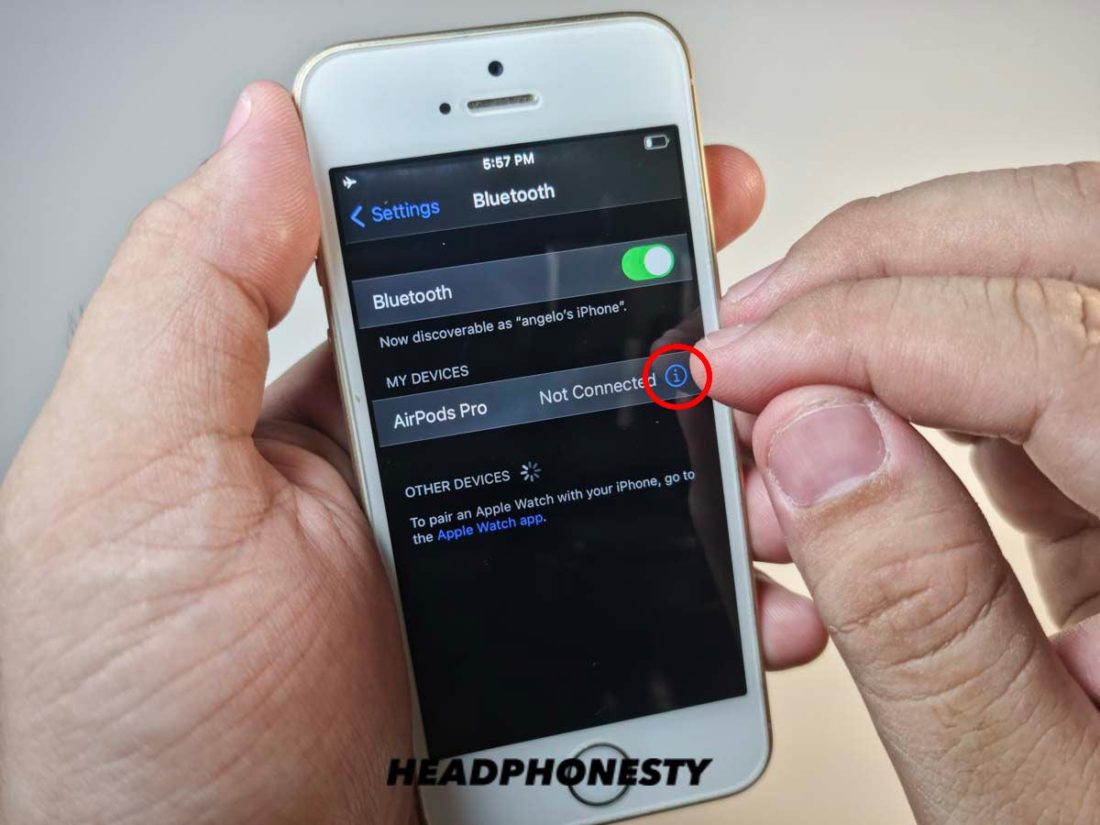
Connecting AirPods to iPhone - Go to Settings > Bluetooth, then click the ‘i’ icon beside your AirPods Pro’s name.
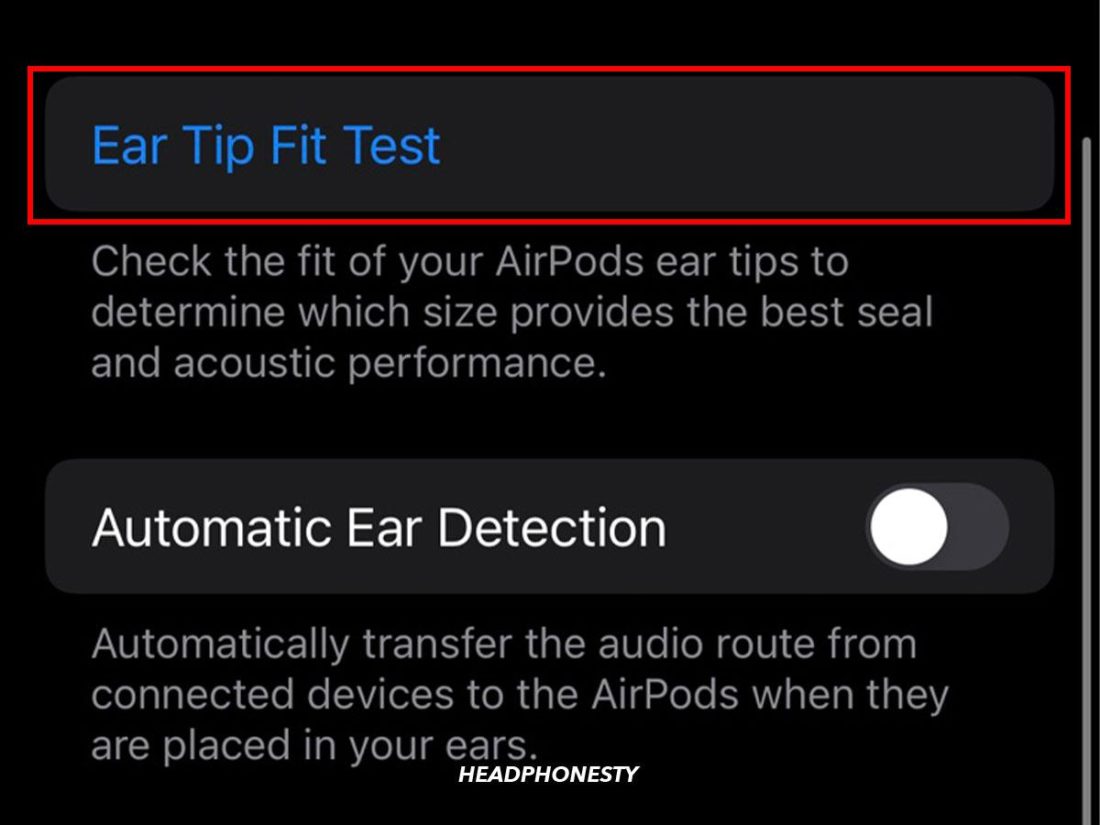
Going to AirPods Pro settings - Click the information button beside your device and press “Ear Tip Fit Test”.
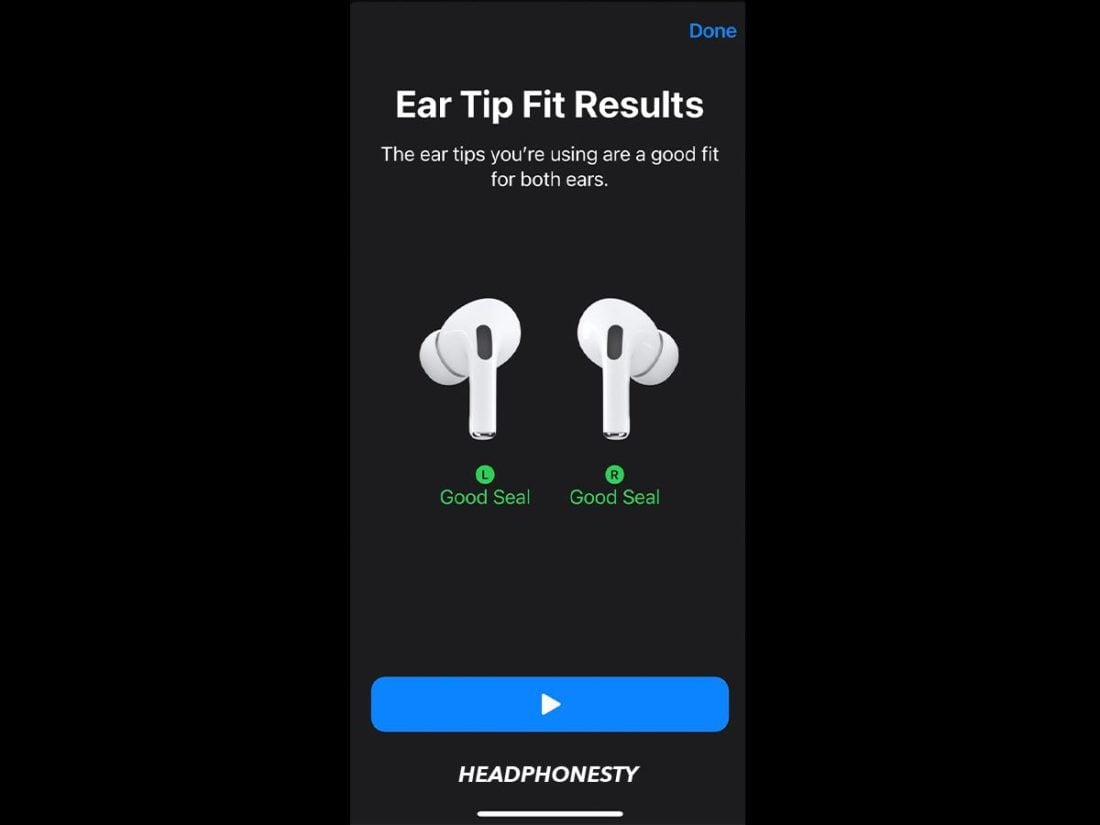
Accessing AirPods’ Ear Tip Fit Test feature - If the text suggests adjusting or trying a different tip, adjust your AirPods Pro and run the test again. Alternatively, you can try using a different size for your left and right ears.
If you have trouble replacing your tips, visit our guide on how to change AirPods Pro tips to for a more comfortable fit.Adjust AirPods Pro’s tips until you get ‘good seal’
Try third-party ear tips
If for whatever reason, after trying all size combinations, you’re still not able to get a comfortable fit, you should consider investing in third-party ear tips.
The next best alternative to Apple’s provided silicone ear tips are memory foam tips.
Memory foam is an excellent material that easily adapts to the shape of the ear, giving the users a more secure fit.
For example, the Comply Foam Apple AirPods Pro Earbuds Tips offers a completely customized fit that stays firmly in place. Furthermore, its noise-isolating feature blocks out exterior sounds to deliver an immersive audio experience.
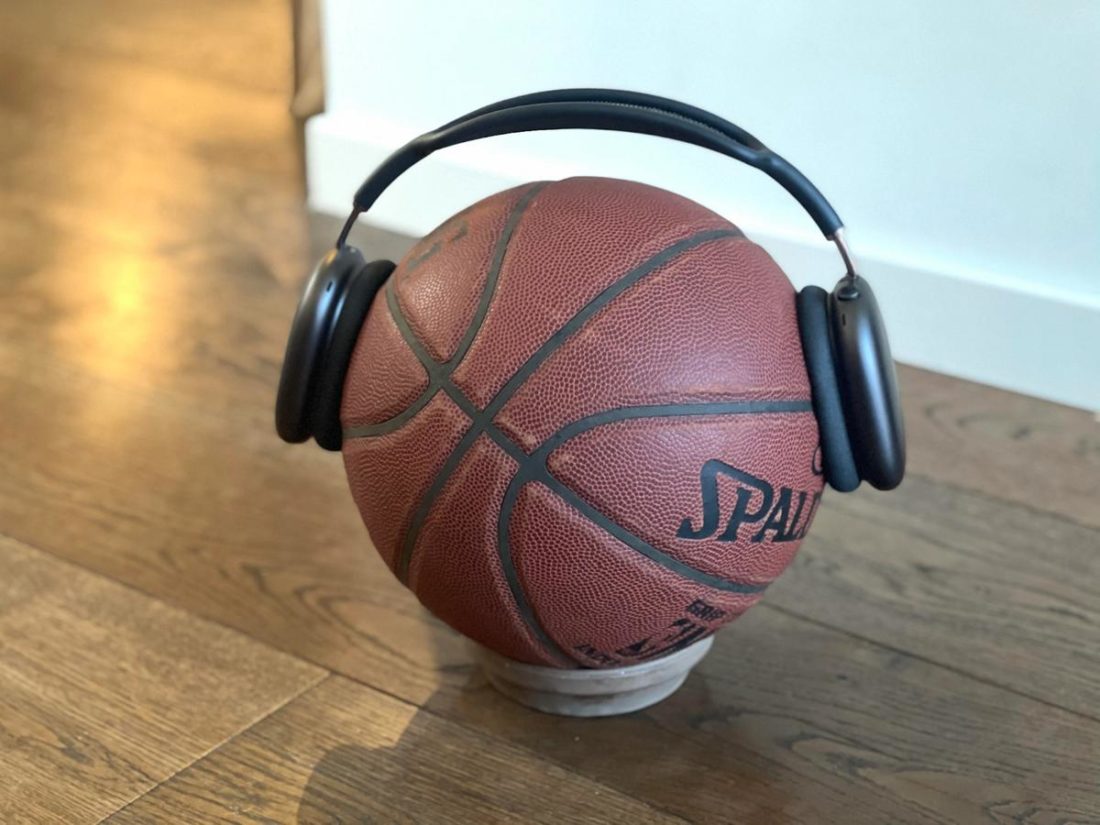
How to Stop AirPods Max From Hurting Your Ears
Unlike the AirPods Gen 1, 2, 3, and AirPods Pro which are earbuds, the AirPods Max are fully reimagined as over-ear headphones.
This new form factor introduces several elements that might contribute to discomfort or pain after long hours of use. These include the headband’s clamping force and the ear cushions or paddings causing irritation.
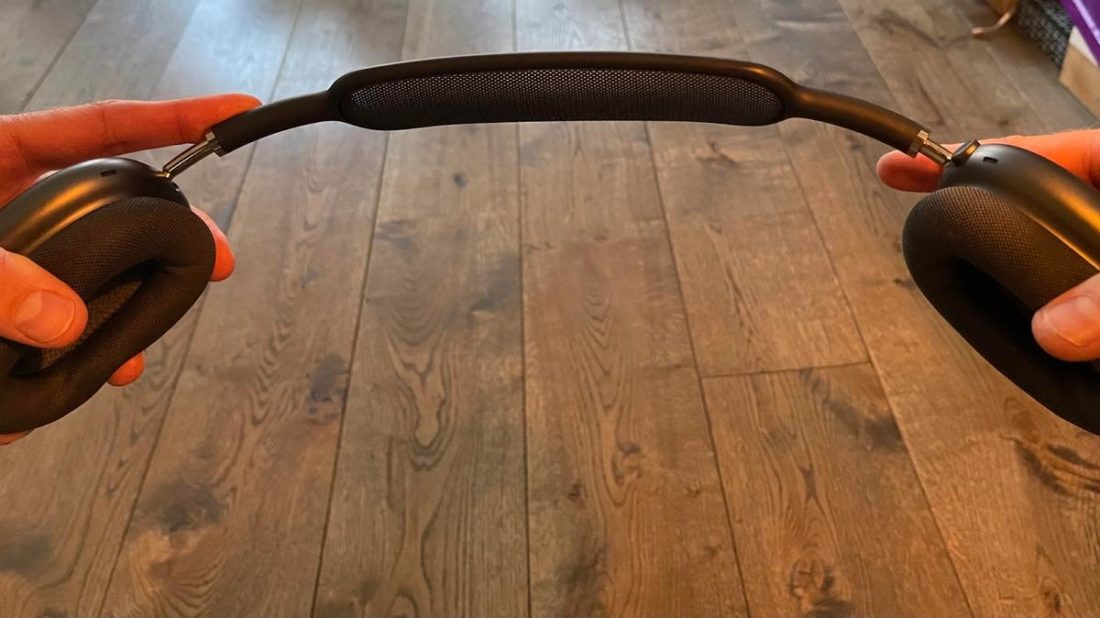
Stretch the headband out
If you feel your AirPods Max might be a little too tight over your head, you may need to reduce the headband’s clamping force.
You can reduce the clamping force by stretching the AirPods Max’s headband out. To do this, you’ll need a sturdy box or a set of books (or virtually anything you can stretch the AirPods Max with).
Here are the steps:
- Stack your set of books together horizontally and place them on a flat surface. Try to make sure that the width of the stacked books is a little wider than your head.
- Carefully stretch the AirPods Max by pulling the right and left ear cups away from each other.
- Place the stretch headband over the books. The expanded width of the books should keep the headband in this stretched position.
- Let them rest in this position for about 24-48 hours. If your headband is thicker and stiffer, let it rest for a longer period of time. You can repeat the same process or you can look for objects with a wider width to further stretch the headband out if your AirPods Max still feels tight.
If the above suggestion doesn’t work, you can try carefully ‘super-stretching’ your AirPods Max’ headband up until capacity, like what u/patrickplaggenborg did on Reddit.
Replace the ear cushions
The AirPods Max ear cushions are designed with larger comfortable padding that can help to relieve pressure on the ear cartilage when wearing them.
Unfortunately, the standard ear cushions that come with the AirPods Max may not be comfortable for everyone. In some cases, users have reported allergic reactions to the AirPods Max ear cushions, citing the material can be abrasive and how they feel warm and itchy after putting them on for a while.
The good news is, you can replace your AirPods Max ear pads, with some good quality third-party options. One of those are the Earrock ear cushions, which are an excellent replacement for the stock cushions on the AirPods Max.
Constructed of premium luxury protein leather and acoustic memory foam, you can get the best mix of comfort and sound quality with these ear cushions. Furthermore, they are easy to install as they attach automatically to your AirPods Max with the inner magnet.
Don’t be surprised if your AirPods Max sound a little different after changing the padding, though. Depending on the type of material they’re made of, their thickness, and their corresponding distance from the headphone driver, replacing your ear cushions or headphone pads may affect the sound quality.
3 Comfortable AirPod Alternatives
Maybe you’ve tried everything and it just seems like AirPods aren’t the right earphones for you. Don’t fret because there are viable alternatives to AirPods that provide great comfort and decent sound quality.
Here are some products you can consider:
Shure AONIC 215 (Gen 2)
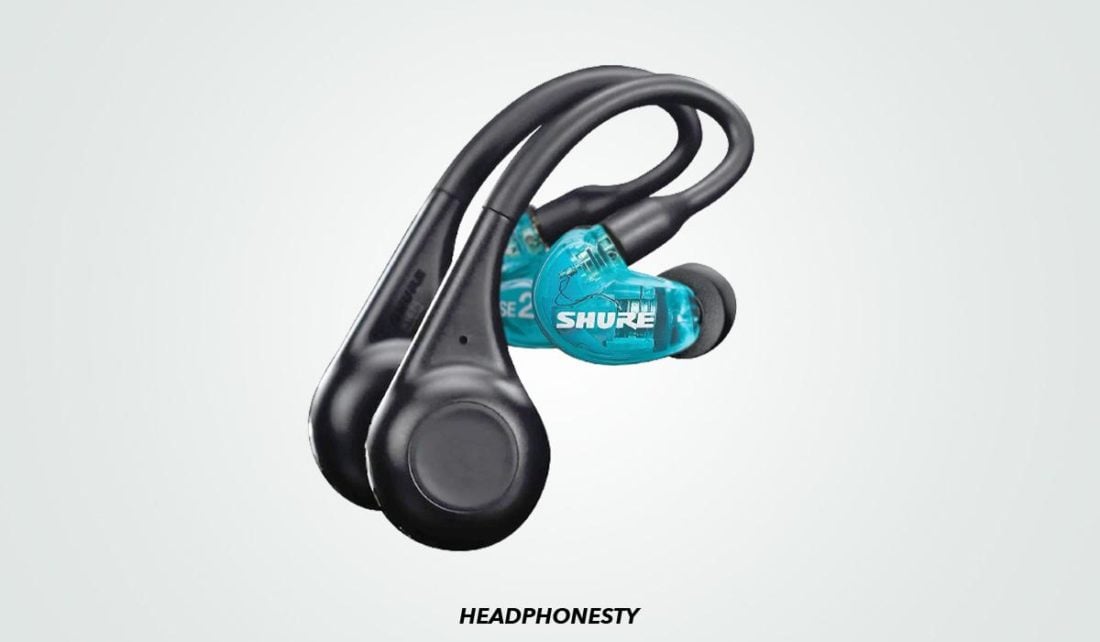
Worried about your earbuds falling out constantly? Then the Shure AONIC 215 (Gen 2) may be just the product you need.
With an over-ear hook to keep your earbuds secure even during high-energy activities, the Shure AONIC 215 Gen 2 is engineered to output rich and deep-sounding bass.
At 32 hours of battery life, you can expect long-lasting comfort and good quality audio in a nice and low-profile design.
Soundcore Life P3
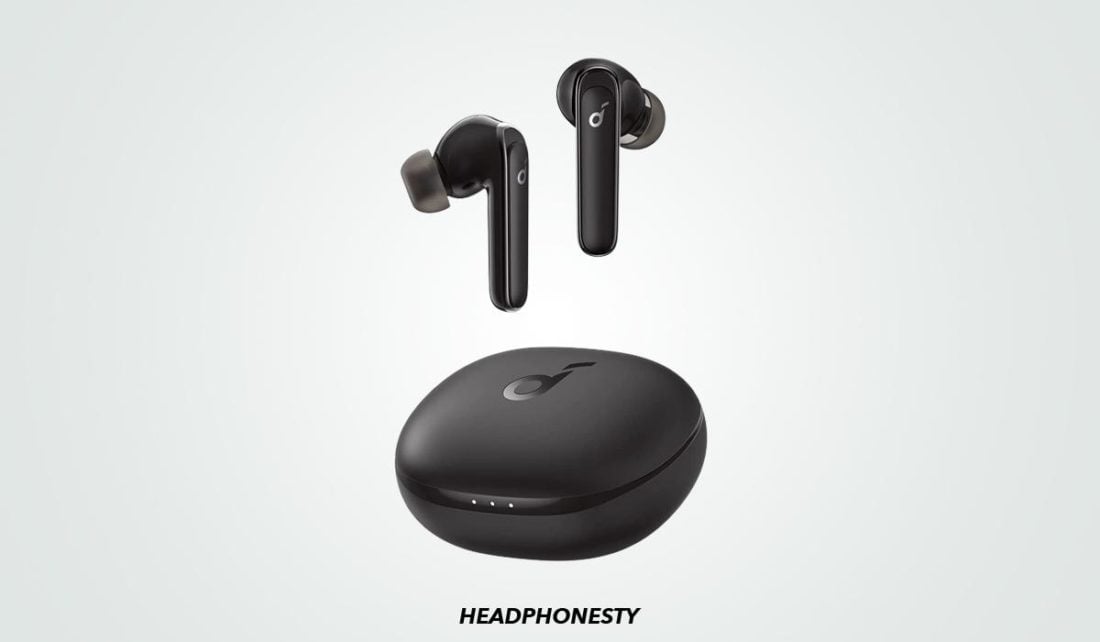
The Soundcore Life P3 is a compact and more economical alternative to AirPods. It comes with an ultra-portable case for protection and has five eye-catching colors to choose from depending on your personal style.
With 6 microphones and an exclusive algorithm to tune out background noises, the Soundcore Life P3 ensures your voice will be the loudest on any call, video chats, live streams, or more.
Jabra Elite Active 75t
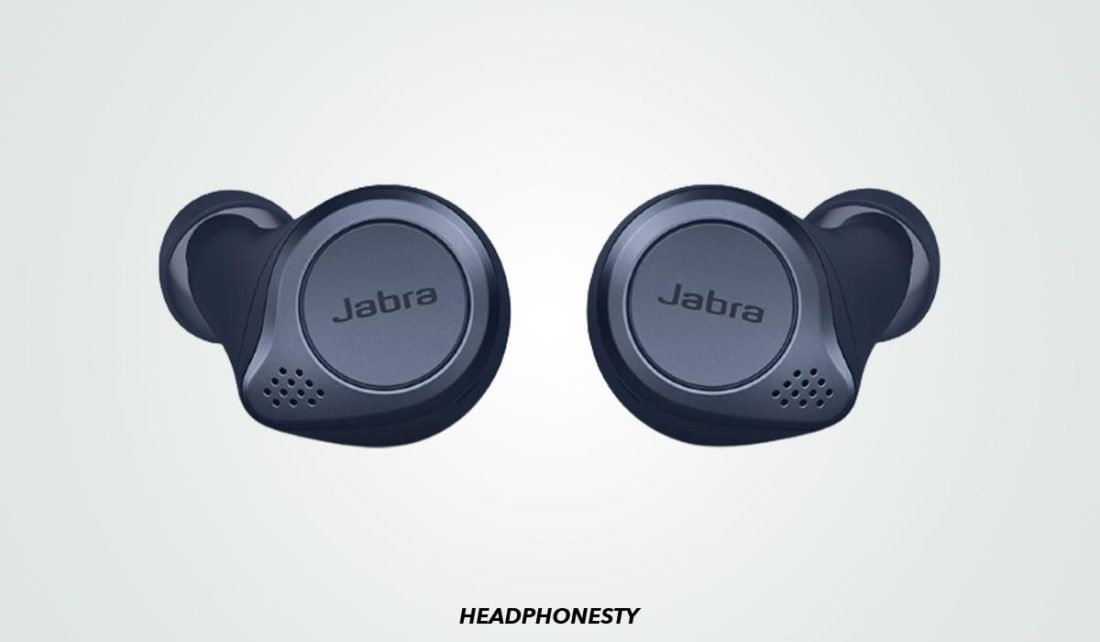
Never worry about your earbuds falling out again with the Jabra Elite 75t. It provides solid comfort and uses a special grip coating that is both waterproof and sweatproof for a hygienic and secure fit.
It is also easy to use, with a pocket-sized charging case that allows for wireless charging at up to 24 hours of battery life.
With a simple toggle, you can activate active noise cancellation through the Jabra Sound plus app and tune out from outside noises and focus on your music.
Conclusion
Every audiophile dreams of listening to their headphones all day long and not experiencing any discomfort, itching, or pain.
While that is still not yet a reality, this article has shown you different ways that you can enjoy your headphones and earbuds without pain or discomfort.
Hopefully, with this newfound knowledge, you are now a step closer to a pleasant and pain-free listening experience.
What did you think of our suggestions? Did you find anything that was particularly useful? Or were there any new methods that you felt we missed? Do let us know in the comments below!

As simple of a fix as it was thank you for explaining the right position. I got the 2nd gen pros and was a little disappointed when they caused me pain. ( I wear them about 8 hours a day) As I was reading this I was fiddling with them and realized what the pain was caused by. I had the stem pointed WAY too far forward and that little vent on the top was just cheese grating the sharp edge of my upper outer ear.