
Follow the journey of Neederland’s unibody headphones stand, TrueStand, from ideation to realization.

How It Begins: Problem Definition
From the very beginning, we (Norbert, Martin and Michael) wanted our stand to look different from what is most associated with a headphone stand (or banana hangers).
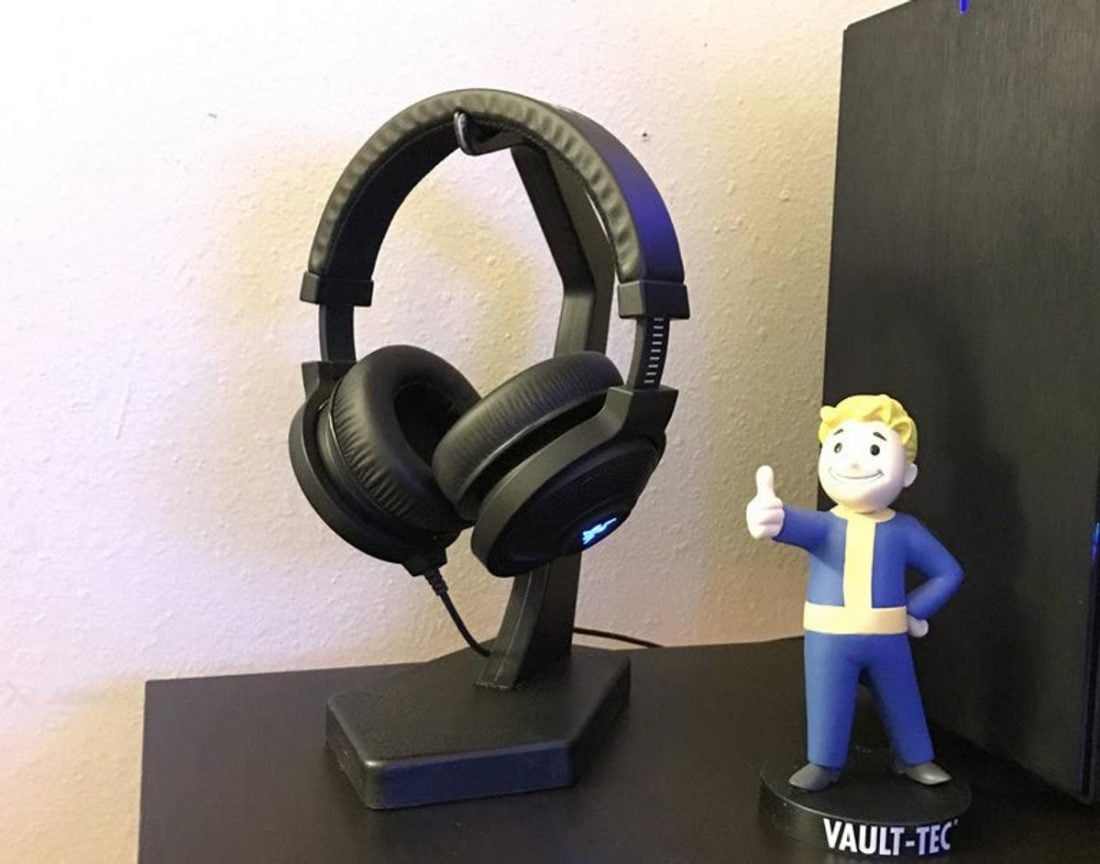
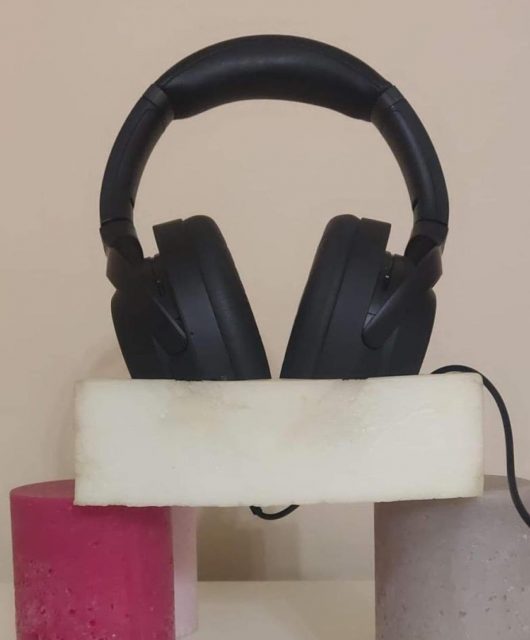
We thought that it would be a good idea if the headphones sit in the stand instead of hanging to reduce the headband compression. But still, at that point, many questions remained unanswered, like what materials should we use. We only knew that the headphones must rest on something soft and cushy. That is why our choice happened to be a nice soft foam, that is also durable.
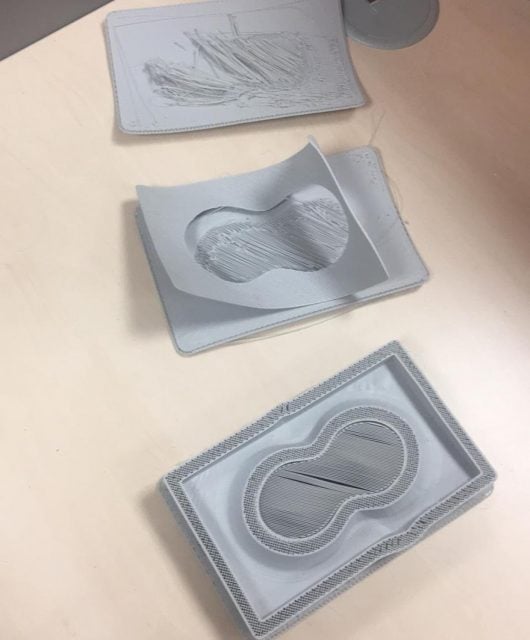
At the early stage, the most tricky part was to figure out how to design our foam in a way that fits many different headsets. The shape that came up to our minds was a conical one.
Using 3D scans of 30+ headphones, we were able to make necessary corrections to our shape. We ended up with two conical frustums inscribed in lemniscate, which increased the contact surface area. We called it peanut-shape just to make it easier for us to remember.
Prototyping
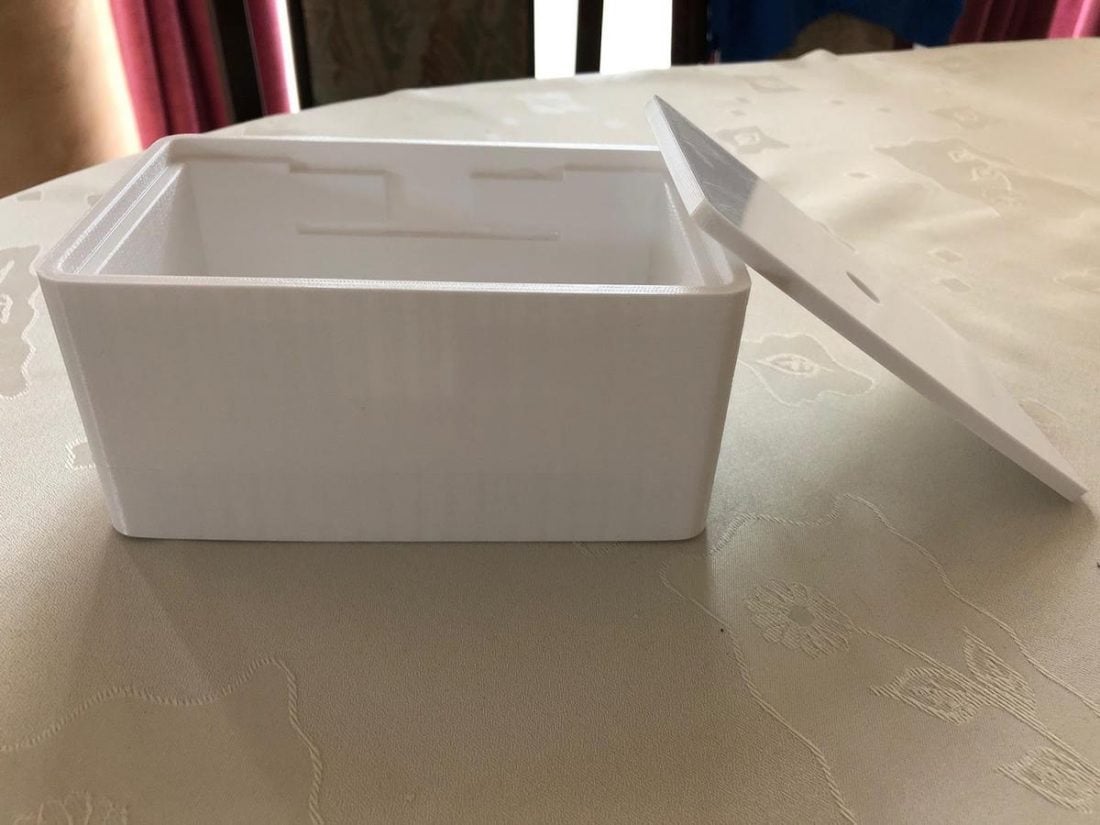
After a rough idea appeared in our minds, a first step was to transfer our vision into a 3D model. The first version looked quite good to our eyes but was much more complicated and since the simplicity is the key, we decided to make it as minimalistic as possible.
Simultaneously we were modelling many iterations of foam to achieve the perfect shape. It took many hours, but, finally, we were ready to 3D print a first mould and cast, using DIY methods, our foam to begin tests. The results were quite satisfying, our computer designer – Martin, did a good job. Of course, many smaller or bigger tweaks were required but we were sure that the concept is correct.
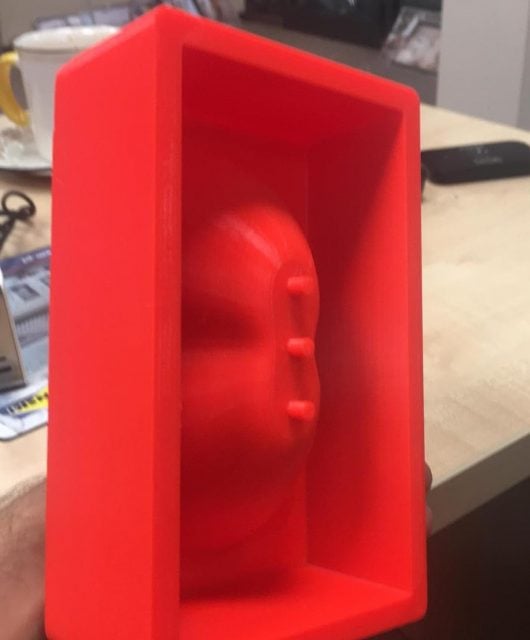
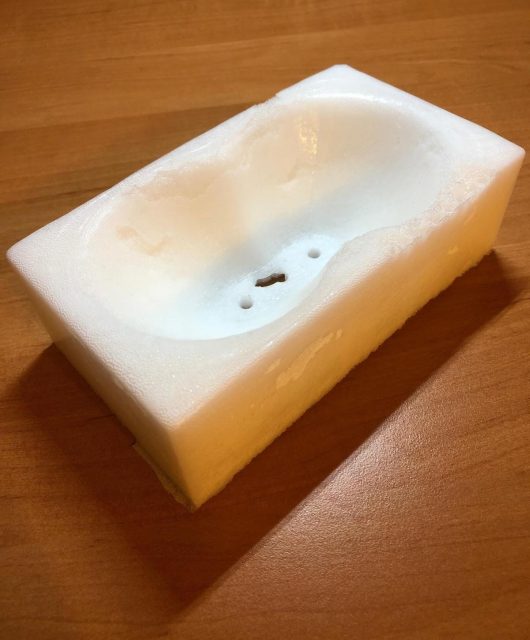
Martin: I saw a problem with wired headphones. In the beginning, I was overcomplicating things by trying to design a cable reel inside the enclosure. One day, I just grabbed scissors, cut out the bottom of the foam and placed the foam on the supports.
When I put my headphones inside the foam I understood how the cable would fall into place. Achieving the obtuse angle between the cable and the bottom of the stand required increasing the height of the stand and designing indentation for the cable.
After making some modifications like changing a little bit dimensions and adding extra indentation for a headphone cable, we cast our last DIY foam and did last fitment tests before making an order to our foam supplier.
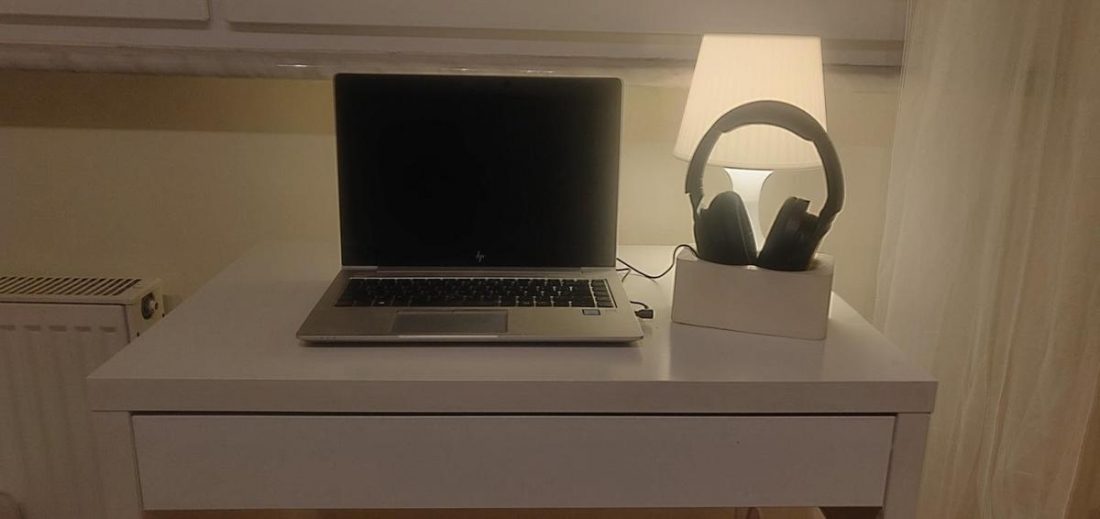
Meanwhile, we were discussing what would be an appropriate material for an enclosure. The choice fell on aluminium. We decided unanimously that aluminium meets all our requirements, and it matches other items on the user’s desk or in the living room.
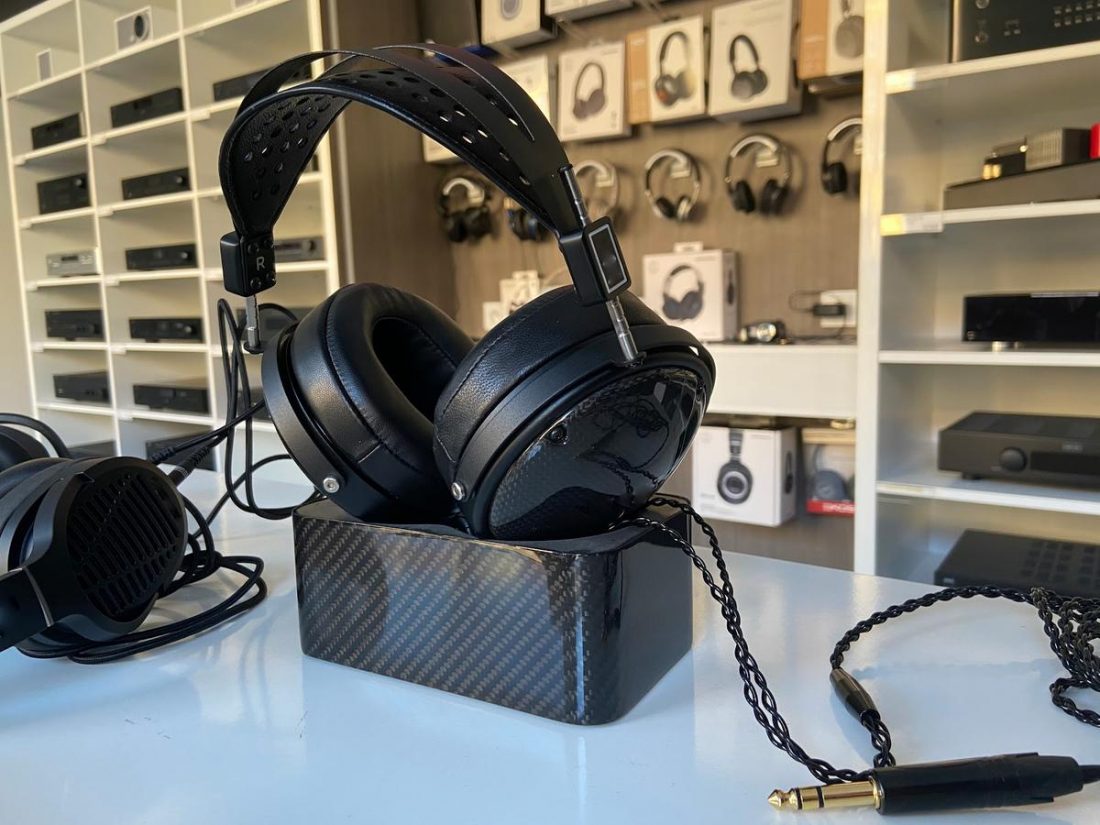
We also had on the back of our heads that it would be something if we went for a carbon fibre enclosure as an option but mainly because of costs of manufacturing, we left that idea without continuation and kept focusing on aluminium.
The only question was, how it should be manufactured, to have that impeccable look and be cost-effective, especially in a situation where we had no idea whether anybody would be interested in buying it.
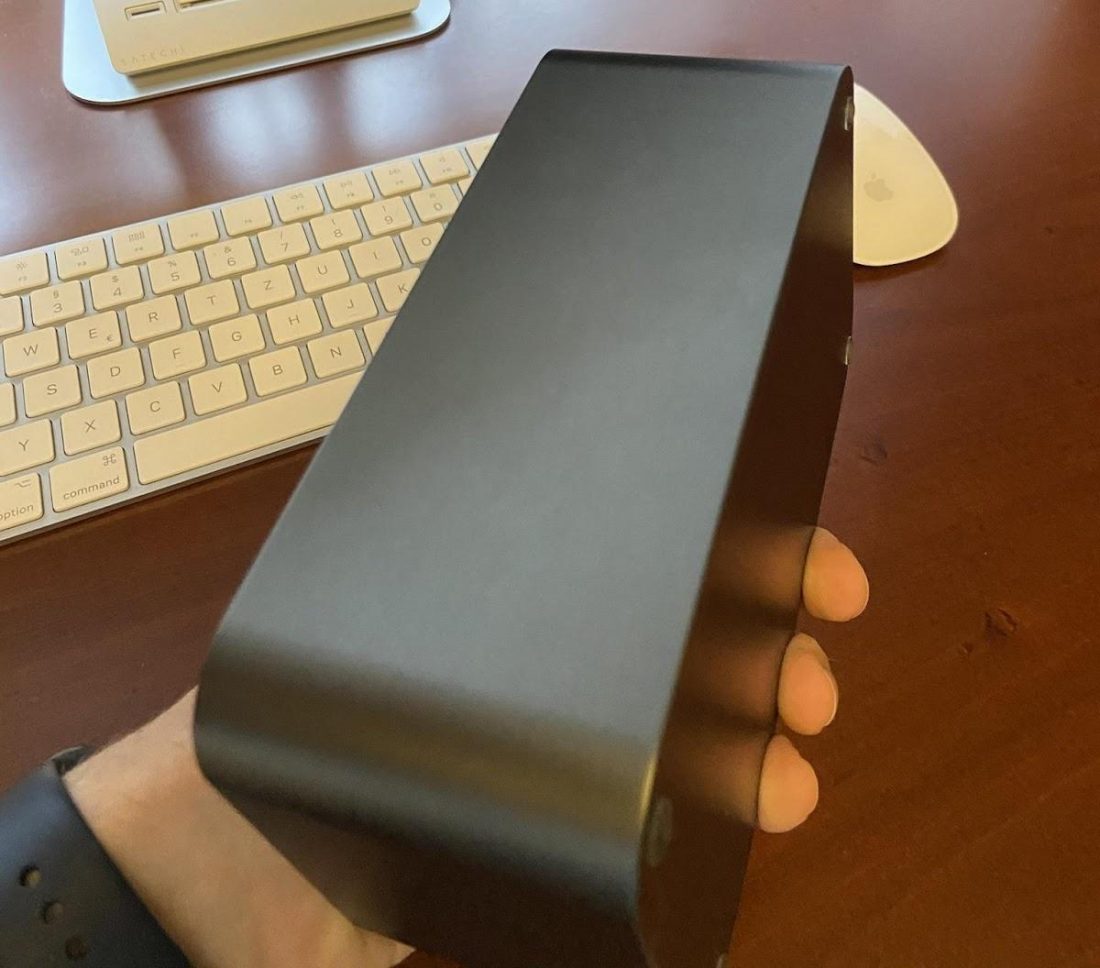
There were few options but for our design, scale and quality requirements, we decided to do it using CNC machining. It is not the cheapest way to produce such an enclosure but for sure the most impressive – milling from a single block of aluminium.
After receiving foam and CNC machined aluminium from our suppliers, the moment of truth had come. There was a bit of uncertainty whether those two pieces would match together ( of course we included coefficients of thermal expansion and tolerances but something always can go wrong).
Thankfully everything matched perfectly and we could start promoting our stand. As soon as we showed our stand to the public, few people asked about carbon enclosure. At that point, we knew that we have to get back to our desks, calculate costs and check if there is a possibility that we can make a slightly more expensive stand made from carbon fibre.

Final Design
The whole design process resulted in a minimalistic headphone design. The foams in our prototypes are uncoated. Such foams are usually prone to discoloration and ageing.
There are two main reasons behind that:
- We tend to place the stand on our desks close to the windows, where the UV light can degrade the foam.
- Also, we wanted to make it easy-to-clean under running water.
Those issues will be solved by applying the coating for the final version – so the foam will be UV and water-resistant! It is impossible to order the coating for a prototype, but for the first batch the cost seems reasonable, so we will use coating during the Kickstarter campaign.
But there’s one more thing. The foam is replaceable, which makes any stand updates easier – for example, if we decide to add magnets in the foam for Airpods Max headphones (to put them in sleep mode).
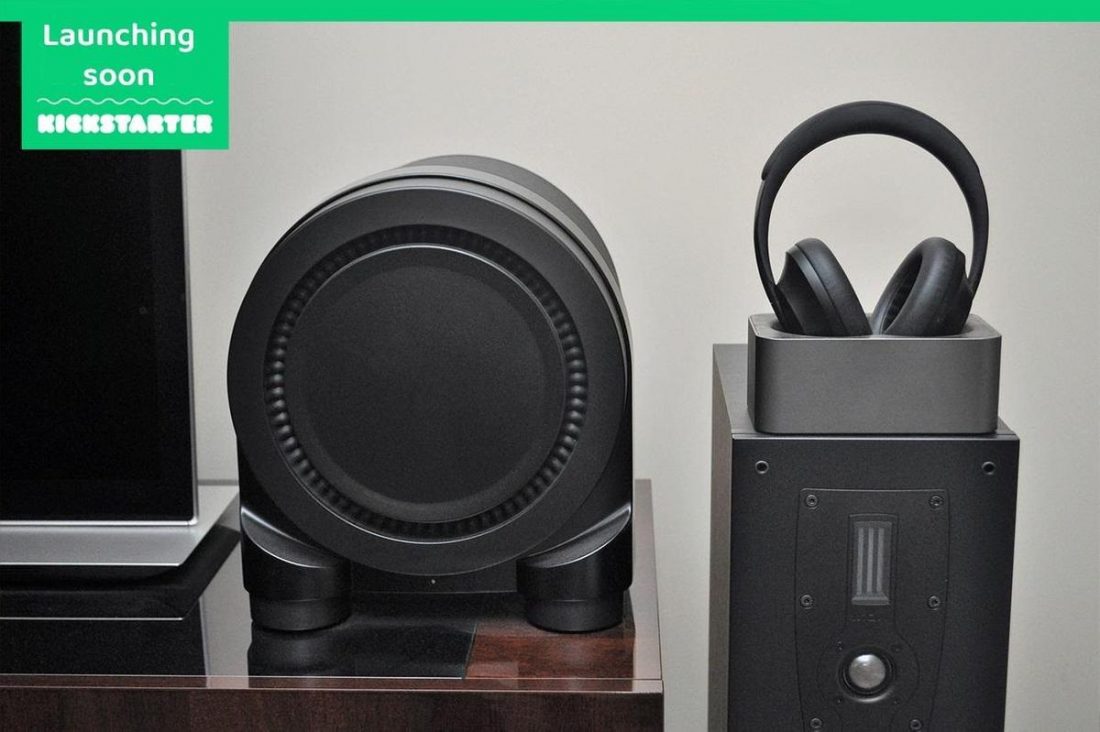
And now after all these months, and some moments of doubts we are ready to launch our stand on Kickstarter. We hope to see you soon during the campaign – we encourage you to grab especially carbon versions because we are unsure about its future production. With the aluminium one, once the campaign will be successful, we want to sell them through online retail stores. You can read more about our company at https://www.neederland.com .