
Learn how to fix your headphone wires at home with this simple step-by-step guide.
Is your headphone wire fraying from constant wear and tear?
These delicate cables are often the first to break – but don’t throw them away yet!
Whether you’re looking for a quick fix or ready to break out the soldering iron, we’ve got you covered with several DIY solutions you can try at home.
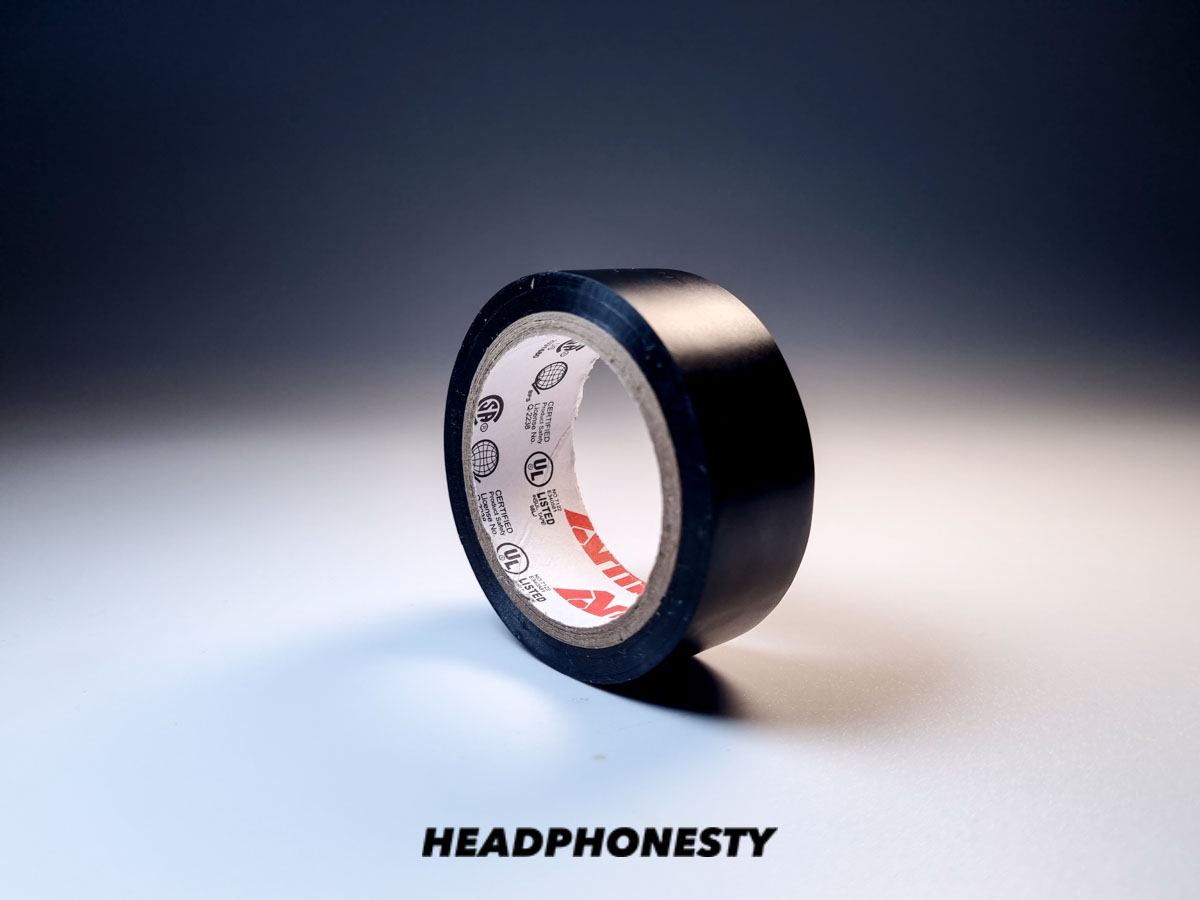
Electrical Tape Method (3-min Fix)
- Best for: Early signs of fraying or small exposed wires. Perfect for quick fixes when you notice your headphone wire’s outer covering starting to peel or wear thin.
- Time needed: ~ 3 minutes
- Skill level: Beginner – If you can wrap a present, you can do this repair
What You’ll Need:
- Black electrical tape (readily available at hardware stores)
- Isopropyl alcohol
- Clean cloth or cotton swab
- Scissors
1. Clean the Wire
- Wipe the damaged area with isopropyl alcohol using your cloth
- Remove any dirt, oils, or residue
- Let it dry completely (takes about 30 seconds)
2. Cut Your Tape
- Pre-cut a strip of electrical tape about 2-3 inches long
- For easier handling, cut multiple strips before starting
- Having pre-cut pieces makes wrapping smoother
3. Wrap the Wire
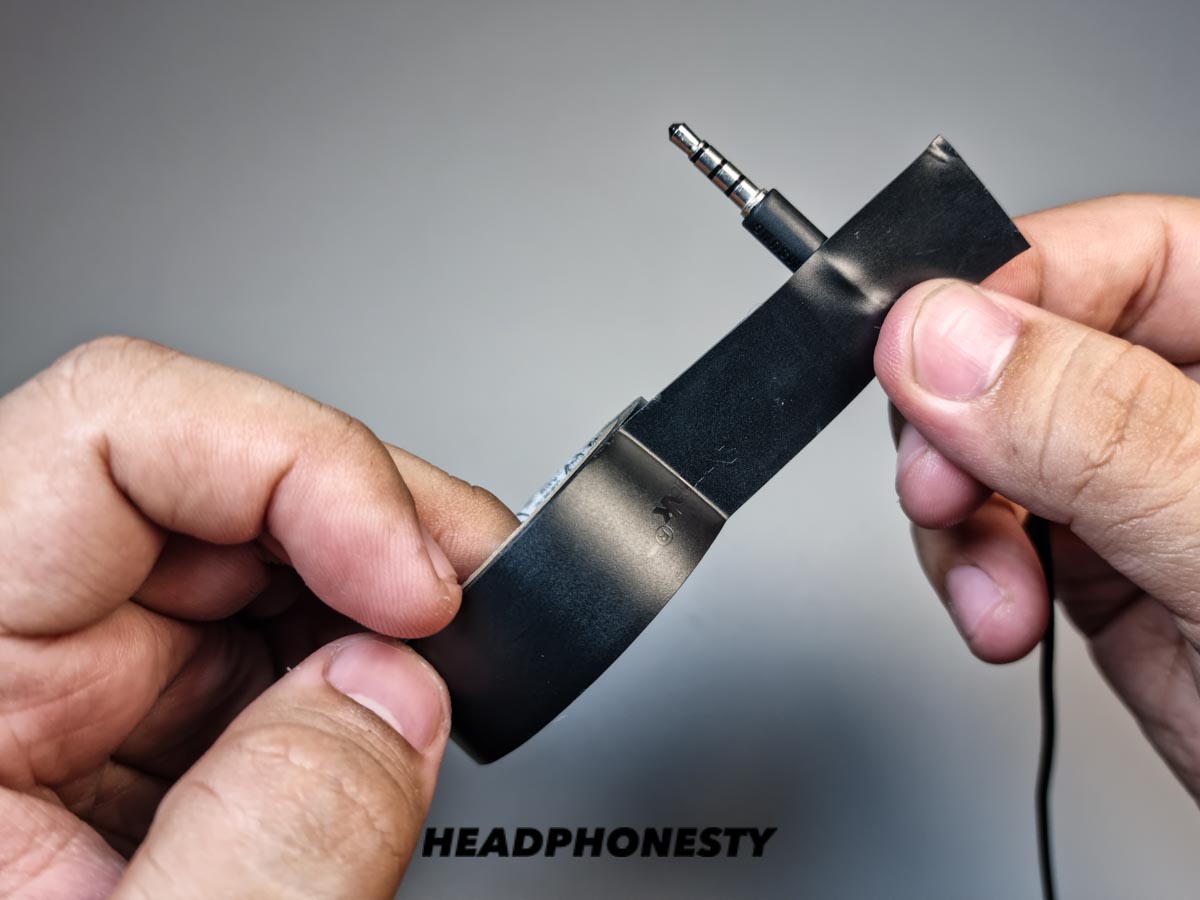
- Start wrapping about 1/2 inch before the damaged area
- Wrap tightly with slight overlap between each turn
- Continue 1/2 inch past the damaged area
- Keep tension consistent for a secure wrap
✅ Pro Tips
- Use genuine electrical tape, not masking or duct tape
- Wrap while pulling the tape slightly taut for better adhesion
- If the damage is near a joint or bend, extend wrapping further for reinforcement
- Black electrical tape works best as it’s specifically designed for wire insulation
❌Common Mistakes to Avoid
- Don’t wrap too loosely – it’ll unravel quickly
- Don’t stretch the tape too much – it’ll lose adhesion
- Don’t skip cleaning – oils prevent good adhesion
- Don’t use old or low-quality electrical tape – it leaves residue when removed
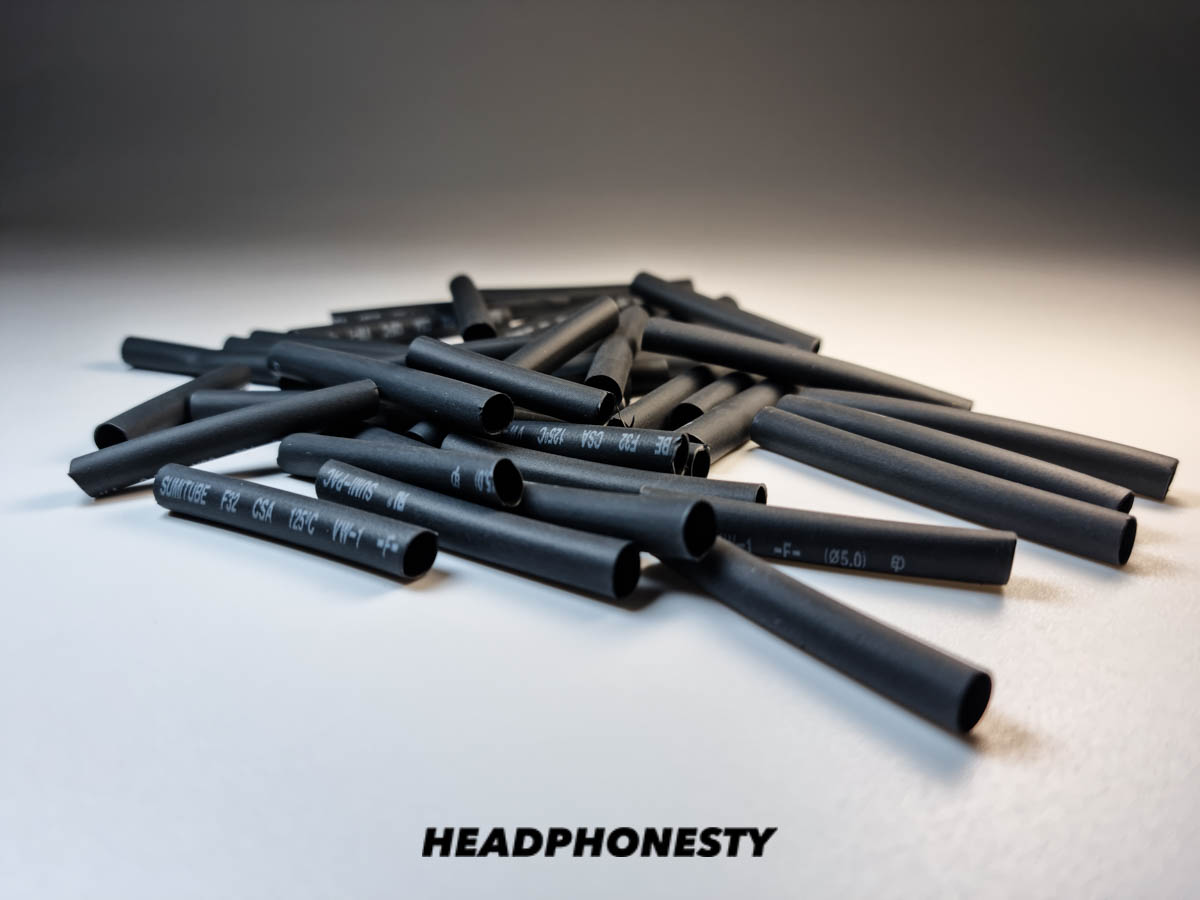
Heat Shrink Tubing Method (5-min Fix)
- Best for: Moderate fraying and longer exposed areas. Provides a more durable and professional-looking fix than electrical tape.
- Time needed: ~ 5 minutes
- Skill level: Beginner to Intermediate – Requires careful heating but otherwise straightforward
What You’ll Need:
- Heat shrink tubing (2:1 shrink ratio recommended)
- Heat source (heat gun, hair dryer, or lighter)
- Scissors
- Isopropyl alcohol
- Clean cloth
- Pliers (to hold tubing while heating)
1. Choose the Right Size
- Select tubing slightly larger than your headphone wire
- Depending on their material and composition, these tubings can contract one-half to one-sixth of their original diameter when heated. Cut a piece about 1 inch longer than the damaged area
- 2:1 shrink ratio works best for headphone wires
- Common sizes for headphones: 3mm or 4mm diameter

2. Clean and Prepare
- Wipe the damaged area with isopropyl alcohol
- Remove any dirt, oils, or old tape residue
- Let the wire dry completely
- Straighten the wire section you’ll be working on
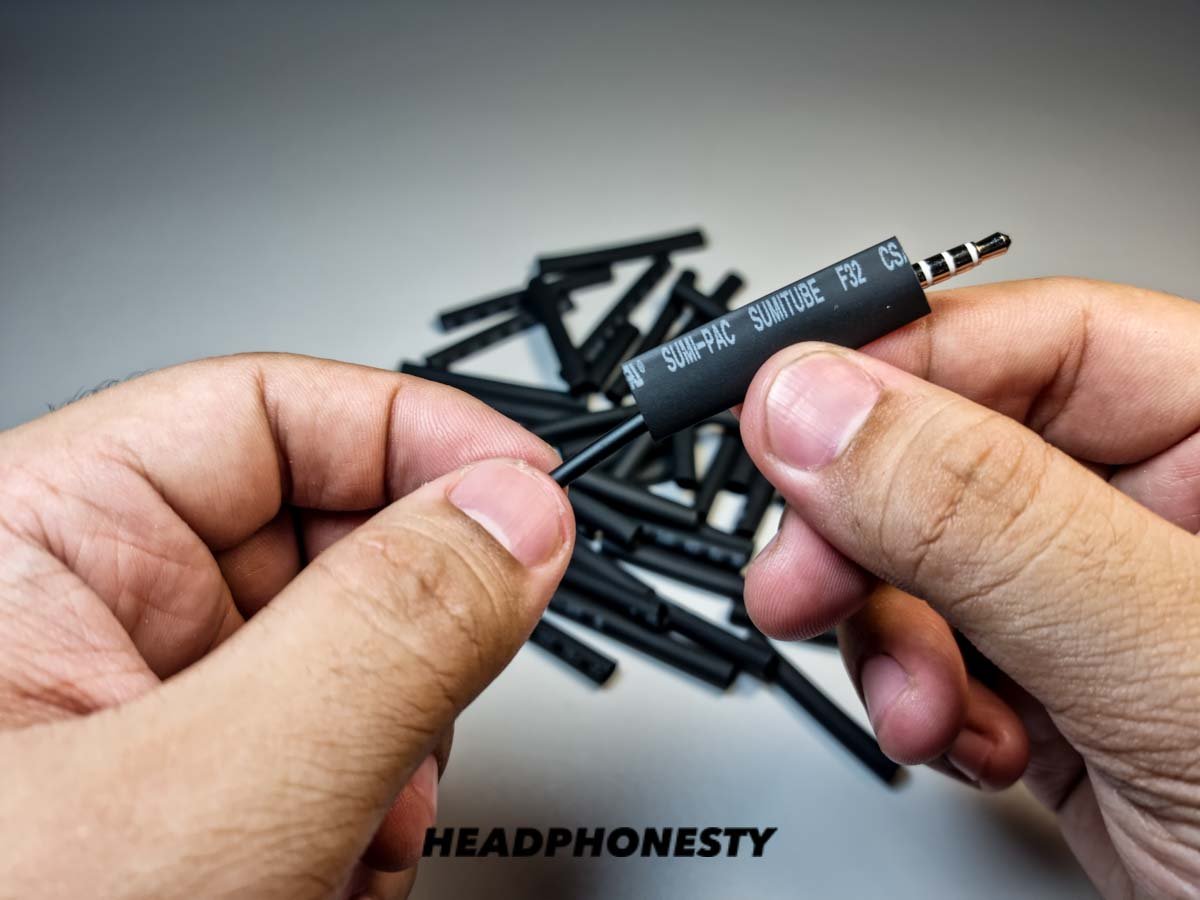
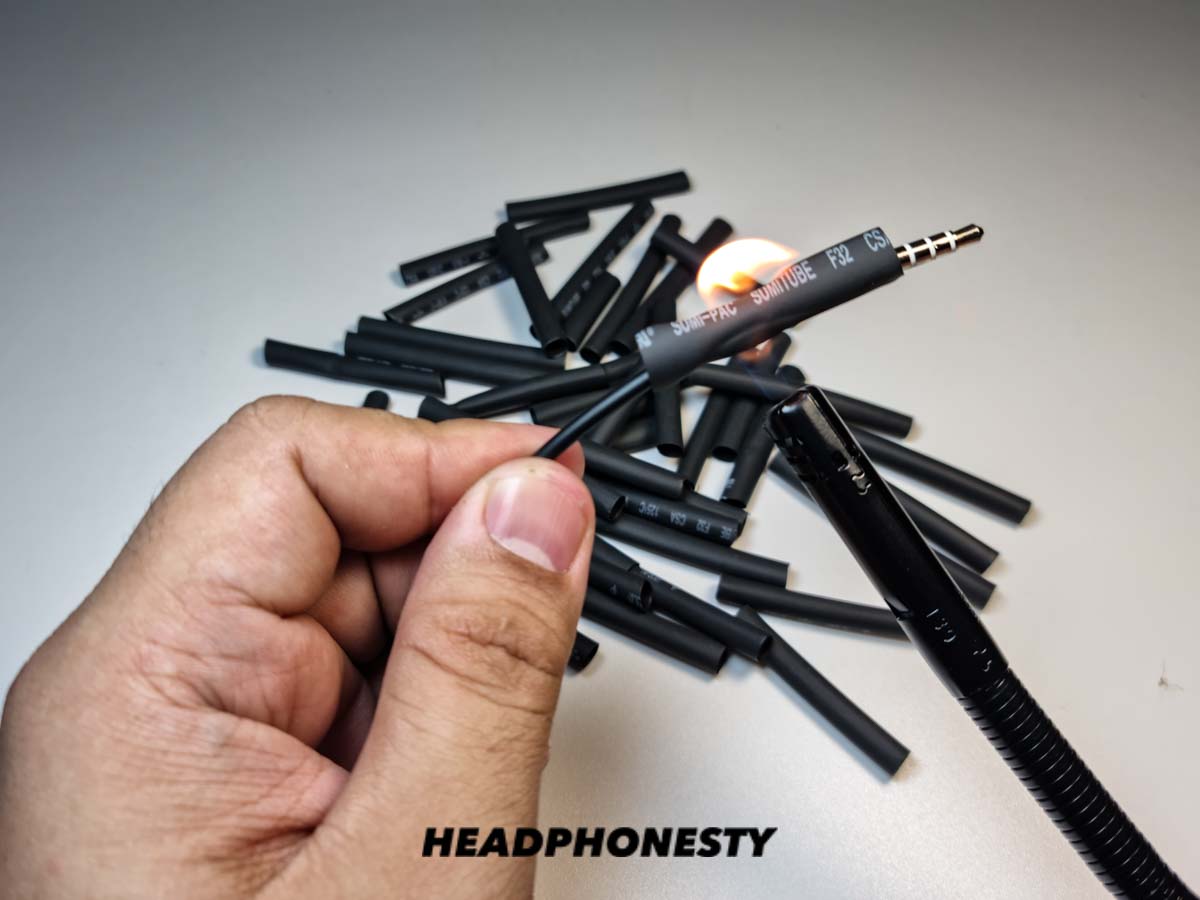
3. Position the Tubing
- Slide tubing over the damaged area
- Center it over the damage
- Extend 1/2 inch beyond damage on each end
- Ensure tubing moves freely before heating
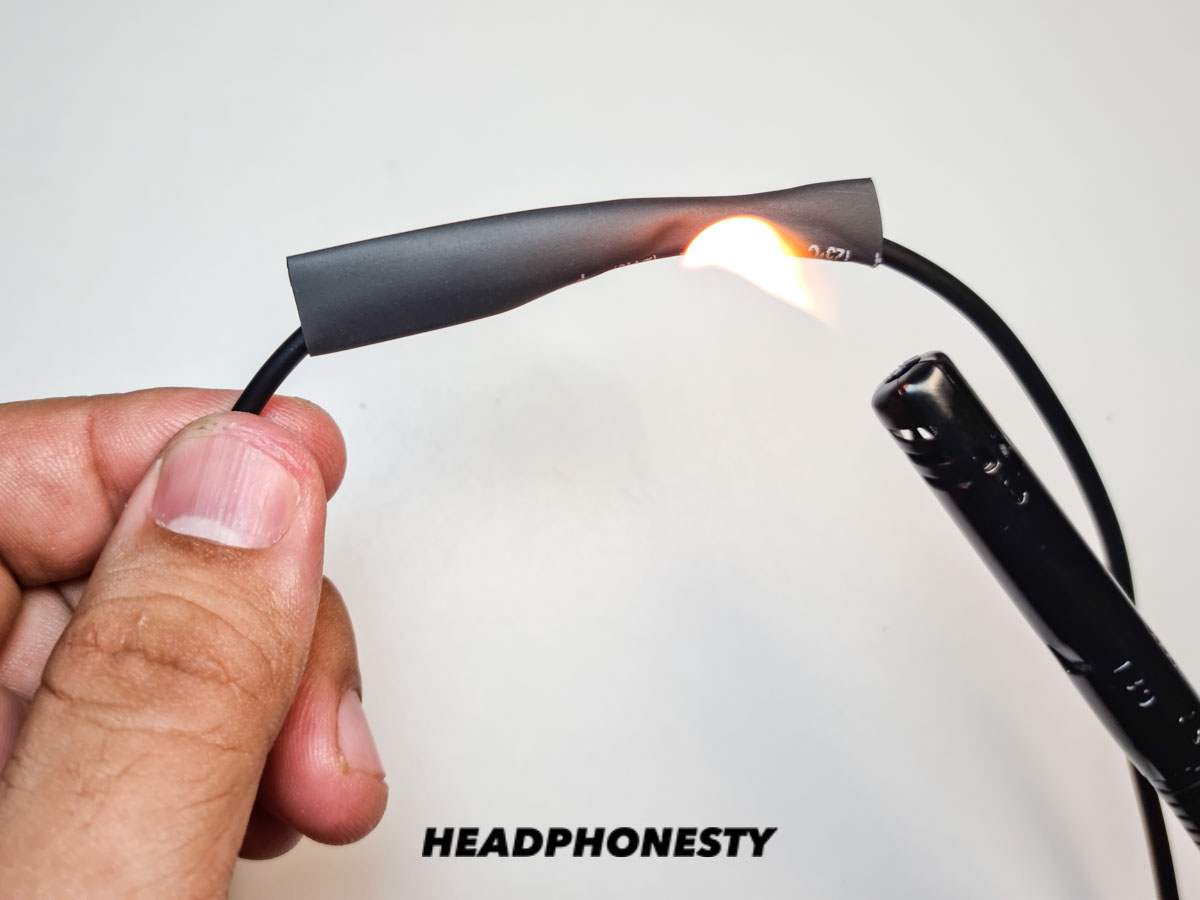
4. Apply Heat
- Hold wire with pliers to protect your hands
- Keep heat source 2-3 inches away from tubing
- Move heat source constantly to prevent burning
- Heat evenly until tubing shrinks and conforms
✅ Pro Tips
- Use black or clear tubing for a professional look
- Multiple thin layers work better than one thick layer
- If using a lighter, keep it moving to prevent burning
- Test heat shrink temperature on a small piece first
- For extra protection, add a second layer of smaller tubing
❌Common Mistakes to Avoid
- Don’t use excessive heat – it can melt the wire insulation
- Don’t hold heat in one spot too long
- Don’t choose tubing that’s too small or too large
- Don’t skip the cleaning step – affects adhesion
- Don’t pull or stretch the tubing while heating
Cable Saver Method (2-min Fix)
- Best for: Early fraying near the plug or earpiece, preventing further damage to stress points
- Time needed: ~ 2 minutes
- Skill level: Beginner – As simple as putting on a spring
What You’ll Need
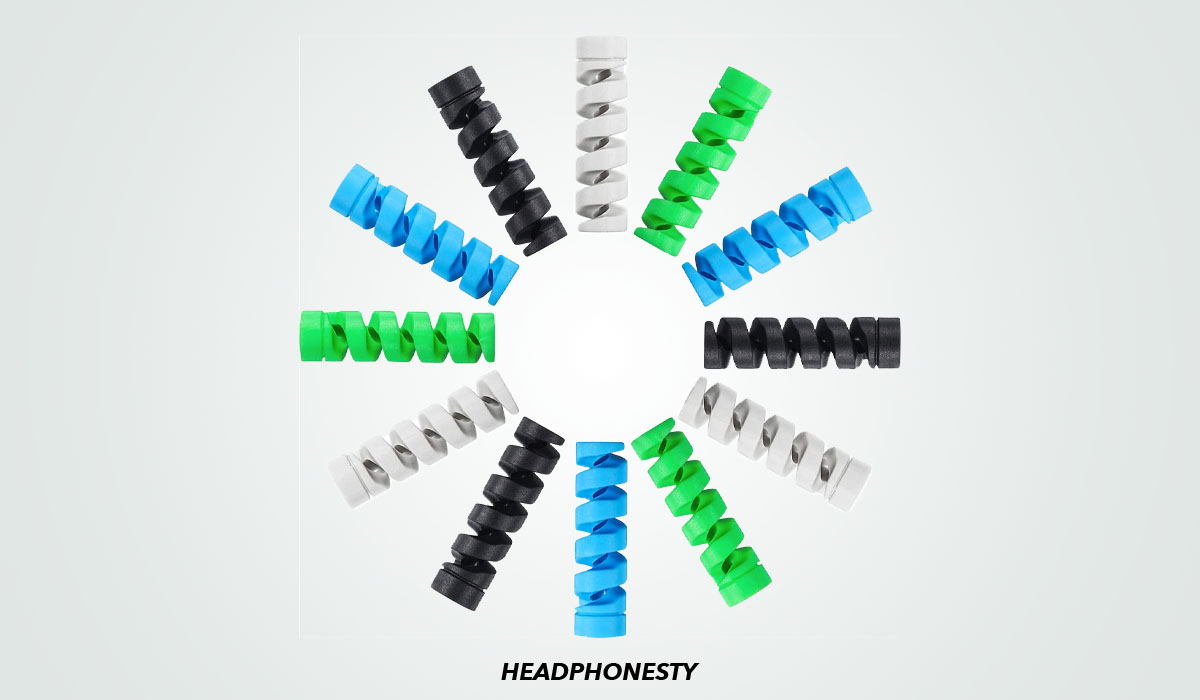
- Cable saver (spring protector)
- Scissors (optional)
- Isopropyl alcohol
- Clean cloth
1. Choose the Right Size
- Measure your headphone wire diameter
- Select a cable saver slightly larger than your wire
- For most headphones, 3-4mm diameter works best
- Choose a length that covers the stress point plus 1/2 inch extra
2. Clean the Area
- Wipe the wire with isopropyl alcohol
- Remove any dirt or oils
- Let it dry completely
- Straighten the wire if needed
3. Install the Cable Saver

- Hold the cable saver at a 45-degree angle
- Thread your wire through the coil
- For plug end: start from plug and work upward
- For earpiece end: start from earpiece and work downward
4. Position and Secure
- Center over the stress point or frayed area
- Ensure coils are evenly spaced
- Gently stretch if needed for better coverage
- Check that it moves freely without binding
✅ Pro Tips
- Use cable savers preventively on new headphones
- Choose metal over plastic for durability
- Install before damage occurs for best protection
- Keep some extra tension in the spring for better grip
- Consider using two shorter pieces instead of one long piece for better flexibility
❌ Common Mistakes to Avoid
- Don’t choose a size too tight – it can damage the wire
- Don’t stretch the spring too much – it won’t retract properly
- Don’t position too far from the stress point
- Don’t use on already severely damaged wires
- Don’t forget to clean the wire first – affects grip
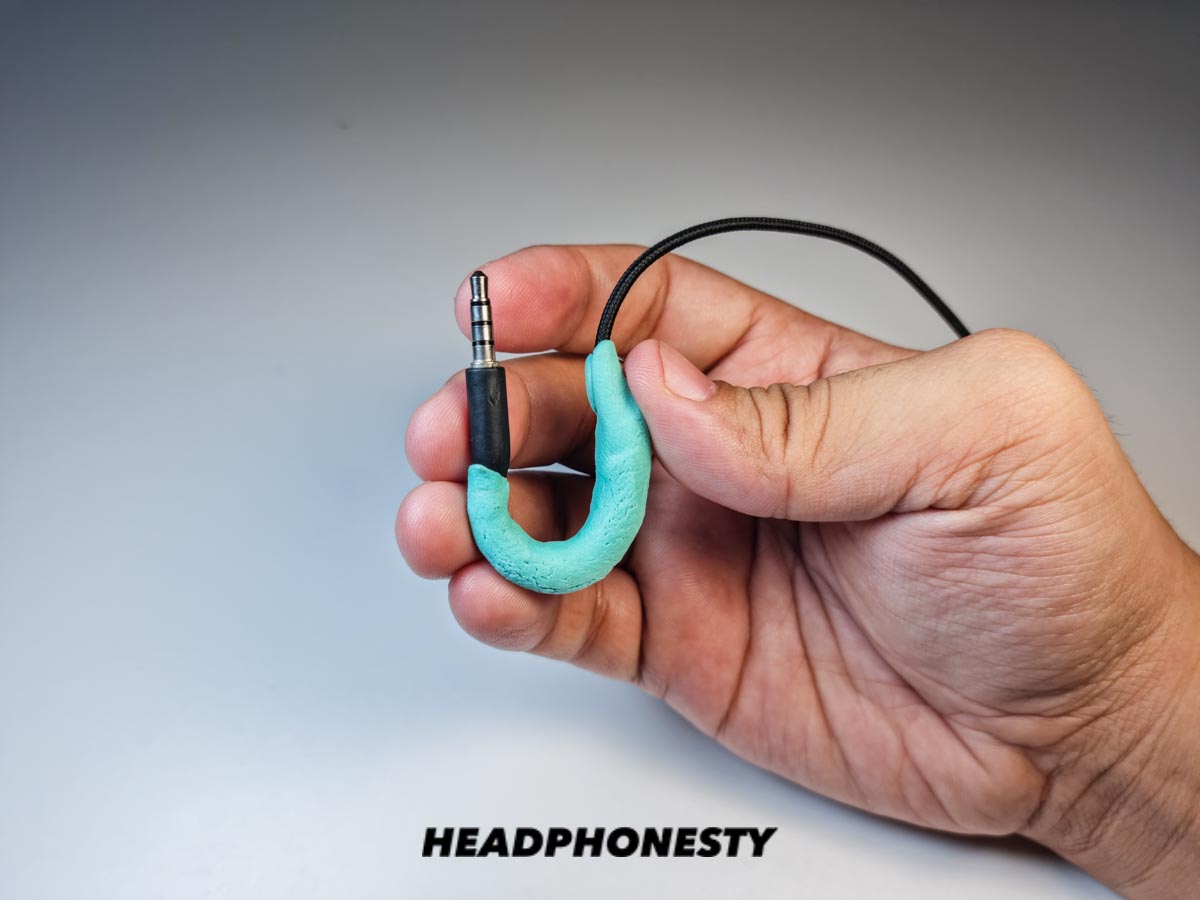
Sugru Method (30-min Fix)
Best for: Significant fraying that needs strong reinforcement, areas that flex frequently
- Time needed: ~ 30 minutes active work + 24 hours setting time
- Skill level: Beginner – If you can play with clay, you can do this repair
What You’ll Need
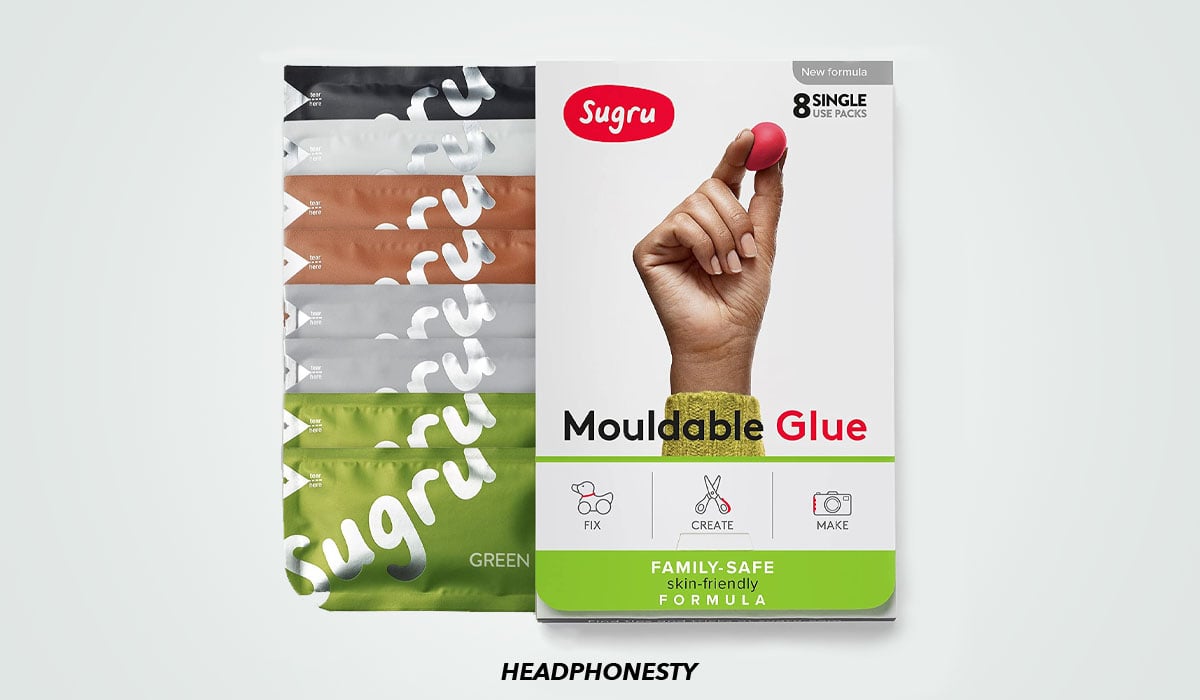
- Sugru moldable glue
- Isopropyl alcohol
- Clean cloth
- Paper towels for cleanup
- Scissors (optional)
1. Prepare the Area
- Clean wire thoroughly with isopropyl alcohol
- Remove all dirt, oils, and residue
- Let dry completely
- Keep wire straight and stable for repair
2. Prepare the Sugru
- Open Sugru packet (only open what you’ll use – it can’t be stored)
- Roll into a ball and warm in your hands
- Divide into smaller portions if needed
- You have 30 minutes working time before it starts to set
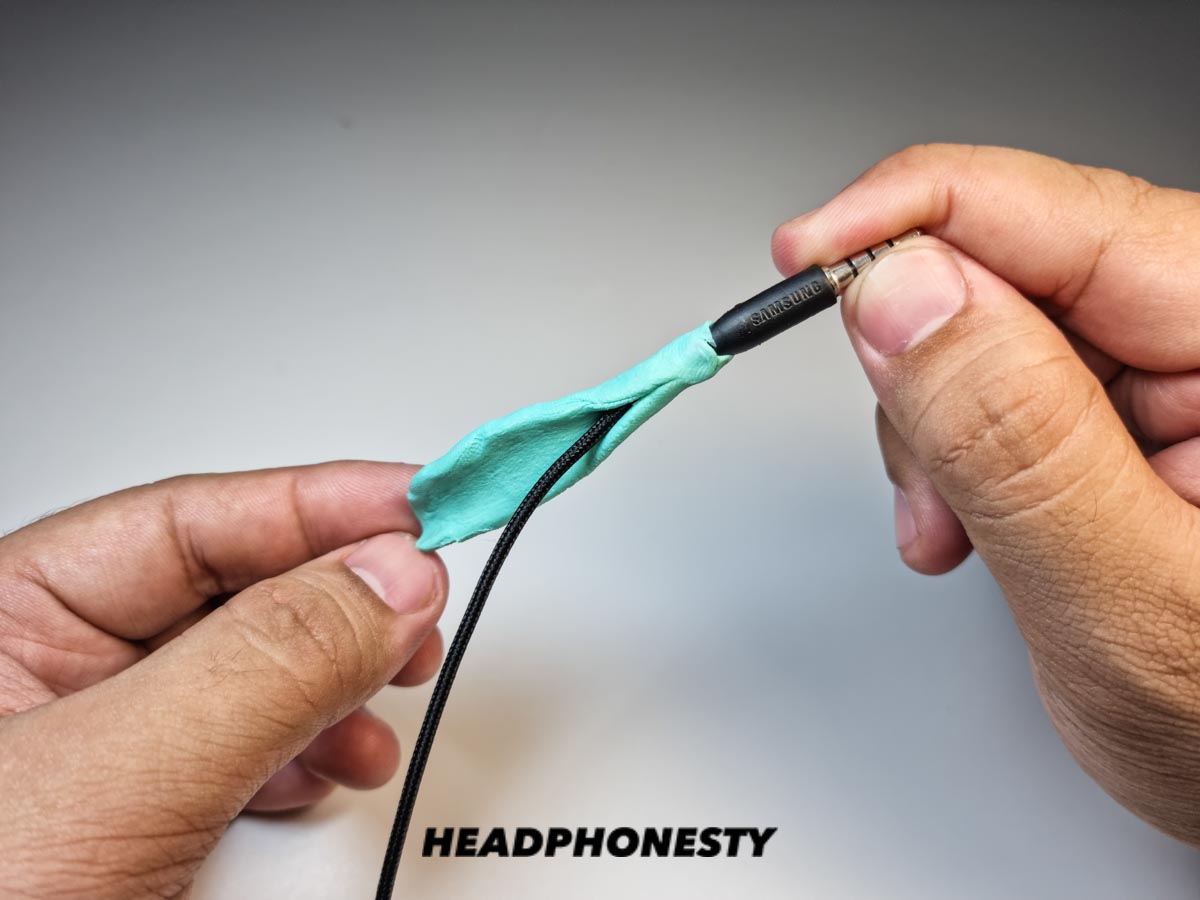
3. Apply the Sugru
- Roll Sugru into a thin snake shape
- Wrap around damaged area
- Start 1/2 inch before damage
- Extend 1/2 inch past damage
- Press firmly but don’t squeeze too hard
4. Shape and Finish
- Smooth surface with your finger
- Taper ends for a professional look
- Keep wire straight while working
- Clean any excess with paper towel before it sets
- Let cure for 24 hours undisturbed
✅ Pro Tips
- Work in a well-ventilated area
- Use black Sugru for a professional look
- Keep the repair thin to maintain flexibility
- Create a small test piece first to practice
- Shape edges to prevent catching on clothing
❌ Common Mistakes to Avoid
- Don’t make the repair too thick or bulky
- Don’t move or flex wire while curing
- Don’t use expired Sugru – check dates
- Don’t rush the 24-hour curing time
- Don’t attempt to rework after initial shaping
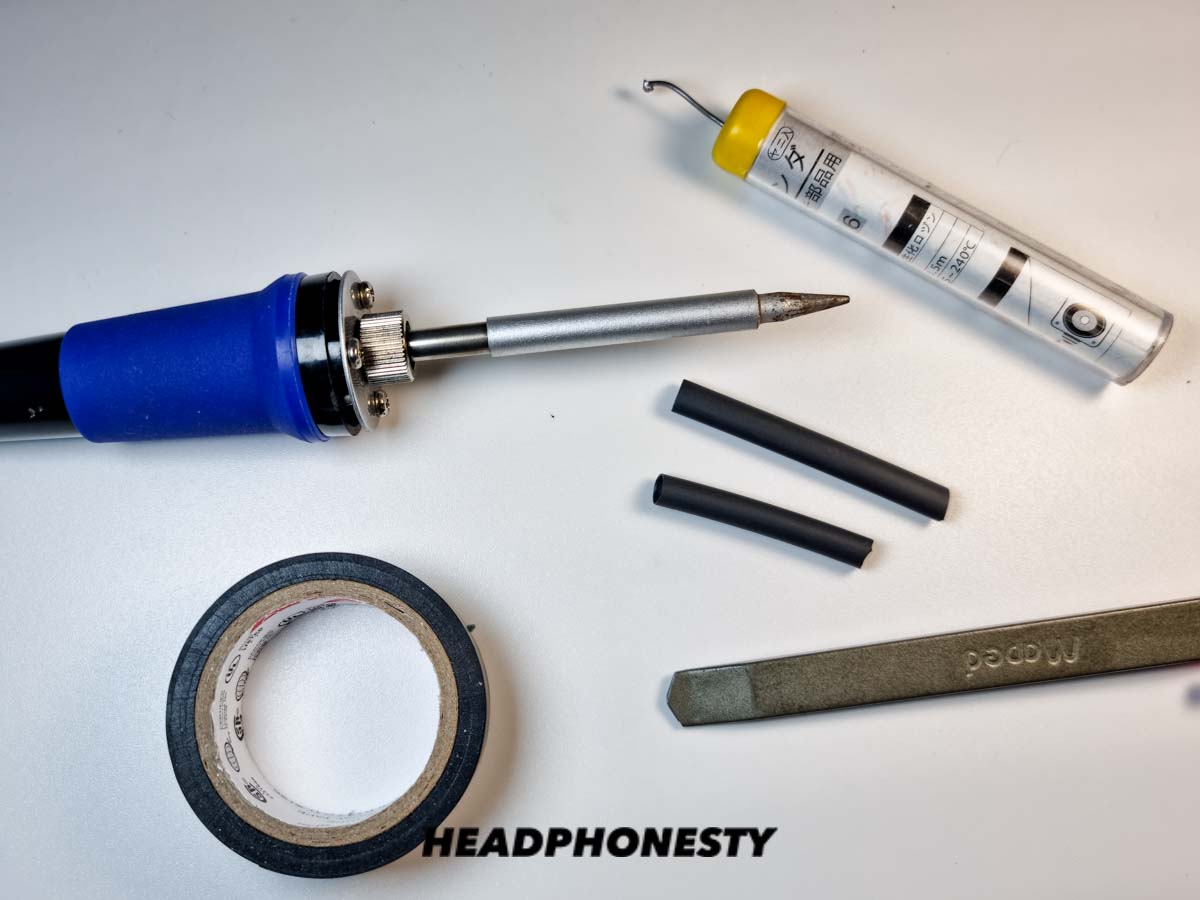
Soldering Method (30-min Fix)
- Best for: Completely broken or separated wires that need permanent repair
- Time needed: ~ 30 minutes
- Skill level: Intermediate – Requires basic soldering experience and steady hands
What You’ll Need
- Soldering iron and solder
- Wire stripper (or knife/cutter)
- Electrical tape or heat shrink tubing
- Lighter or sandpaper
- Safety glasses and face mask
1. Strip the wire
- Strip off the insulation to reveal the wires inside
- If you see two wires stuck together, carefully separate them using a knife or cutter
- Remove the outer shielding by slowly running a wire stripper through it (1/4″ to 1/2″ cuts)
- Continue cutting until you see the broken wire that needs repairing
- Look for the differently-colored wires in the inner layer – colored wires (red, green, blue, or copper) transmit sound, while the single bare/uninsulated wire is the ground wire
2. Cut the wire
- Cut the wire if shredded or frayed
- Make ends uniform and easier to work with
- Ensure clean, straight cuts
- Remove any loose strands
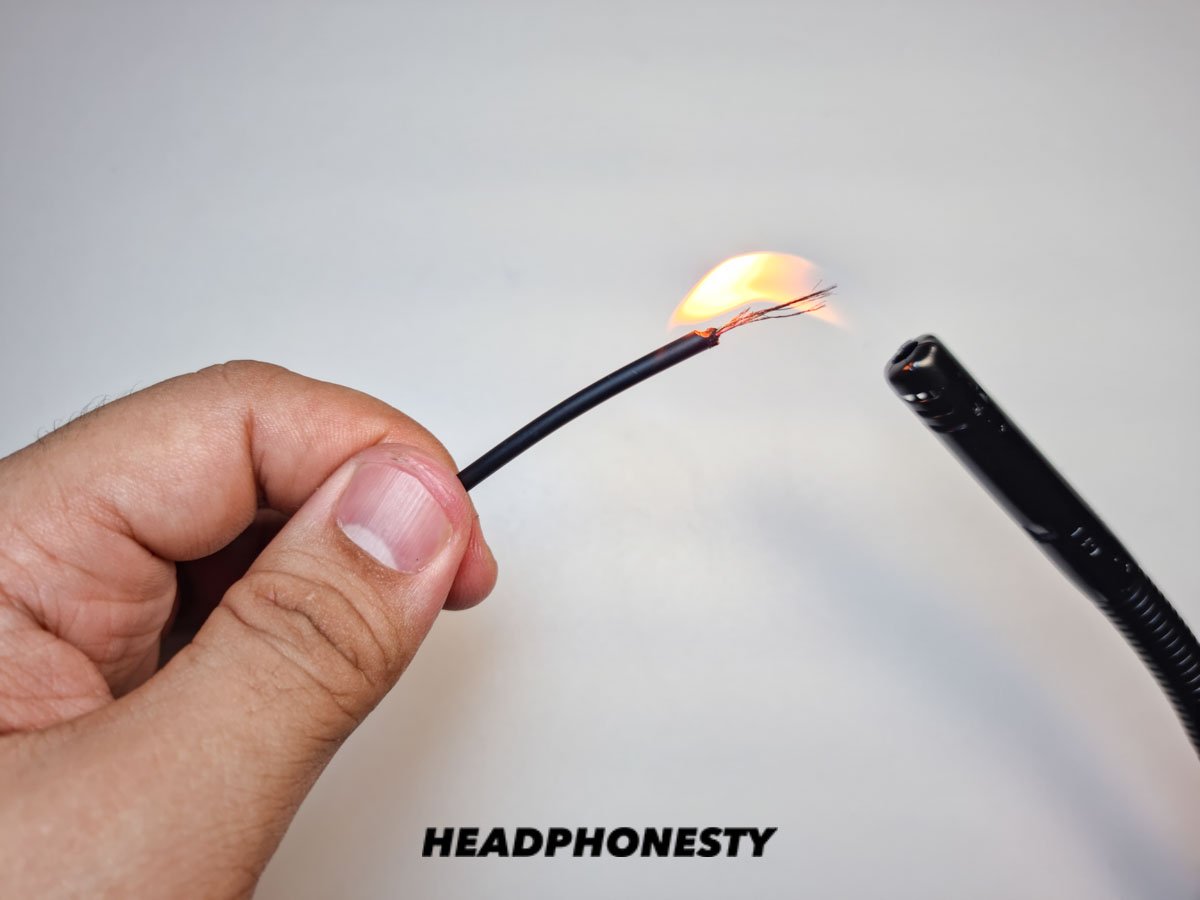
3. Sand the wires
- Sand off thin enamel coating on all wires
- Include ground wire in sanding
- Continue until copper is clearly exposed
- Alternative: carefully burn coating off with lighter or soldering iron
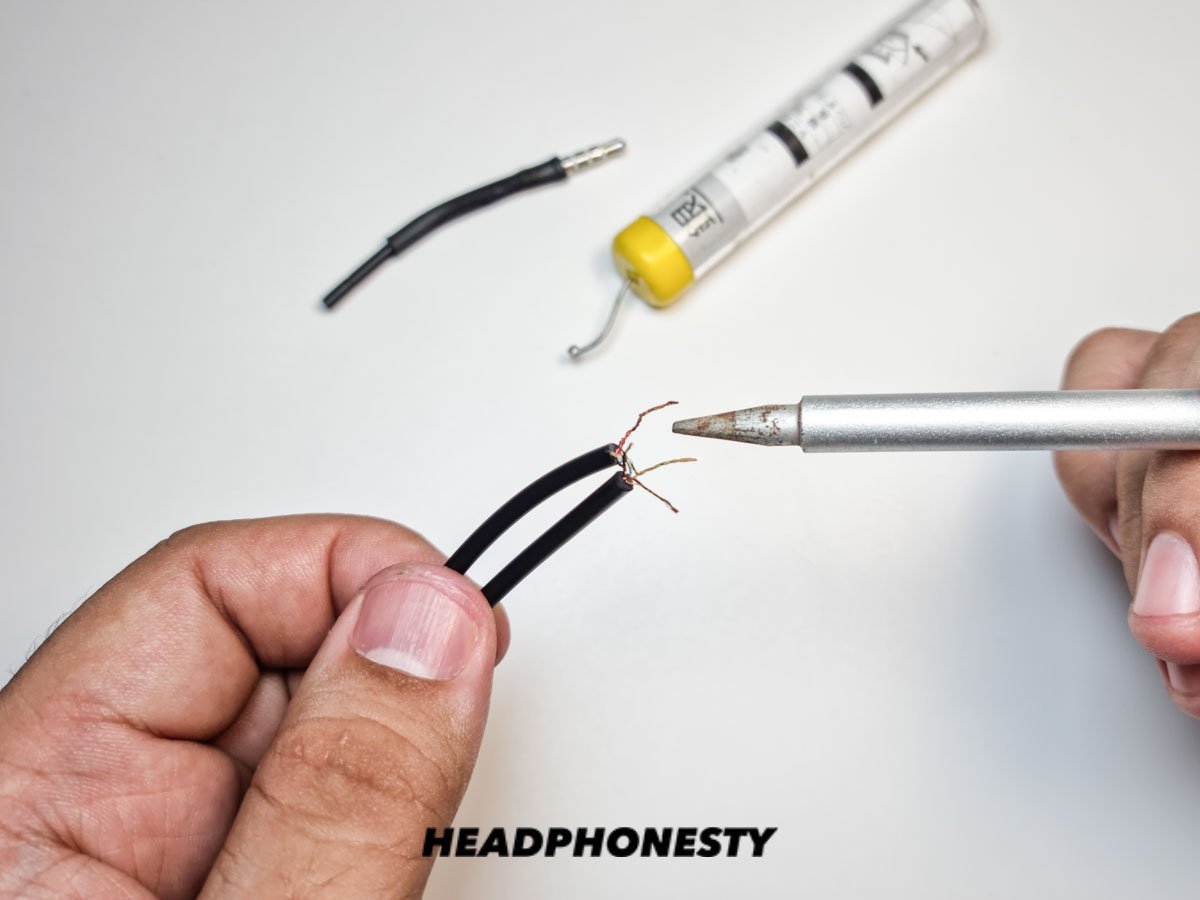
4. Twist and solder
- Twist matching wires together
- Apply thin coat of solder to connections
- Keep iron at appropriate temperature
- Let each connection cool completely
5. Wrap and protect
- Wait for wires to cool completely
- Wrap each wire with electrical tape to keep wires separated to prevent short-circuit
- Carefully place the heat-shrink sleeve over your headphone wire, then heat to constrict it. This sleeve will protect and insulate your newly-repaired headphone wire. Alternatively, you may also use electrical tape to wrap the wires if you don’t have heat-shrink tubing on hand.
✅ Pro tips
- Match wire colors exactly
- Ensure complete enamel removal
- Keep soldered connections slim
- Double-check wire separation
- Test before final heat shrink
❌ Common mistakes to avoid
- Don’t rush cooling time
- Don’t skip wire cleaning step
- Don’t forget PPE equipment
- Don’t allow wires to touch
- Don’t overheat the plastic insulation
No-Solder Method (40-min Fix)
- Best for: Completely broken or separated wires when you don’t have soldering equipment
- Time needed: ~ 40 minutes
- Skill level: Intermediate – Requires attention to detail and steady hands
What You’ll Need

- Wire stripper
- Sharp scissors
- Electrical tape / Heat shrink tubing
- Lighter or sandpaper
1. Strip the Wires

- Strip outer insulation 1/2 inch on both ends
- Separate wires carefully by color

- Typically find red (right), green/blue (left), and copper (ground)
- Keep track of which wire goes where
2. Remove Wire Coating

- Each colored wire has thin enamel coating
- Option 1: Carefully burn off with lighter (quick swipe)

- Option 2: Sand gently until copper shows
- Clean exposed copper with alcohol
3. Connect the Wires

- Match colors from both sides
- Twist matching wires together tightly
- Keep ground wires separate until last
- Ensure no stray strands cross between wires
- Twist ground wires together last
4. Insulate and Finish
- Wrap each colored wire connection separately with small strips of electrical tape

- Double-check no copper is exposed
- Stagger the connections to prevent bulging

- Cover entire repair with heat shrink tubing
- Heat tubing evenly until snug

✅ Pro Tips
- Take a photo before cutting for wire color reference
- Stagger the connections to reduce bulk
- Make connections short but strong
- Test each connection before final wrapping
- Use multiple layers of thin heat shrink instead of one thick layer
❌ Common Mistakes to Avoid
- Don’t mix up wire colors
- Don’t leave any copper exposed
- Don’t rush the wire stripping process
- Don’t skip individual wire insulation
- Don’t overlap bare wire connections
Safety Information
While headphone wire repairs are generally safe, take basic precautions.
Unplug headphones before any repair work. When using tools like wire strippers or lighters, work in a well-ventilated area and keep a first aid kit nearby.
Although headphone wires carry minimal voltage, avoid repairs if your headphones are still under warranty – professional servicing is always safer.
If you notice any sparking or melting during use after a repair, discontinue use immediately and consider replacement.