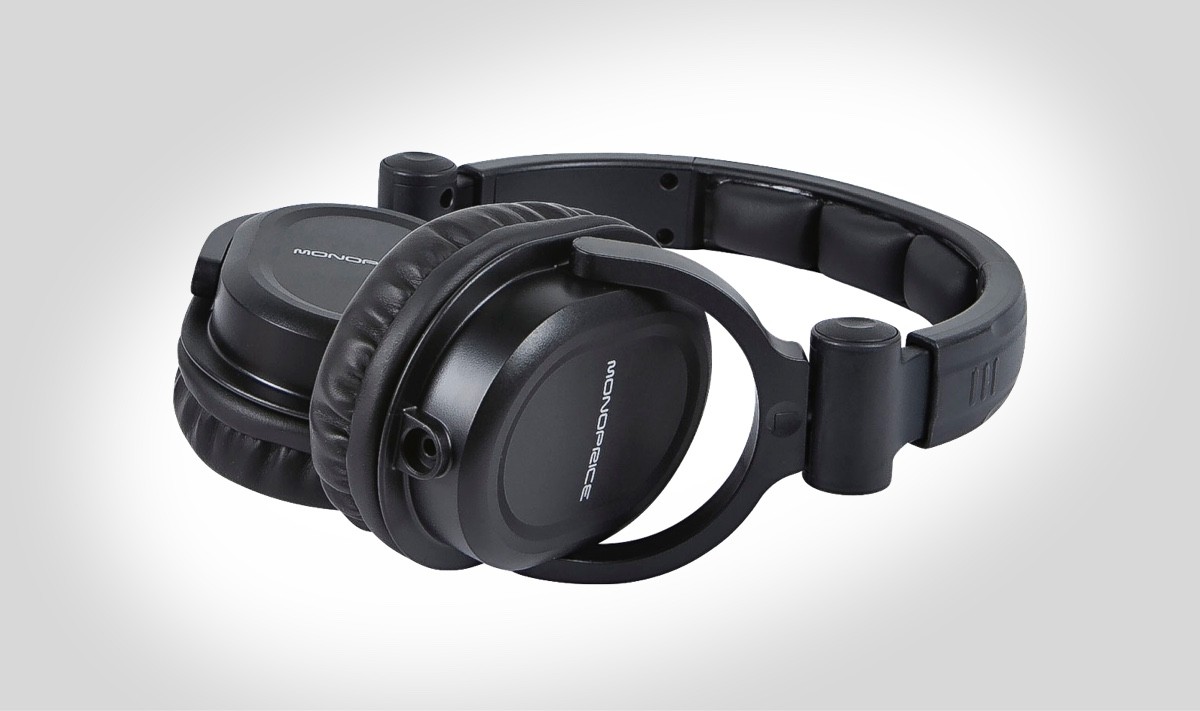
If you have read our Monoprice 8323 review, you’ll notice that these pair of headphones are actually one of the best entry-level headphones.
Talk about fantastic sound that is off the charts, coupled with a generous amount of bass to keep most basshead happy? That’s the Monoprice 8323.
Too cheap to be true?
As awesome as the Monoprice 8323 is, it still has a flaw to it. Is is not a very comfortable headphone. The most common complaints are the quality of the headband, ear cushions and the clamping force of the headphone.
The three factors leads to discomfort after wearing them for extended periods.
However, it is understandable to see great sounding entry-level headphones sacrificing build quality. We can’t have the best of both worlds for just under $20 right?
Monoprice 8323 mods community
Luckily, there is a community of Monoprice fans that came up with modification tips to circumvent these comfort issues. These mods helps to convert this cheap pair of headphones to actually sounds and feels good at the same time.
Which parts of Monoprice 8323 to mod?
Modifying headphones is a completely legitimate practice for improving their quality. You can easily turn any pair of cheap headphone into a legit audiophile set. If you are open to modding your own 8323’s, here are the parts you’ll need to consider for making them fit a little nicer:
- Headband
- Ear pads
- Cable
- Internal Ear Cups structure
1. Add Extra Cushioning to the Headband
The biggest complaint we’ve heard is that the Monoprice 8323 comes with a little headband cushioning that puts a lot of pressure on the top of your head after extended listening. While the 8323 incorporate some type of foam under those 3 headband pads, the thickness isn’t enough for extra comfort.
It would have been nice if the padding is more distributed across the headband than just placing it at the center. The best workaround you can pull for this problem is to find a replacement headband with better cushioning.
One of the most popular mod headband for the 8323’s is the Beyerdynamic Headband made from leatherette material. You can also check out this Generic Headband Cushion padding for almost any headphone.
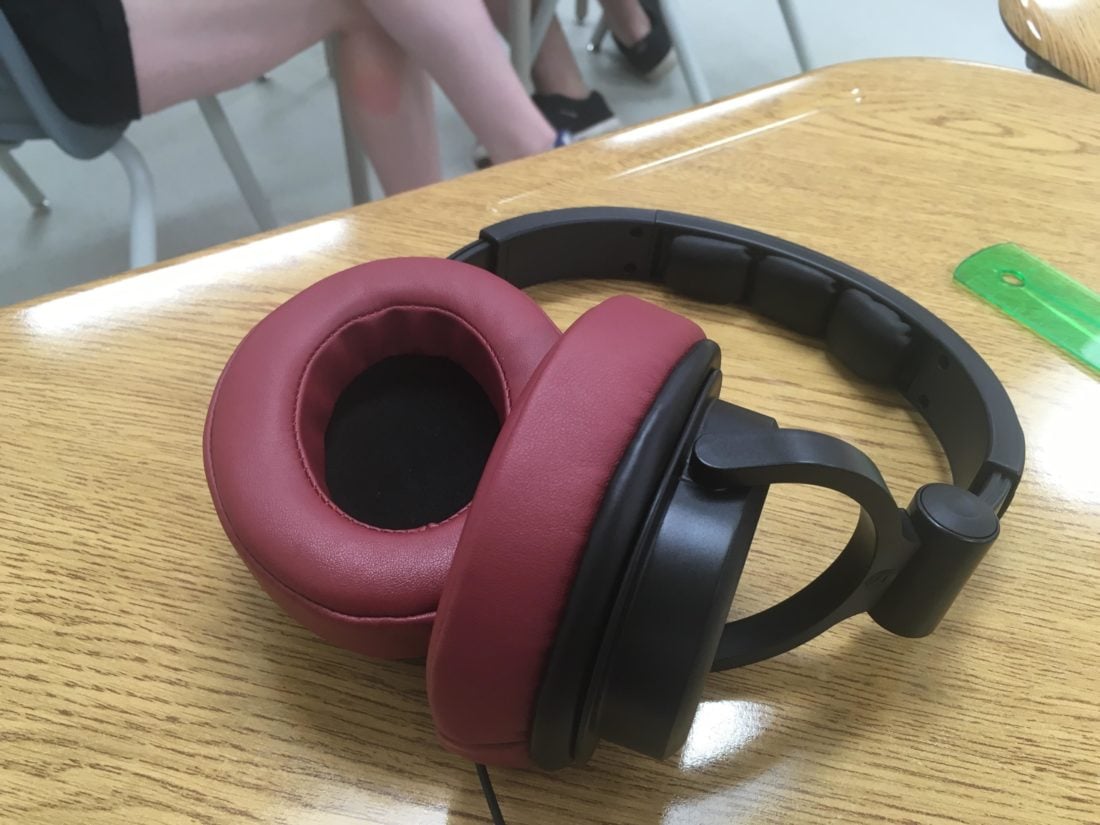
2. Replace the Pleather Earpads with Velour Earpads
This mod is a little tricky since replacing the stock earpads can drastically change the sound of your headphones. However, if you find that the stock pleather earpads are
-
- not comfortable with their thin cushion
- making your ears feel warm and sweaty
- grossly sticking to your ears after hours of listening
it is time to find a replacement velour or leather ear cushions from manufacturers such as these Beyerdynamic velour earpads or these Brainwavz replacement memory foam earpads.
Credit to /u/YourDailyPerplexing who replaced his Monoprice 8323 pads with these dark red BrainWavz ear pads.

3. Replace the Cable
The Monoprice 8323 kit comes with two 3.5 mm stock cables which are gold-plated male-to-male audio cables. One of the cable is thicker and measures over 11.5 ft. long. You’ll mostly need this one for professional work or when you’re indoors laying back on your couch to enjoy the tunes coming from your distant music source. The other cable is thinner, lightweight and measures about 50″ in length. It’s better suited for mobile operations, especially when you’re on the move.
Some people find the included mobile cable to be a little too short for mobility and often replace it with a better cable such as this nice Anker 3.5mm nylon braided auxiliary audio cable or this Monoprice gold plated cable for mobile.
4. Internal Earcups structure
This mod involves sealing the interior parts of the earcups as well as bringing the drivers closer to your ear.
What it entails:
1) Remove the ear pads
2) Open the lids – All you need to do is open up the ear cups with a screwdriver however be careful with the interior wiring used. While you’re at this step, you can create tissue templates for use as guidance when you are cutting the acoustic foam in the next step.

4) Place more acoustic foam on the side-walls of the ear cups and widen the bass vents
5) Place a double layer of micropore tape over the cup vents.
6) Add Dynamat (or fatmat) to the back of the driver magnet and micro-pore tape over 1/2 driver vents
7) Place a double layer of velour and cotton batting into both cups
8) Screw the drivers back in place to close the ear cups then fix back the ear pads.
The result?
- Better isolation
- Improved bass clarity
- Greatly improved treble extension
- Improved midrange clarity (most likely due to the improved treble)
- Overall frequency response is evened out.
Image credit to http://imgur.com/gallery/Sns4S
Conclusion
If you want high-quality music but don’t feel like shelling out hundreds of dollars for a high-end pair of headphones, then modding your Mono 8323 can turn them into a set of high quality audiophile headphones.
The total cost for the Monoprice 8323 is $26 and mod can cost up to $40+, which adds up to around $70. With that price in mind, the headphones can still hit you with their fantastic bass and extra comfort due to the addition of velour pads. Get the mods, and you can treat yourself to some premium enjoyment for less than $100 of the total cost. Have fun modding!


