Tried and tested solutions for when you hear no Discord audio on your Bluetooth headset.
Imagine opening Discord to talk to your friends or to stream a game for your community, only to discover you cannot hear anything on your Bluetooth headset. Such an experience can drain all the excitement out of you, leaving you feeling frustrated instead.
This is extremely annoying if your headphones only start acting up whenever you use Discord, but function quite perfectly with other apps.
To get you out of this dilemma, here’s a list of tried and tested solutions for when you hear no sound on your Bluetooth headset when using Discord.
- Set Your Default Audio Device
- Adjust the Volume Mixer Settings
- Adjust Discord’s In-App Volume
- Switch to a Different Voice Region in Your Discord Server
- Disable Any Headset Software or Audio Enhancers
- Run the Windows Audio Troubleshooter
- Use a Legacy Audio Subsystem
- Restart Windows Audio Service
- Bonus: What to Do When Discord Mutes Other Sounds on Bluetooth Headphones
- Conclusion
Set Your Default Audio Device
It is common to have multiple audio devices connected to a Windows PC. In addition to your Bluetooth headset, your PC might have connected to devices such as wired speakers, webcams, mics, or even your PC’s built-in speakers.
Remember, connecting a new audio device to your PC sets it automatically as the default device.
If your Bluetooth headset is not your default audio device, you might not hear any sound. Here’s how you can set your Bluetooth headset as your default audio device on Windows 11:
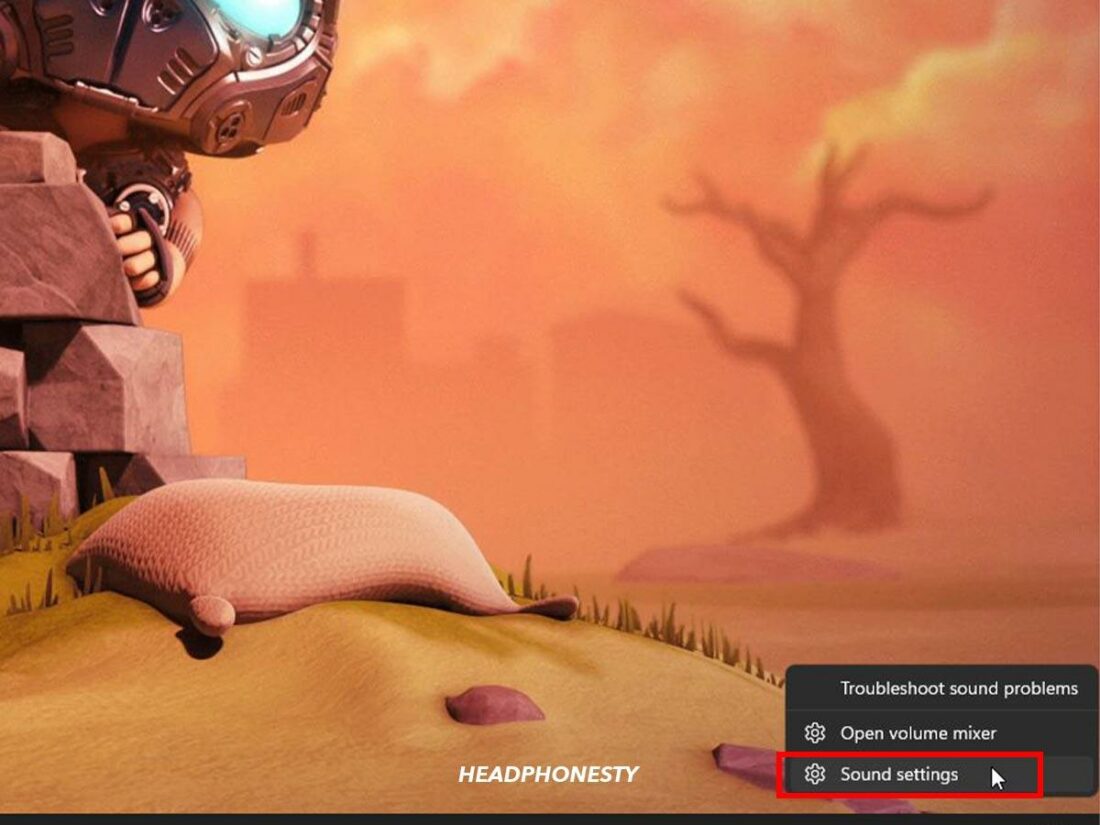
- Open the Settings App.

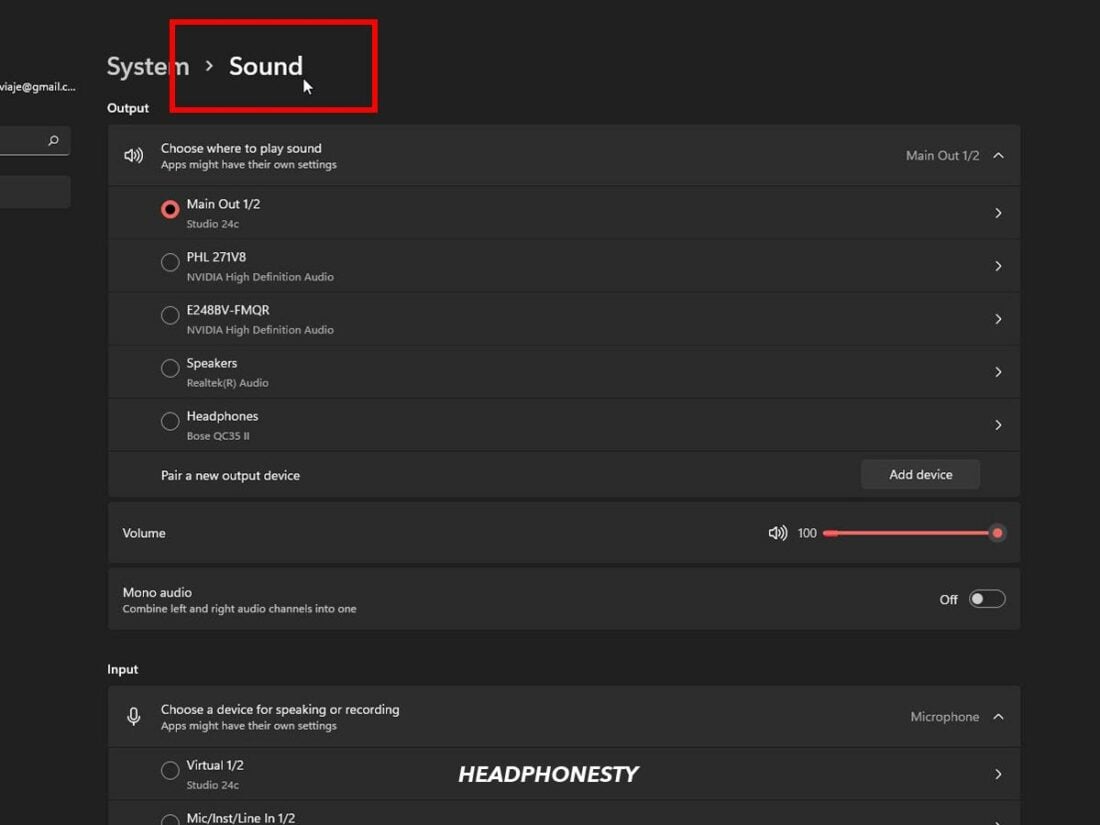
Sound Settings - Next, click on the Sound tab in the Settings window. This tab contains the Output panel with a list of available output devices.
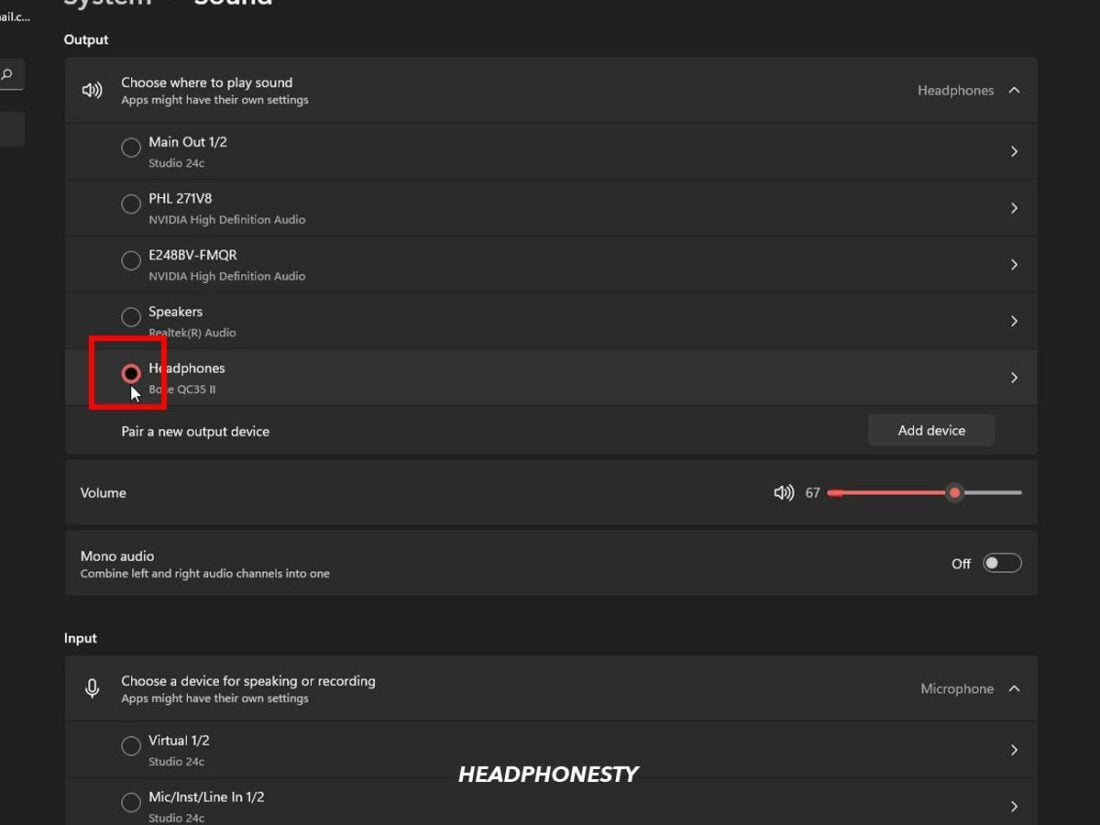
Sound Tab - Identify your Bluetooth headset from the list.
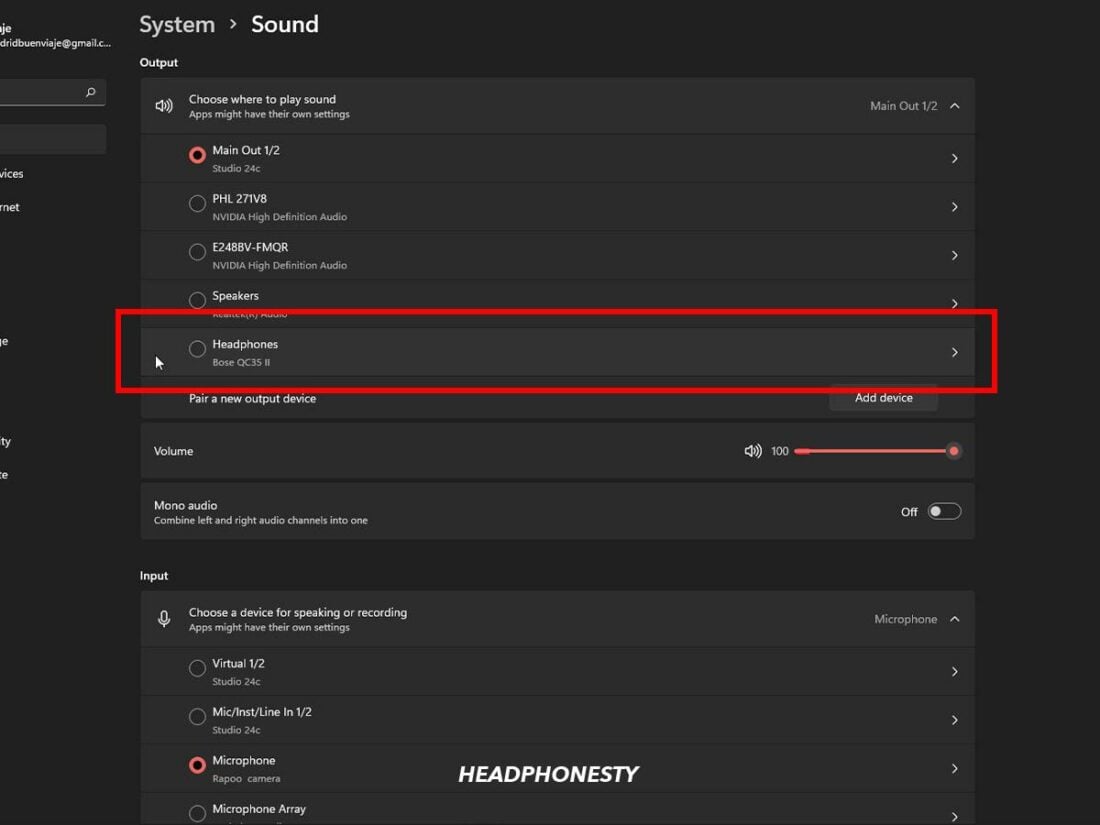
Identify your Bluetooth headset - Click on the radio button beside your headset to set it as the default audio device.
Click on the radio button
Adjust the Volume Mixer Settings
The problem may lie with your audio settings if you do not hear any sound on your headset only when using Discord. Windows PCs have a Volume Mixer tool, which allows you to customize audio levels for individual programs.
It may just be that the volume settings are at the correct levels for all your applications except Discord.
Here’s how you can use the Volume Mixer to increase volume on Discord, as well as your Bluetooth headset:
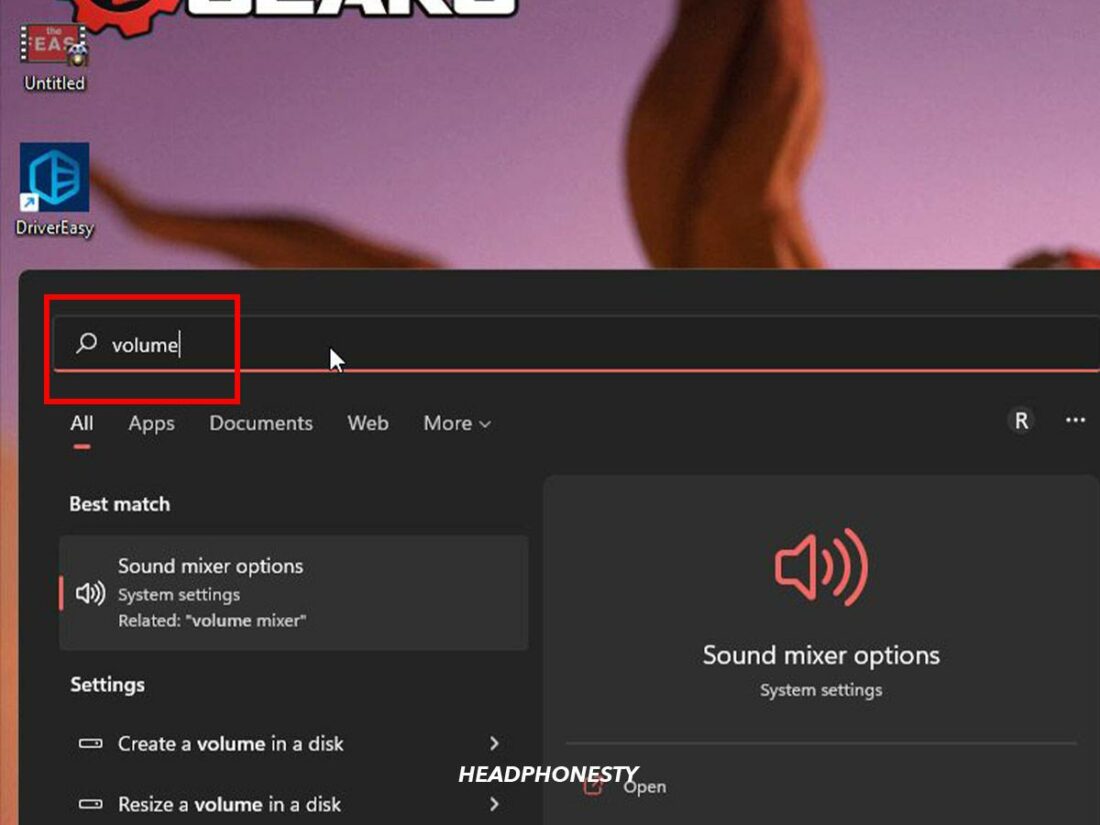
- Click on the Start icon and type “volume” into the Search bar.
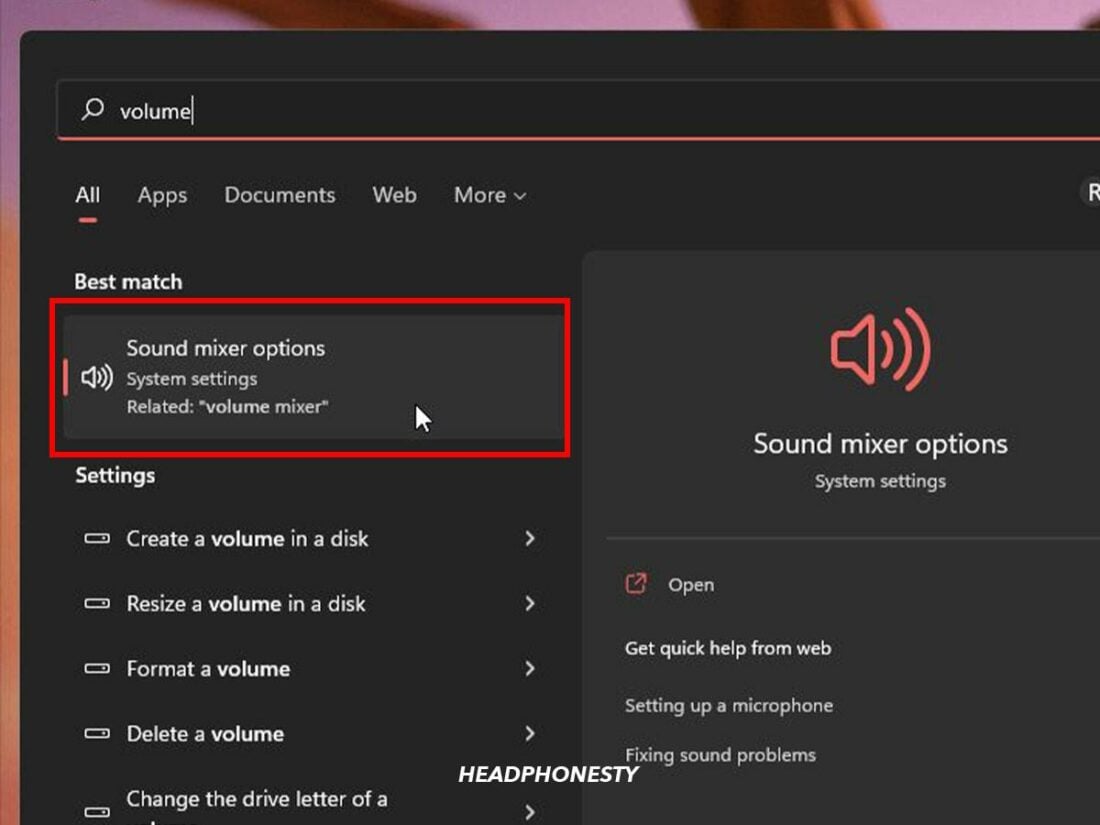
Type “volume” into the Search bar - Next, click on Sound mixer options. The Volume Mixer appears and shows the volume of the audio device and each program.
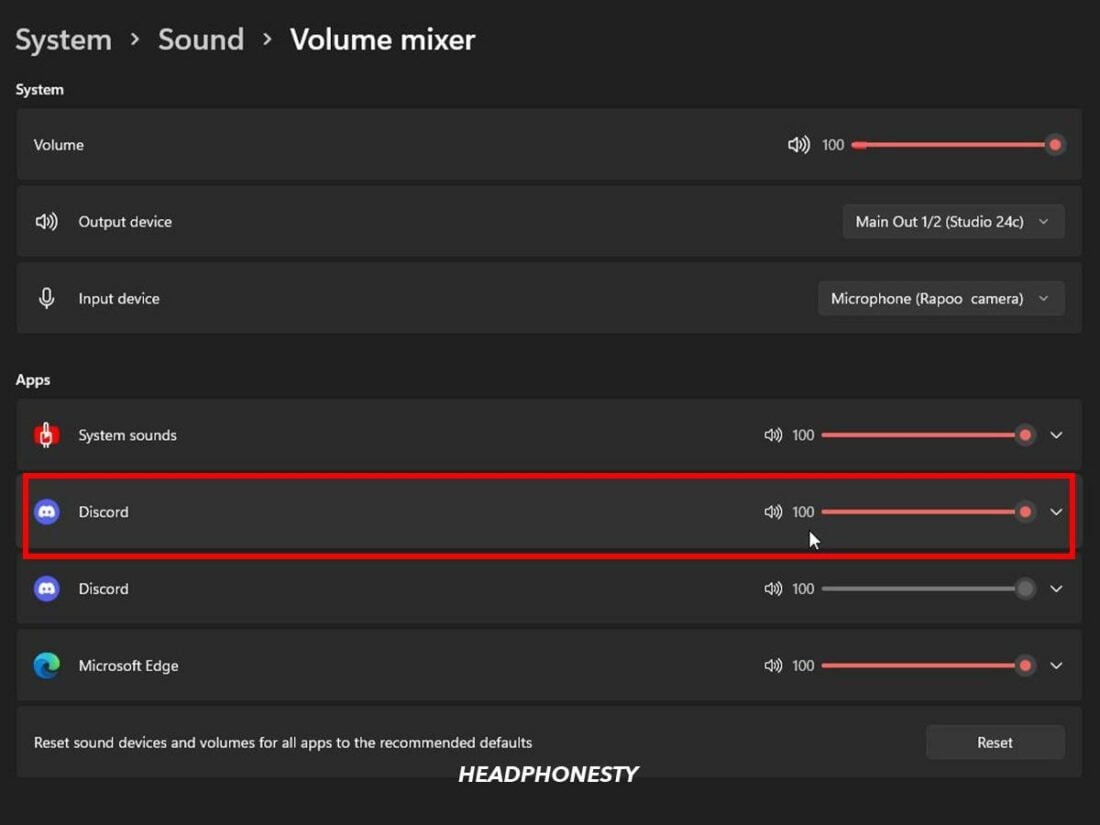
Sound mixer options - Unmute Discord and set the volume to your preferred level. If you do not see Discord among the options, it may be because the Discord app is not open. Simply open the Discord app and go over the process again.
Unmute Discord
Adjust Discord’s In-App Volume
The Discord app has granular volume controls to give you a customizable audio experience for gaming. However, if you set the volume too low, you may not hear any sound from your headset.
Follow these steps to adjust the volume on the Discord app:
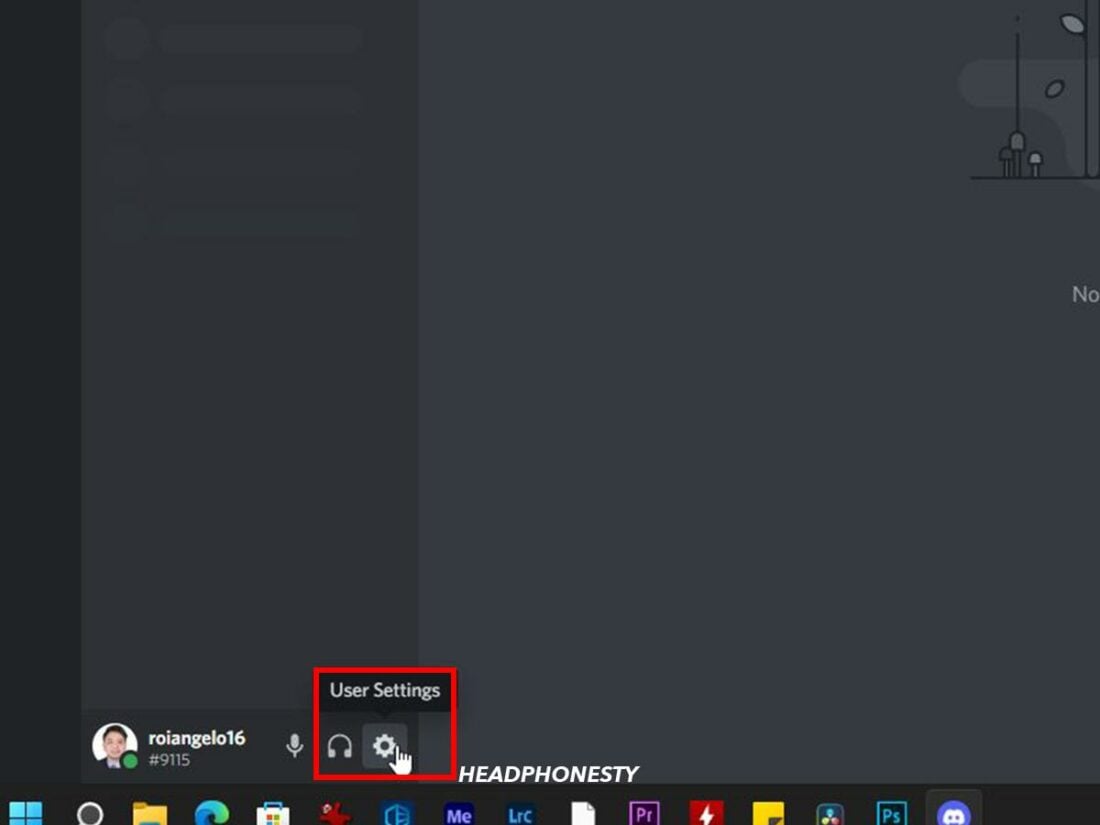
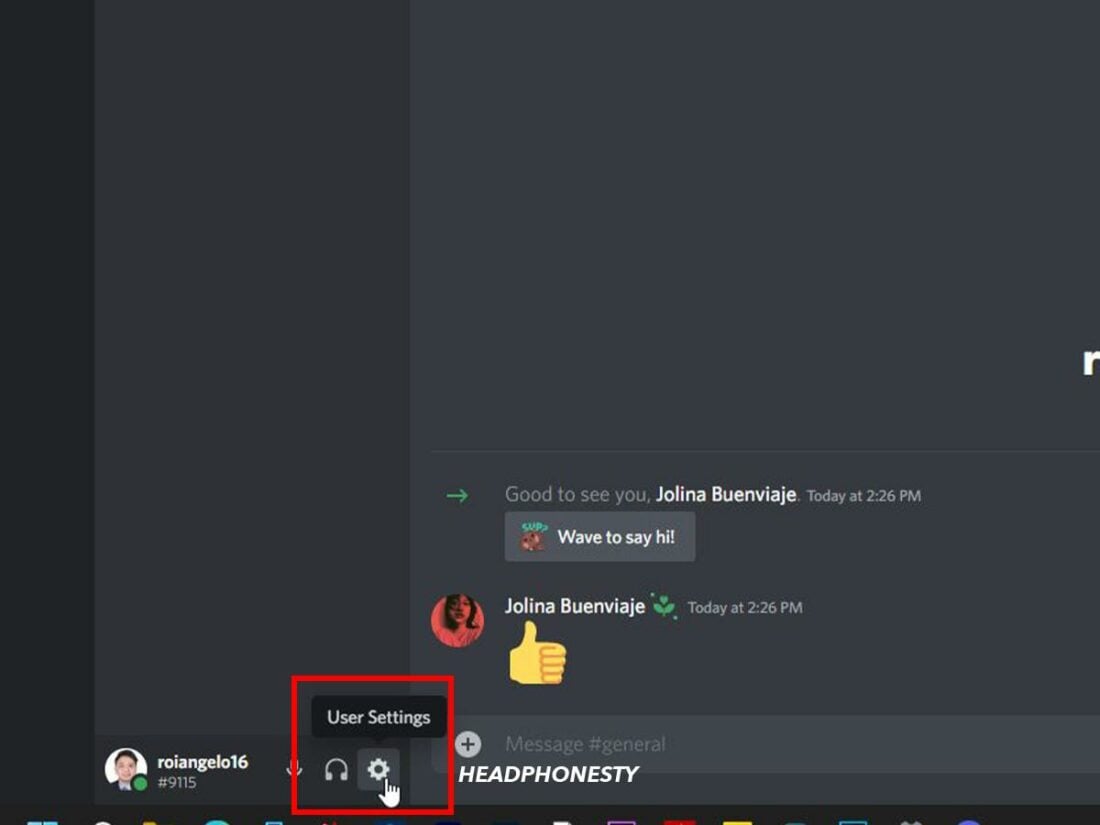
- Open the Discord App and click on the gear icon near your username.
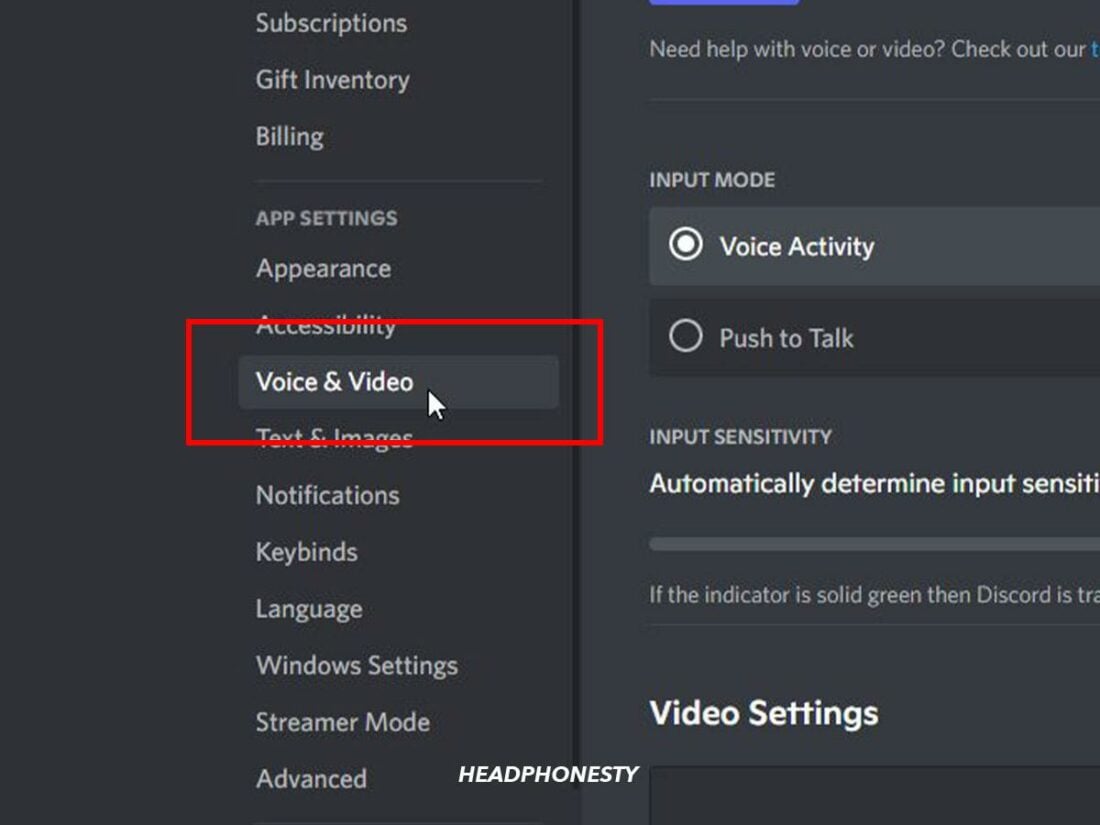
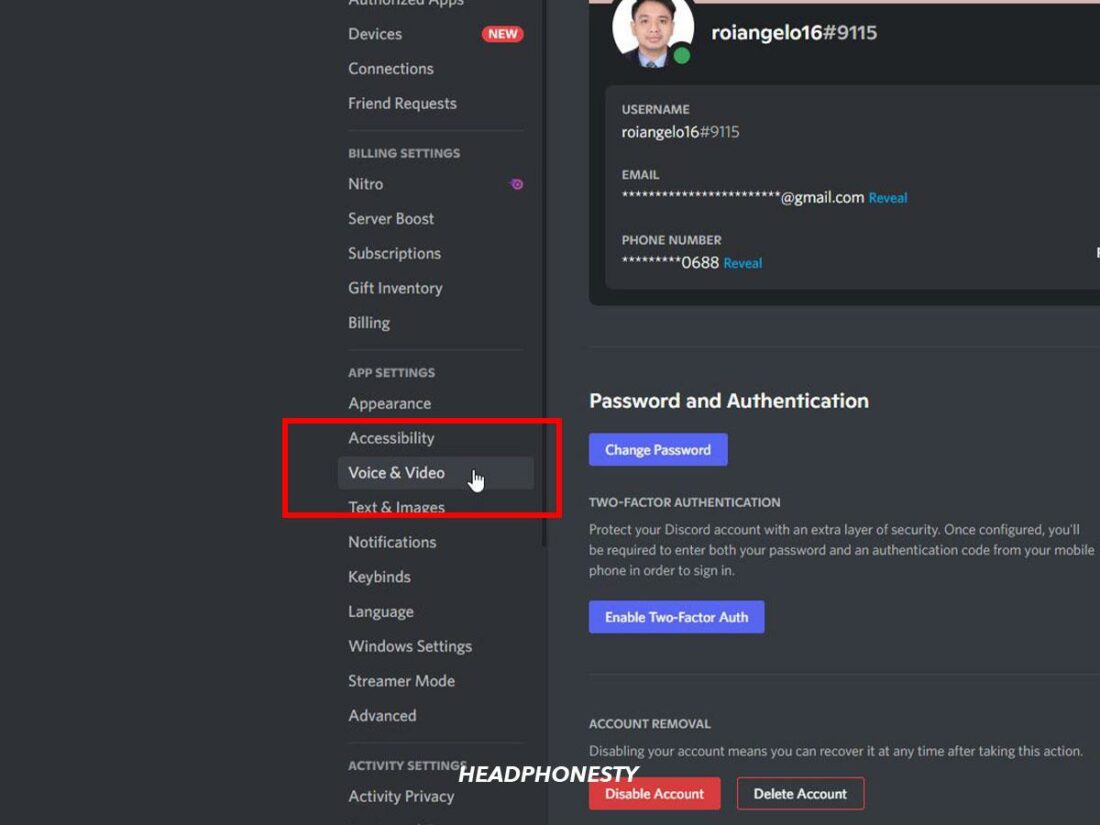
Accessing Discord User Settings - Select Voice and Video under App Settings. This option opens up an input and output volume bar.
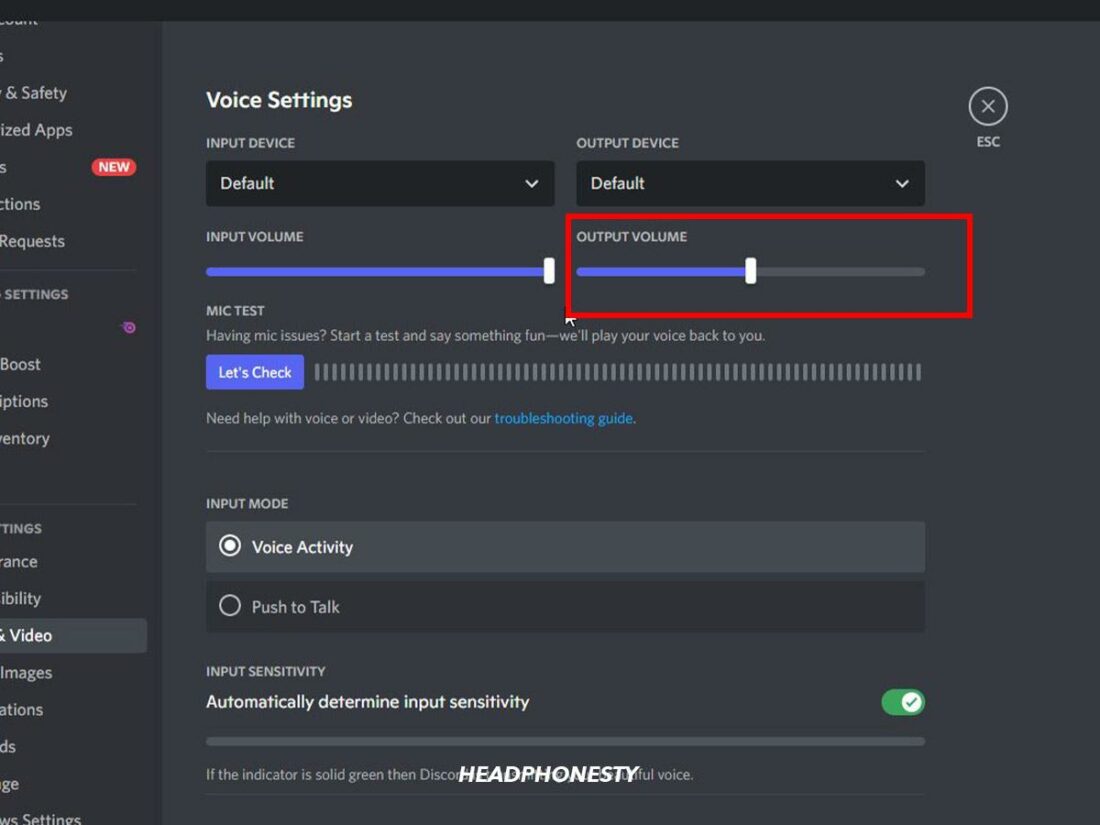
Voice & Video option - Set the output volume to your desired level.
Adjusting Output Volume on Discord
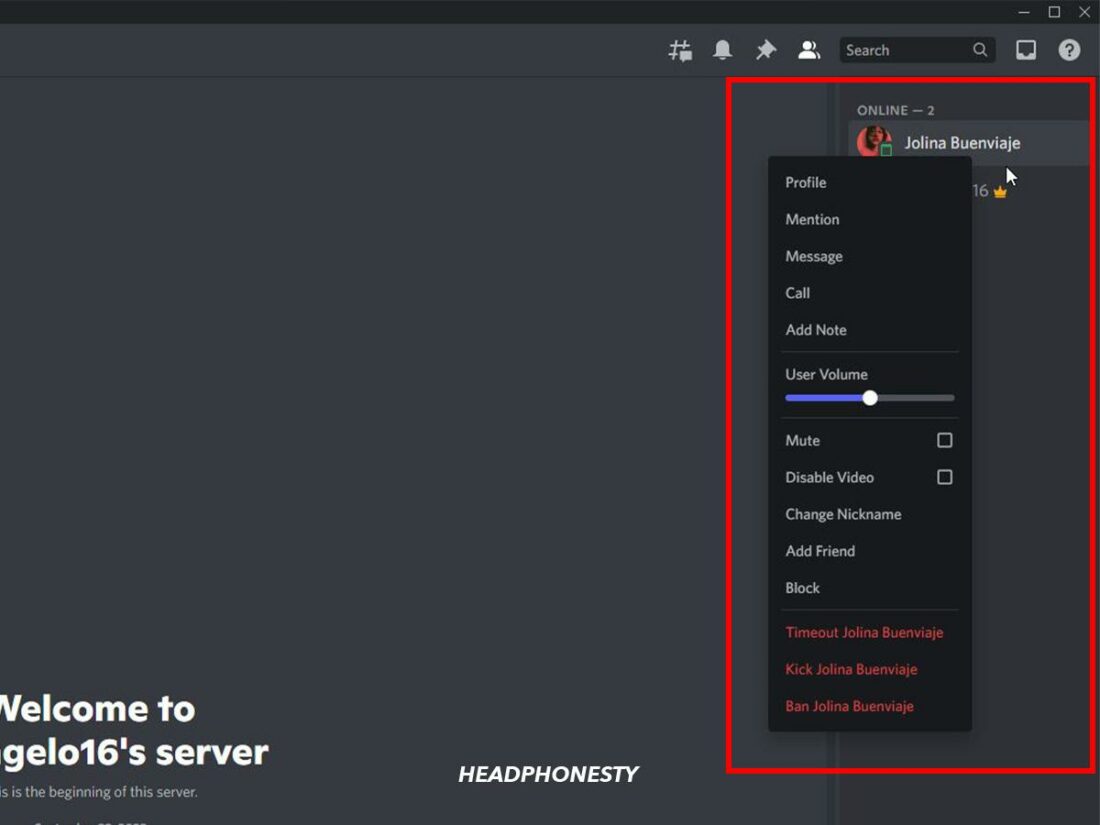
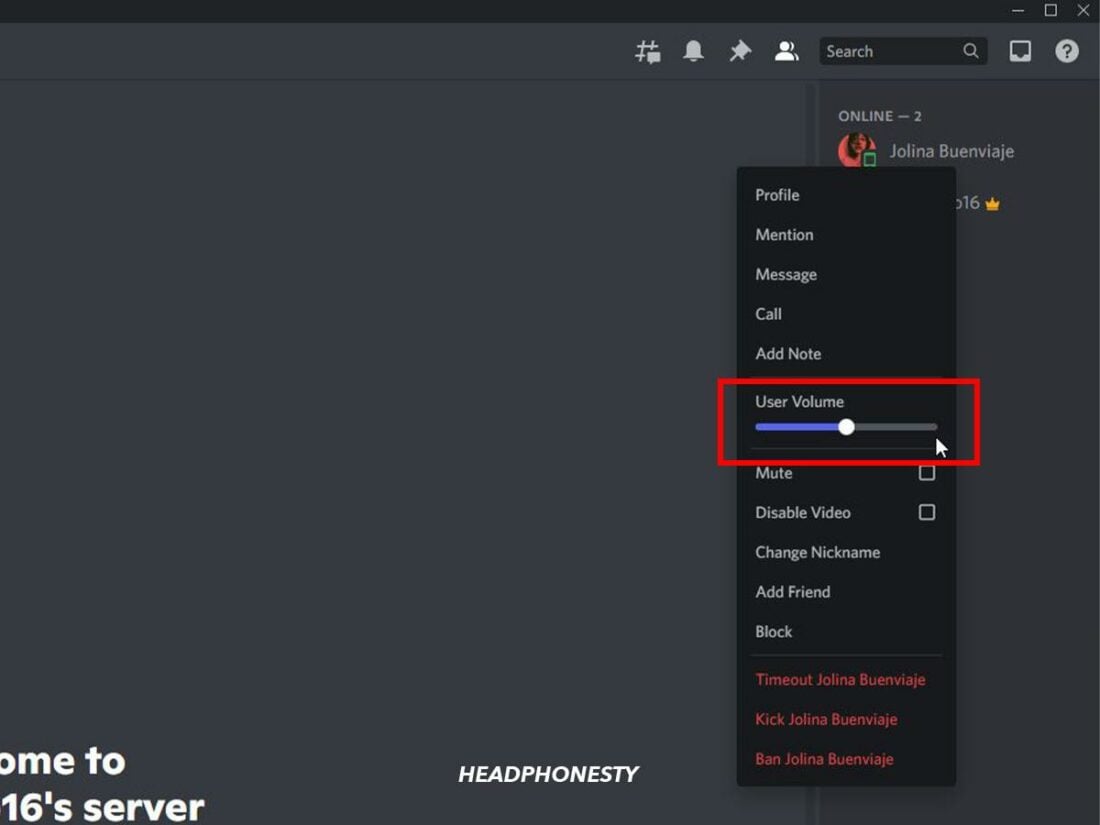
Discord also allows you to adjust the volume level of individual users on your server. You can check and adjust their audio levels if you cannot hear people on your Discord server. Here’s how:
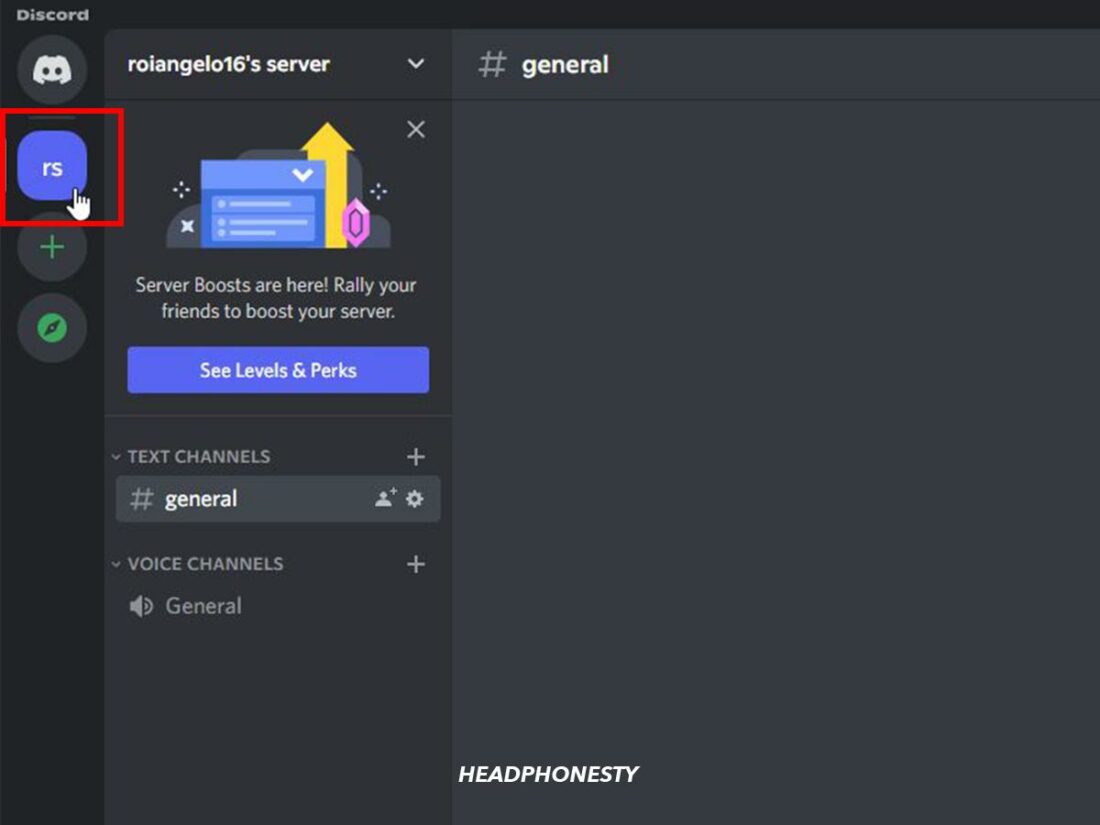
- Open Discord and head over to your server.
Open server - On the right side, right-click on a user on the list. This option will open up a menu with a volume bar.
Right click on a user - Adjust the volume and repeat the process with other users on your server.
Adjust the volume slider
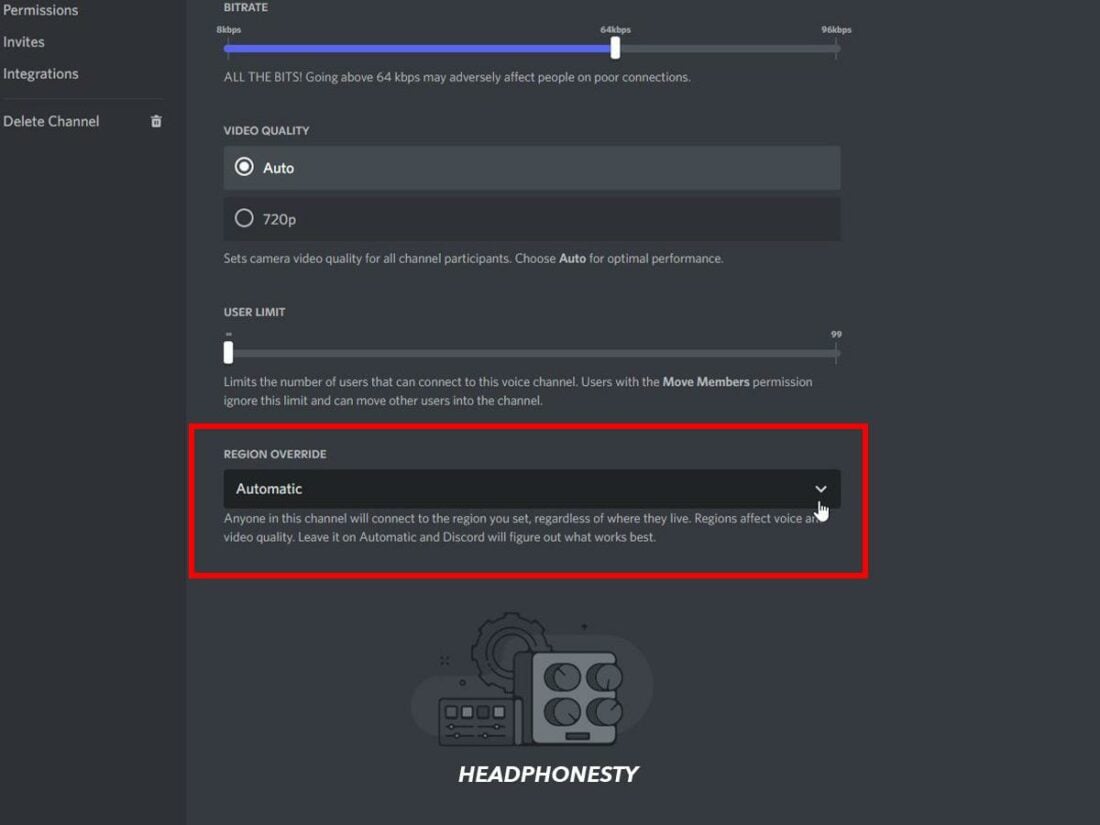
Switch to a Different Voice Region in Your Discord Server
Every voice channel on a Discord server uses a “voice region” to host calls. The voice region is set to “Automatic” by default, which means it sets the region based on the first user to join the call.
However, the “Automatic” voice region may not be the best choice since you will likely face more connection trouble if the voice region location is far away. To overcome this issue, you can set the voice region to a specific server.
Follow the steps below to change your voice region on Discord:
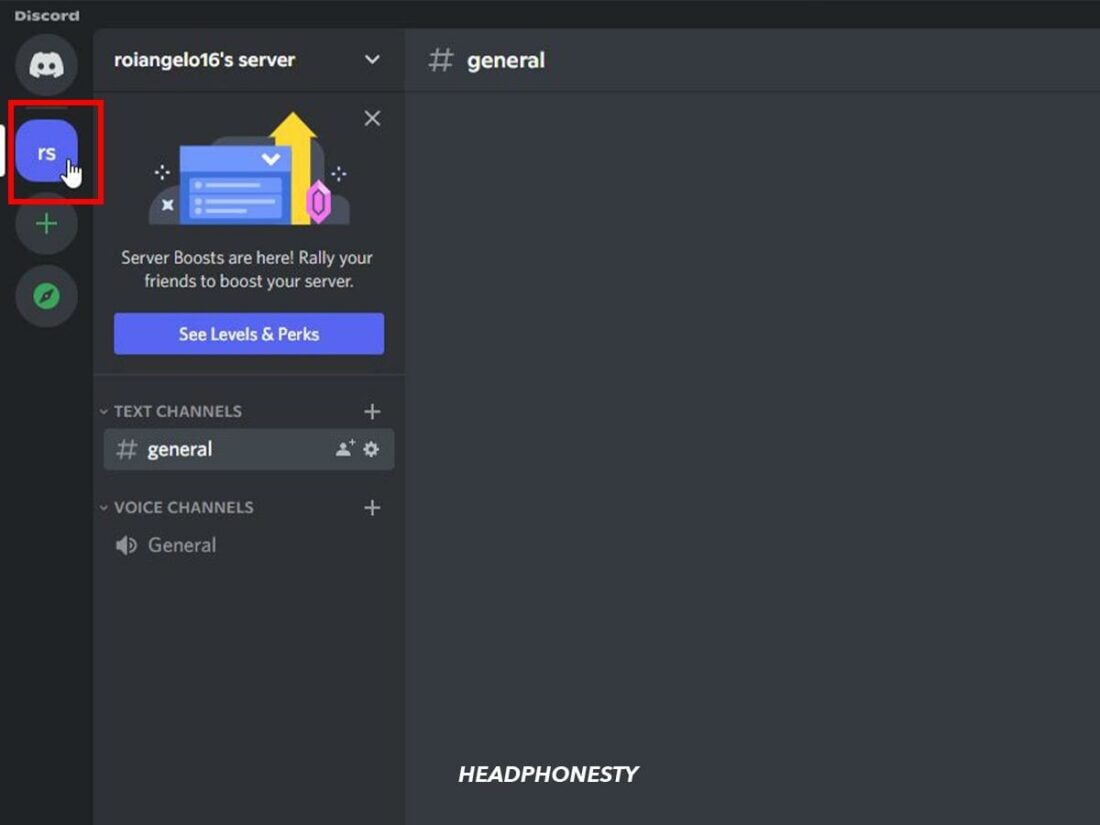
- Open the Discord app and click on your server.
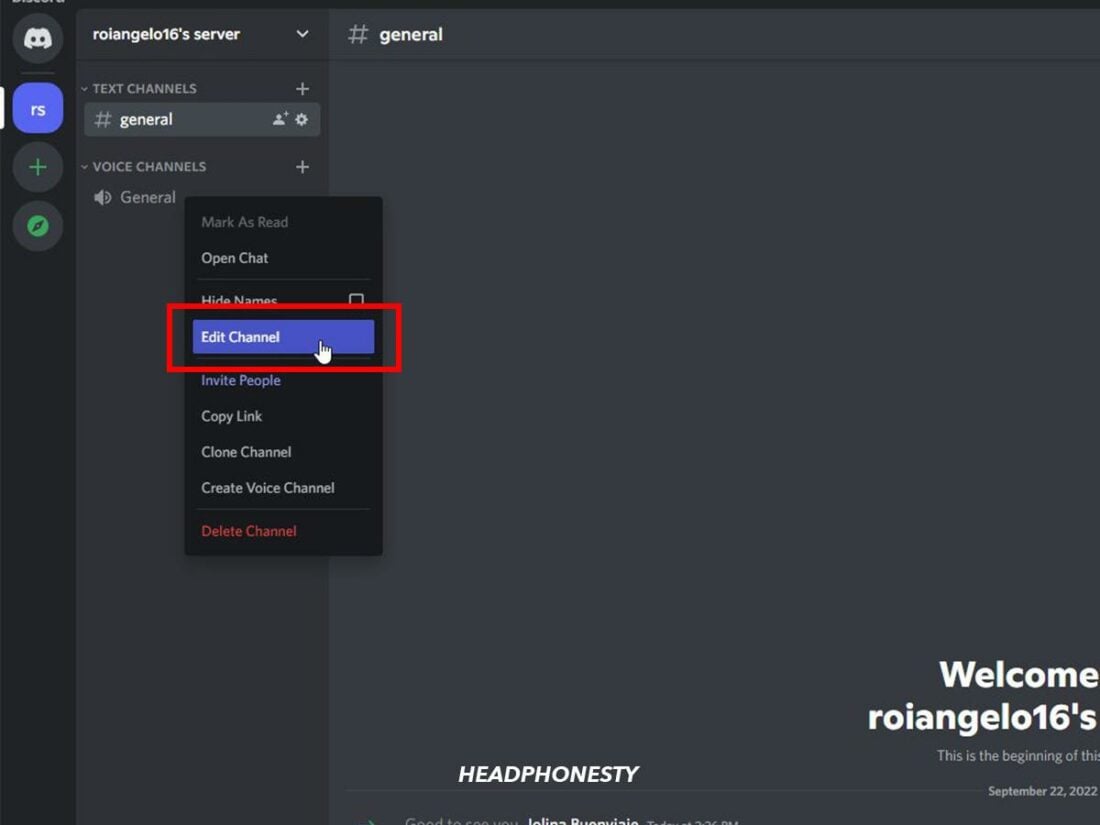
Click on server - Locate the voice channel, right-click, and select edit channel.
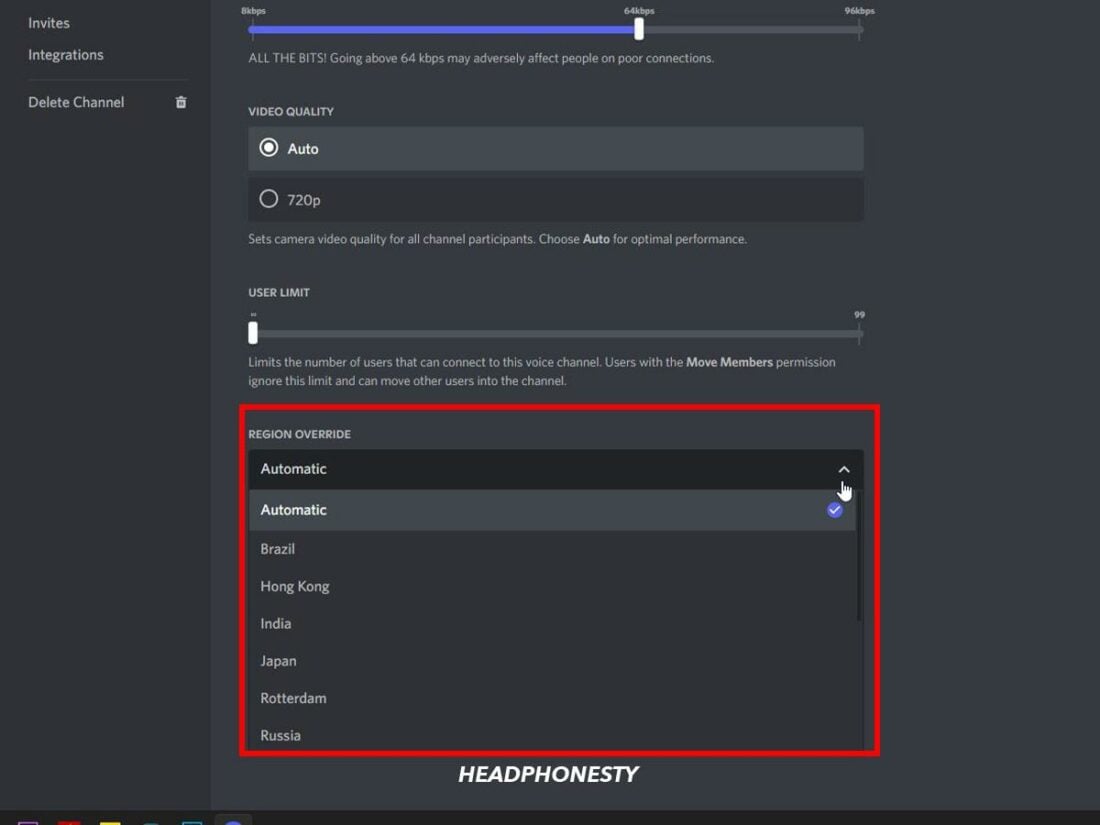
Select Edit channel - Click on Region Override. This selection will show a list of available regions.
Click on Region Override - Select the region that you are closest to or one that is convenient.
Select region
Disable Any Headset Software or Audio Enhancers
Headset software or audio enhancer applications, such as Boom 3D, are helpful tools that can improve your audio experience.
However, if your Discord audio codec does not match the enhancer software, it can cause latency, static, or even lead to no audio output. In that case, it is best to disable your audio enhancer software.
Different headset or audio enhancer software have distinct steps to disable them. For example, if you use Boom 3D, here’s how you can disable it on your Windows PC:
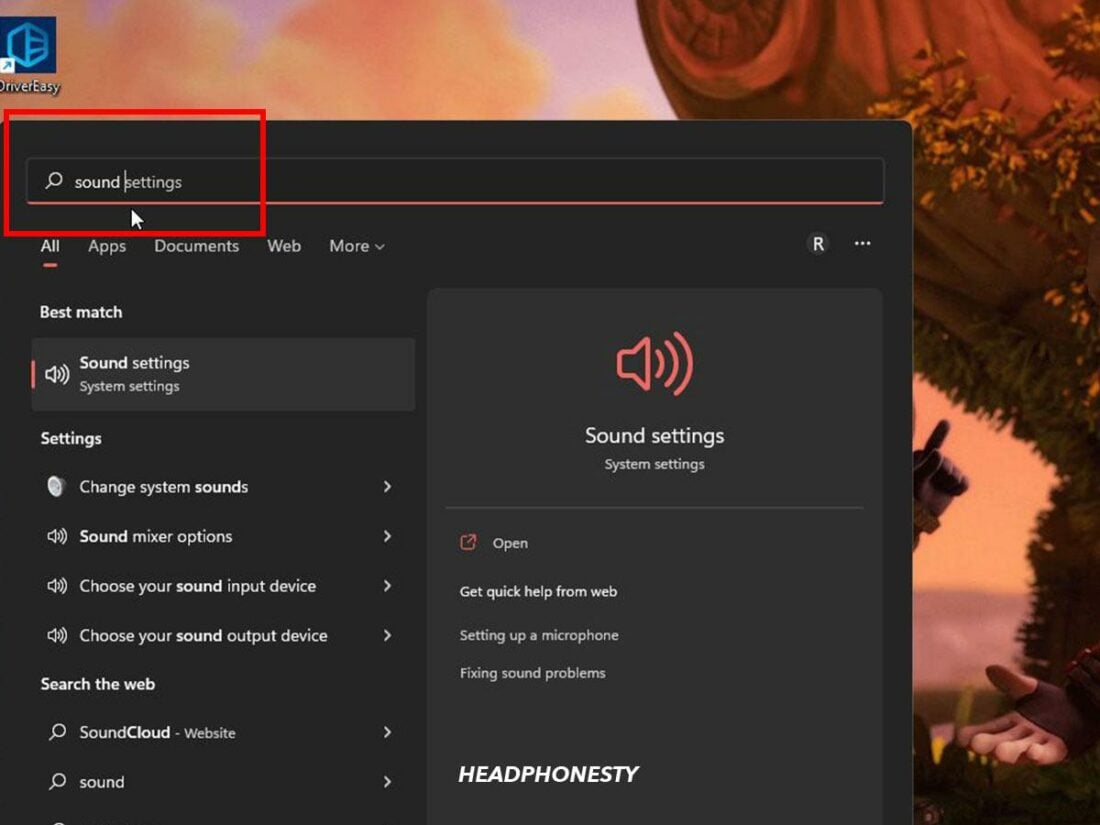
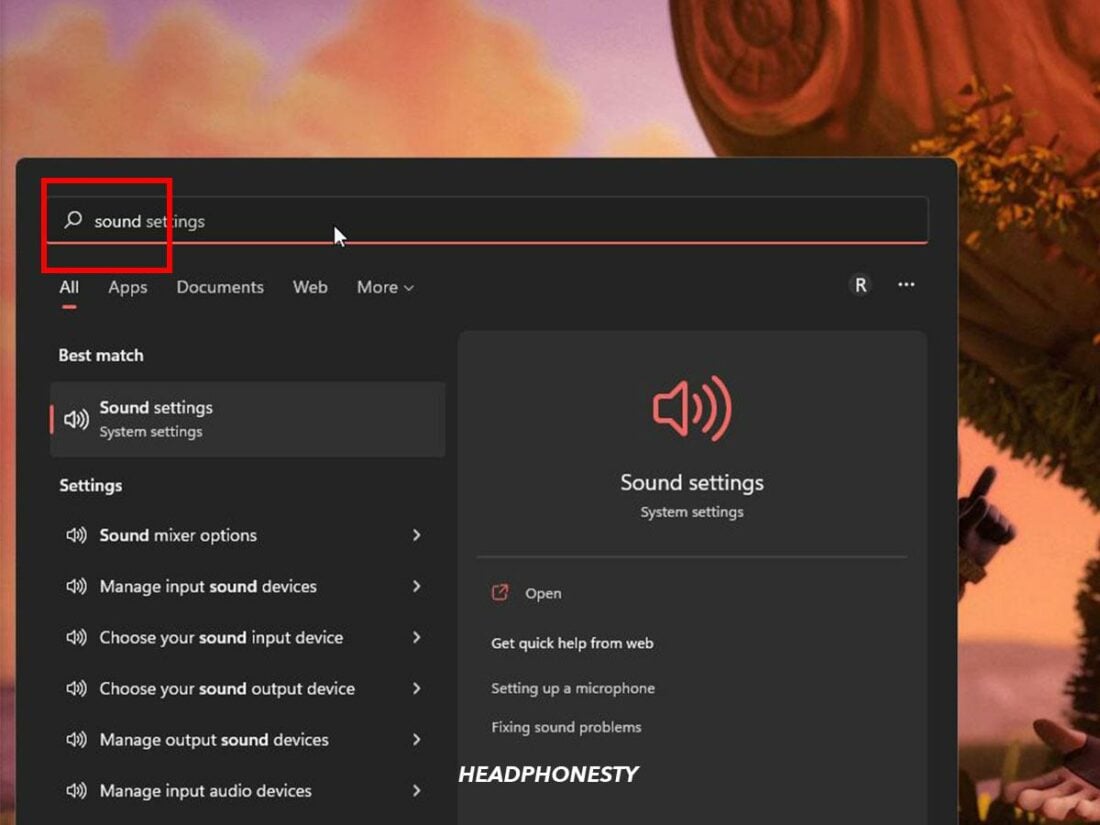
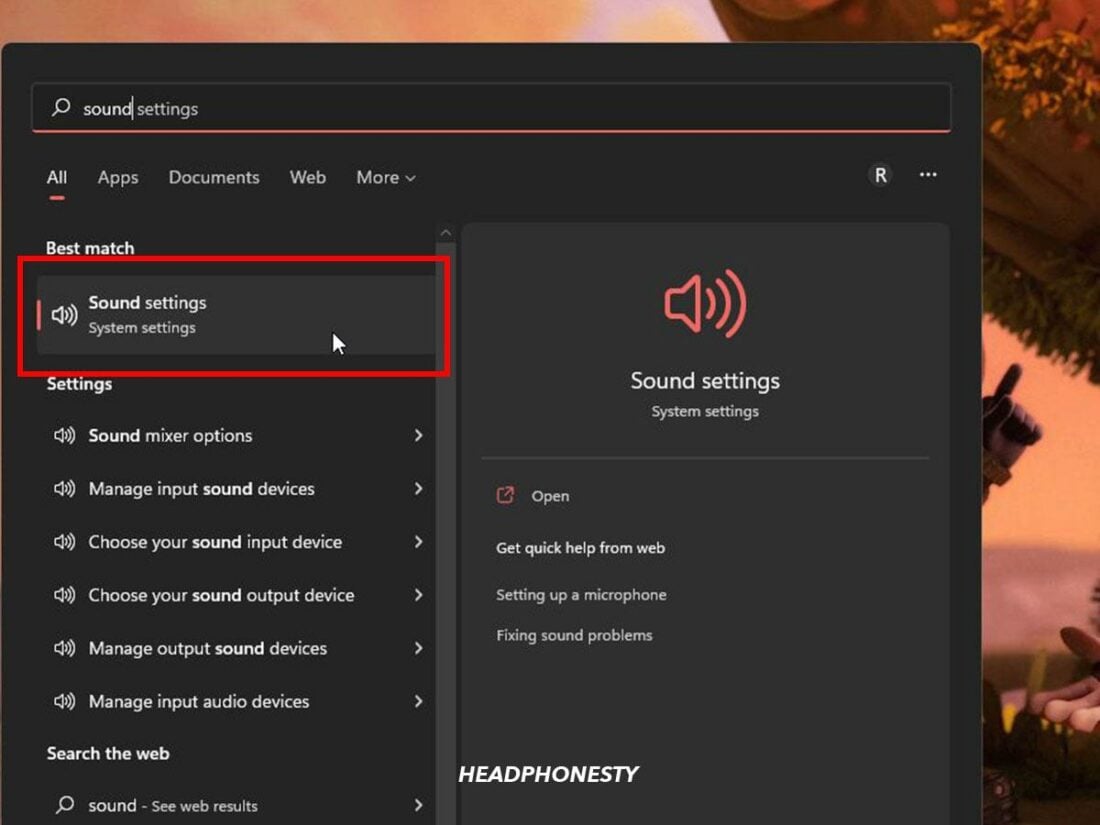
- Click on the Start button and type “Sound” into the Search bar.
Type “Sound” into the Search bar. - Click on Sound Settings.
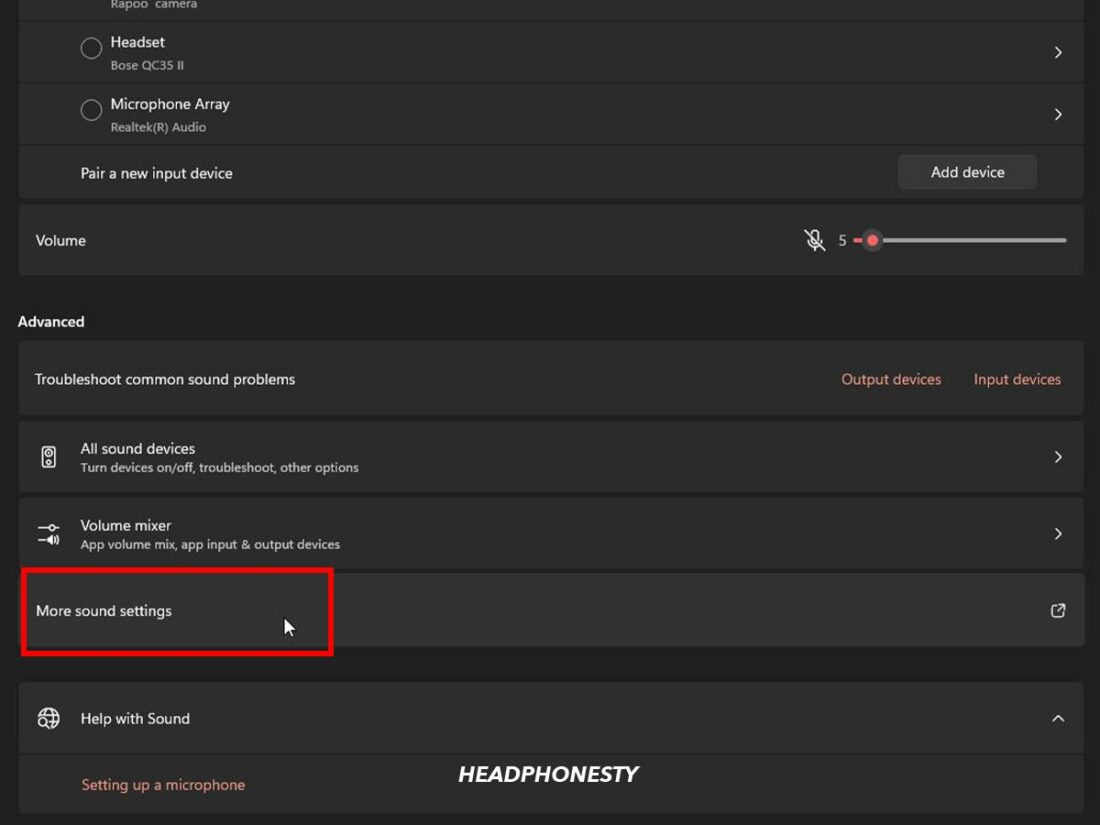
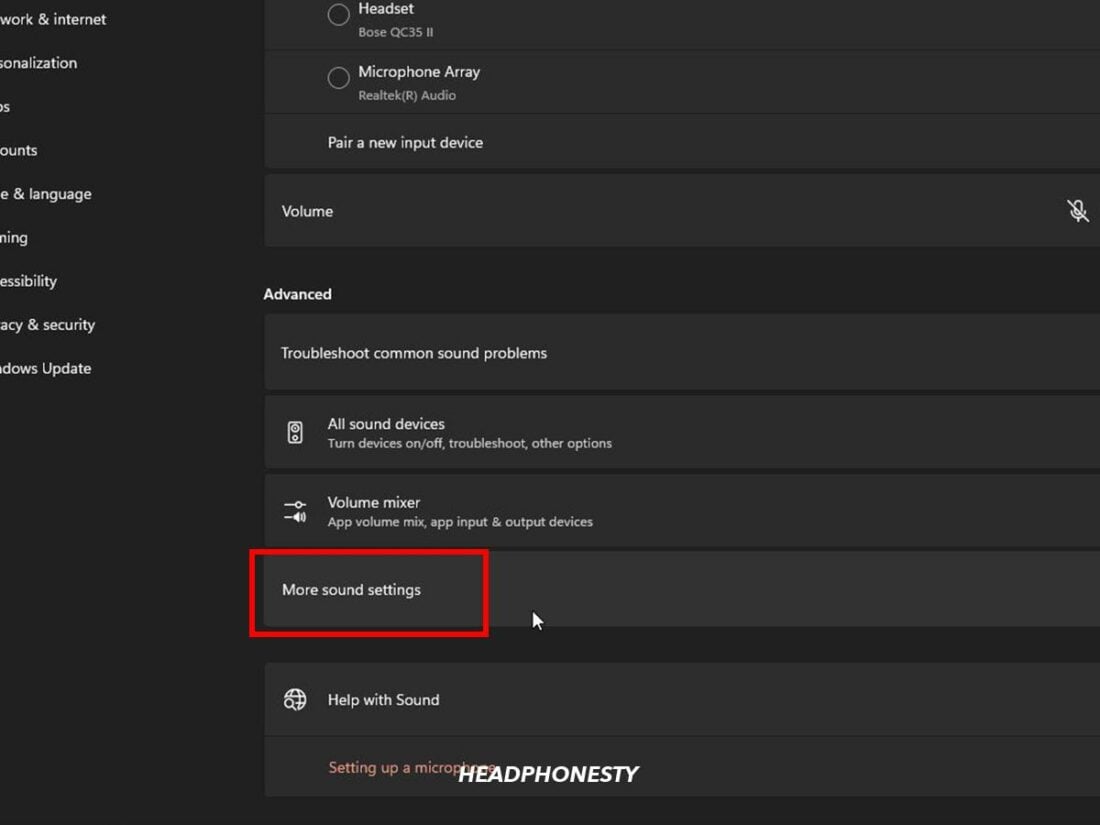
Sound Settings - Next, select More sound settings.
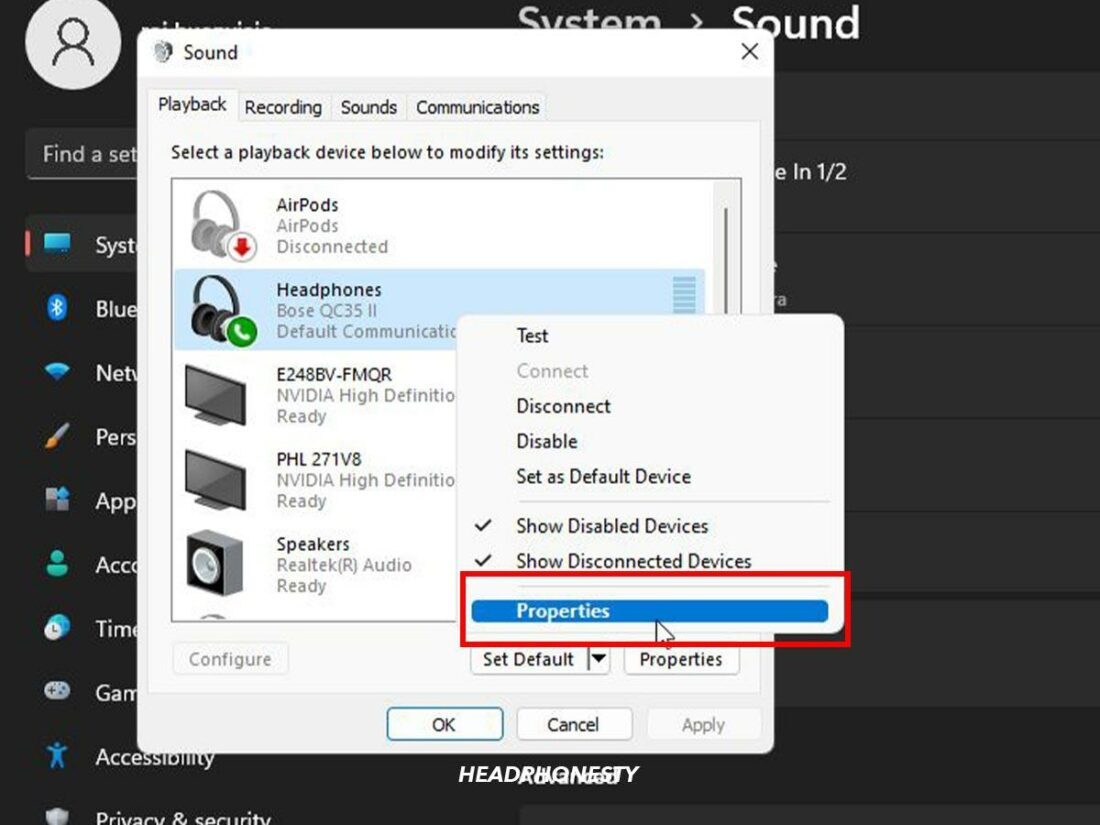
More sound settings - In the Playback tab, right-click on your Bluetooth headset and click on Properties.
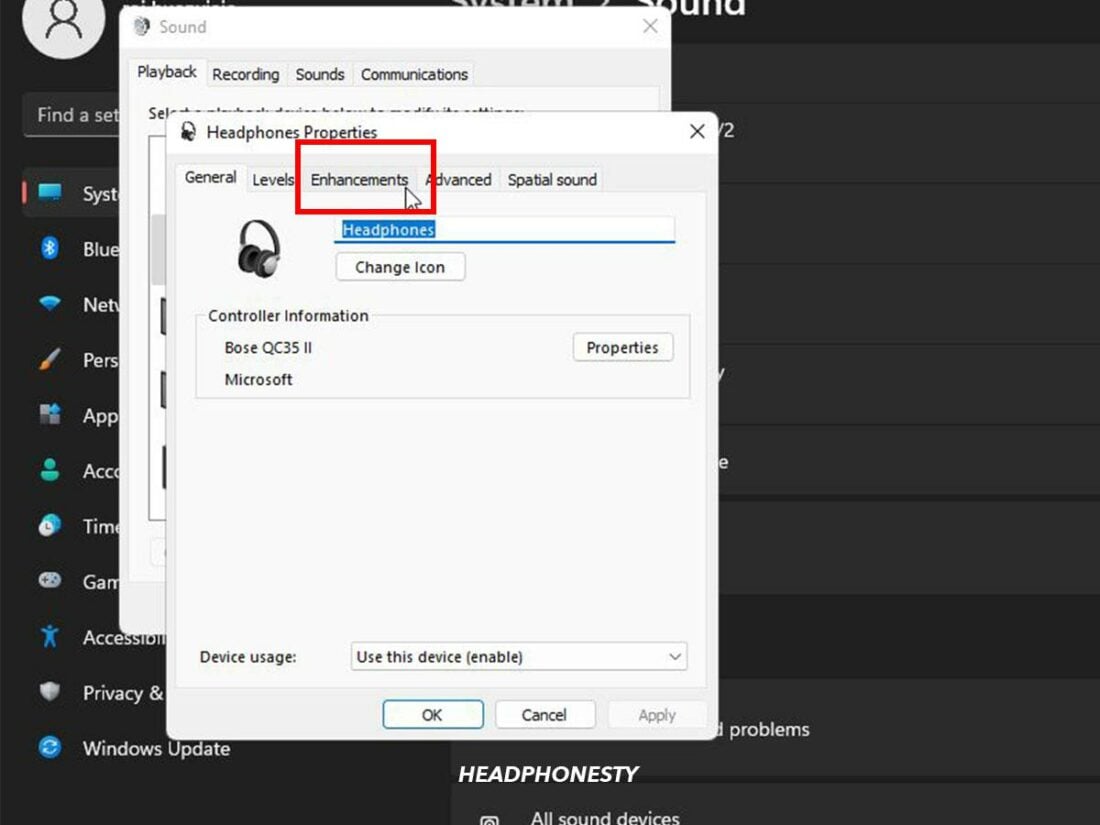
Properties - Click on the Enhancements tab.
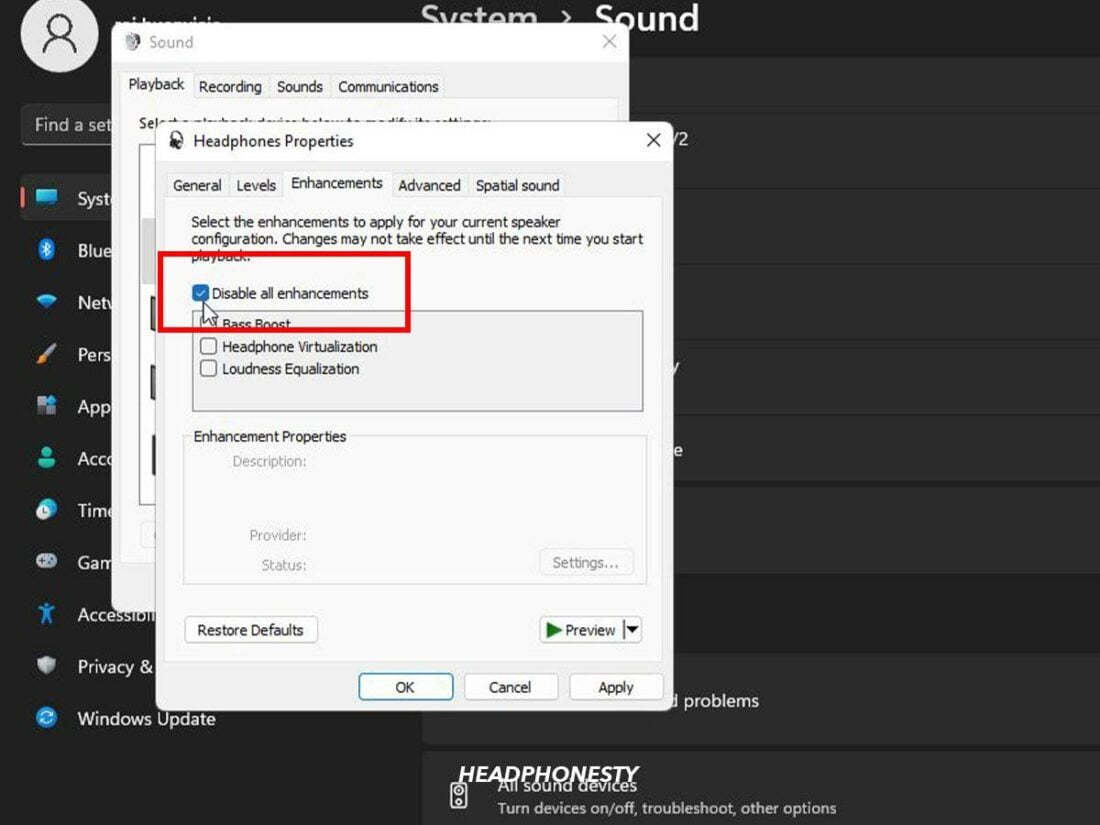
Enhancements - Under it, select the Disable all enhancements check box.
Disable all enhancements - To cover your bases, select the Advanced tab next.
Advanced tab - Find Boom 3D under Enable audio enhancements. Uncheck the box next to it to disable Boom 3D.
Run the Windows Audio Troubleshooter
If none of the suggestions have worked so far, try the Windows built-in audio troubleshooter.
Still, it is worth giving a shot. Follow these steps to run the Windows audio troubleshooter:
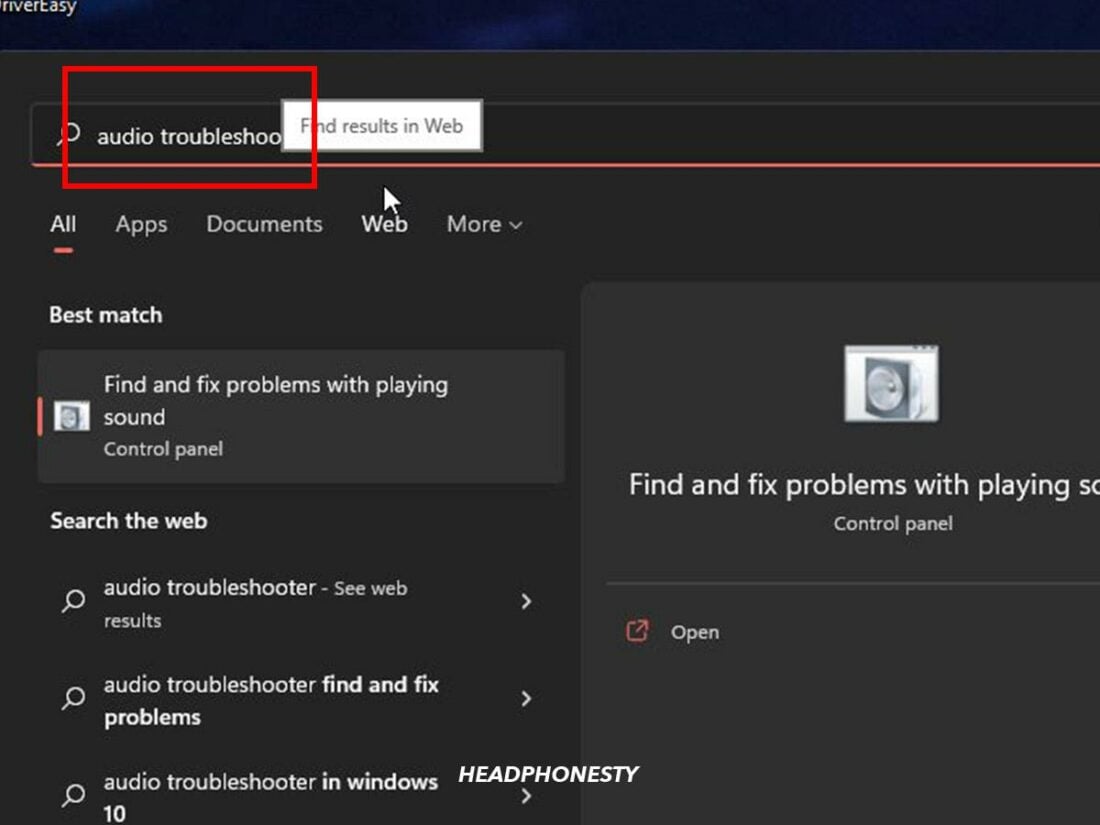
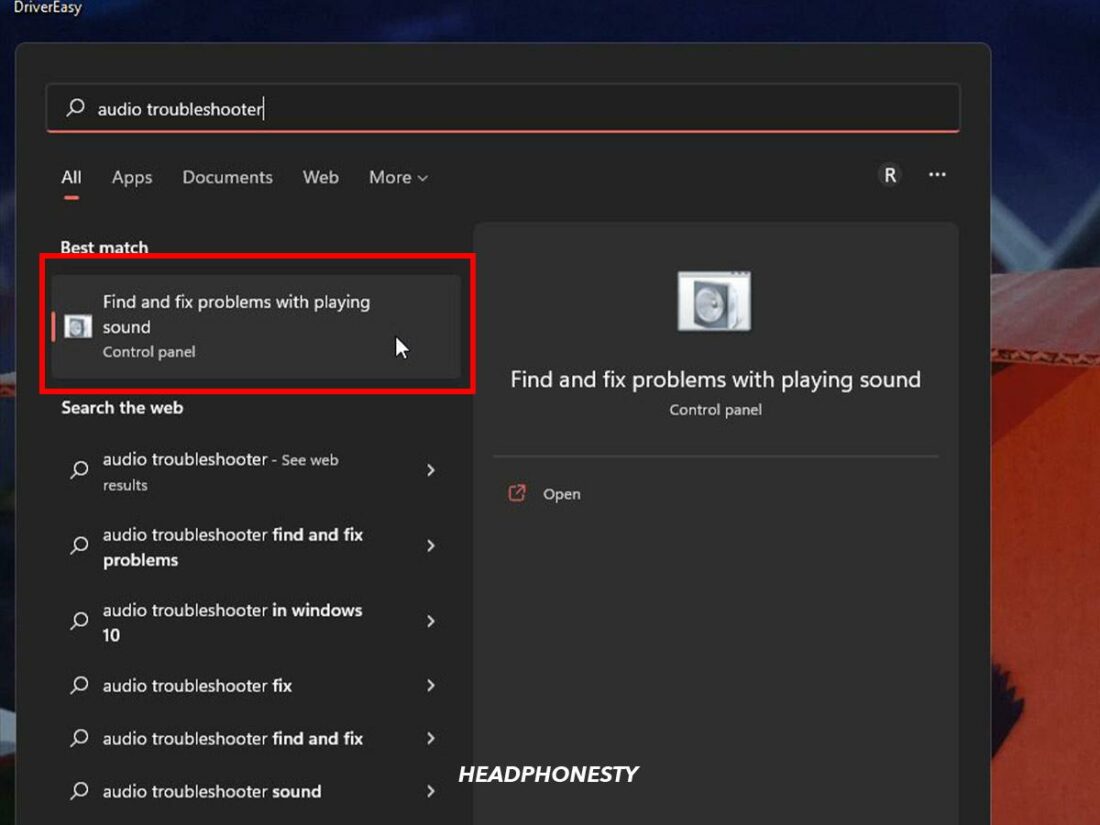
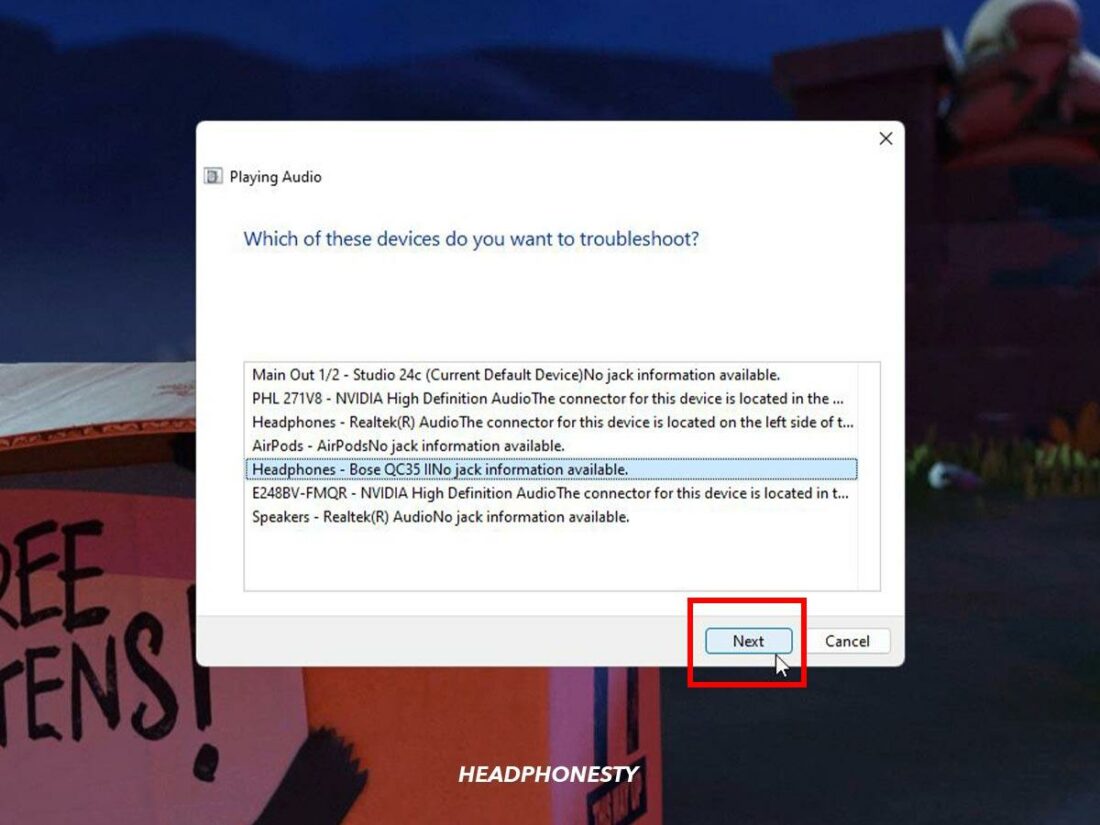
- Click on the Start button and type “audio troubleshooter” in the Search bar.
Type “audio troubleshooter” in the Search bar - Select Find and fix problems with playing sound.
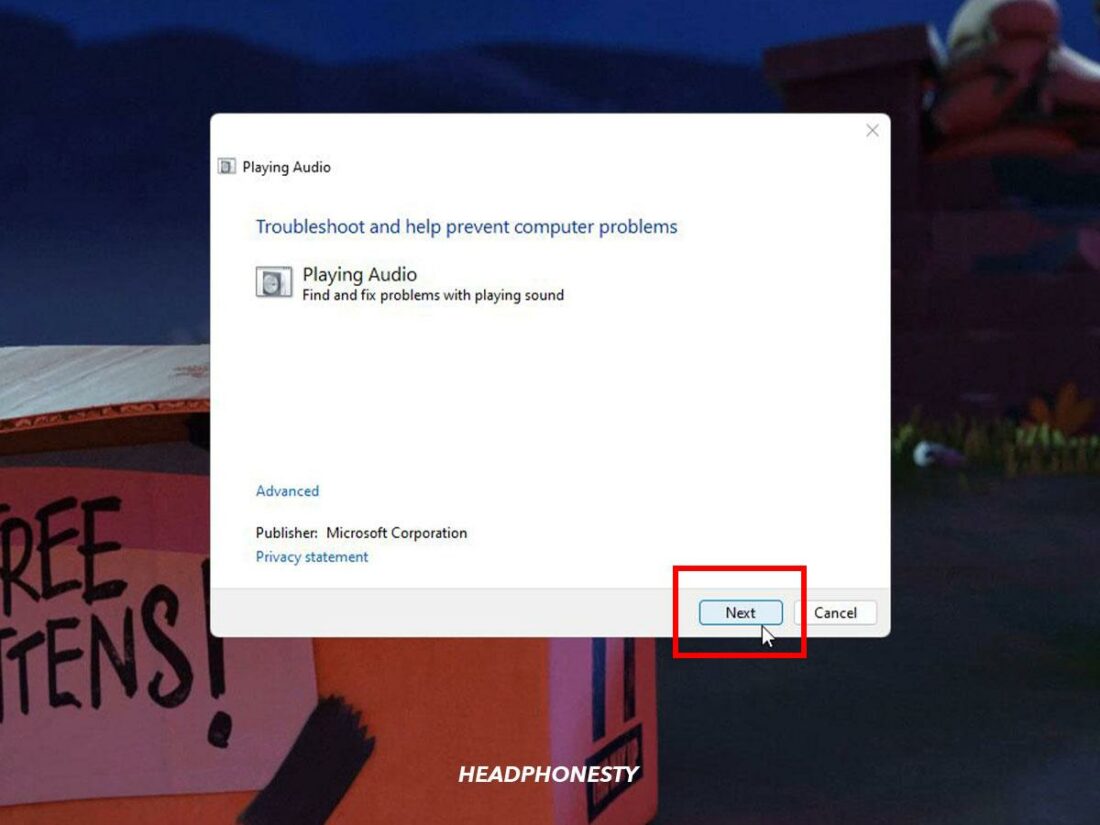
Find and fix problems with playing sound - Click on Next, and select your Bluetooth headset.
Click on Next - Run the troubleshooter.
Run the troubleshooter
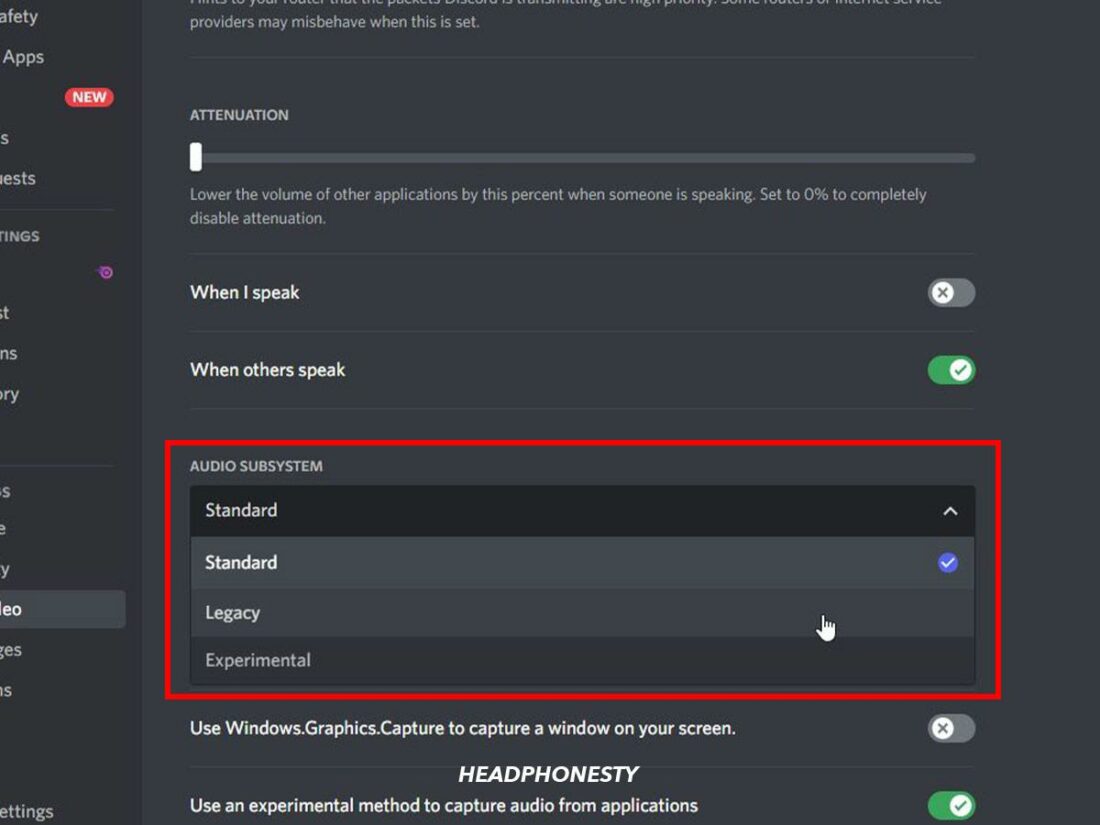
Use a Legacy Audio Subsystem
Discord is known to upgrade its audio subsystem periodically. If your headset is incompatible with the latest subsystem, you may not hear any audio on your device. Switching to a legacy audio subsystem could help solve the problem.
Here’s how you can do so:
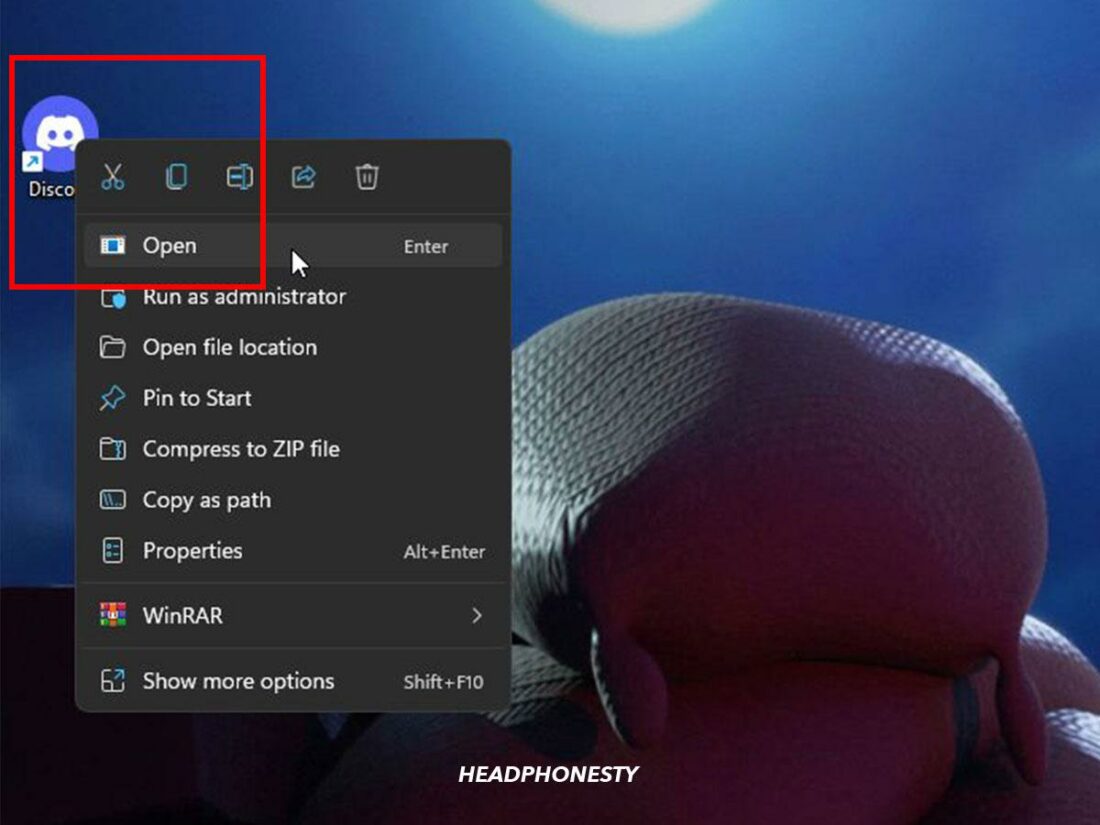
- Open the Discord App.
Open Discord - Click on the User Settings icon next to your username.
User settings - Open the Voice and Video tab.
Voice and video - Locate Audio Subsystem and click on it. Select Legacy from the dropdown menu.
Select Legacy
Restart Windows Audio Service
Windows Audio Service is the default service that manages audio devices on your PC. However, issues such as outdated drivers, large amounts of cache data, or installation issues in the Service can lead to performance trouble.
If the Windows Audio Service stops or is not performing correctly, your audio devices will not function as expected. You may also receive an error message saying Windows Audio Service needs a restart.
If you face any of these issues, you may need to manually restart the Windows Audio service.
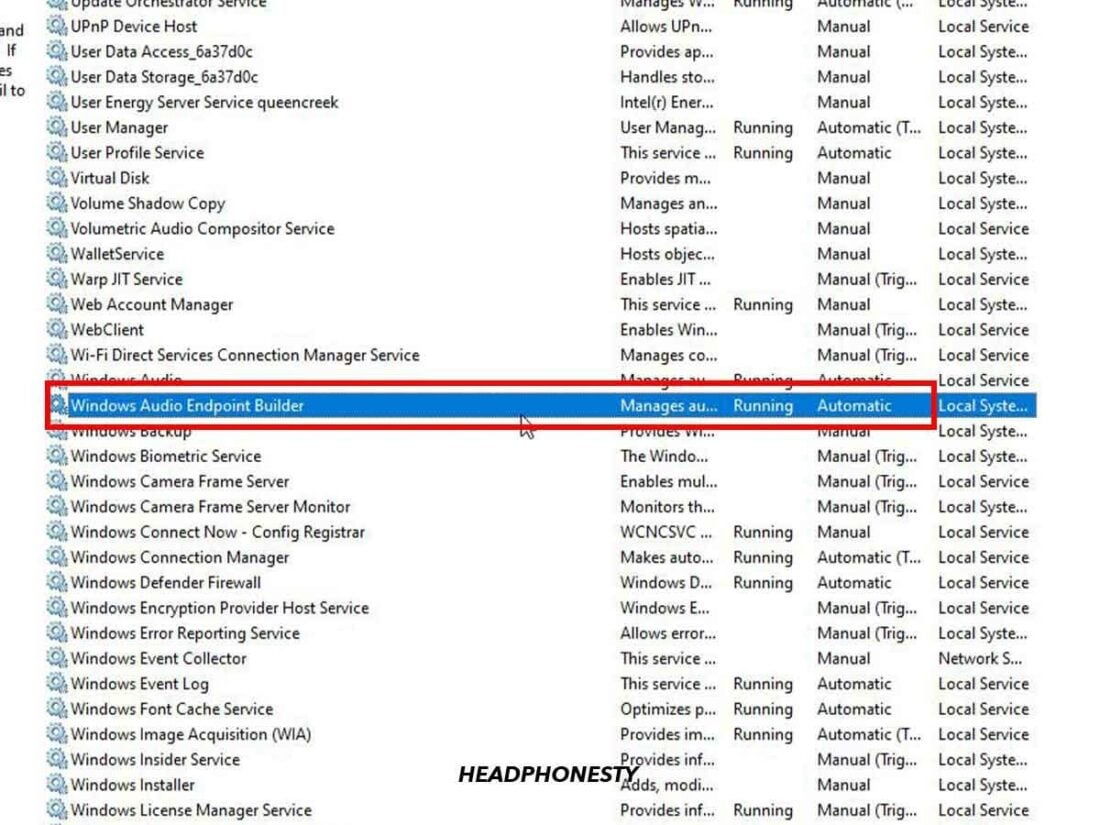
Before you do so, you must ensure that its Dependencies configurations are correct. Many Windows Services have closely related or counterpart services, called Dependencies.
Follow these steps to check Windows Audio Services’ Dependencies’ configuration:
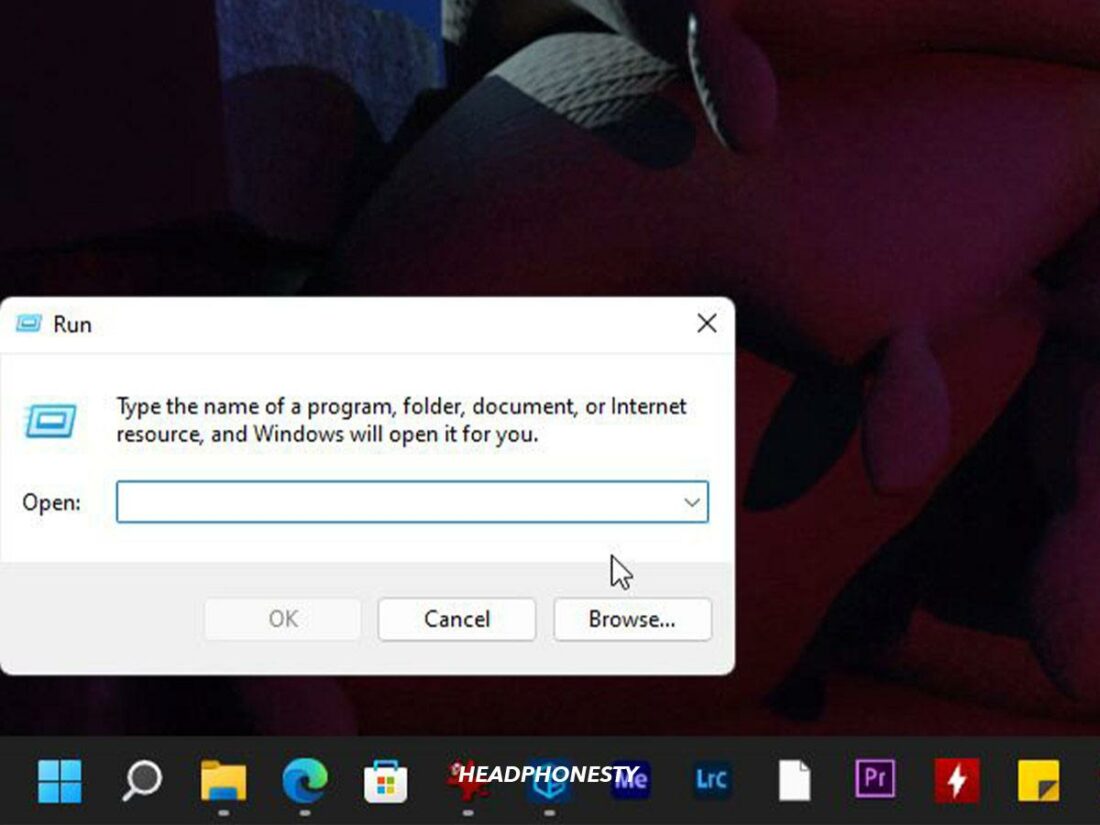
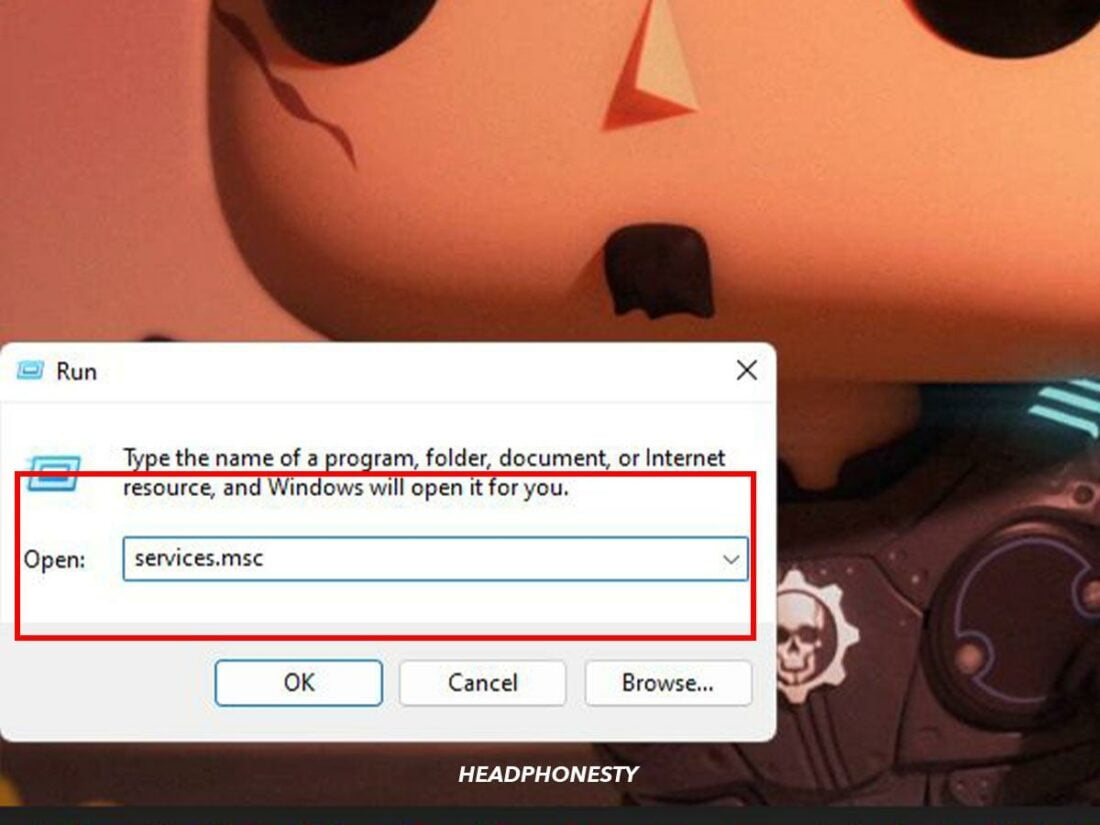
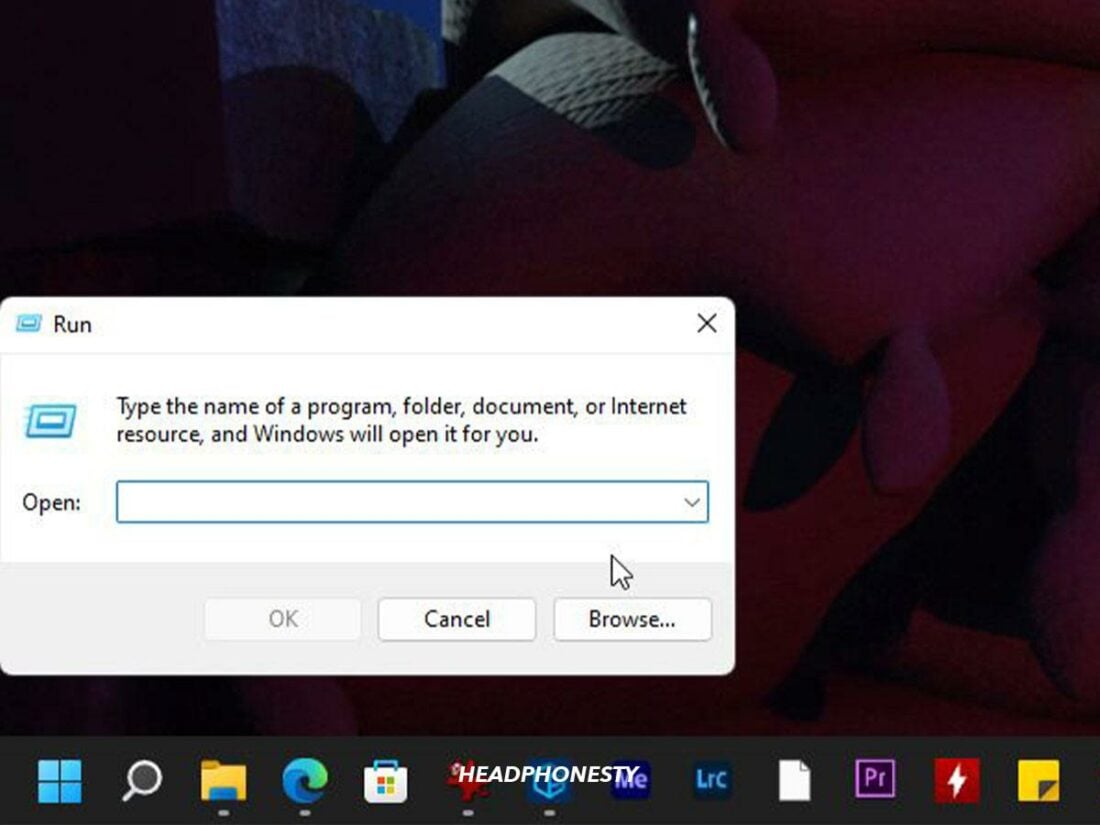
- Press the Win + R key together to open the Windows Run box.
Windows Run box - Type “services.msc” in the box and click on Enter. This selection opens the Services window, which contains the Windows Services list.
Services - In the Services window, locate these services and ensure their configuration is as provided below:
- Windows Audio Endpoint Builder Service
- Status – Running
- Startup – Automatic
- Remote Procedure Call (RPC)
- Status – Running
- Startup – Automatic
Windows Audio Endpoint Builder Service
After properly configuring the Dependencies, you can manually restart Windows Audio Service. To do so, simply follow the steps below:
- Press the Win + R key together to open the Windows Run box.
Windows Run box - Type “services.msc” in the box and click Enter to open the Services window.
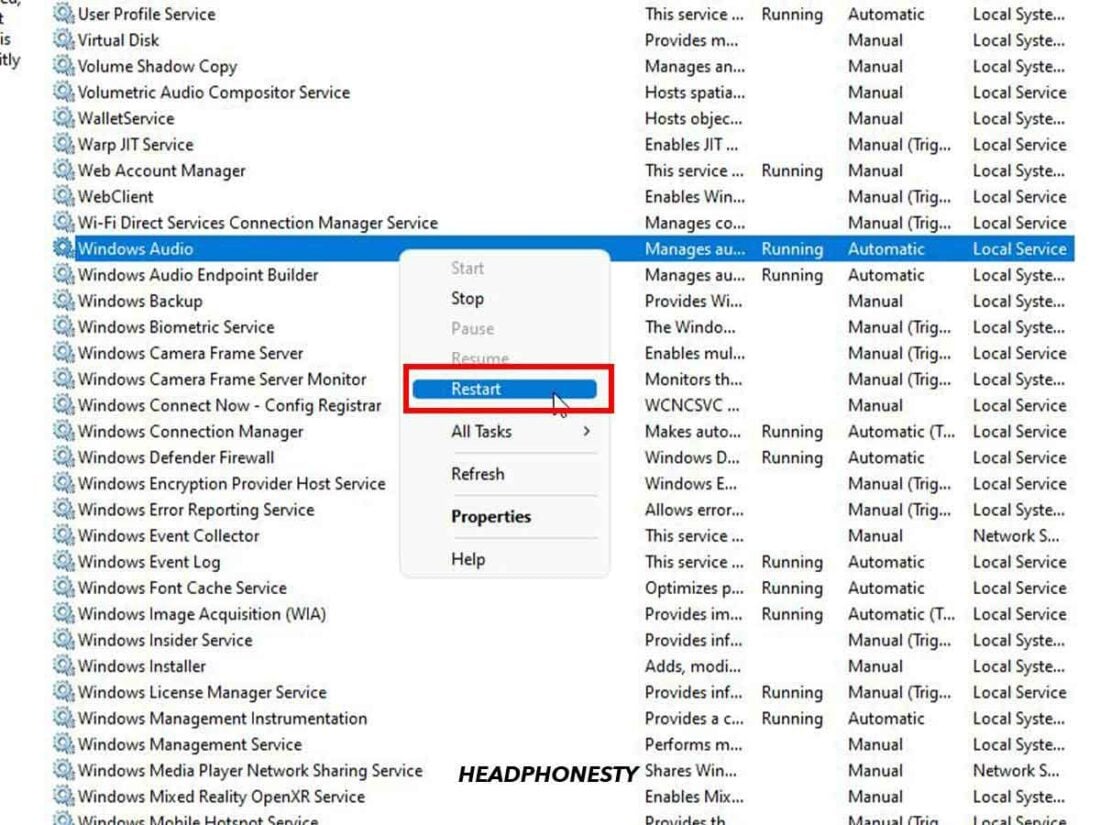
Services - Locate and right-click on Windows Audio Service, then select Restart.
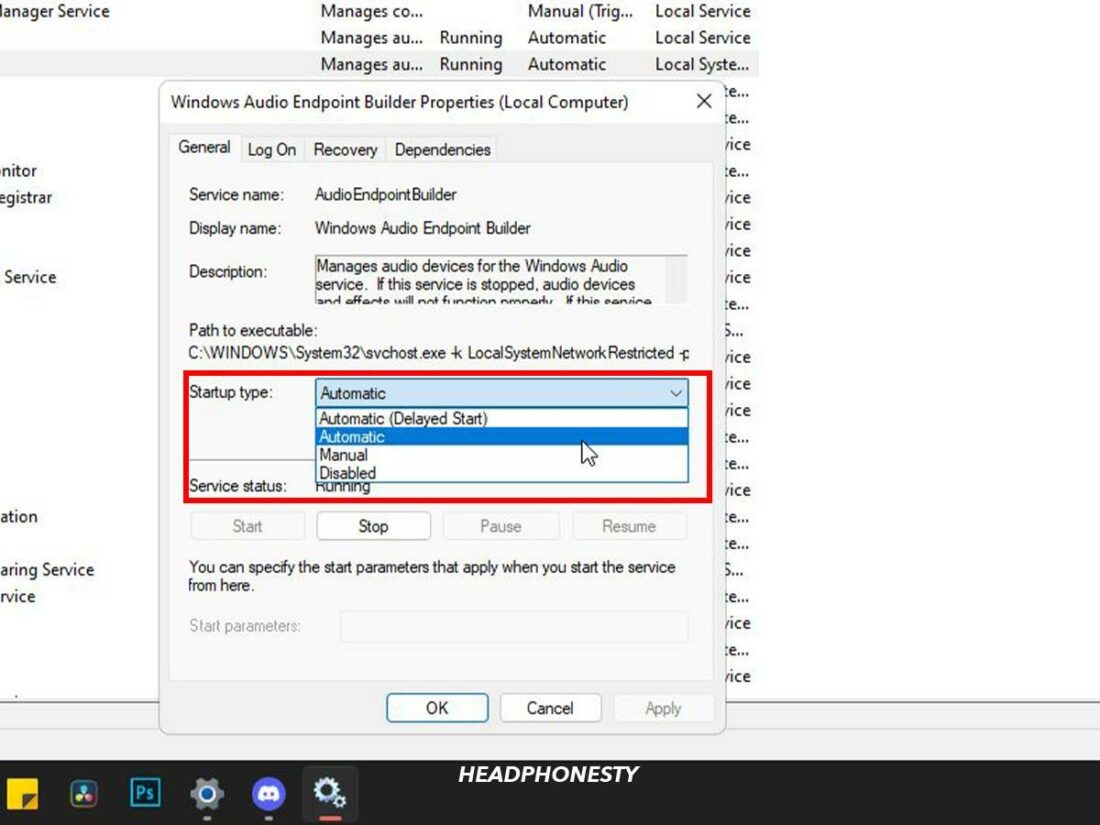
Windows Audio Service - Double-click on Windows Audio Service and click on the Properties Window. Check if the Startup type setting is Automatic.
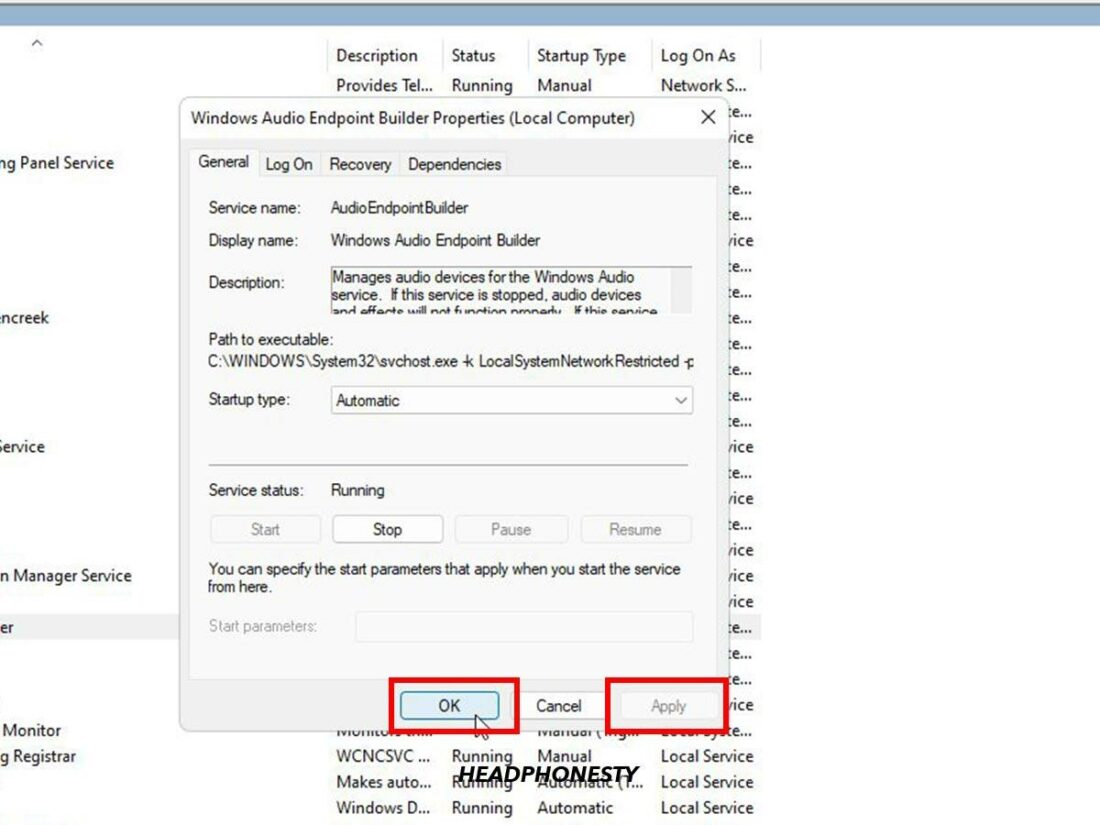
Automatic - Click on Apply and OK.
Click Apply and OK

Bonus: What to Do When Discord Mutes Other Sounds on Bluetooth Headphones
Have you ever noticed that the audio levels of other applications, such as Spotify or YouTube, drop when you use Discord? It is a different problem from what we’ve been talking about, but it is also a common problem for Discord users.
Usually, this happens because Windows PCs have audio features which turn on by default to improve your listening experience. However, they may mute other sounds on your headphones when using Discord.
Here’s what you need to know about these features and how you can disable them to overcome the muting problem:
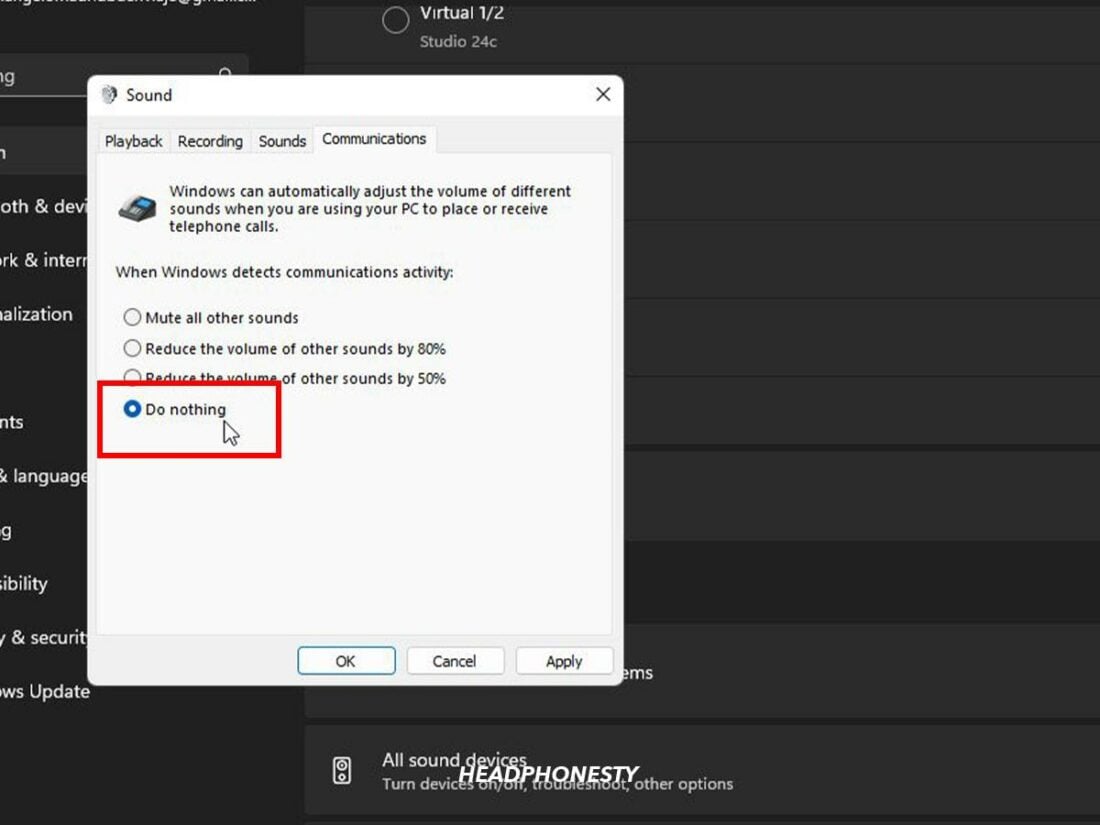
Adjust Communications Settings
Windows automatically reduces the volume of applications when it detects you’re on a VoIP call. Unfortunately, this feature may not always work smoothly. You may find that your applications’ volume has dropped even when you’re not on a Discord call.
Here’s how you can adjust the VoIP call settings:
- Click on the Start button and type “Sound” into the Search bar.
Type “Sound” into the Search bar - Click on Sound Settings.
Sound Settings - Next, select More sound settings.
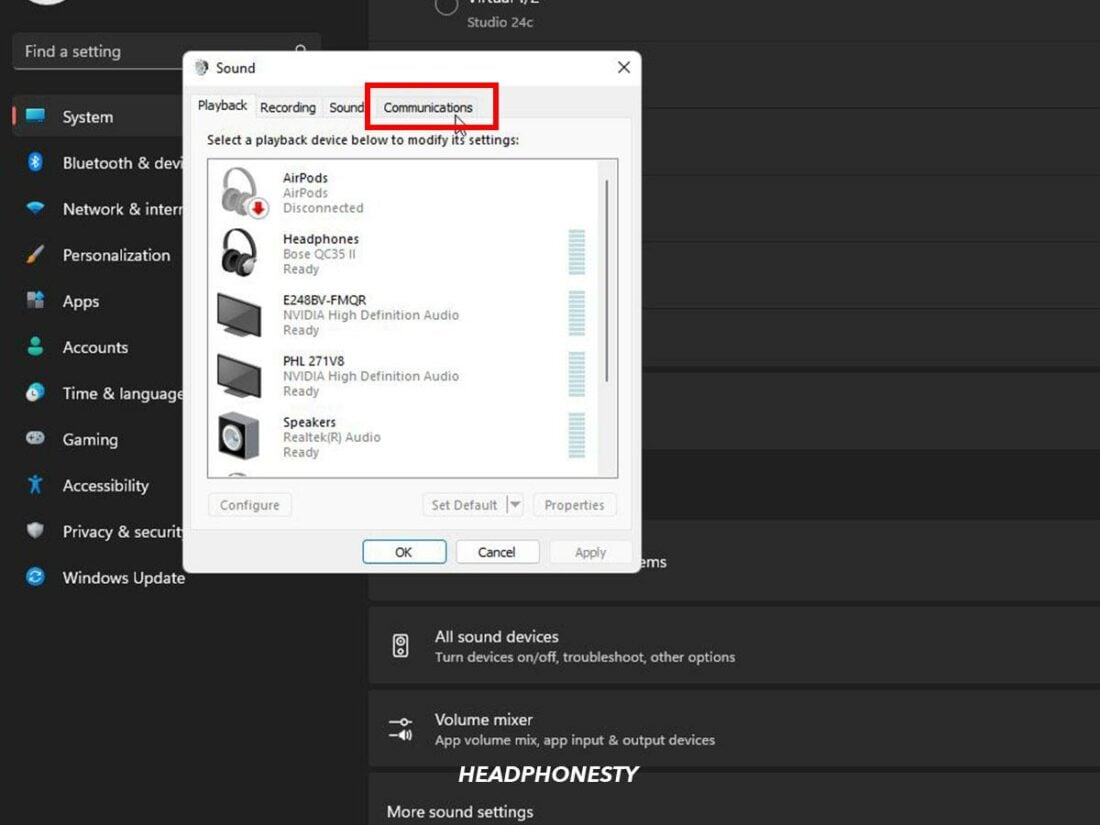
More sound settings - Click on the Communications tab.
Communication Tab - Select Do nothing to disable automatic volume adjusting.
Do nothing
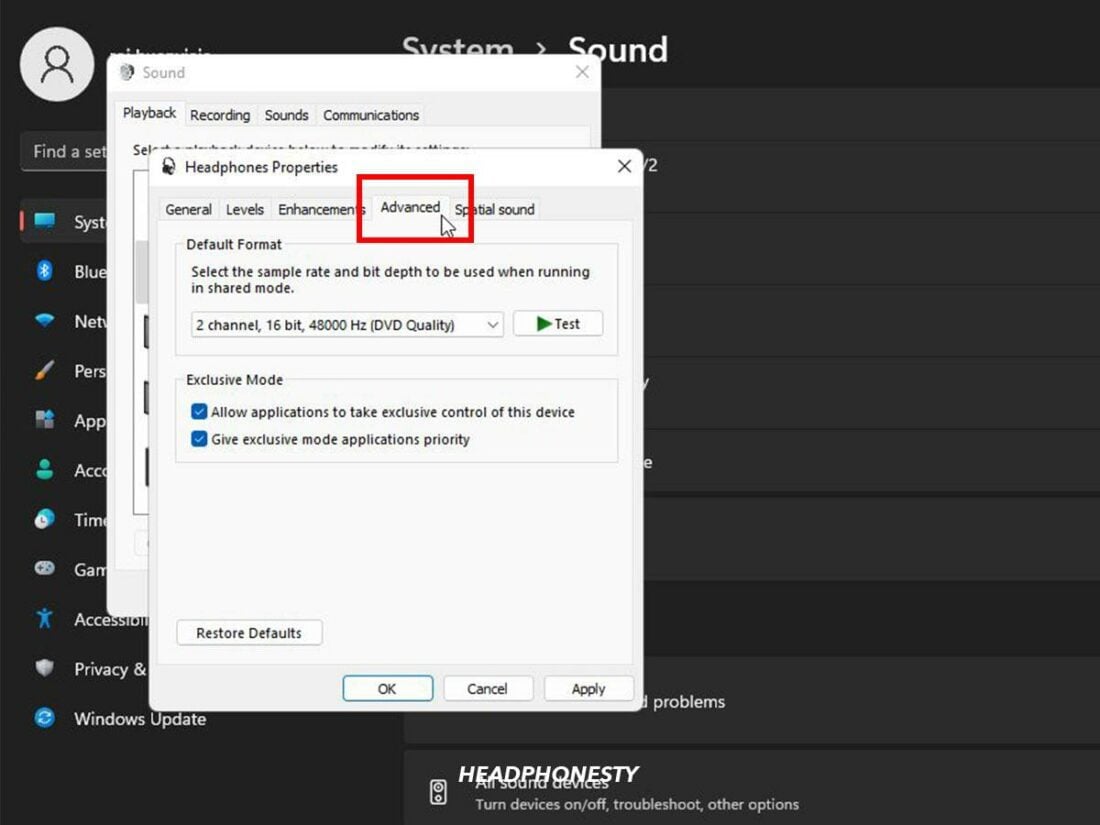
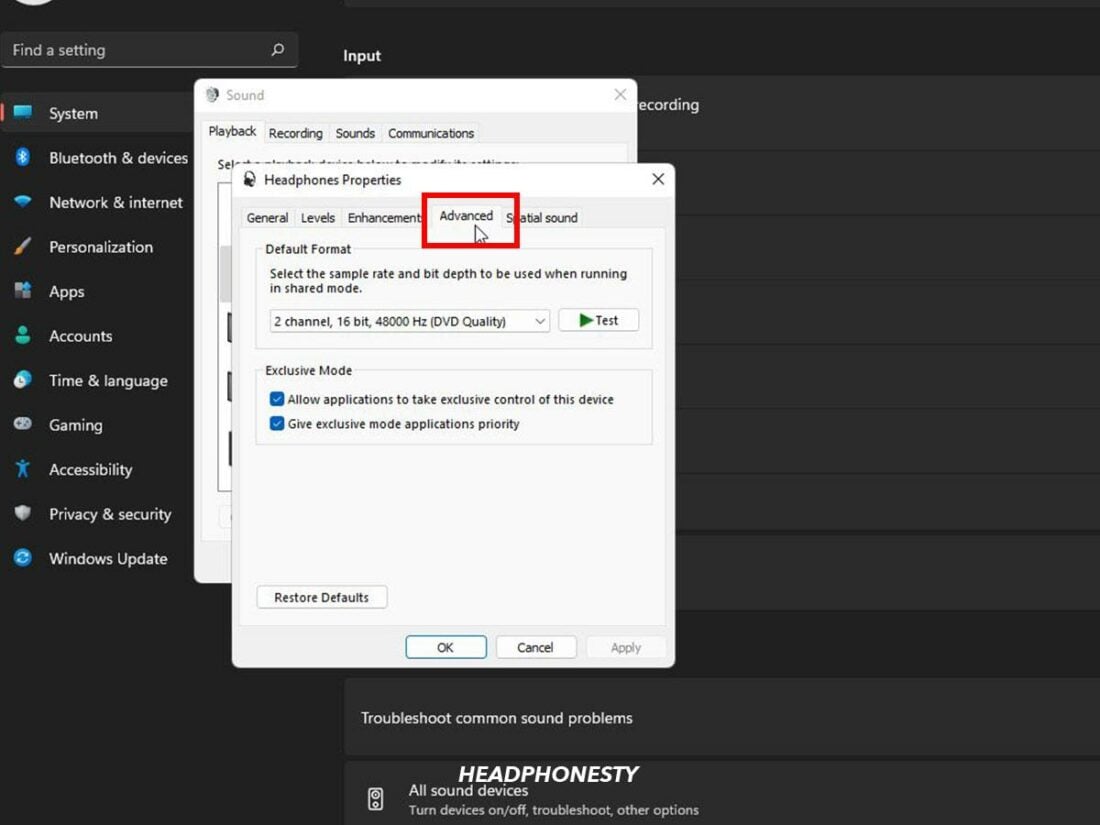
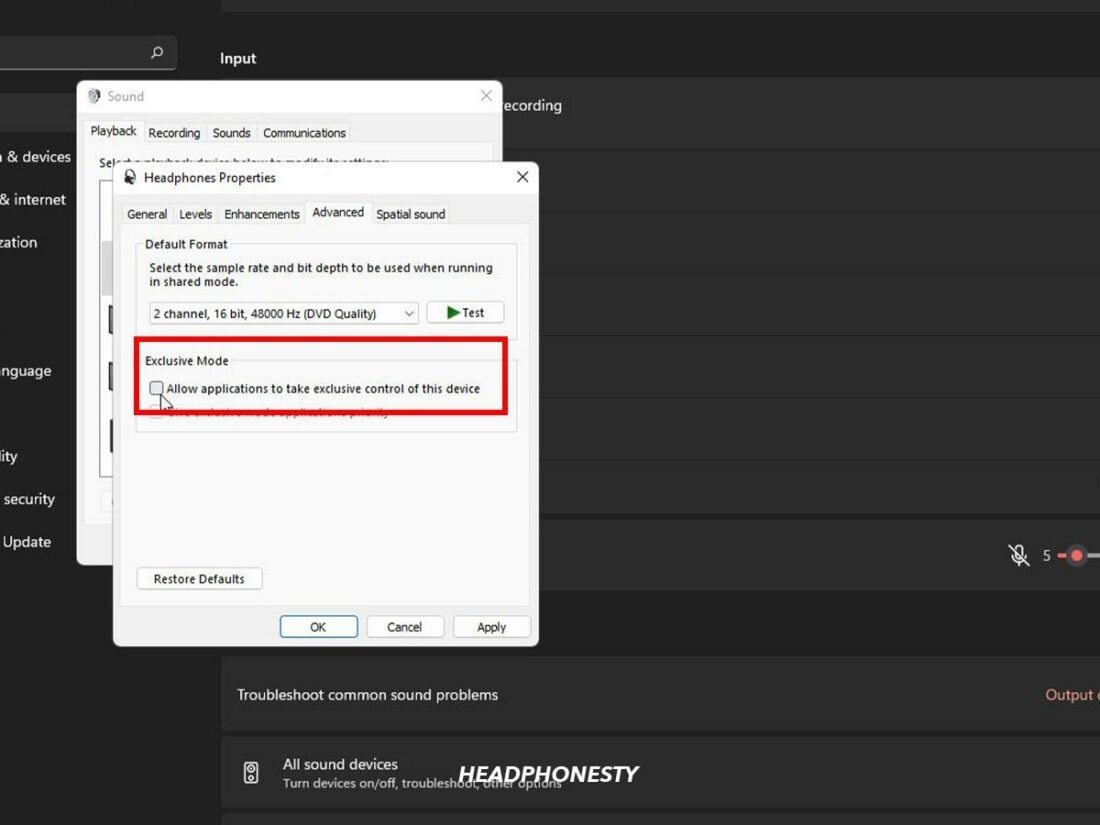
Disable ‘Exclusive Mode’
The Exclusive Mode feature gives one application exclusive control over your headphones or speakers. As a result, it prevents other applications from playing back audio on your output device.
To turn off Exclusive Mode, follow these steps:
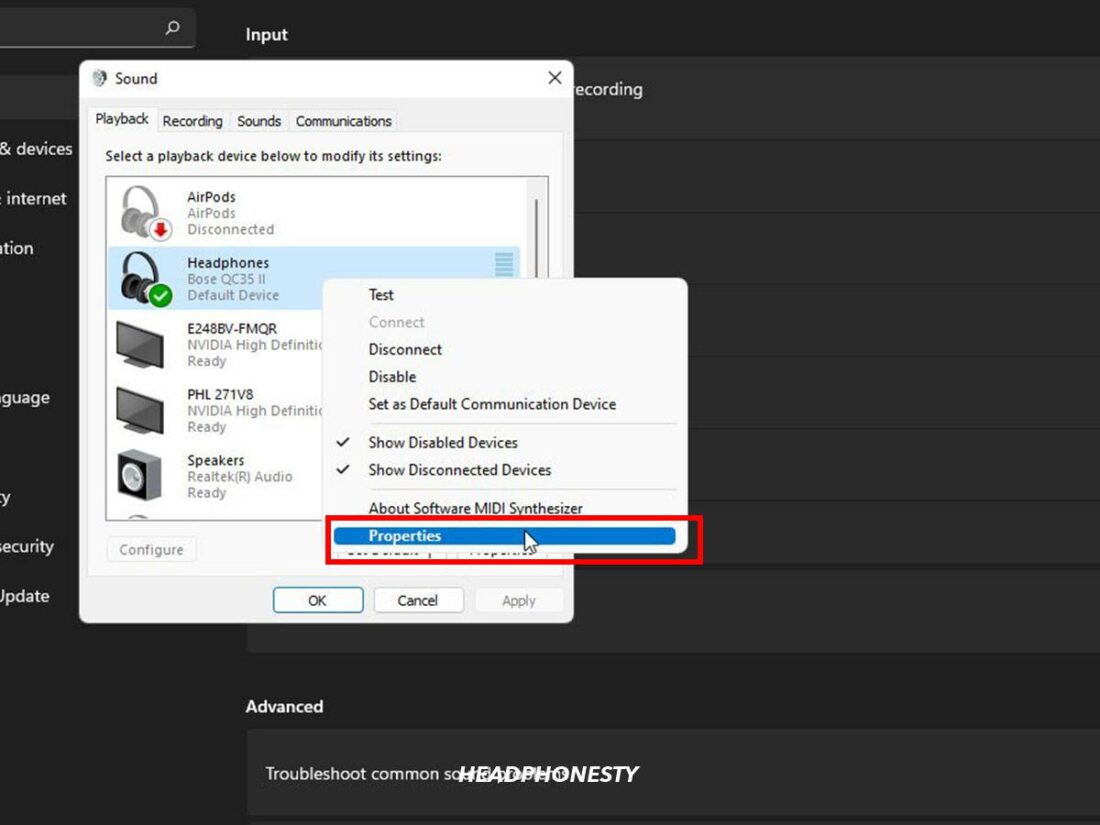
- Right-click on the Speaker icon and select Open Sound Settings then Click More sound settings.
Sound Settings - Right click on your output device then select properties.
Properties - Click on the Advanced tab in the Line Properties window.
Advanced Tab - Uncheck the box next to Allow applications to take exclusive control of this device—Click Apply, and OK.
Allow applications to take exclusive control of this - Repeat the process for your input device.
Conclusion
Having the right audio experience is crucial when gaming or streaming on Discord. You want to feel immersed and cut off from the noise around you.
We hope these suggestions helped you overcome your sound troubles, so you can put on your headphones and lock into your next Discord gaming session without any worries.
If you start experiencing other issues with your headphones, you can check out our ultimate guide to fixing broken headphones. You can also look at our picks for the 12 best wireless gaming headsets of 2022.
Did you find our list helpful? If so, let us know which suggestion worked for you. Please feel free to tell us if we missed out on anything in the comments section below!