Tried and tested solutions for when your AirPods won’t turn on.
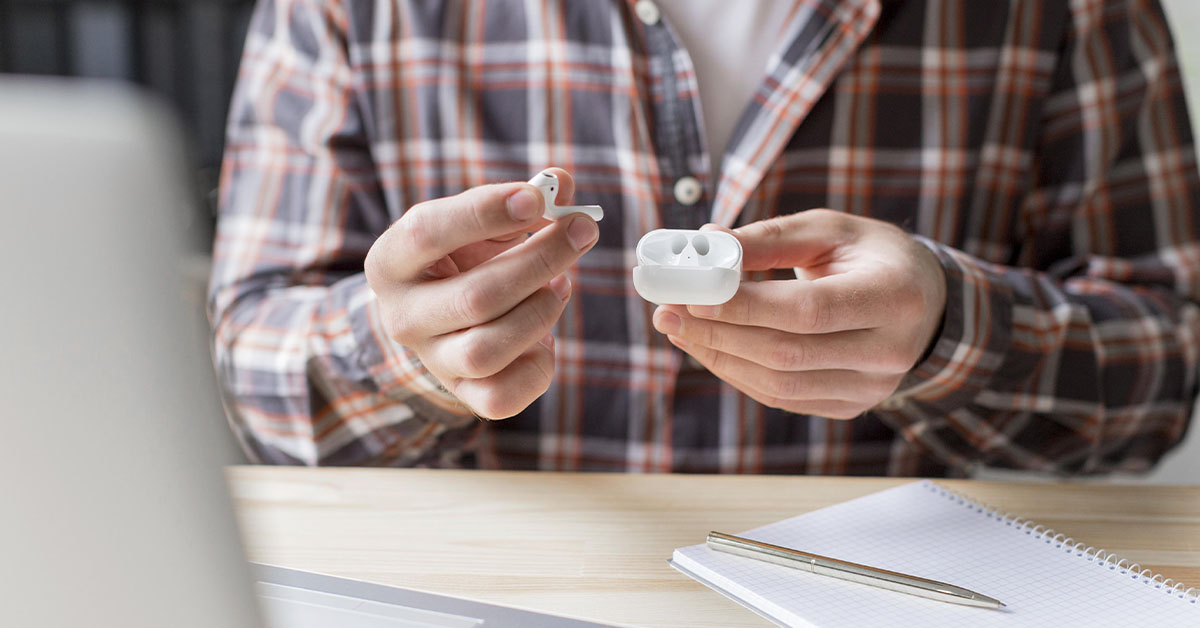
Imagine gearing up for another music listening session only to find out that your AirPods won’t turn on. That’s odd. You just charged them a while ago!
This situation can easily get frustrating if, even after plugging the AirPods in to charge or trying to reset them, no sign of life comes back.
Don’t worry, we’ve found, tested, and listed all the proven solutions that work for most AirPods users. So, if you need your AirPods to start working again, keep reading to discover our quick and fail-proof fixes.
Charge Your AirPods Properly
It is always a good idea to check the obvious issues first. AirPods won’t turn on when they are out of charge, so make sure to charge them properly.
How to charge your AirPods properly
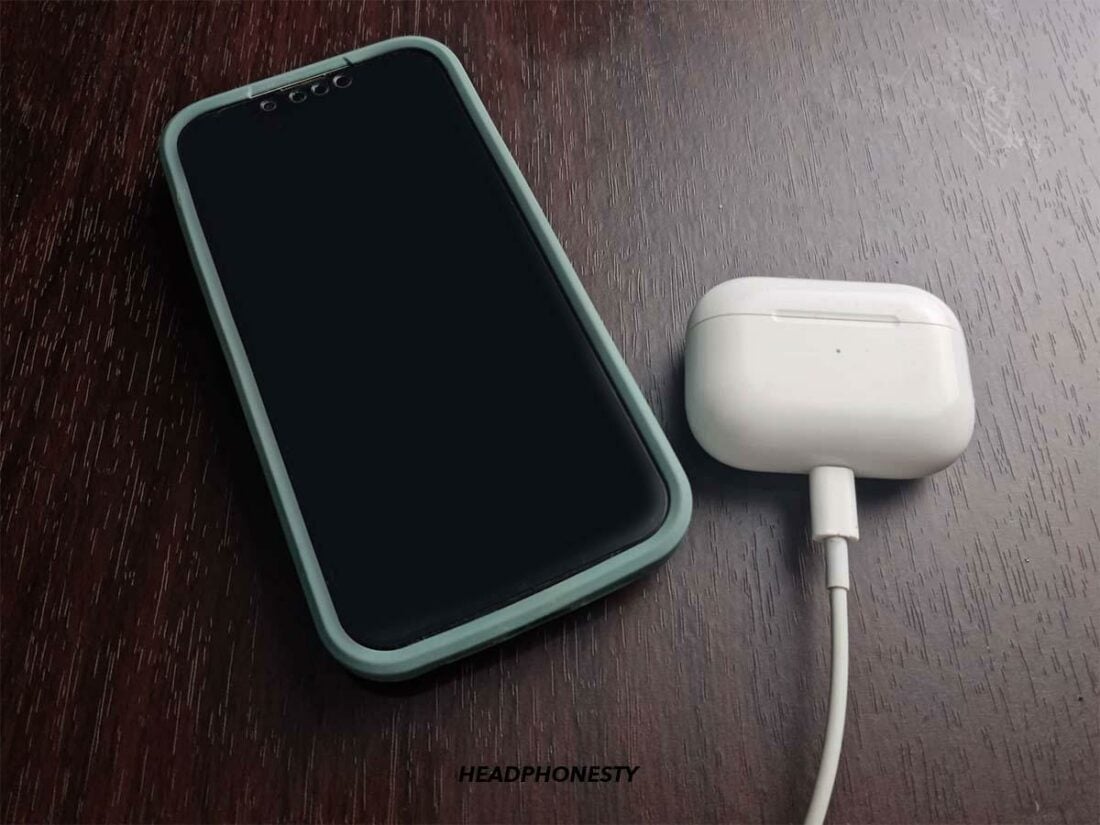
Charging your AirPods is straightforward. They do not connect to a power outlet directly. Instead, AirPods automatically charge while they are inside the charging case.
Here’s how to charge your AirPods properly:
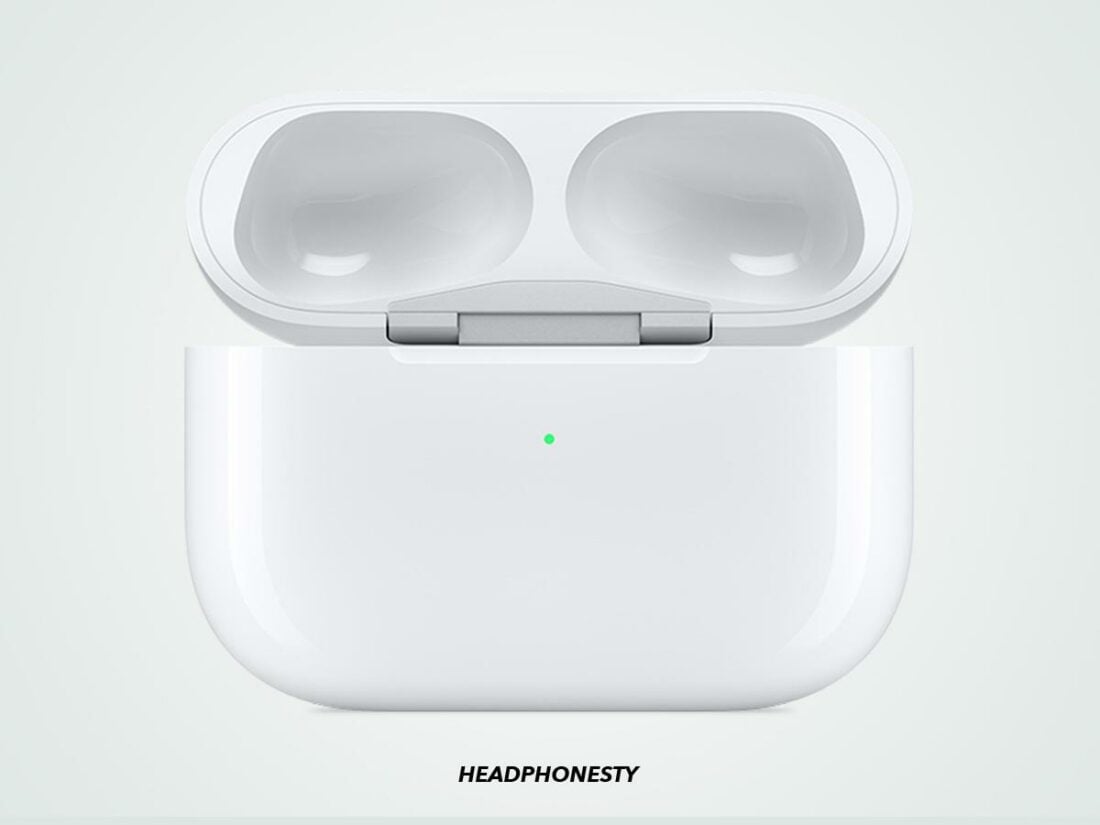
- Open your AirPods charging case.

Open charging case - Place your AirPods inside the case. Ensure you place the earbuds in the right slots.
Place AirPods inside the case - Close the lid and check the status light on the case. If the case shows an orange light, your AirPods are charging.
Close the lid

How to charge your AirPods case properly
If your AirPods case light won’t turn on at all, it means the case is out of power and needs recharging. A discharged case won’t charge your AirPods either.
There are two ways to charge your AirPods case:
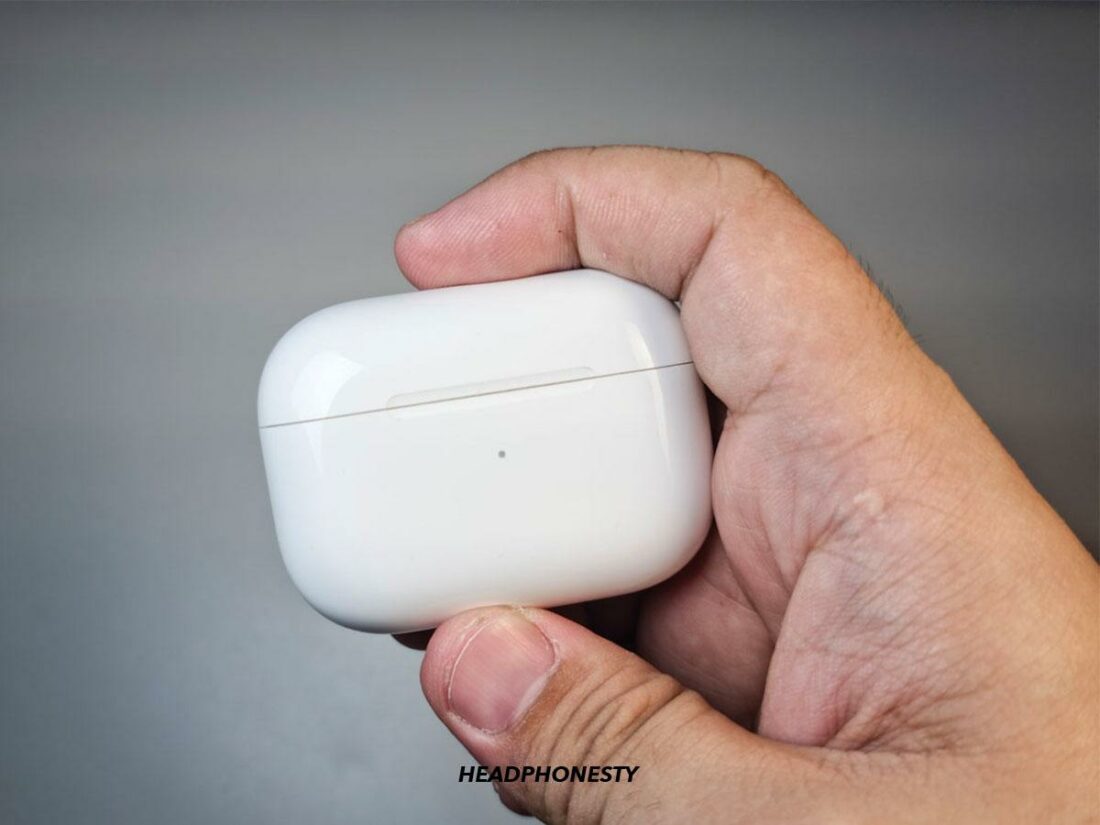
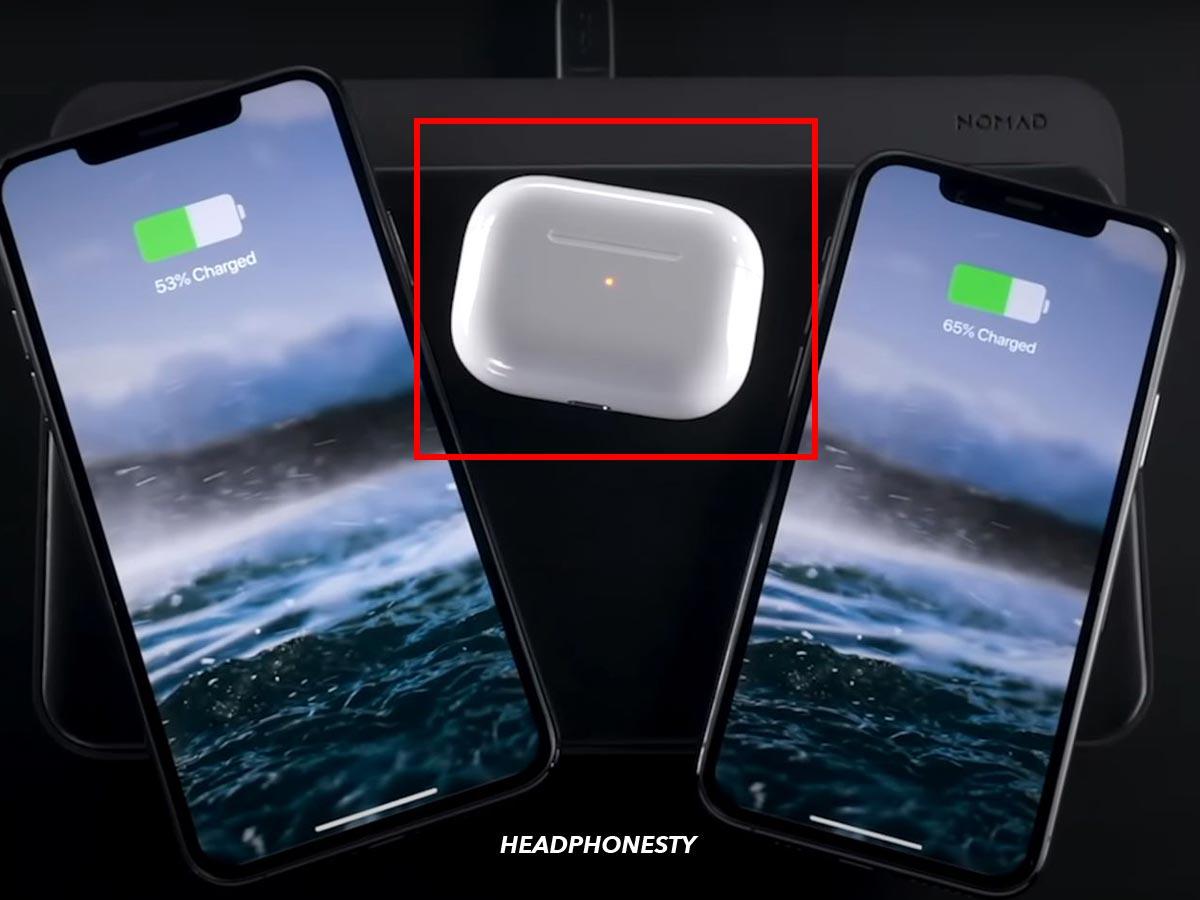
How to wirelessly charge AirPods case
Wireless charging is straightforward. Simply place your AirPods MagSafe or wireless charging case on the Qi-compatible charging mat, and it should automatically start charging.
How to charge AirPods case with a cable
If you want to charge with a cable instead, simply plug in a Lightning cable connected to a power source to your case. You can find the Lightning port at the bottom of the case.
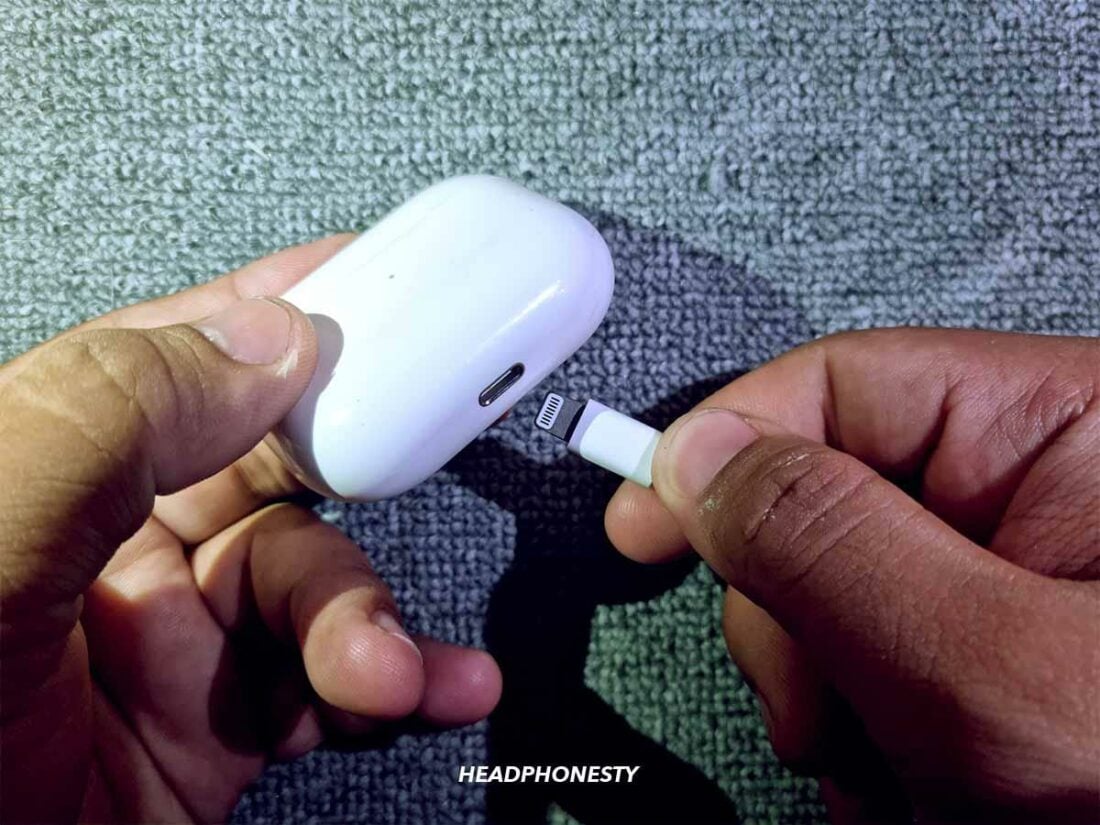
For faster charging, try to connect directly to an outlet instead of extensions or powerbanks.
Check for Faulty or Dead Batteries
AirPods with faulty or dead batteries may struggle to hold a charge. Apple provides the following information about AirPods battery life:
| Variant | Single Charge | Fully Charged Case | Per 5 Minutes Charging |
|---|---|---|---|
| AirPods (1st Gen) | 5 hrs. Listening 2 hrs. Talking | 24 hrs. Listening 11 hrs. Talking | 60 mins. Listening 20 mins. Talking |
| AirPods (2nd Gen) | 5 hrs. Listening 3 hrs. Talking | 24 hrs. Listening 18 hrs. Talking | 60 mins. Listening 40 mins. Talking |
| AirPods (3rd Gen) | 6 hrs. Listening 4 hrs. Talking | 30 hrs. Listening 20 hrs. Talking | 60 mins. Listening 60 mins. Talking |
| AirPods Pro | 4.5 hrs. Listening 3.5 hrs. Talking | 24 hrs. Listening 18 hrs. Talking | 60 mins. Listening 60 mins. Talking |
| AirPods Pro 2 | 5 hrs. Listening 3 hrs. Talking | 24 hrs. Listening 18 hrs. Talking | 60 mins. Listening 40 mins. Talking |
However, AirPods use lithium-ion batteries, which gradually lose the ability to store charge and generate voltage. Some lithium ions get stuck in the positive electrode during recharging. Over time the number of positive ions diminishes from the battery’s total power supply.
The fast charging feature is a great way to check if your batteries are dead. When charged for five minutes, all models of the AirPods (except AirPods Pro 2, which require 15 minutes for fast charging) give at least an hour of listening time.
After five minutes of charging, if your AirPods don’t turn on, the batteries are either dead or faulty.
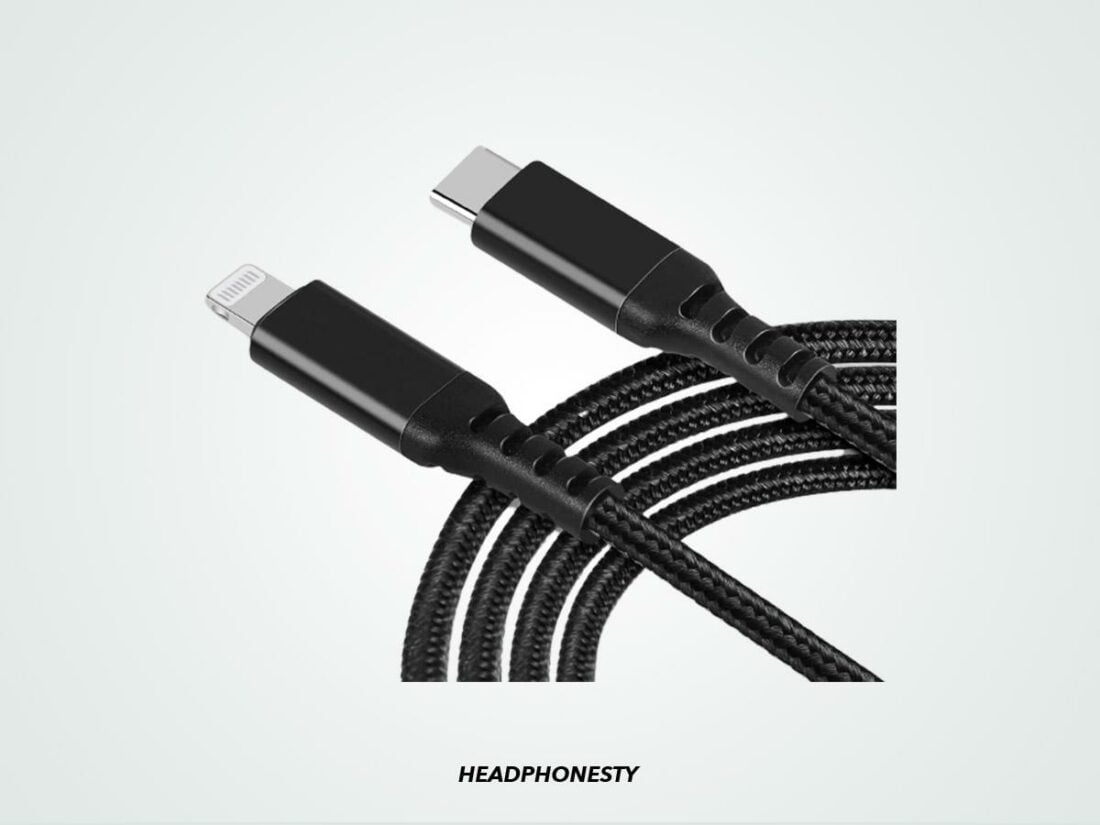
Check Your AirPods’ Charging Cable
Apple’s cables are not really known for their durability. Splitting or fraying cables have annoyed some Apple users for quite some time.
There are two reasons for this fragility, the first being the cable’s sleek sleeve finish. Despite being aesthetically pleasing, the sleeve does not provide adequate strain relief.
The second reason is Apple’s decision to remove materials that are harmful and toxic to the environment from their products. These materials included polyvinyl chloride or PVC, which helps make cables more durable.
One way to avoid such issues is to switch to a more durable substitute. Nylon braided cables like the Deegotech USB C to Lightning cable are a great alternative.
Clean the AirPods & Charger
A build-up of dust and debris in AirPods and their charging case can affect the flow of electrical current to your device.
There are two parts of the AirPods case to focus on here; the charging pins and the Lightning port.
Dirt around the charging pins inside the case can prevent your AirPods from charging correctly. Similarly, dirt inside the Lightning charging port on the case can block the flow of electrical current, causing your case not to charge.
Therefore, thoroughly cleaning your AirPods charging case could address your charging troubles.
Before cleaning your AirPods case, ensure you have these materials at hand:
- 70% isopropyl alcohol
- Cotton swab(s)
- Toothpick
- Lint-free cloth/ paper towel
Now, let’s get into how to properly clean the AirPods charging case:
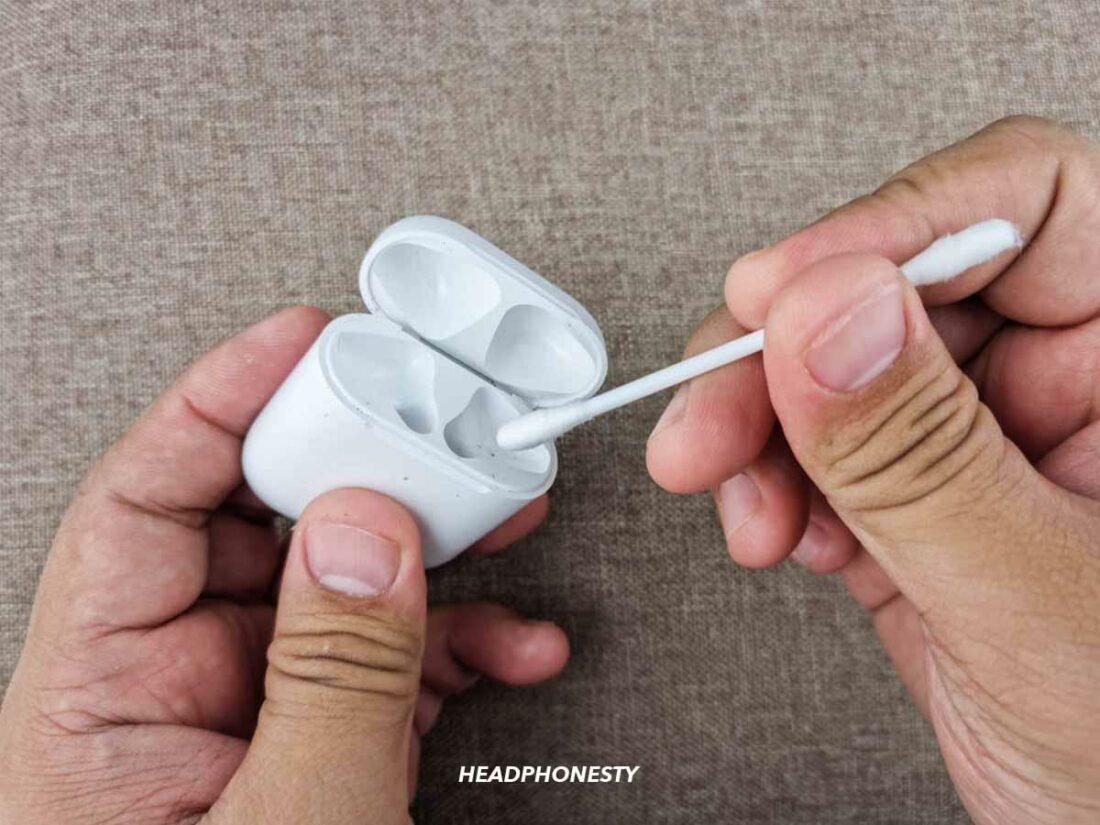
- Use the cotton swab to thoroughly clean the inside of the case. Ensure you remove any dirt build-up around the charging pins.
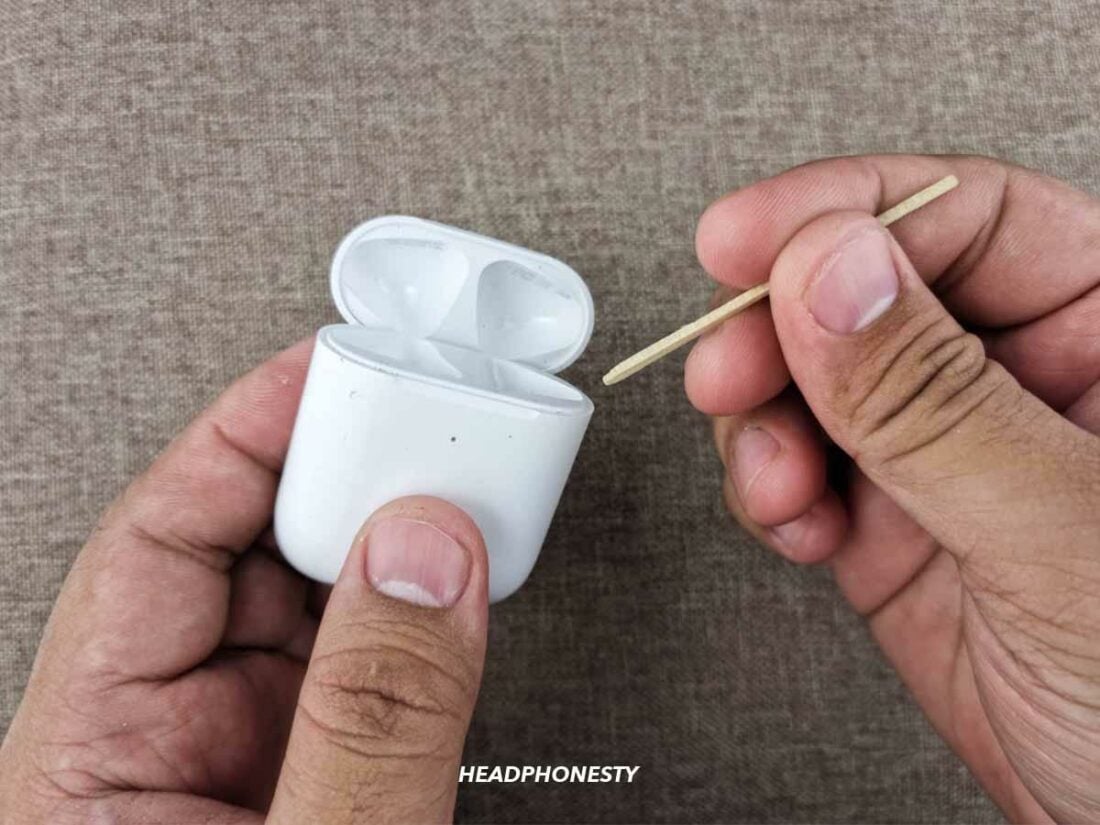
Clean charging case with cotton swab - Next, dip the toothpick in isopropyl alcohol and clean any remaining dirty areas.
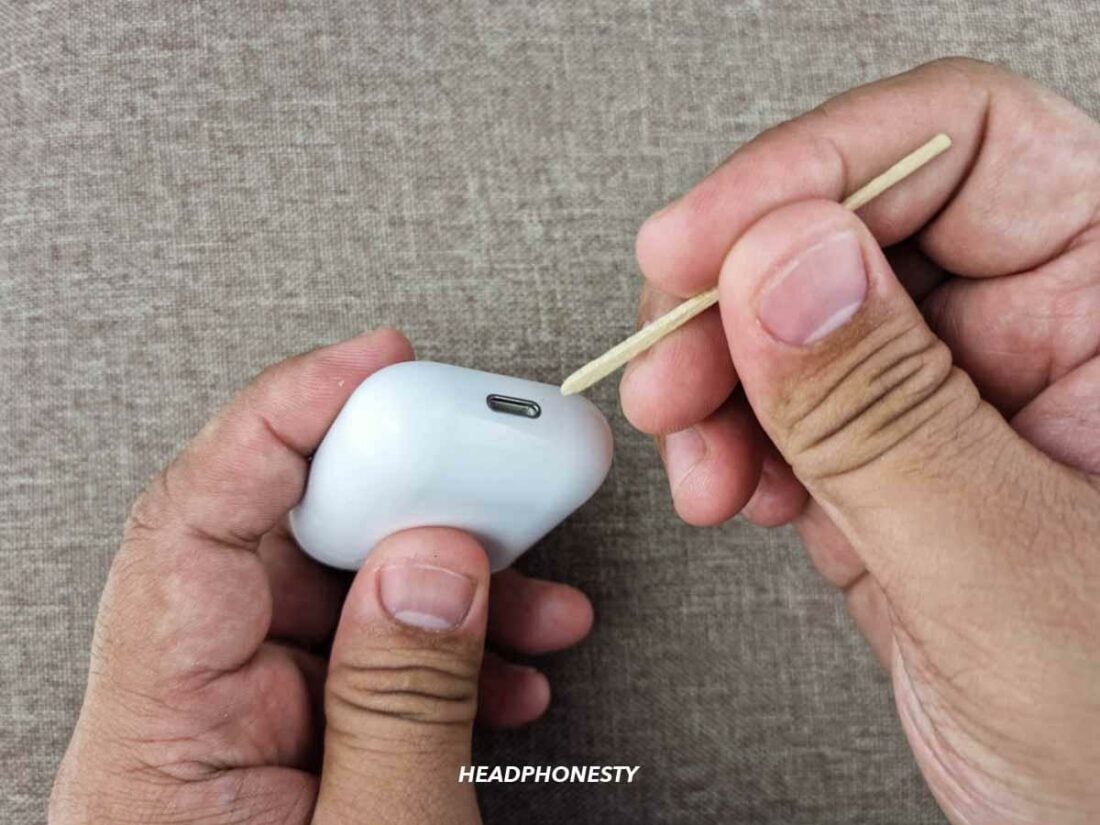
Clean the charging case with toothpick - Use the toothpick to remove any dirt inside the charging port. Be gentle when using a toothpick or other sharp objects on areas with electrical components.
Clean the charging port of the case using toothpick - With the cotton swab, clean away any loose dirt on the outer surface of the case.
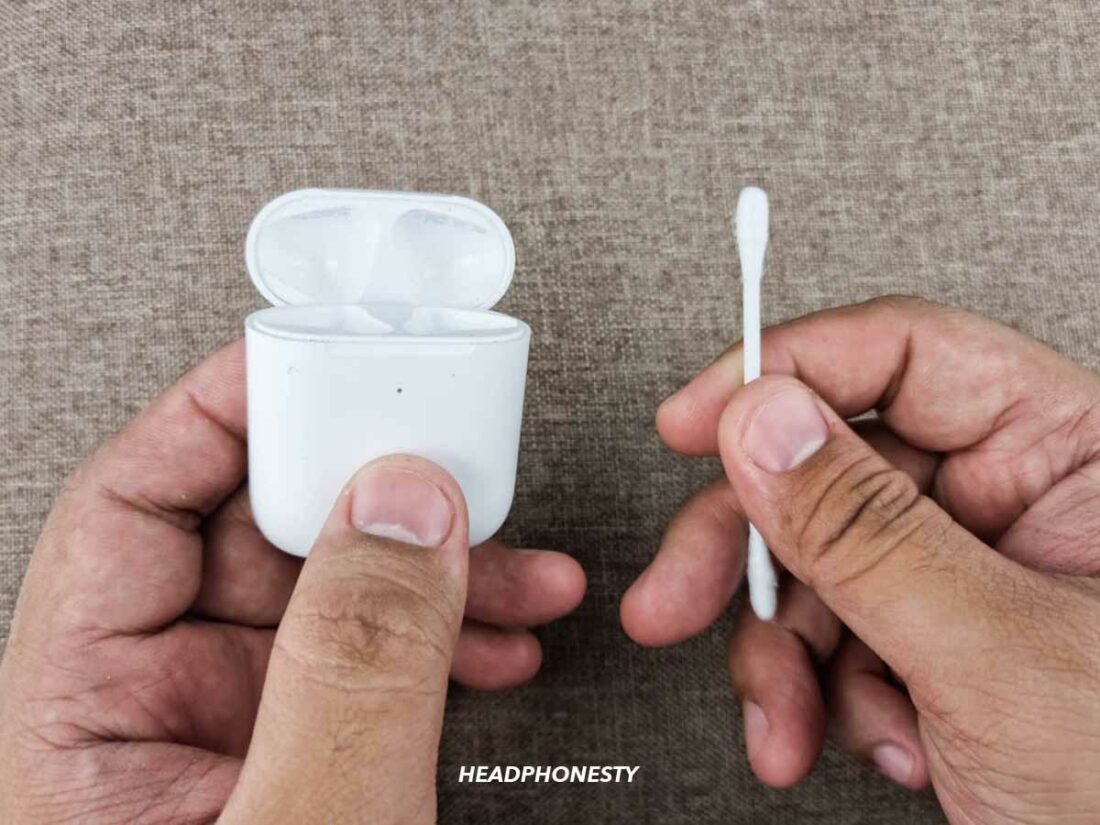
Clean the outside surface of the case - Use another cotton swab to thoroughly clean the AirPods, focusing on the bottom of the stem.
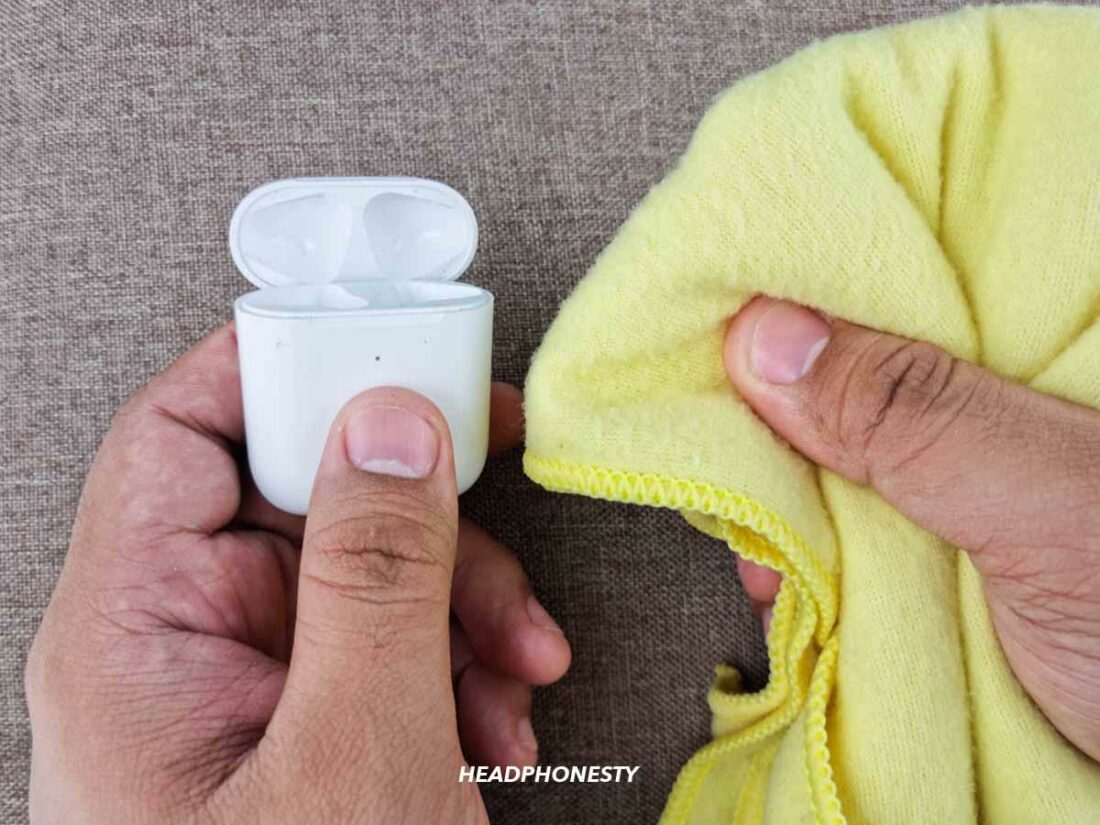
Clean the AirPods using cotton swab - Finally, dry the case and AirPods with a paper towel or dry lint-free cloth Thoroughly cleaning your AirPods is not just hygienic; it can also save you money in the long run. Check out how you can properly clean out earwax from your AirPods.
Dry the case and airpods with dry lint-free cloth

Issues With AirPods Firmware
If your AirPods still won’t turn on, it is likely that the problem lies with the firmware. Apple periodically releases firmware updates to ensure the AirPods’ internal hardware functions optimally.
Firmware updates happen automatically. Therefore, your AirPods should be running on the latest firmware version.
Here’s how you can force a firmware update on your AirPods:
- Place your AirPods inside the charging case
Place AirPods inside the charging case - Connect your case to a power source. This works for both cable and wireless charging. Just ensure the chargers are connected to a power source.
Connect AirPods charger to a power source - Place your AirPods charging case next to your iPhone, iPad, or Mac. Make sure your device has an internet connection.
Place AirPods charging case next to your device - If a new firmware update is available, your AirPods should begin downloading and installing it automatically.

Contact Apple Support
If your AirPods still won’t turn on, it might be a good idea to get professional help. Apple Support can help in various ways:
- It can check battery health to confirm if your AirPods are dead
- Troubleshoot the problem
- Assist with getting replacement AirPods and charging cases
However, contacting Apple Support is not straightforward. We recommend following the steps below for a seamless Apple Support experience:
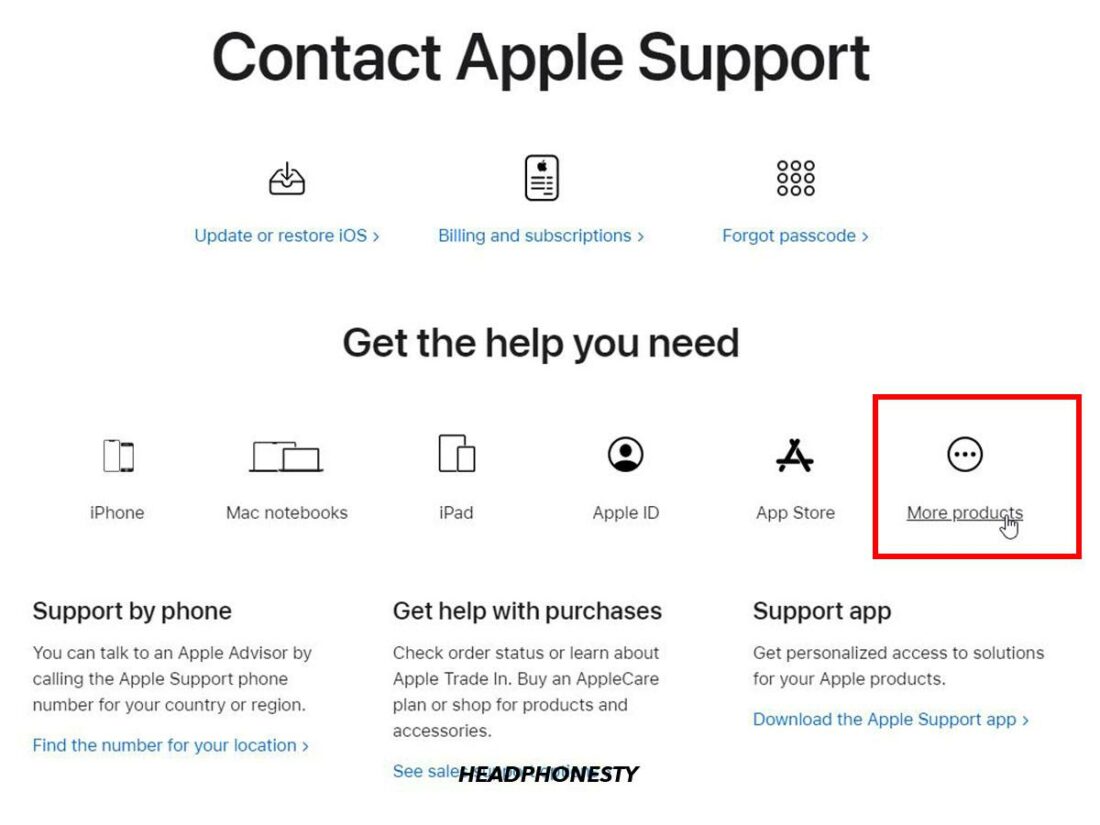
- Go to the Contact Apple Support webpage. Scroll down and click on More products.
Select: More products - Select AirPods from the list of devices.
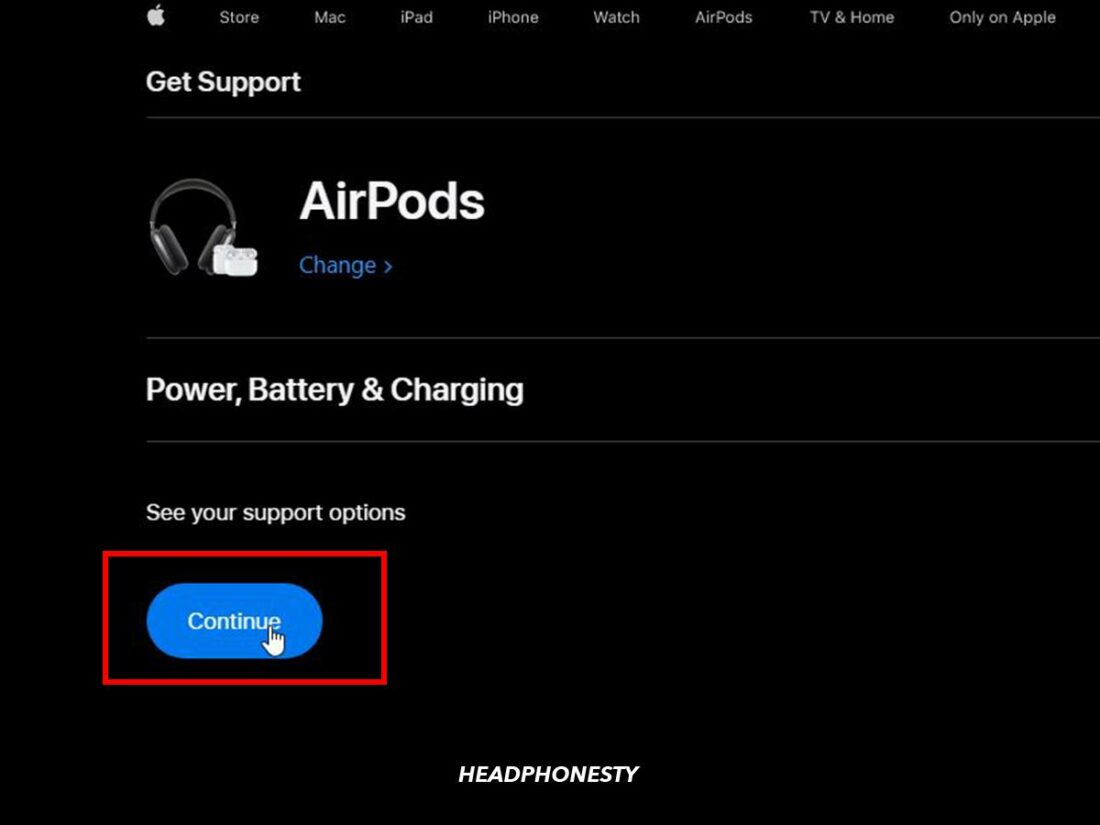
Choose AirPods from options - Next, select Power, Battery & Charging. Under See your support options, click Continue. This option opens up a new page.
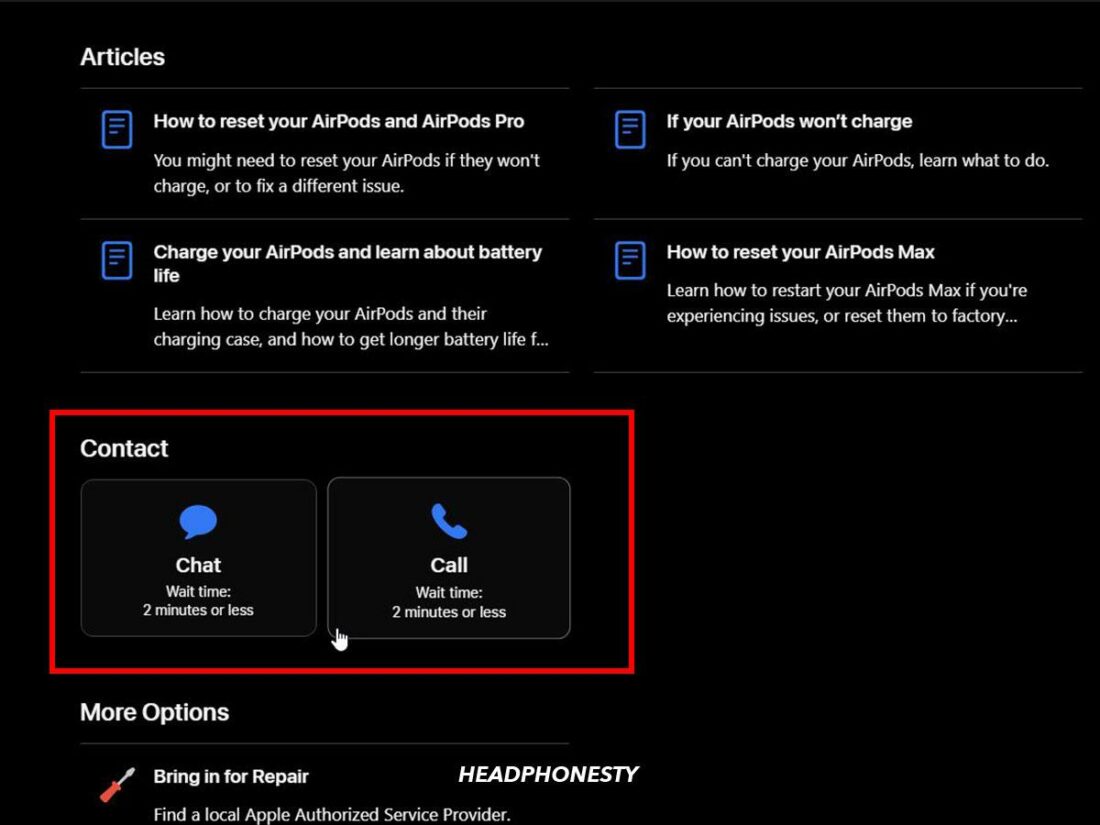
Click Continue - Scroll down and select Chat or Call, depending on how you want to communicate with the support representative.
Choose between Chat or Call

You can replace your damaged or dead AirPods for a fee. However, the fee varies based on your device model and the component you want to replace.
Apple also has a one-year warranty for its AirPods line-up. You can replace your AirPods if they are dead and have warranty cover.
Conclusion
As you have seen, most of the time, AirPods won’t turn on due to charging issues. We hope these solutions helped address your charging issues and that your AirPods turn on normally once again.
You can now plug in your AirPods and immerse yourself in your playlist or audiobook while you head out and face the day.
Please let us know which suggestion worked for you or if we missed anything in the comments below!