
Say goodbye to lopsided listening with these ten simple fixes for when one of your AirPods sounds quieter than the other.
The AirPods are known for their rich, crystal-clear sound, made better by their spatial audio feature. This creates the illusion that the sound comes from all directions using just the left and right AirPods.
However, this won’t work if one AirPod is quieter than the other, which can result from different factors, such as dirt, damage, or software errors.
The good news is, this can be fixed by simply cleaning your AirPods, resetting them, or doing some settings tweaks. Read on as we go through each solution below so you can restore your AirPods’ balance once and for all.
- 1. Reset the AirPods
- 2. Clean Your AirPods
- 3. Make Sure It Isn’t an Audio File Issue
- 4. Adjust Your AirPods’ Sound Balance
- 5. Update Your AirPods’ Firmware
- 6. For AirPods Pro: Use the Ear Tip Fit Test
- 7. Restart the Audio Source
- 8. Reset Your Device Settings
- 9. Check Your Hearing
- 10. Contact Apple Support
- Conclusion
1. Reset the AirPods
A hardware reset is a standard solution that can help resolve most issues, glitches, or bugs on most devices, including AirPods.
Resetting your AirPods returns them to their original default configuration, removing some sound issues. In short, they’ll be fresh as new.
Here’s how to reset your AirPods or AirPods Pro:
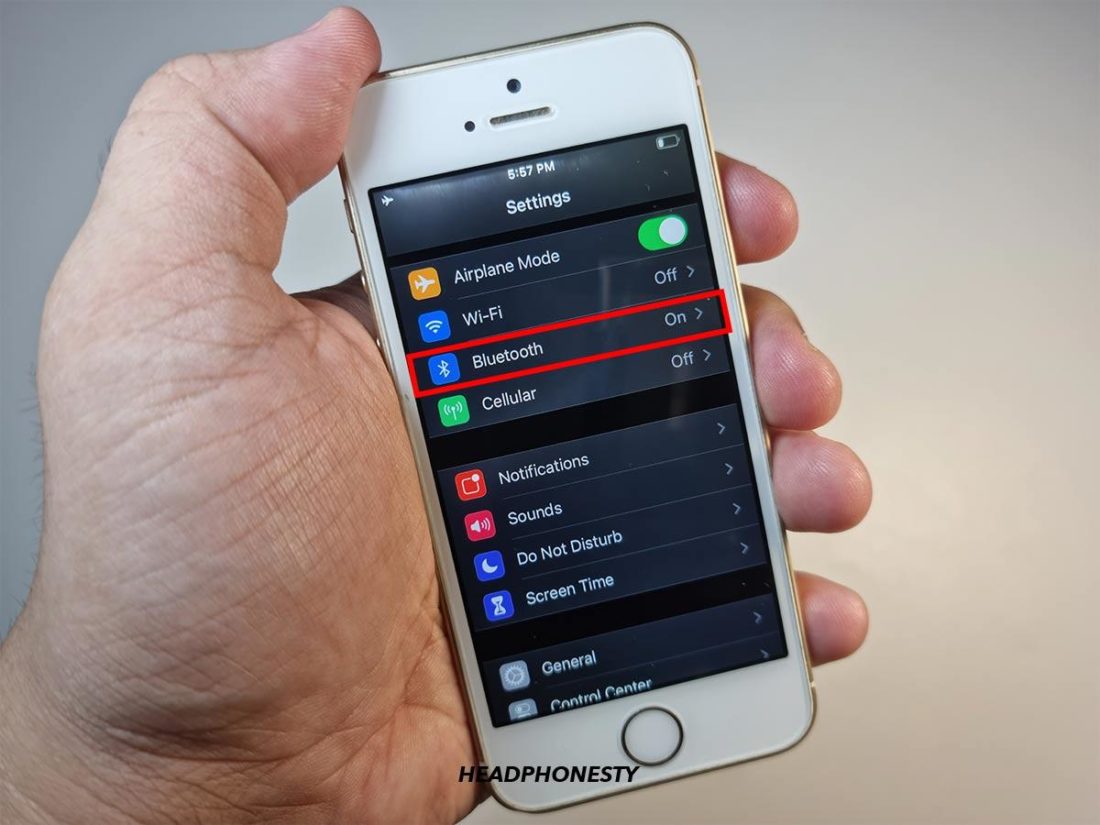
- On your iOS device, navigate to Settings, then Bluetooth.

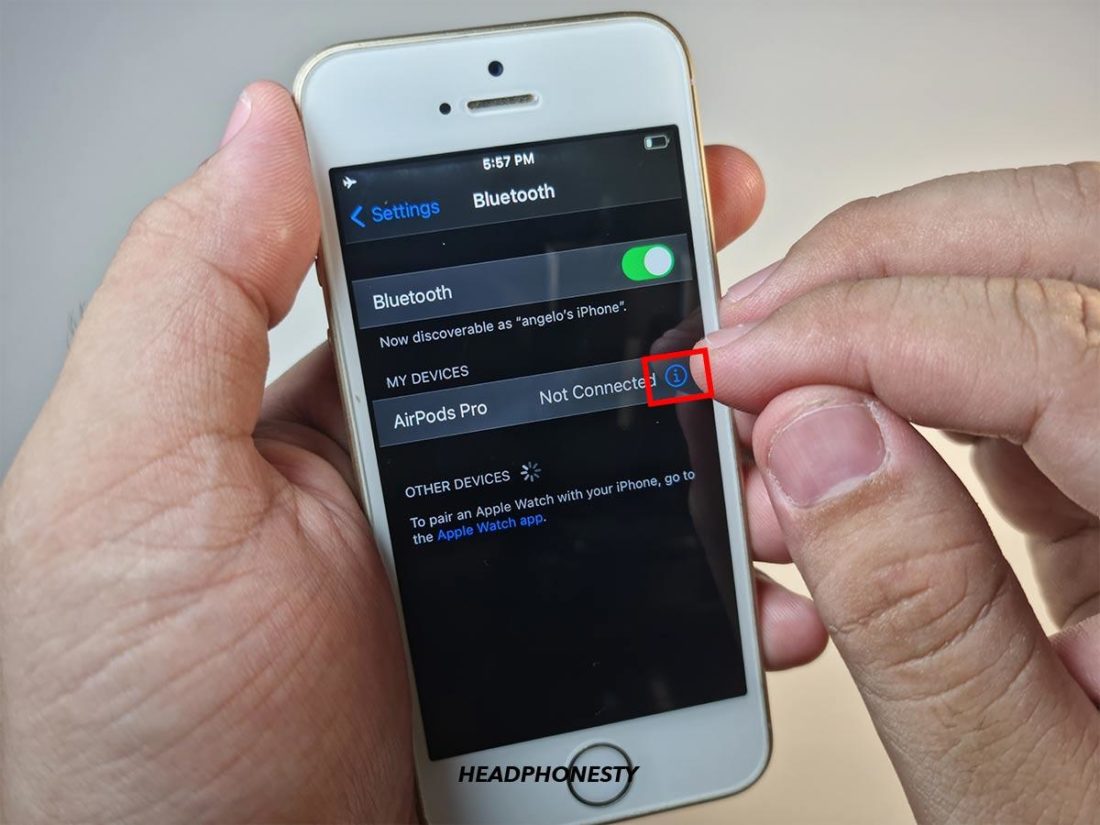
Going to iOS Bluetooth settings - Tap the ‘i’ icon next to your AirPods.
Accessing more AirPods settings - Click on Forget This Device. This disconnects your AirPods from all the devices you’ve signed in using the same Apple ID.
Forgetting AirPods on iOS - Place your AirPods back into the charging case and close the lid.
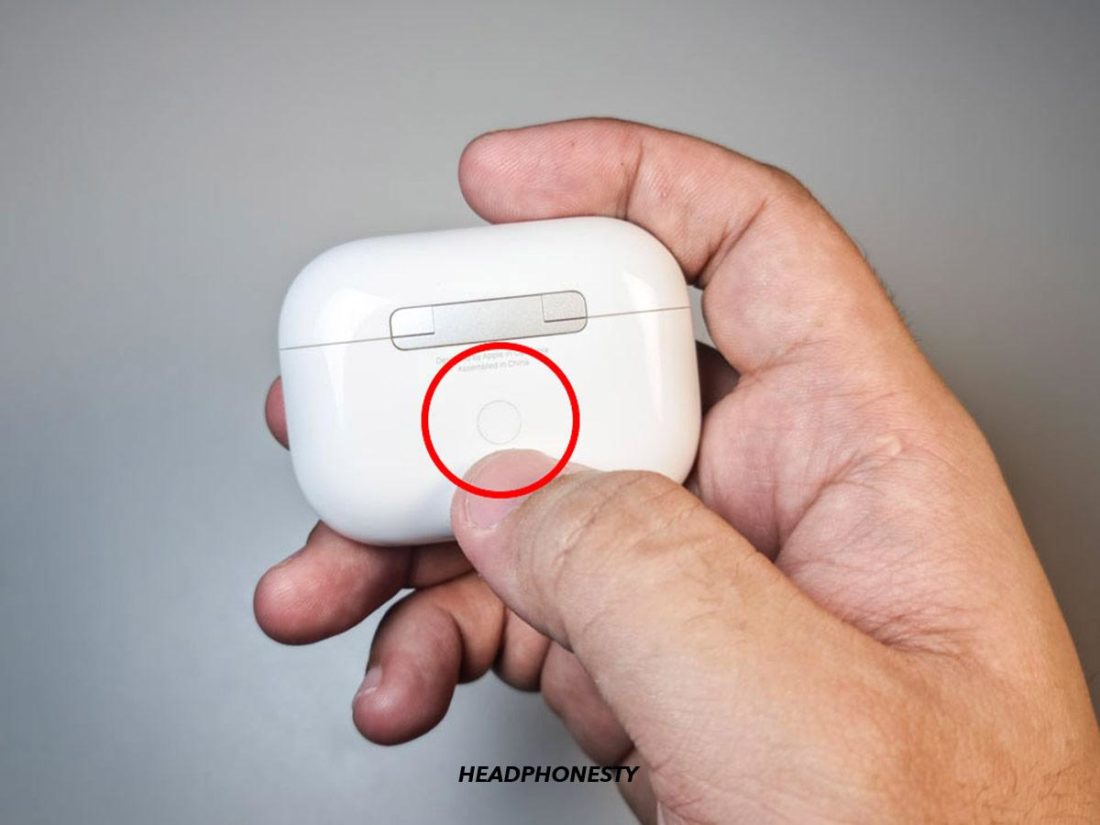
AirPods in charging case - Press and hold the setup button at the back of the charging case for 15 seconds. You should see the status light change from blinking amber to white.
Holding AirPods’ setup button For an AirPods case that charges with wire, you will find the status light inside the case between the AirPods. For AirPods with wireless charging cases, the status light can be located on the front of the case. - Try reconnecting the AirPods to your iOS device and see if the problem is fixed.


2. Clean Your AirPods
The more you use your AirPods, the more likely it is that earwax will build up in the speaker mesh. When this happens, the earwax buildup may clog up the sound output.
Cleaning your AirPods is not only hygienic; it also helps clear out dirt or foreign bodies that can muffle the AirPods’ sound.
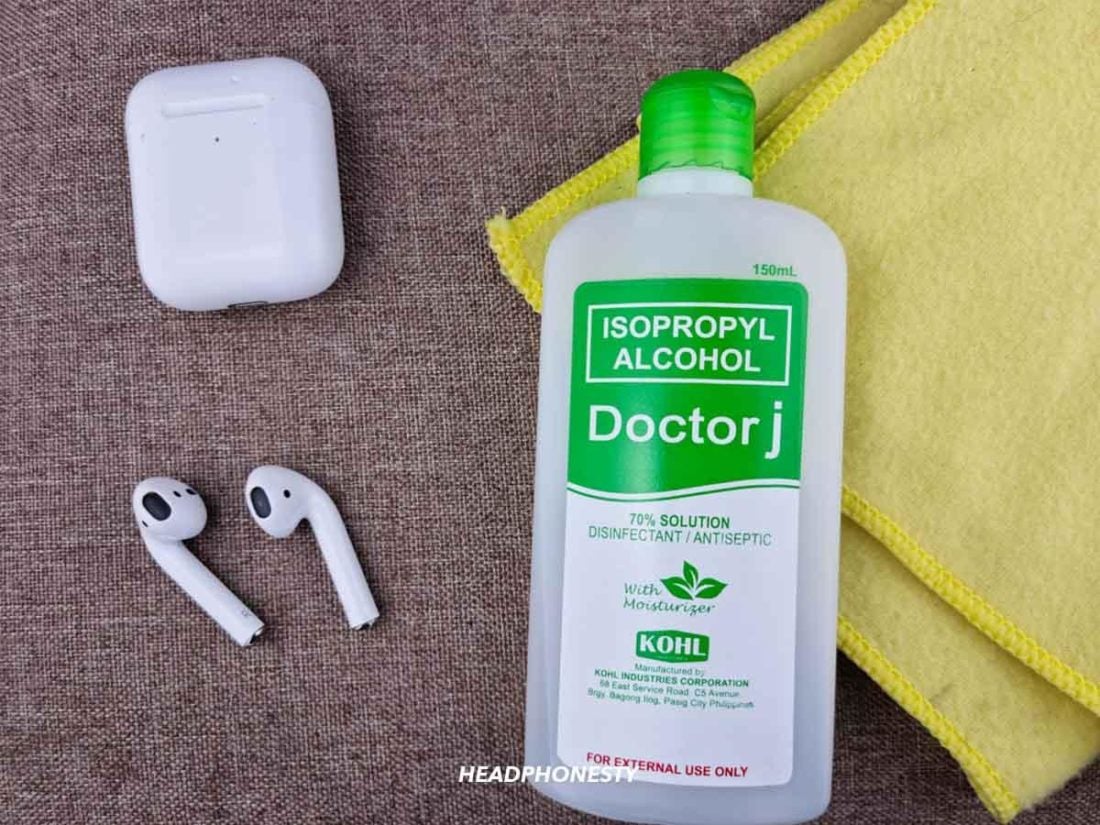
Before you begin, make sure you have the following cleaning supplies ready:
- Soft, dry, lint-free cloth
- 70% isopropyl alcohol solution
- Toothpick
- Old soft toothbrush
- Cotton swabs/q-tips
Then follow these steps to clean your AirPods:
- Lightly apply the alcohol solution to a cotton swab/q-tip and the lint-free cloth. Use the cotton swab/q-tip to gently loosen any dirt and debris on the AirPods speaker grill and its sides.
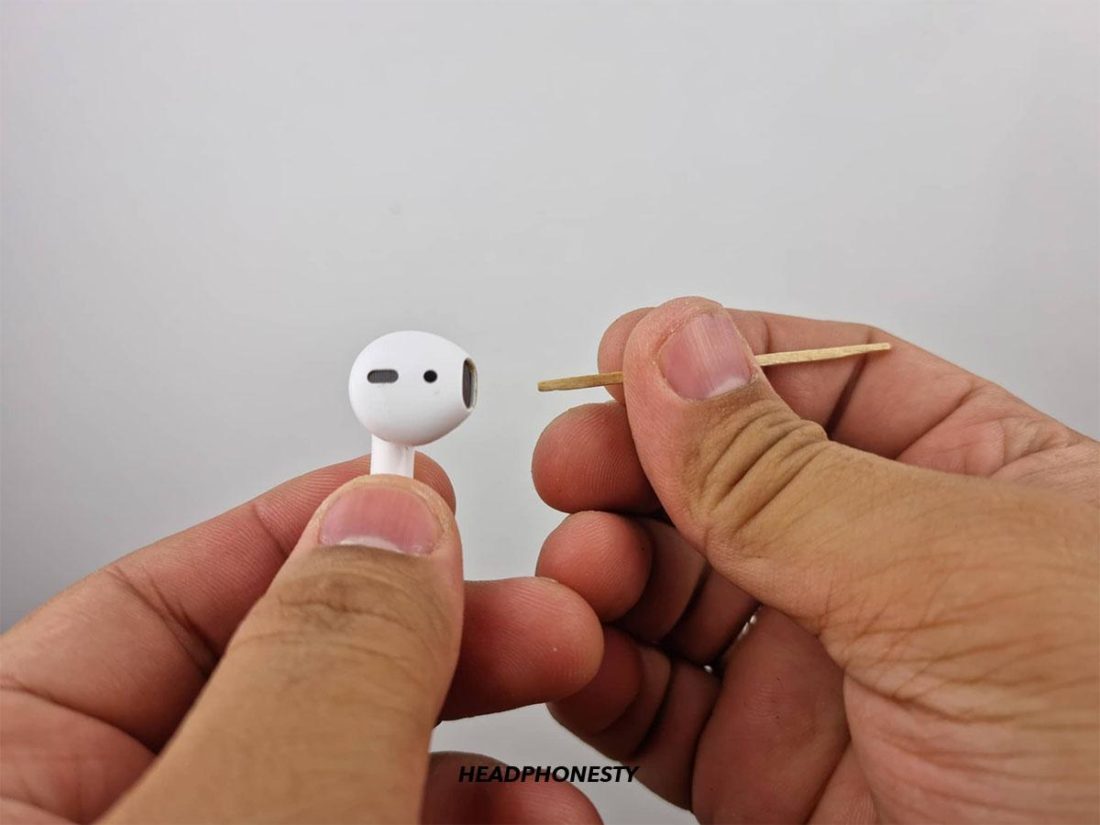
Cleaning AirPods with Q-tip For AirPods Pro, remove the ear tips first and wipe them clean. Here’s a quick guide on how to clean the AirPods Pro’s ear tips. - Use a toothpick to very gently lift and remove debris from the edges of the AirPods. It’s crucial to take care when using sharp objects like toothpicks around the delicate speaker mesh of your AirPods. They may break if excessive force is applied.
Using toothpick to clean AirPods - Use a toothbrush and lightly brush over the speaker mesh and the crevices of the AirPods to loosen the finer debris.
Brushing AirPods speaker mesh with toothbrush - Wipe away any remaining dirt or debris with the lint-free cloth.
The different tools to clean AirPods


If there is stuck earwax, suck it up
Even with deep cleaning, foreign elements, like stuck earwax build-up inside your AirPods, may not be easily removed.
To combat this issue, some AirPods users have discovered a trick that can effectively dislodge the earwax without needing to take your AirPods apart.
Their ingenious solution? Use your mouth to suck it up.
You can start by placing a clean cloth over your AirPods’ speaker mesh. Then suck through the cloth into your AirPod, periodically pausing to wipe it clean each time.
The idea is to keep sucking until you can feel the airflow through your AirPod. That’s a sign that the insides of the speaker mesh are clear of any earwax obstruction. Finally, check the volume level of both AirPods to confirm whether they sound even.
3. Make Sure It Isn’t an Audio File Issue
Most audio files we listen to are stereo tracks that send an audio signal to two different channels – left and right. Sound engineers and artists often use software to manipulate these audio files to create more immersive soundscapes.
Audio panning is one such technique that can alter the perceived distance between sounds in the left and right speakers of a stereo track. For example, producers can attenuate specific instruments to sound more pronounced on one speaker over the other, creating unique sonic experiences for listeners.
To check if it’s indeed your audio file that sounds unbalanced, you can switch your AirPods to Mono Mode.
Here’s how you can switch your AirPods to mono audio:
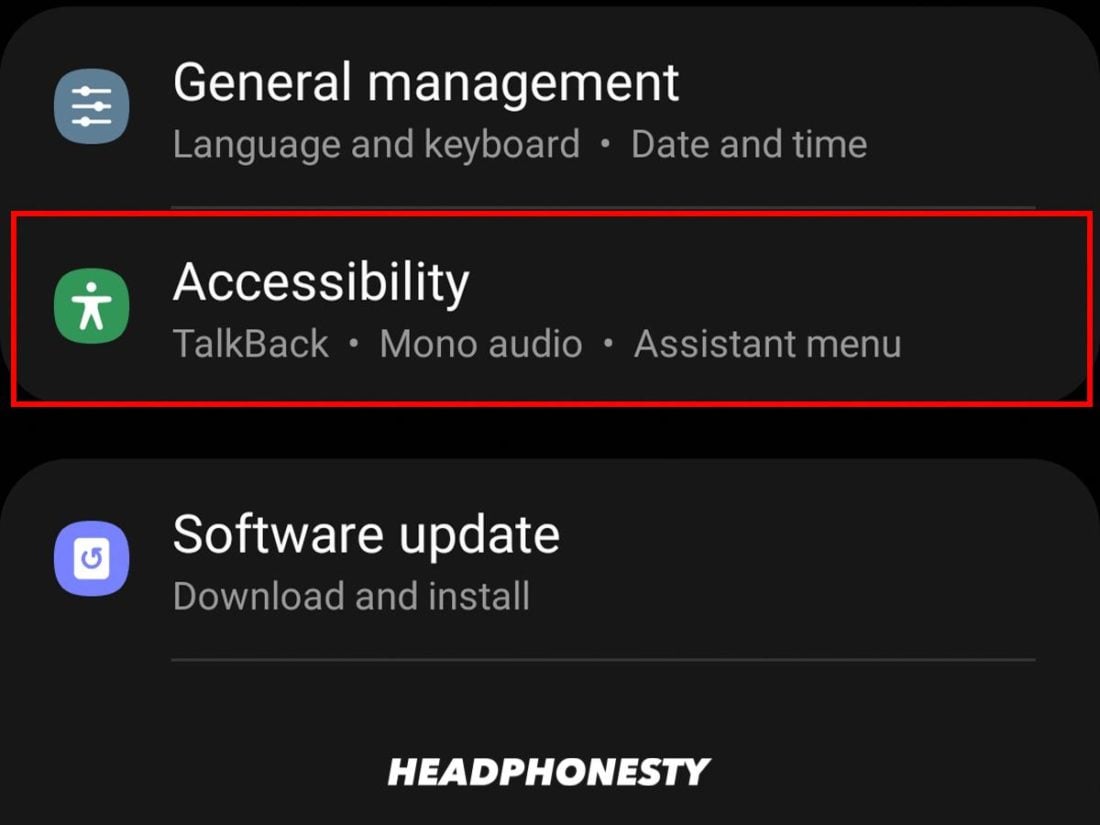
- Open Settings and tap on Accessibility.
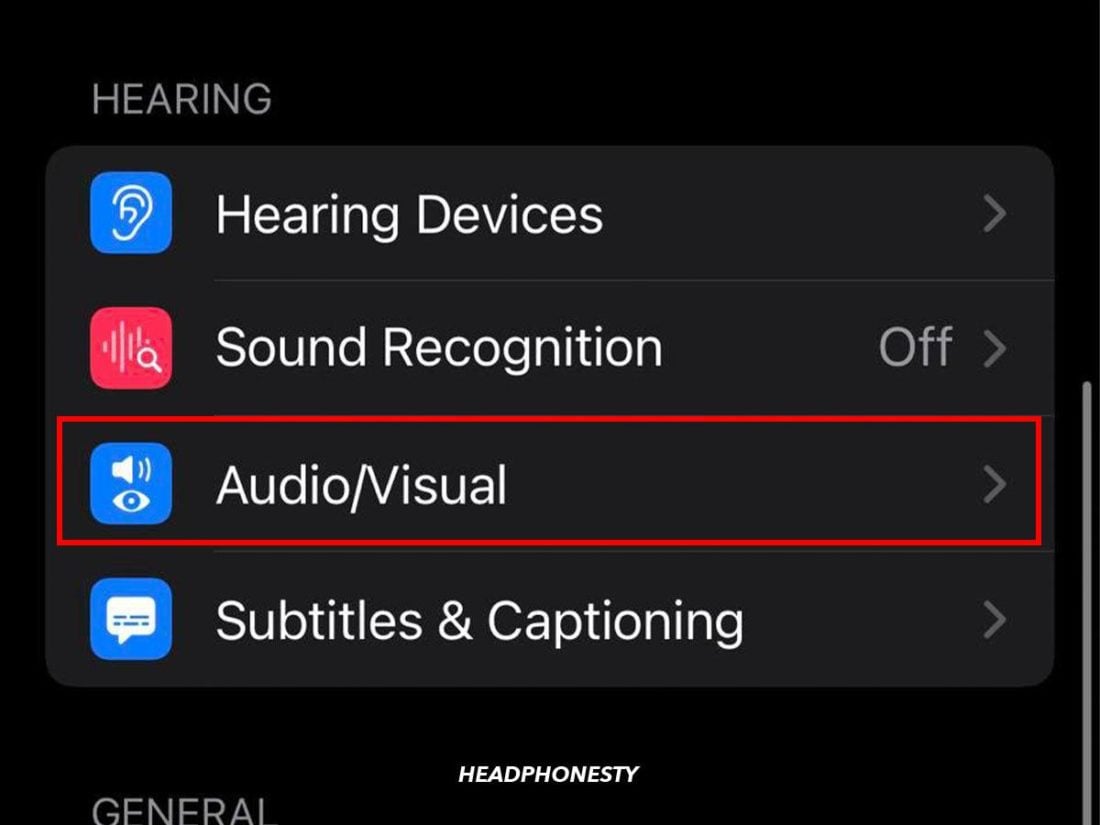
Going to Accessibility settings on iOS - Scroll down to the Hearing section and tap on Audio/Visual.
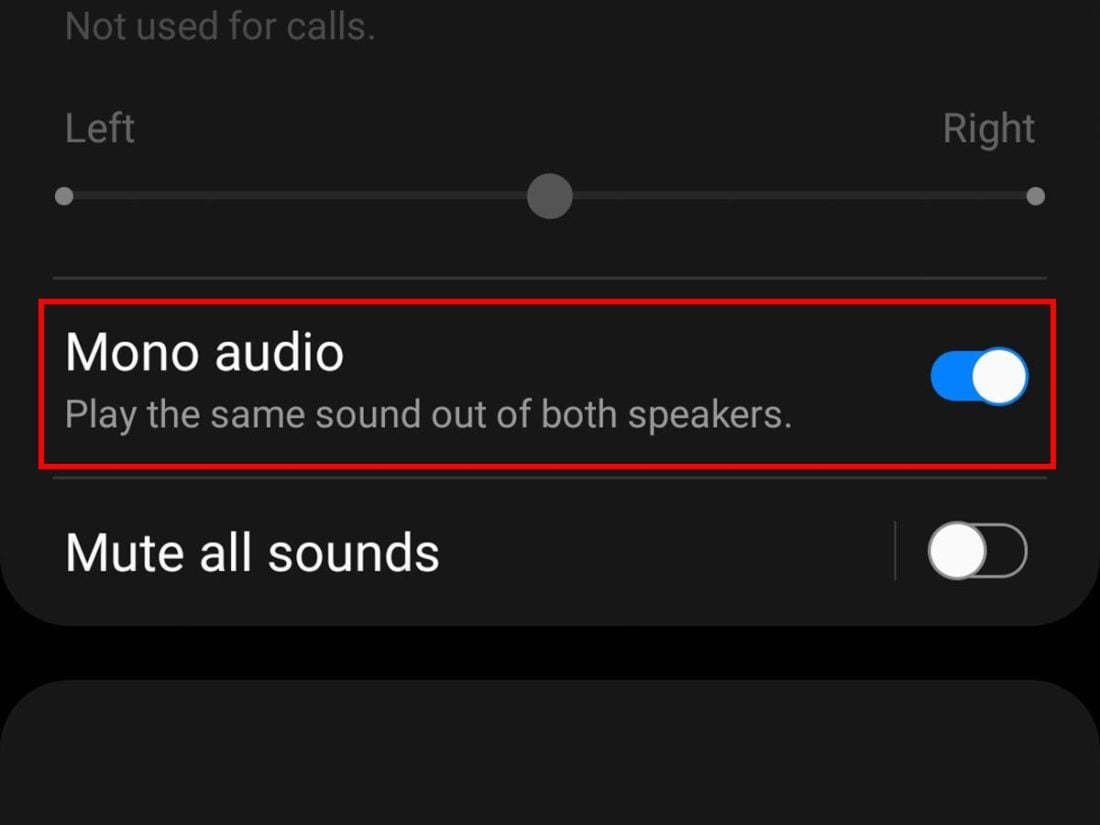
Going to Audio/Visual accessibility setting - Toggle Mono Audio on.
Enabling Mono Audio for AirPods
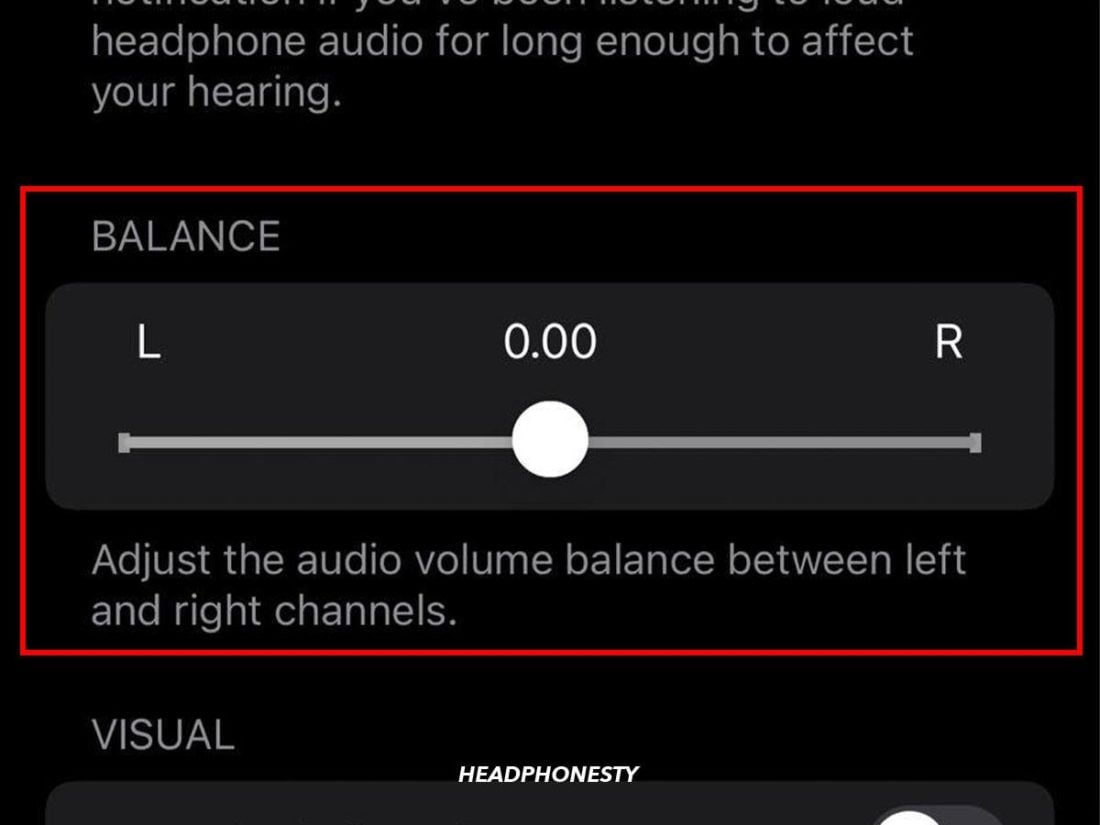
4. Adjust Your AirPods’ Sound Balance
Sound balance allows you to control the volume of each AirPod by tweaking the settings to shift sound towards the left or right AirPod. This is an incredibly convenient feature for people who are hard of hearing in one ear.
However, if you’ve accidentally changed these settings, it might result in one of your AirPods sounding softer than usual.
You can fix this by adjusting your sound balance in just a few simple steps. Here’s how:
- On your iOS device, go to Settings menu, then tap on Accessibility > Audio/Visual.
Audio/Visual Accessibility settings - Adjust the slider to redistribute the sound balance between the left and right AirPod.
Adjusting sound balance on iOS

5. Update Your AirPods’ Firmware
Apple sometimes releases firmware updates for the AirPods to improve performance and upgrade their features.
These updates also help patch any bugs, issues, and other incidental errors that may prevent your AirPods from functioning properly. So, if your AirPods’ firmware isn’t updated, they may still have these issues that ultimately result in unbalanced sound.
To check whether your AirPods’ firmware is updated using your iOS device, follow these steps:
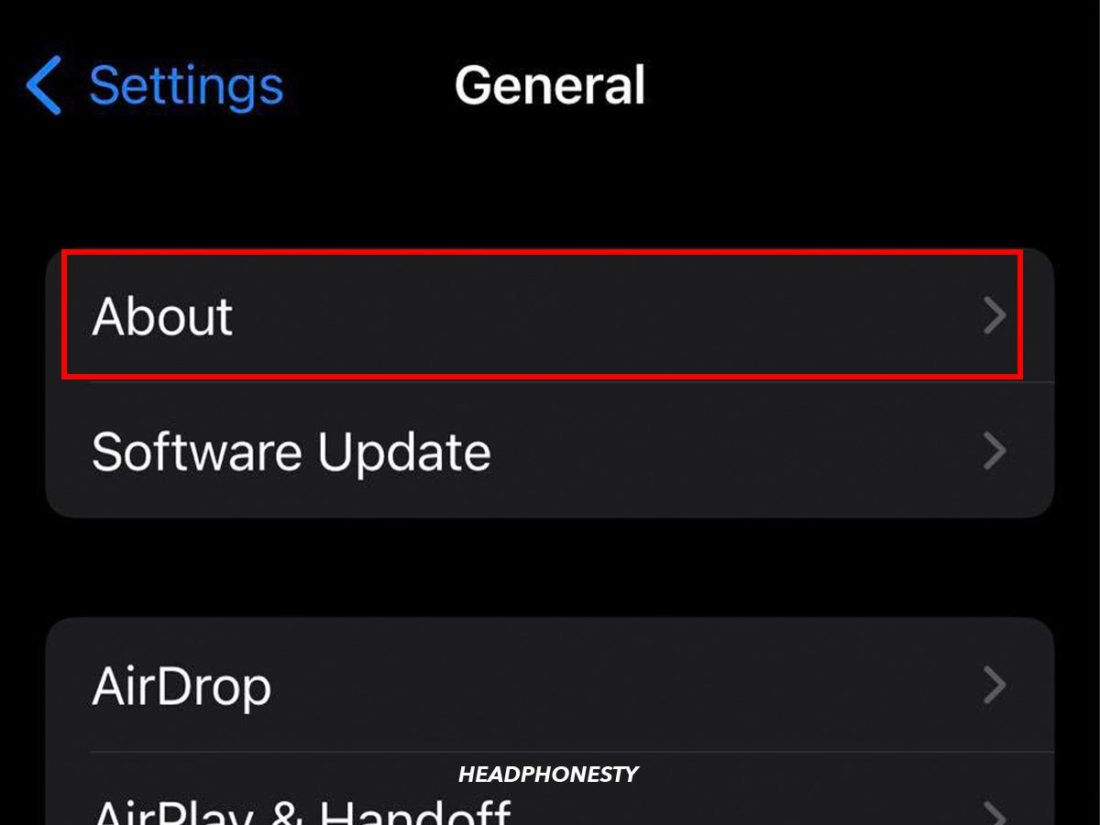
- Open the ‘Settings’ app, tap ‘General’ then ‘About.’
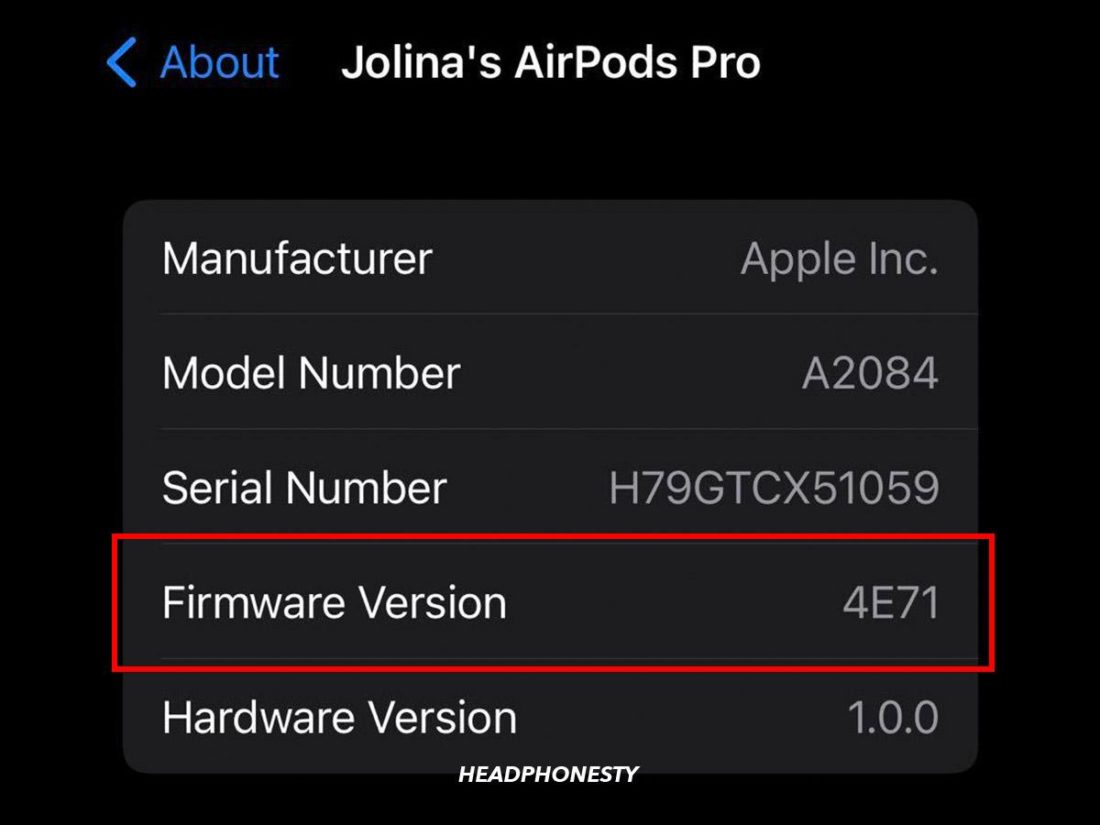
General Settings on iOS - Then tap on your ‘AirPods’ to check the firmware version they are on.
Checking AirPods firmware version
6. For AirPods Pro: Use the Ear Tip Fit Test
For AirPods Pro users, you can use the Ear Tip Fit Test to achieve better sound isolation.
This minimizes sound leakage and any background noise from coming through. As a result, you can get greater audio perception, and it could even help your AirPods sound louder.
Here’s how to do the ear tip fit test:
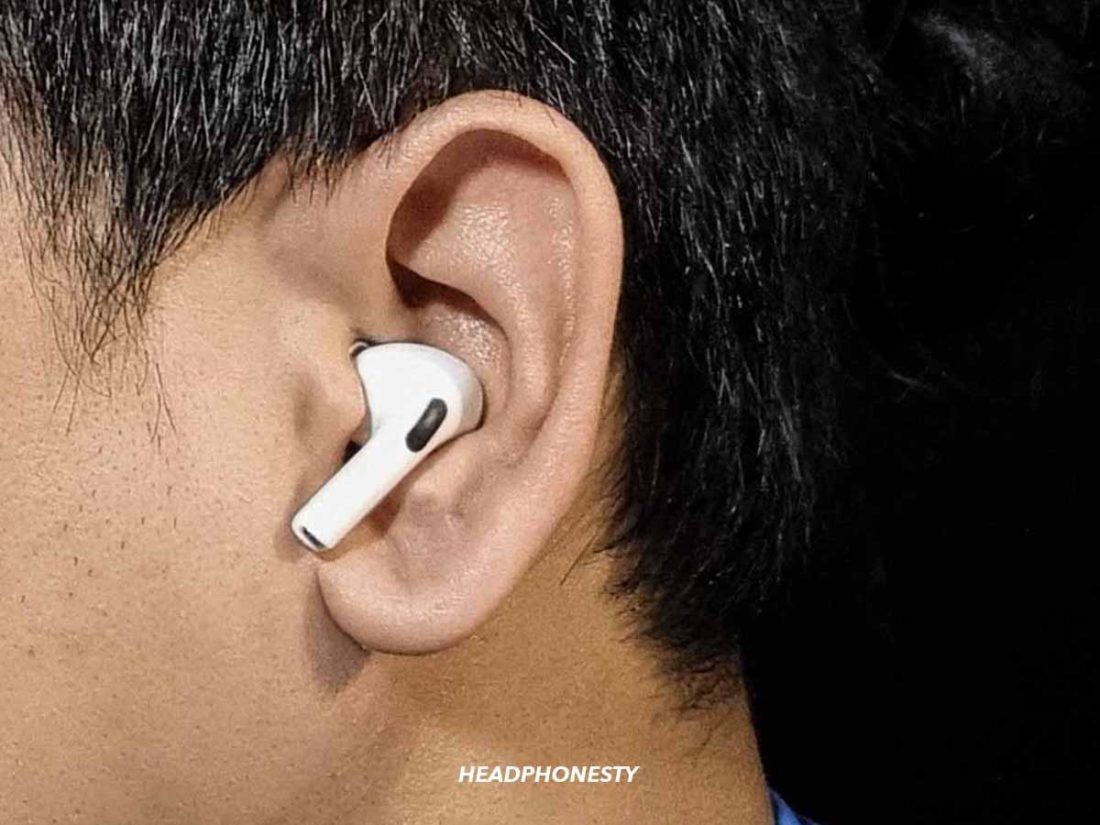
- Wear your AirPods Pro.
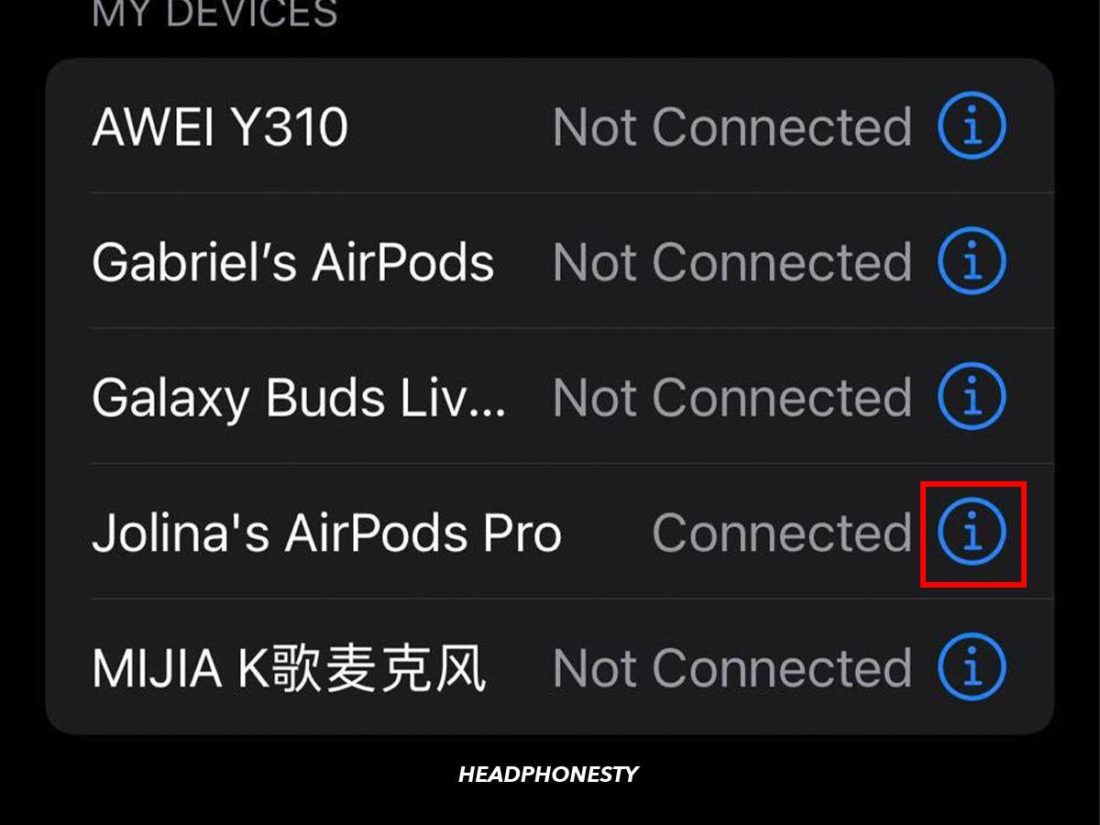
Wearing AirPods Pro - On your iOS device, go to Settings and then Bluetooth.
Going to the Bluetooth settings - Tap on the information (i) icon next to your AirPods Pro.
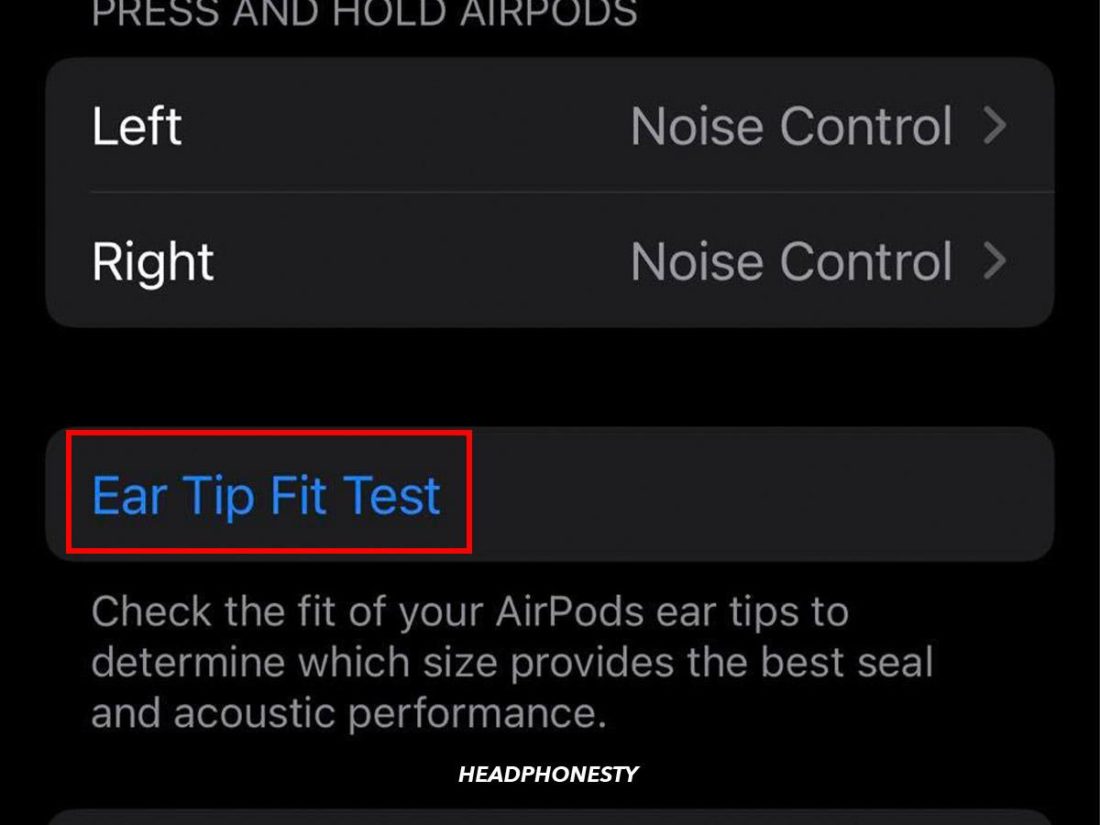
Accessing AirPods settings - Tap on Ear Tip Fit Test.
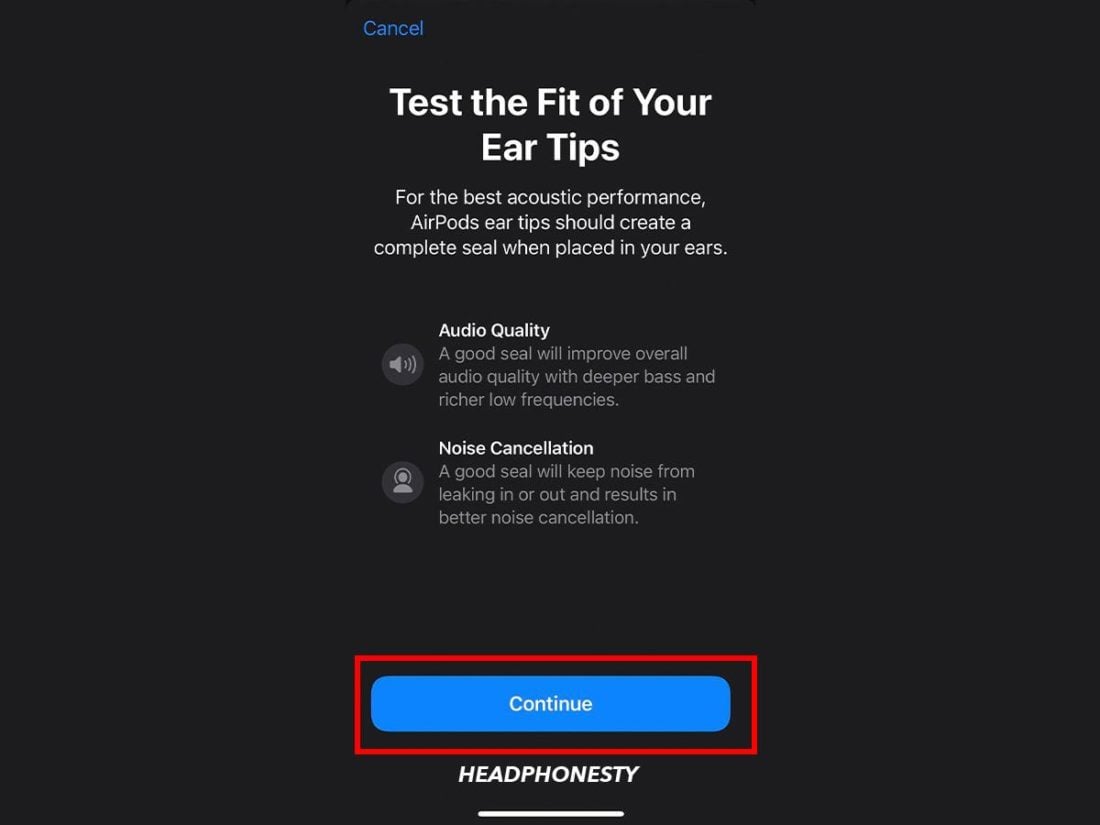
Selecting Ear Tip Fit Test - Then, tap Continue.
Pushing through with the Ear Tip Fit Test - Click the play icon.
Starting Ear Tip Fit Test

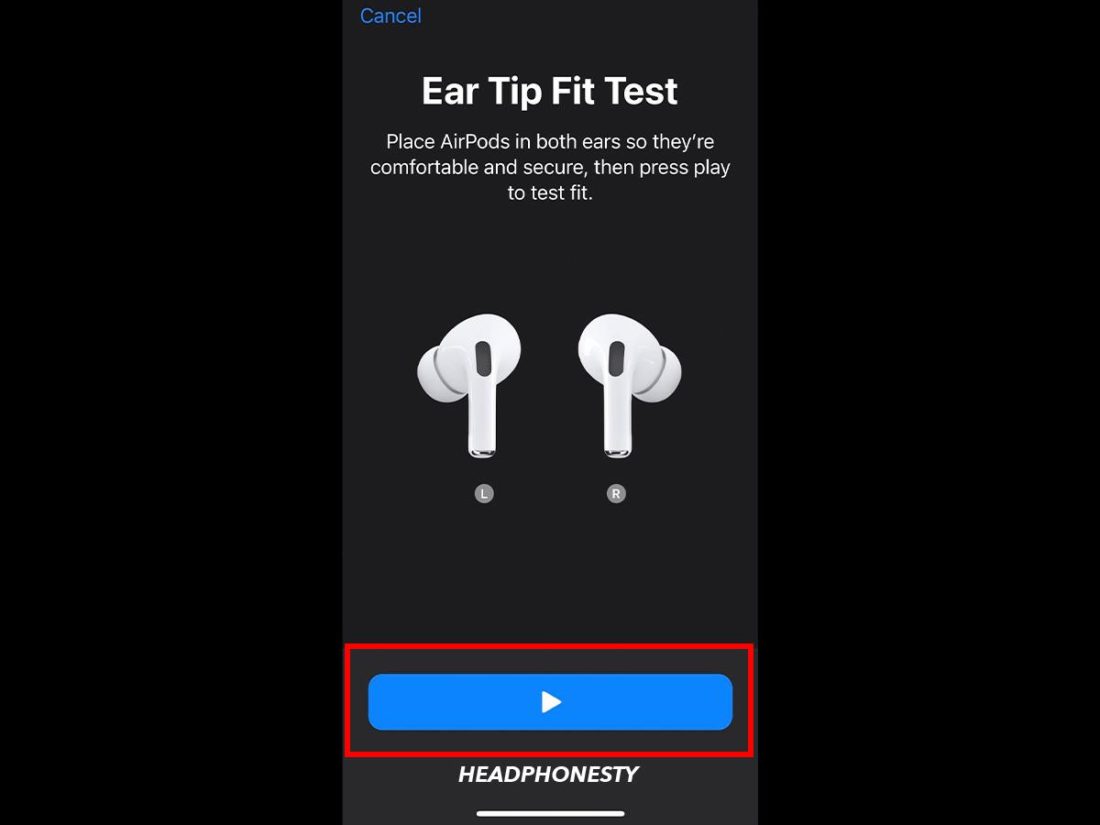
Depending on your test results, you may need to adjust your AirPods Pro or try a different ear tip size to get the best fit and acoustic seal.
7. Restart the Audio Source
Whether your music is playing from a computer or a mobile device, restarting your audio source might help resolve this problem.
Take note that the steps to restart will vary depending on your device.
For instance, for iOS device owners, you can simply press and hold the power and volume down buttons together. Drag the slider to power off the device. Wait for 10 seconds, then turn it back on again.
8. Reset Your Device Settings
Some device settings can affect different areas, such as audio, which may result in one of your AirPods malfunctioning. In that case, it may be time for a reset.
To perform an iCloud backup:
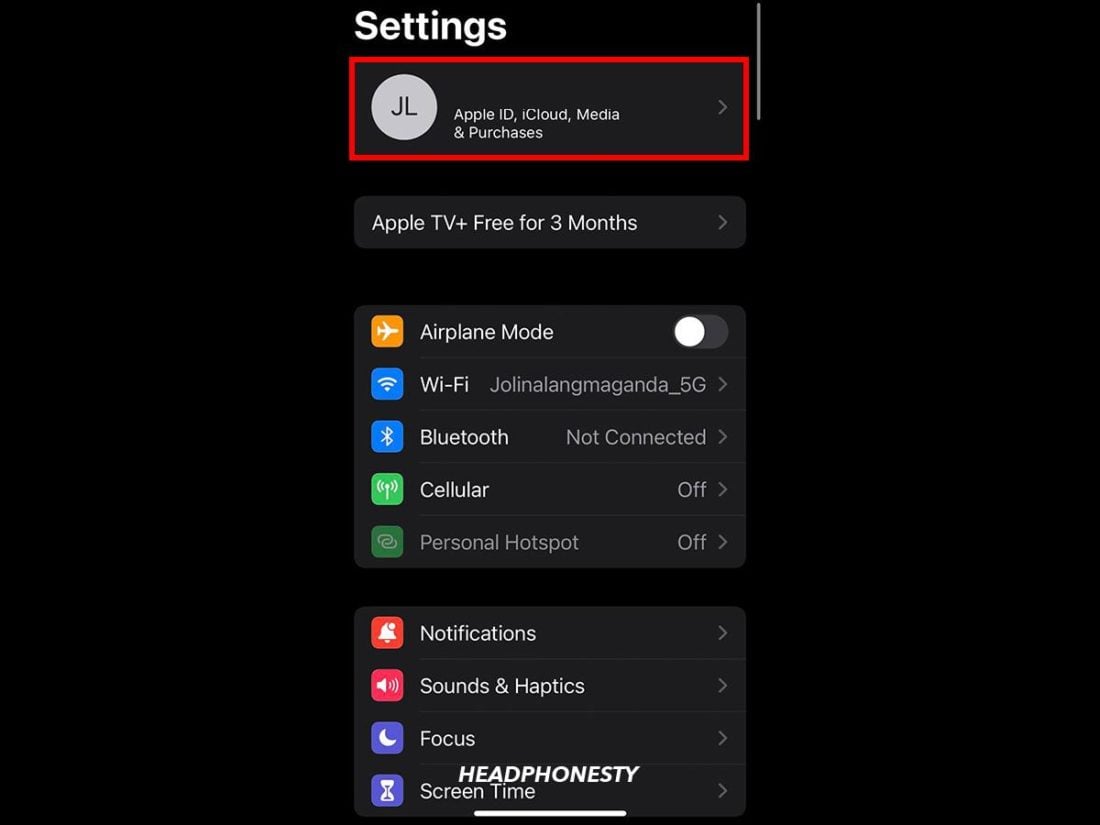
- On your iOS device, go to Settings and tap on your name.
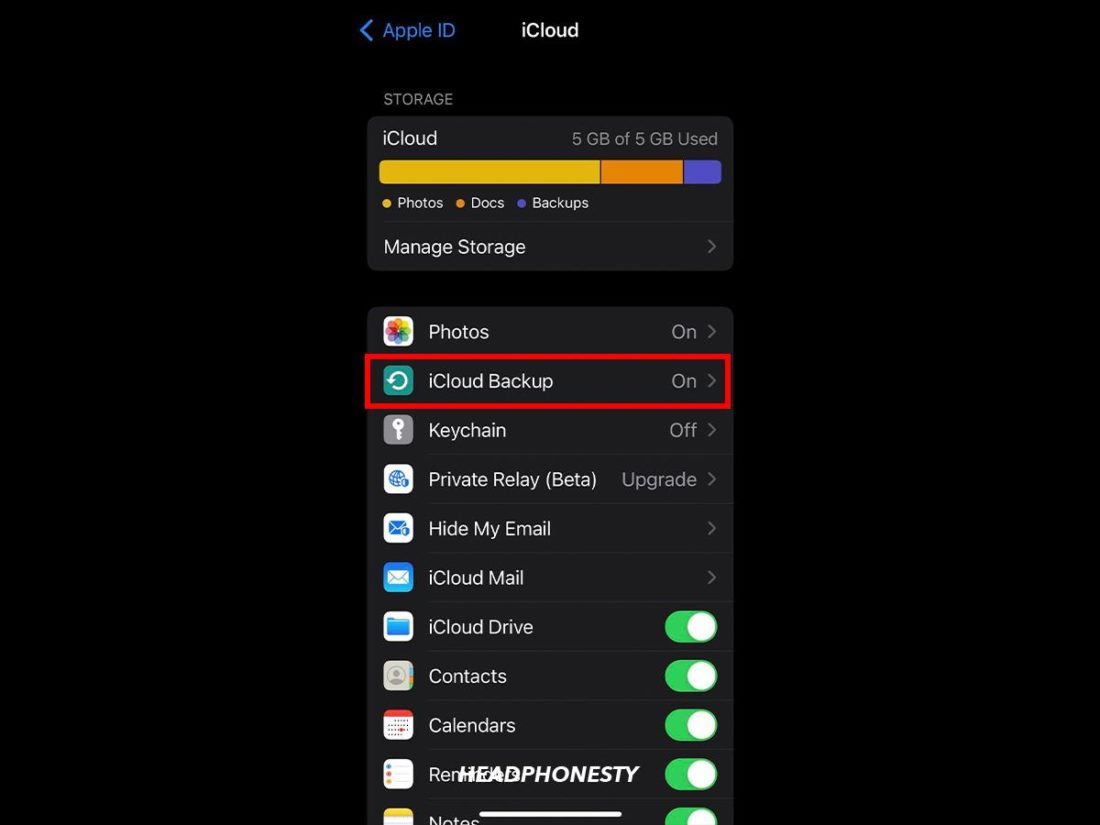
Going to Apple Account Settings - Tap iCloud, then iCloud Backup.
Selecting iCloud Backup - Tap Back Up Now.
Starting Back Up Make sure you’re connected and have enough charge.

Once you’ve performed a backup of your device, you can reset it with the following steps:
- Make sure your iOS device is connected to a power source. Then, open Settings.
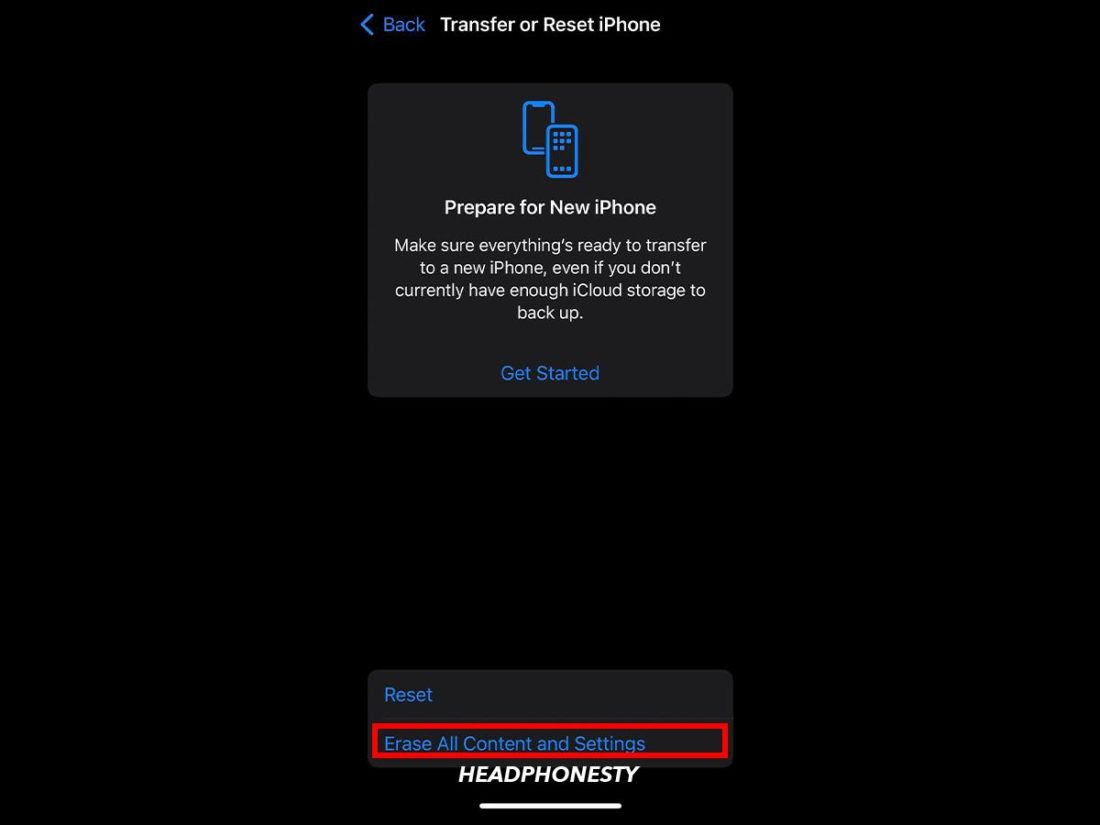
- Tap on General > Reset. Then, tap on Erase All Content and Settings.
Erasing all content and settings on iOS - Enter your passcode and tap Erase iPhone twice. Your iOS device should start the reset and reboot.
Entering passcode to enable reset

9. Check Your Hearing
If none of the above solutions work, you should test your hearing to determine whether it’s actually an AirPods issue or not.
The best and most accurate way to do this is to consult a hearing specialist (such as an ENT professional) who can perform a comprehensive hearing examination to identify any underlying causes.
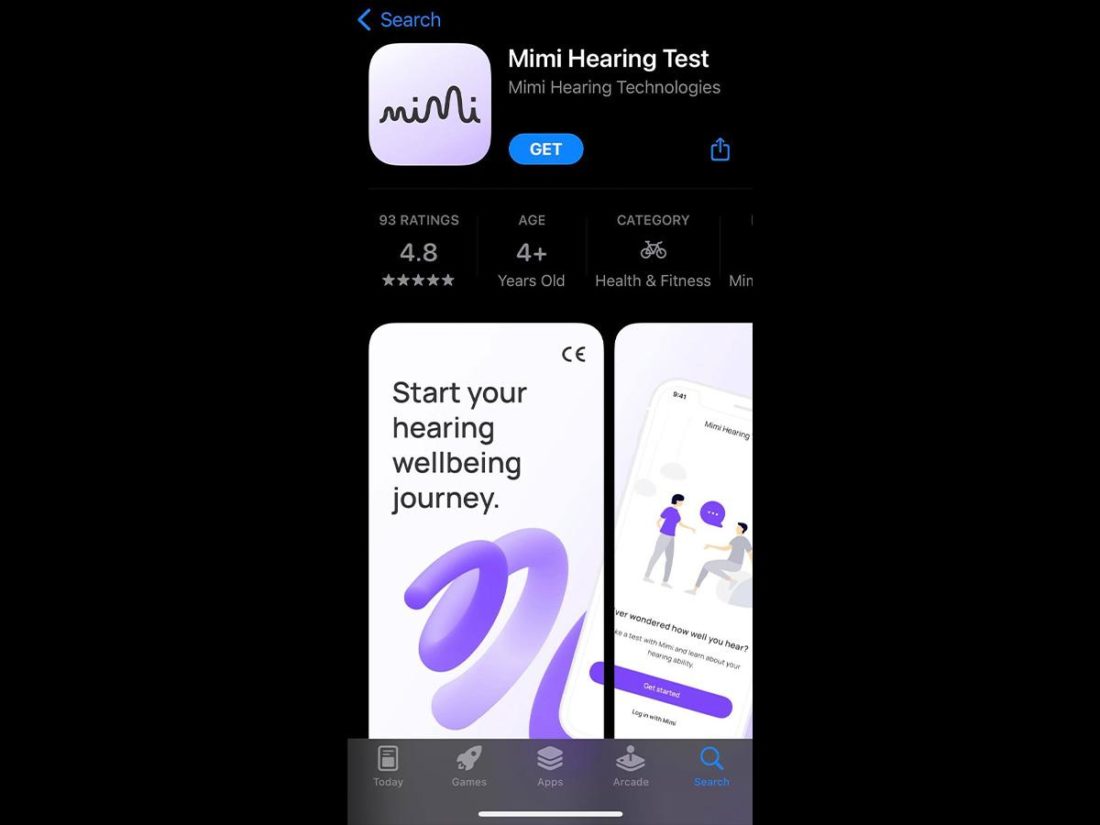
But if that’s not possible yet, you can also use third-party apps such as the Mimi Hearing Test. This app can help you quickly assess your hearing and accordingly recommend audio settings to improve your listening experience.
10. Contact Apple Support
When all else fails, there’s always Apple online support.
You can contact Apple Support online via their website. Follow these steps:
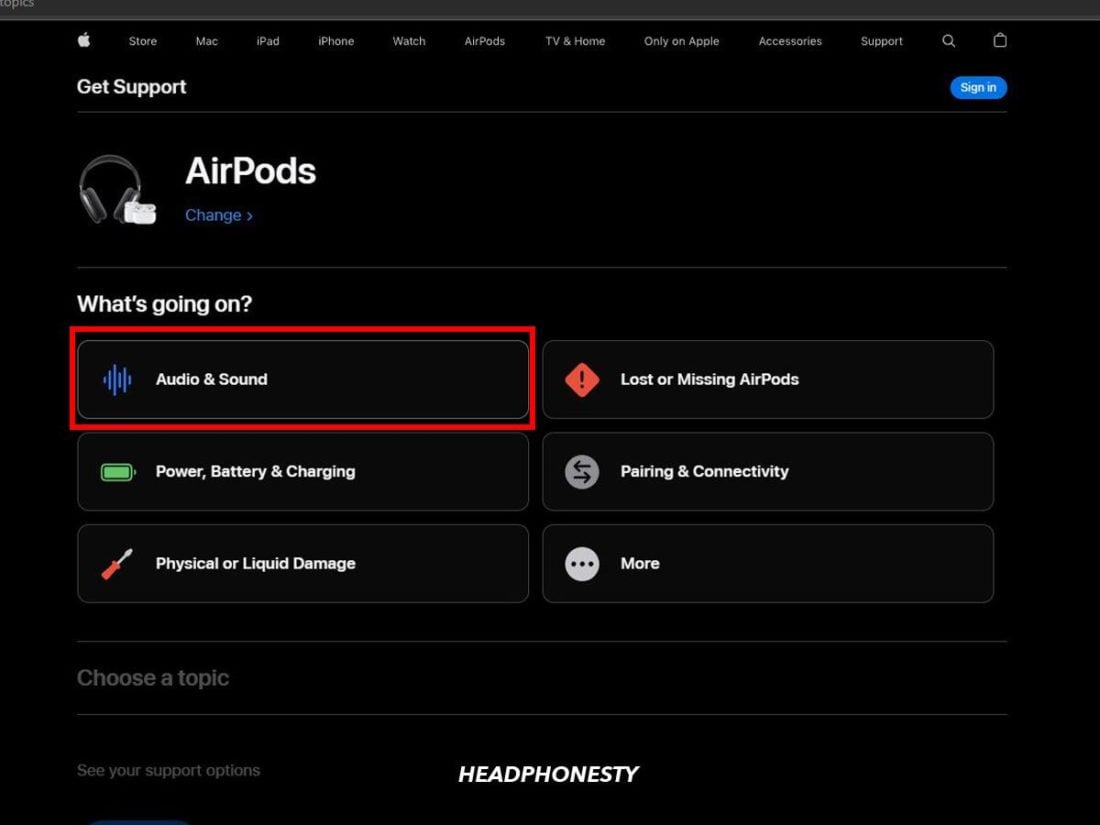
- On the support webpage, click on See all products.
Apple Supprot’s “See all products” option - You should see a list of Apple devices. Select AirPods, then select Audio & Sound.
Accessing Audio & Sound options - Click Continue to see the support options available. If you don’t see any support articles relating to your issue, you can initiate an online chat or call technical support.
You can use the Chat option to put your query to an Apple Support agent.


You may have to bring your AirPods to an Apple Authorized Service Provider near you or use their mail-in service to see if you qualify for a replacement.
For this, you can get your AirPods repaired or replaced for free if they’re still covered under Apple’s One-Year Limited Warranty or AppleCare+. If not, you’ll need to pay an out-of-warranty service fee.
Conclusion
Whether your AirPods are brand new or have been in usage for some time, having one AirPod sound quieter than the other can be annoying if you don’t know how to detect and rectify the issue.
Fortunately, you now have a range of solutions you can try to fix this problem of unbalanced audio. You may even be able to save your friends from unnecessary hassle should they ever encounter the same problem.
Which of the above fixes did you find the most useful? Do you know any other solutions we missed in this guide? Share it with us in the comments below!
Super useful article. The ‘suck it up’ method remarkably worked brilliantly for me. Many thanks.
same! thanks to this article
Same, It worked for me. 🙂
Clean with soft toothBRAAAASH, thank you guyz!
What a valuable and comprehensive guide!
I was considering returning my 11 month old AirPods while still under warranty (just!). The left one had become virtually silent and, after deciding that it wasn’t a hearing issue then checking and adjusting the balance and charging of each AirPod, I followed the cleaning guidance and found a surprising quantity of wax had been responsible for the loss of output. They now sound completely different and I can recall how impressed I was a year ago, when I first had them, with the incredibly detailed sound.
Thanks for helping.
The sucking trick worked instantly. Thanks!
Holy cow. Suck it up worked. Full commando for me. No cloth between me and the ear bud.
Thx 🙂