Save both your headphones and your life with this simple guide to fix a short circuit.
A lot of people tend to see a short circuit problem as the end of the line for their headphones. You really can’t blame them, though.
No matter how simple it may sound, a short actually is quite a formidable (and deadly to a point) enemy for those who do not know their way around electronics.
However, it is nothing that a good sensible guide can handle.
For the brave souls out there who stopped and wondered if they could take on the issue themselves, this one’s for you! On the other hand, for those who are still deciding whether to get their hands dirty or not, let this be a sign because today we’ll be talking about how to fix a short in headphones.

What Happens When Headphones Short Out
A short circuit, or short, is a common term for electronic appliances. This is one of the most common issues that can happen to basically anything that runs through electricity. If you haven’t been living under a rock, chances are you’ve experienced a short circuit or two already.
A short happens when an electronically powered wire touches a neutral wire. In the case of headphones, this usually occurs in the area where the wire is connected with the headphone speaker or the plug.
Your headphones will surely malfunction or not function at all when it has a short. Here are some of the things you might experience when you have shorted headphones:
- Intermittent sound – This is one of the earliest signs of a short circuit. If your headphones cut out when moved, then you’re probably looking at a wiring problem already.
- Static in sound – Static may mean a lot of things but a short circuit is definitely one of the most reasonable explanations. Simply put, the static you’re hearing may be caused by the fluctuating charges along the wires.
- Inaudible or change in audio quality – A short can do a lot of things including killing some of the wires and charges inside the line. With that, damaged bass, mid, or highs are common results. This can also cause the headphones to stop working on one ear.
How to Fix a Short in Headphones
Now, this is what you came here for. When it comes to fixing a short in headphones, you can make use of an invasive or a non-invasive approach.
But no matter which approach you decide to take, you have to locate the area of the problem first.
Find the problem area
Shorts in headphones aren’t always easily identifiable. Although some of the cases of shorts are caused by visible cuts or any form of damage along the headphone wires, most of the time, the issue is internal.
This makes the first step of this guide a challenge right off the bat. But hey, we’re not here to be stopped by something this small, right?
There are two ways to find the area of the short circuit. The first is to use a multimeter, and the second is to simply rely on twists and bends. We’ll go through each of these methods one by one.
Using a multimeter
A multimeter is a tool used by electricians to detect changes in current. It is a tool used by professionals but there’s absolutely no harm in using it if you know how to.
Here are the steps to use a multimeter:
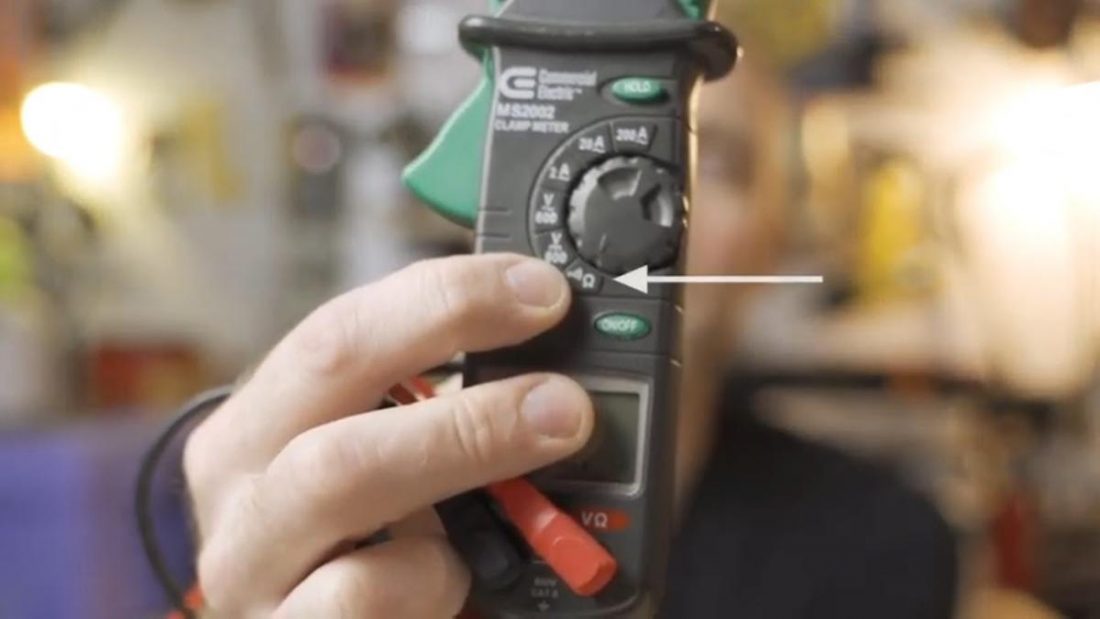
- Set the multimeter to test continuity by pressing the button with the Omega or mA sign. Plug the wires accordingly as well.

Multimeter with arrow pointing to ‘Continuity’ button (From: Marcus Hutsell/YouTube) - Create a slit to expose a part of your headphones and touch each of the exposed wires with the multimeter lead. Use the black lead to touch the tip of the earphones and the other with the red one.
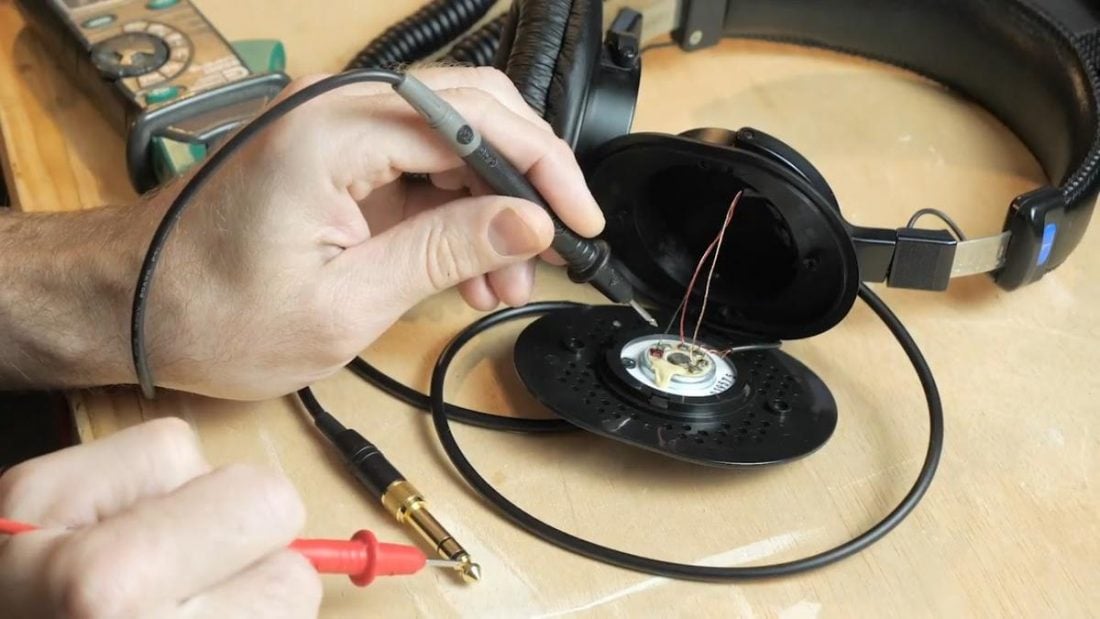
The multimeter will beep if there are no problems with the wire. Continue testing by making a cut to test each half and then the respective halves of the halves until you find the part that will cause your multimeter not to beep.
Multimeter leads checking wires (From: Marcus Hutsell /YouTube)
Through twists and bends
Another way to tell the part where your headphone wires are broken is by doing the “jiggle test”. This is when you basically twist and bend the wire until you hear a difference.
Let’s get through the steps one by one.
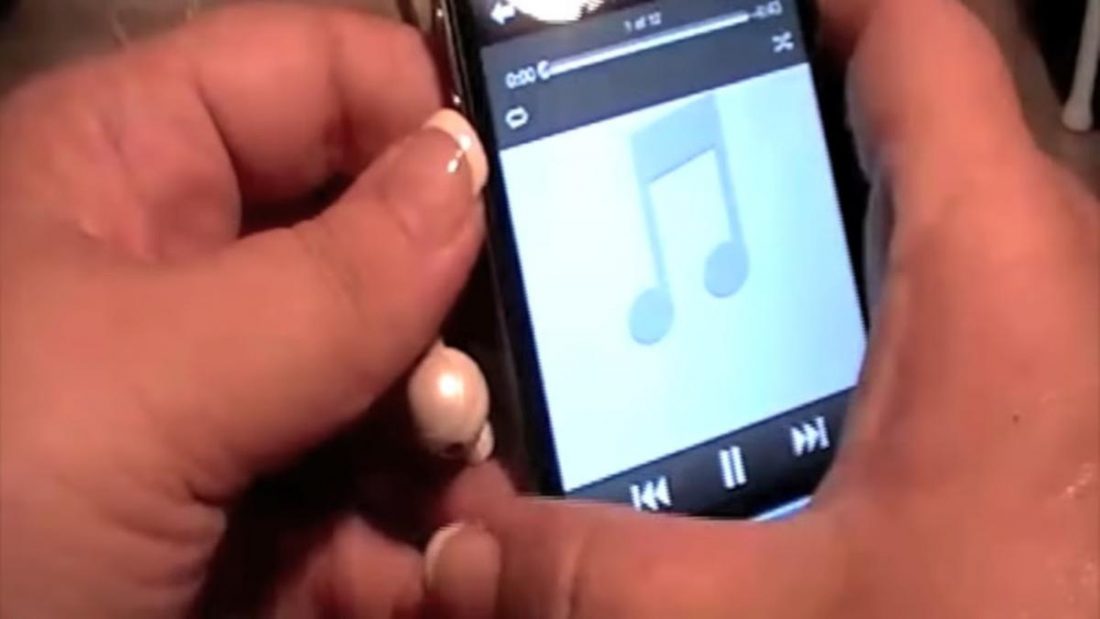
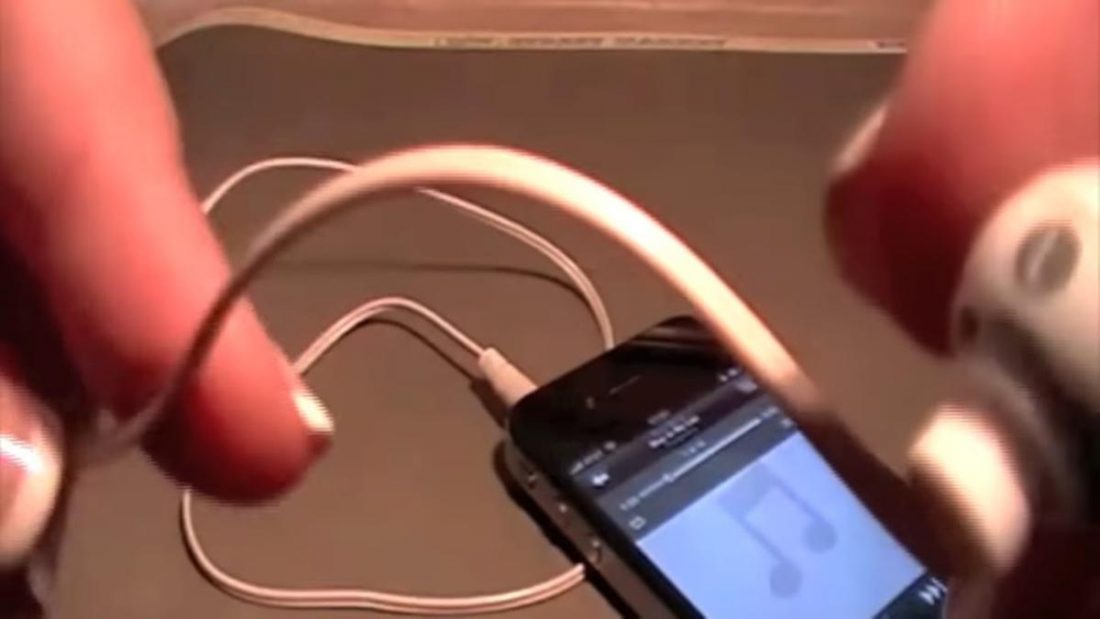
- Insert your headphones or earphones into your phone or musical device and play some music.
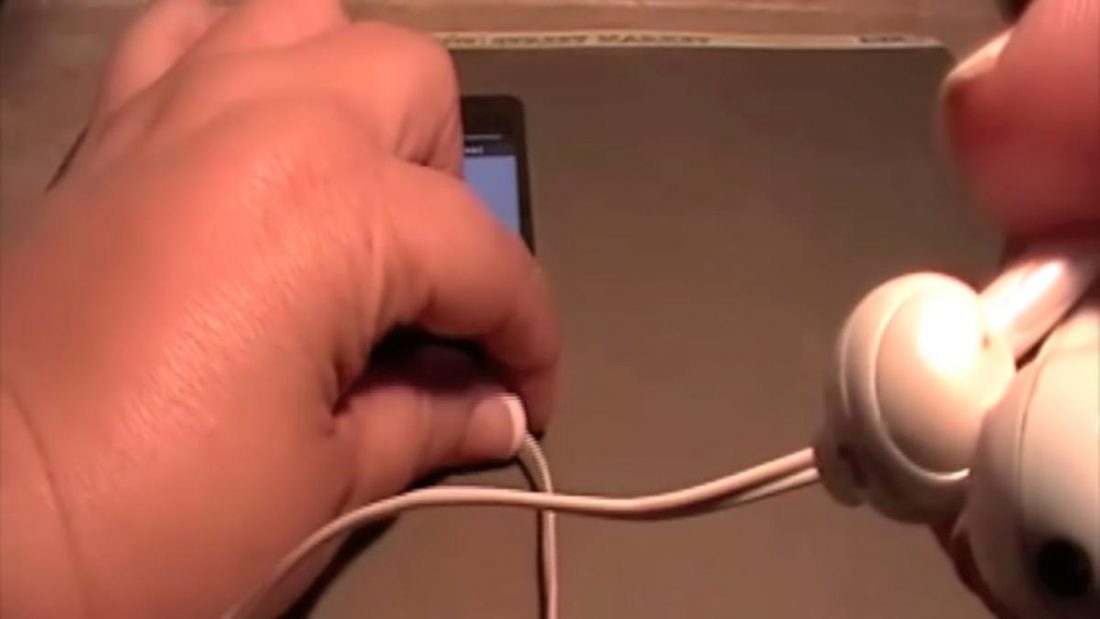
Connecting earphones to iPhone and playing music (From: Sandy Lareau/YouTube) - Hold a part of the wire near the earpiece and bend or jiggle it.
Grabbing and jiggling the earphone wire (From: Sandy Lareau /YouTube) - Make your way to the other end of the wire and jiggle every inch until you hear the headphone sound gets cut out. Do this repeatedly until you’ve isolated the broken parts of the wire. Keep in mind that a slight change in music quality can also be an indicator.
Checking the ends of earphone for short circuit (From: Sandy Lareau/YouTube)
Fix shorted out headphones without tools
Now, let’s get fixing!
The first option on how to fix a short in headphones is the easy method. Believe it or not, you can actually fix a faulty wire with simply a good old electrical duct tape. Here’s how:
- Hold, twist, and turn the broken part of your headphone wire until it reaches a certain position where you can hear sound through the earpiece properly again. Clamp it with your fingers.
Identifying cause of short circuit (From: Mj Crafts Point/YouTube) - Wrap the area with electrical duct tape. Doing this will allow the cables to get compressed enough, ultimately keeping the right wires touching again.
Applying electrical tape to earphone wire (From: Mj Crafts Point/YouTube)
Fix shorted out headphones through wire repair
If the non-tool method does not work, then you might need to go for the more complicated way of how to fix a short in headphones. This involves splitting up your headphone wire, removing the broken piece, and joining the remaining wires back again.
Sounds complicated? Follow the following steps and everything should turn out well:
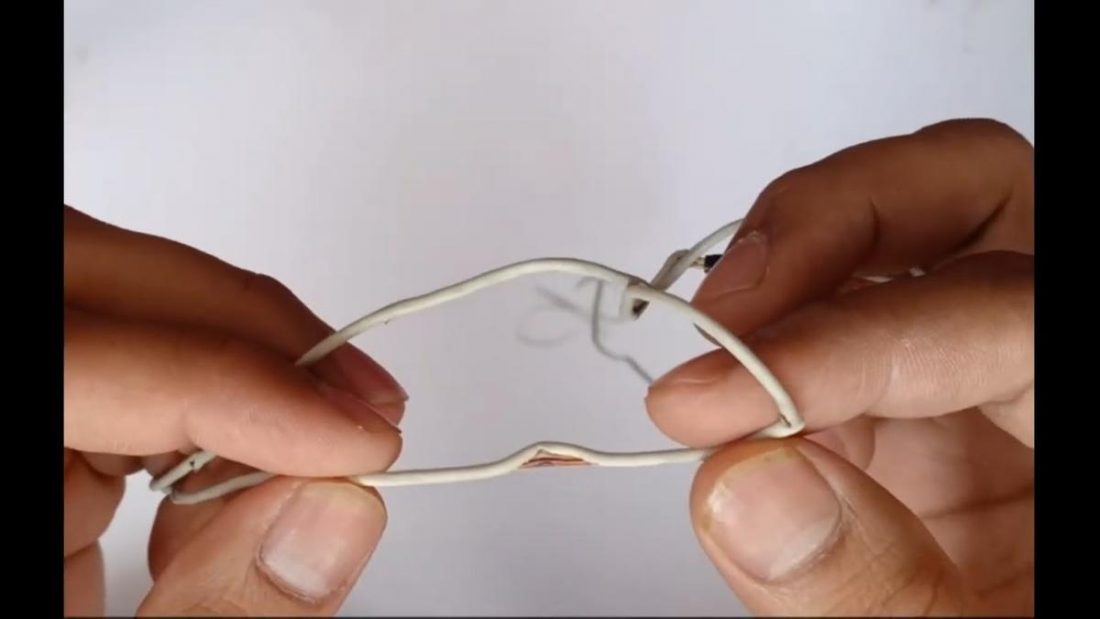
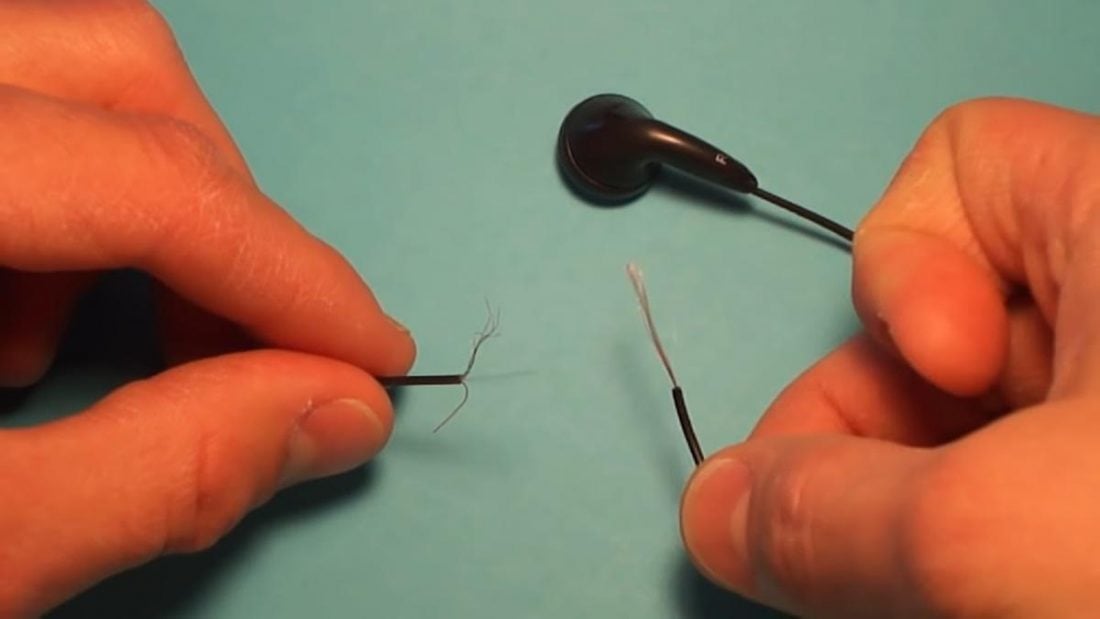
- Identify the broken area of the wire and strip off the insulation carefully to fully expose the wiring. Cut off the bad portion after this.
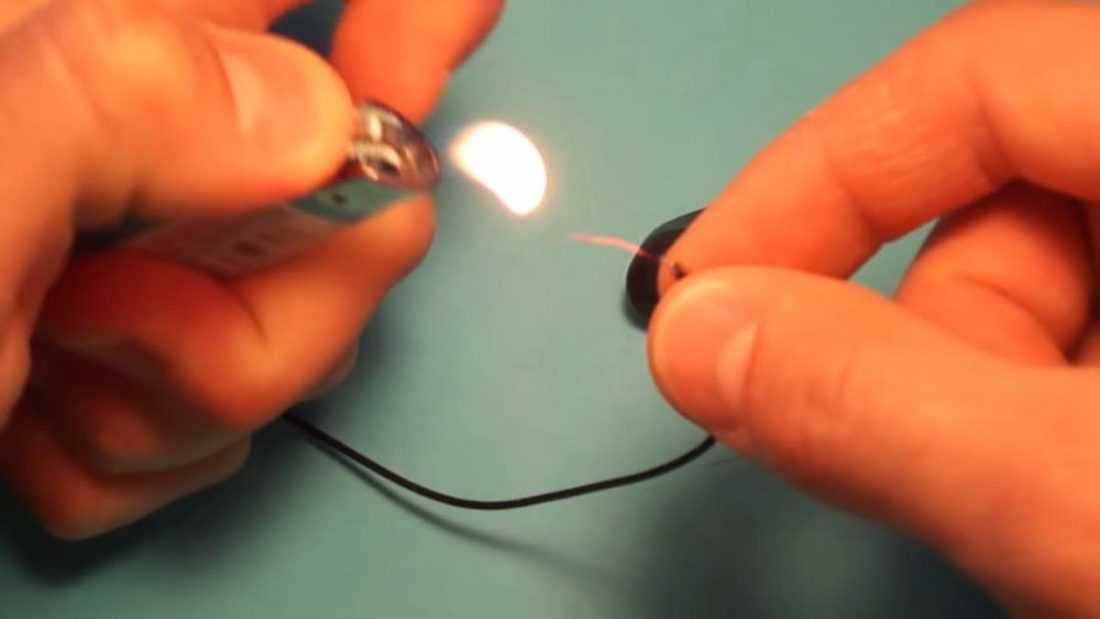
Earphone wire split into two (From: RichsMethods/YouTube) - Burn off the colored enamel coating using a lighter to expose the copper wiring. The enamel coating will burn off first before doing any damage to the copper so don’t be afraid. However, try to move the fire around just to make sure that you’re burning off the enamel evenly.
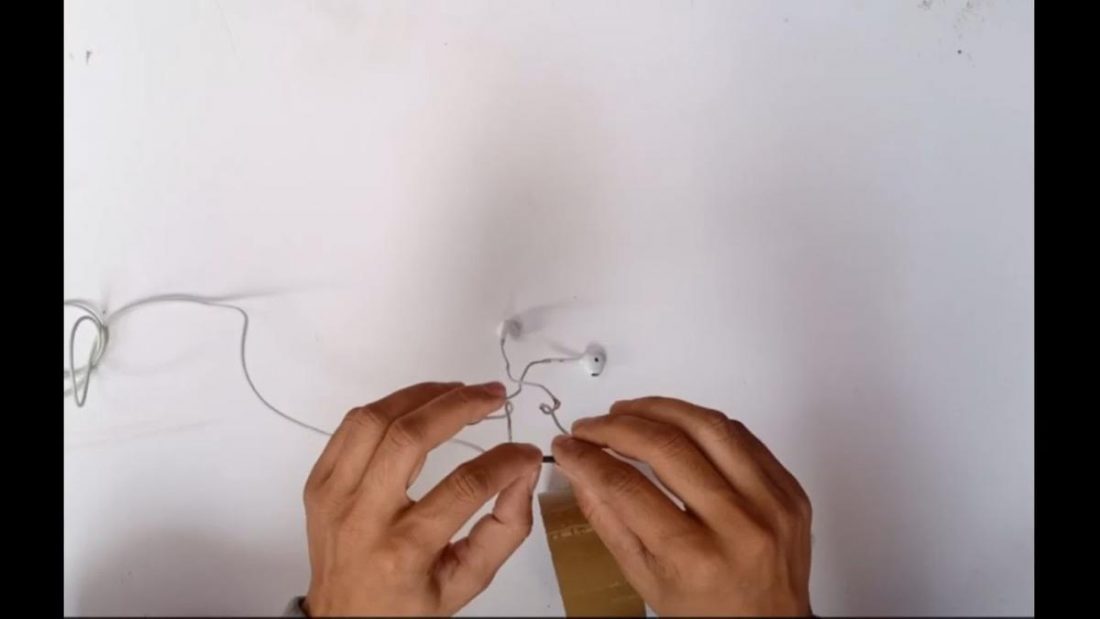
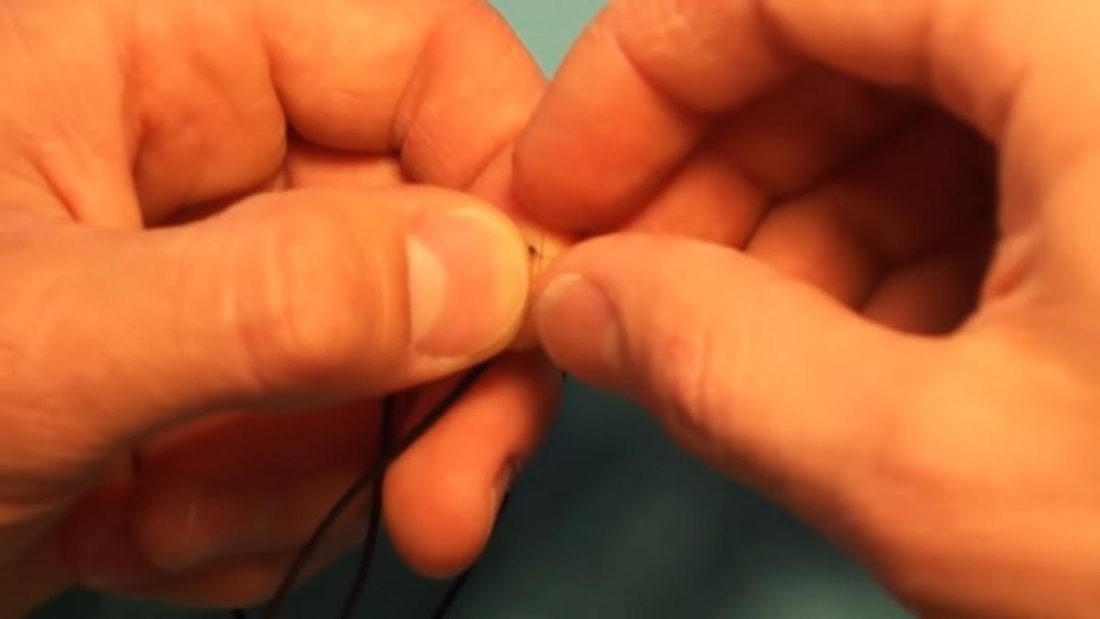
Burning off enamel from earphone wiring (From: RichsMethods/YouTube) - Join the wires again by pinching the copper wires and then rolling and twisting them until they’re intact. Make sure that you’re joining together the copper wires with the same enamel coating color.
Twisting earphone copper wires together (From: RichsMethods/YouTube) - Wrap it all up with electrical duct tape. If you have a soldering iron, soldering the wires together before wrapping it all up will make this more durable.
Fixed earphone wiring covered in electrical tape (From: RichsMethods/YouTube) Alternatively, you can also make use of more advanced headphone wire sealants like heat-shrink tubings or Sugru. Visit our guide on how to fix headphone wires for more details.

How to Prevent Headphones From Shorting Out
As the old saying goes, prevention always is better than the cure and the same goes for headphone shorts. Although headphones and shorts seem inevitable, avoiding them is not an impossible task.
Shorts in headphones usually happen when the wire gets stressed or bent. Making your headphones last longer is easy when you know the right things and you follow the tips.
Don’t coil the headphones too tight
Coiling is a habit that we do when keeping our headphones. It is a fast way to cram organizing any wire but we seem to forget that some wires are much more delicate than others.
As compared to coiling thick wires such as USB cables, coiling headphone wires require a little more care. If you coil it too tight, it’s not impossible to unintentionally pull apart the wires inside.
Pull the plug, not the cable
You might have heard this reminder already once or twice when your parents were teaching you how to plug out your new microwave. Well, the same reminder and principle apply to headphone cables.
When removing the headphone cord from your phone or any device, be sure to hold the plug and not the cable. The juncture between the wire and the plus is very sensitive and vulnerable so pulling the cable increases tension in the area.
Doing this can also prevent other physical issues in the headphones such as a loose headphone jack or a bent plug.
Turn down the volume before plugging or unplugging
Now this one has a lot to do with the electrical signals being sent from your device to your headphones. Always keep in mind that electricity is flowing through those wires and plugging in or out suddenly without any regards to the volume can literally shock your speakers.
Although a lot of phones today have this function embedded in their programs already, just be sure to turn down the volume when plugging or unplugging your headphones. This should give your devices a smooth connection that will lessen long-term damage.
Conclusion
And that’s how to fix a short in headphones. Although it can get messy and challenging, nothing’s more rewarding than actually succeeding in something you’re doing for the first time. A lot of us have built a strong connection with our headphones already so fixing them with your own hands definitely is one of the best feelings out there.
For other headphone problems, check out our article on how to fix broken headphones. Yet, if all else fails, it might be time to replace your old headphones with a new pair. If you’re having trouble letting go, we’ve come up with different ideas on what you can do with your broken headphones.
Do you have any personal tips or suggestions when it comes to fixing a short in headphones? Tell us more!