
DIY hacks to get your bent headphone plug back in shape without going to the repair center, and learn how to keep them that way.
Headphone jacks are one of the most essential parts of any pair of headphones but it’s also one of the most fragile. And even a slight misalignment can ruin the whole headphones you so loved.
Bent headphone jacks are more common than you think. We’ve all once tried fixing it by forcefully tucking, pulling, or bending the wires in all ways just to get the sound quality we used to enjoy. All to exhale frustrations when we realize we caused more damage than cure.
Worry not! This article is here to save you from all of that by providing the top ways to fix a headphone jack, and a bonus section on how you can prevent it from bending again.
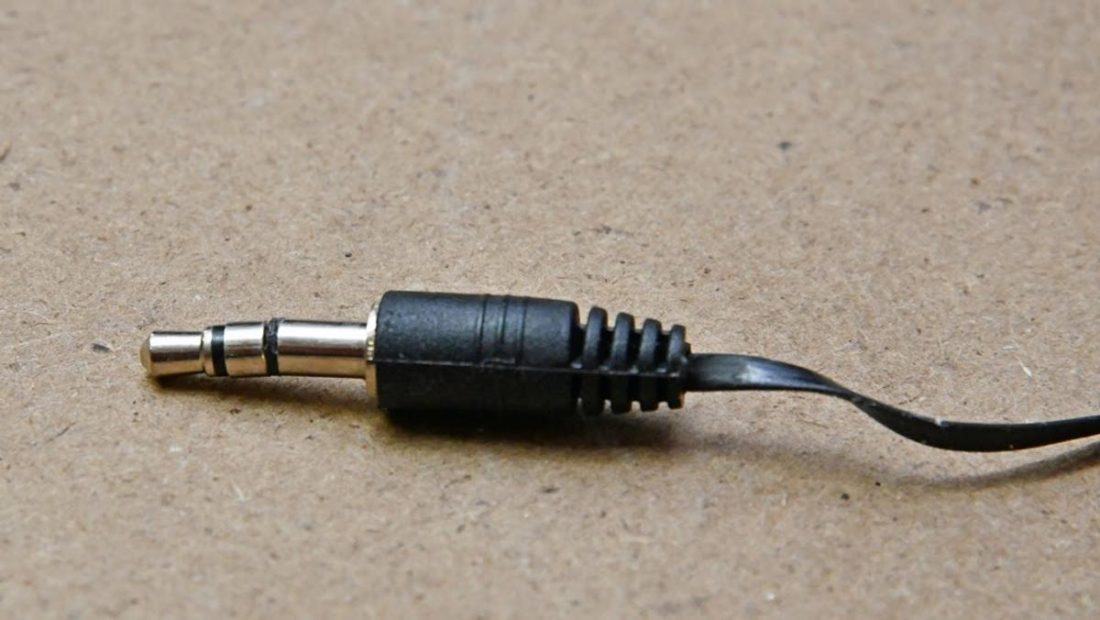
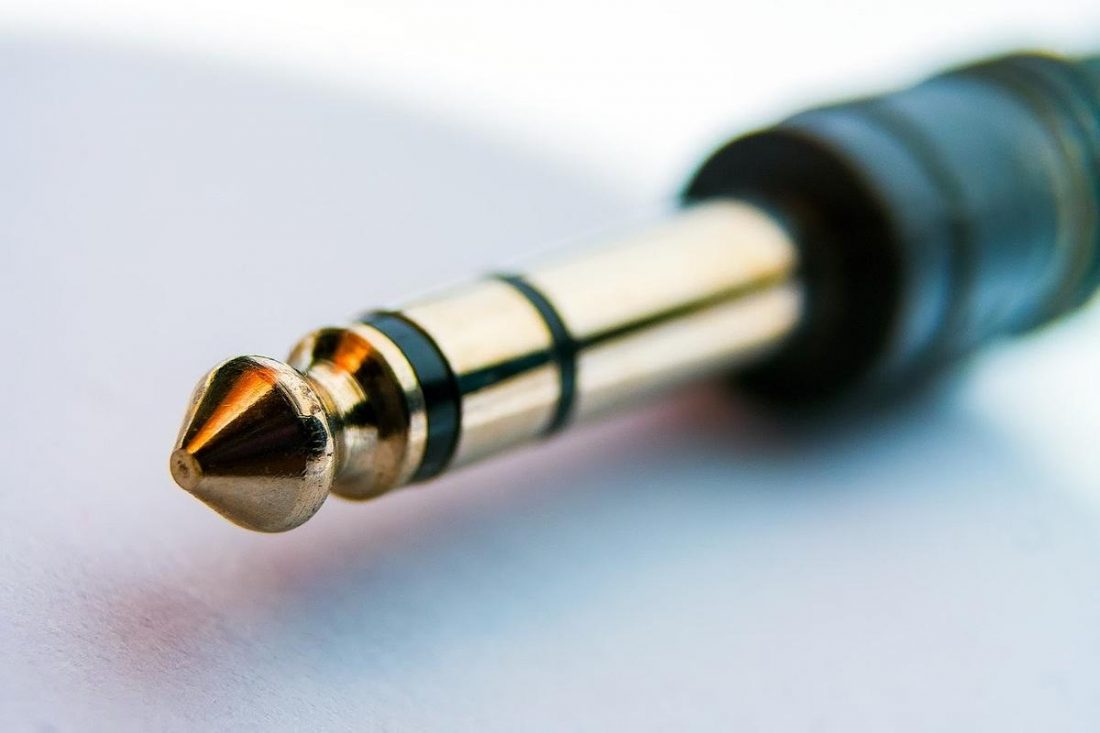
In general, male connectors are called plugs, which are inserted into the female connectors, called jacks. So when we’re talking about a bent headphone jack, we’re actually referring to a bent headphone plug.
Common Problems with a Bent Headphone Plug
A bent headphone plug may not seem like a big deal until it starts causing problems you didn’t anticipate.
There are a few things that can happen, even with a plug that’s only ever so slightly bent, such as:
- A loose headphone jack – A bent headphone plug doesn’t fit well inside the jack, causing it to unintentionally slip off no matter how much you try to keep it in. You can read more about fixing loose headphones jack here.
- Stereo mode problems – A bend in the plug can interfere with the wires inside. This can cause stereo mode problems where only one side of the headphones is working.
- Static sounds – Sometimes, you may not have issues with only one side being able to play, but you may hear static from either or both sides whether you’re listening to audio or not.
- Low volume – No matter how much you change the settings on your device, your headphones still play at a low volume.
How to Fix a Bent Headphone Jack
Fixing a bent headphone plug takes a bit of a DIY experience.
If you’ve never fixed electronics before, it’s best to take your headphones to an authorized repair shop.
If you have cheap headphones you don’t really care for, the better alternative is to buy a good pair of high-quality headphones. Just make sure to do the proper headphones disposal if you decide to simply replace your old headphones.
But if you insist on fixing your headphones yourself, keep in mind that doing your own repairs always comes with the risk of damaging your electronics. You also void any existing warranty so you’re no longer qualified for repairs or replacements in the future.
There are two methods of fixing a bent headphone plug, one invasive and another less so. Both run the risk of damaging your headphones but are valuable to learn if you plan on fixing your own electronics in the future.
Straighten it out
This method requires a few simple tools you may already have at home.
It’s important to be very careful if you’re going to straighten a headphone plug. If you push or pull even just a little too much, you can make the problem worse than it is.
What you’ll need:
- Two pairs of thin pliers
- Straight ruler
How to straighten a bent headphone plug:
- Take two thin pliers. Use one to hold the tip of the plug and the other for the ring or the middle section.
- Bend the plug back using a firm but gentle force.
- Check against a straight ruler to make sure the plug has straightened. If not, keep applying a gentle force until you have the desired result.
Replace the bent headphone plug
If straightening it out doesn’t work, the other solution is to replace the plug.
For those who don’t know how to use a soldering iron, it’s best to have this done by a pro. Otherwise, here are the steps for replacing a bent headphone plug yourself.
What you’ll need:
- New stereo 3.5mm plug
- Soldering iron
- Solder
- Heat shrink
- Small damp sponge or cloth
- Wirecutter or scissors
- Wire stripper or a small, sharp knife
- Helping hands tool
How to replace a bent headphone plug:
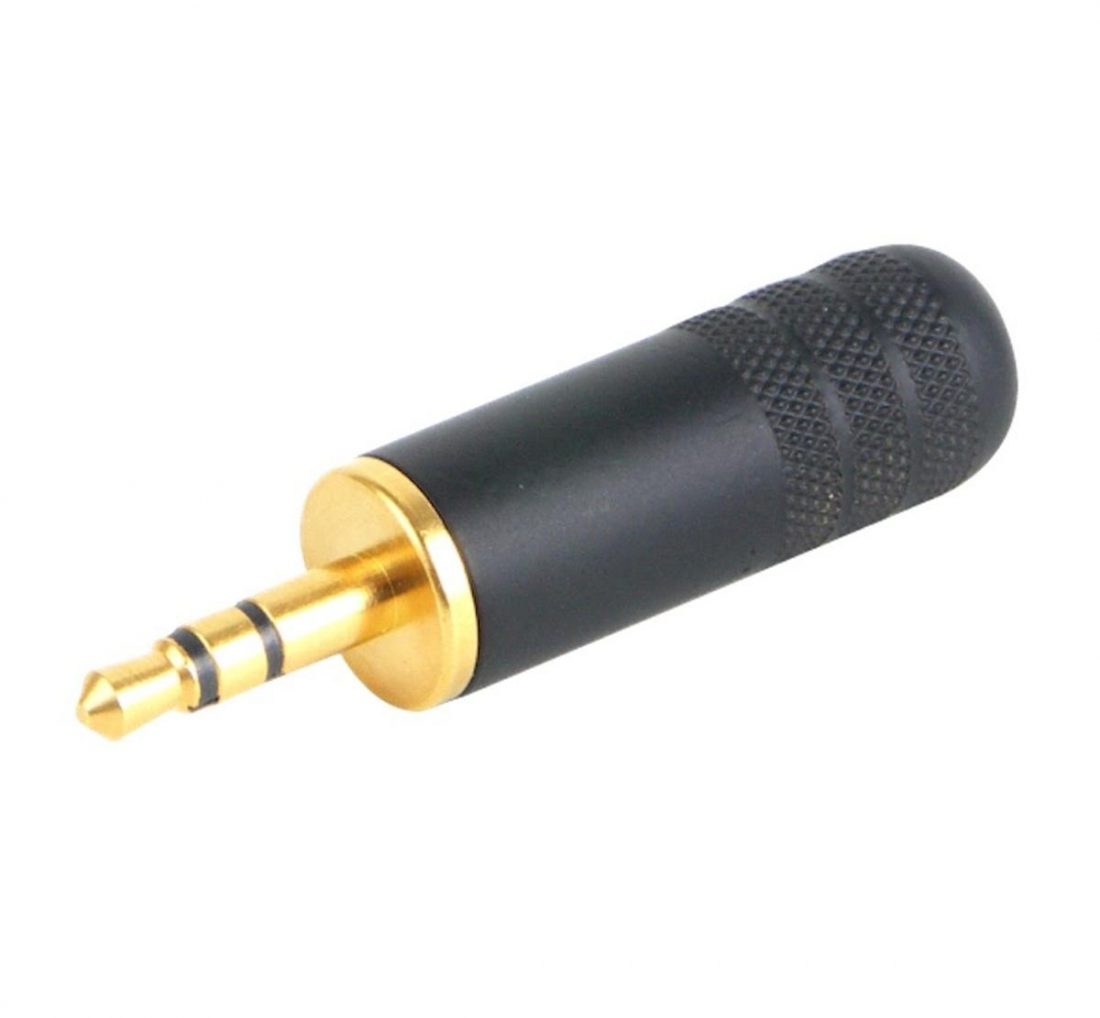
- Buy a new 3.5-mm headphone plug. There are plenty of brands out there, but we recommend Neutrik or Switchcraft.

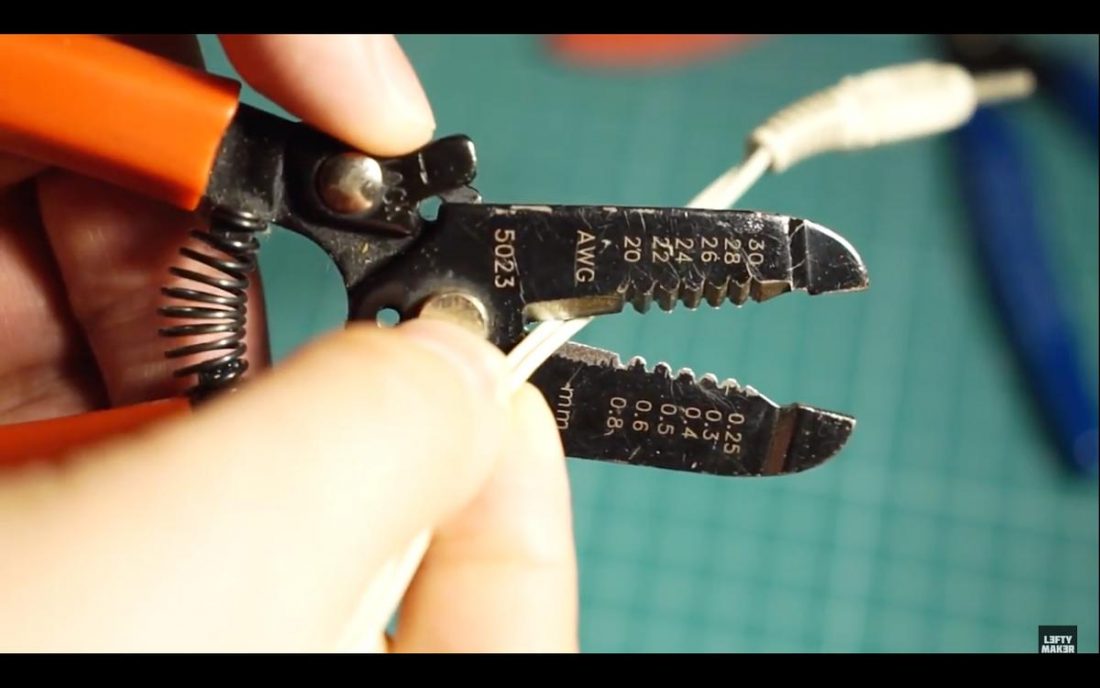
This is a 3.5-mm straight plug from Switchcraft (From Switchcraft.com) - Use a wirecutter to cut off the plug from the cable. You can also use a pair of scissors if you don’t have a wire cutter lying around.

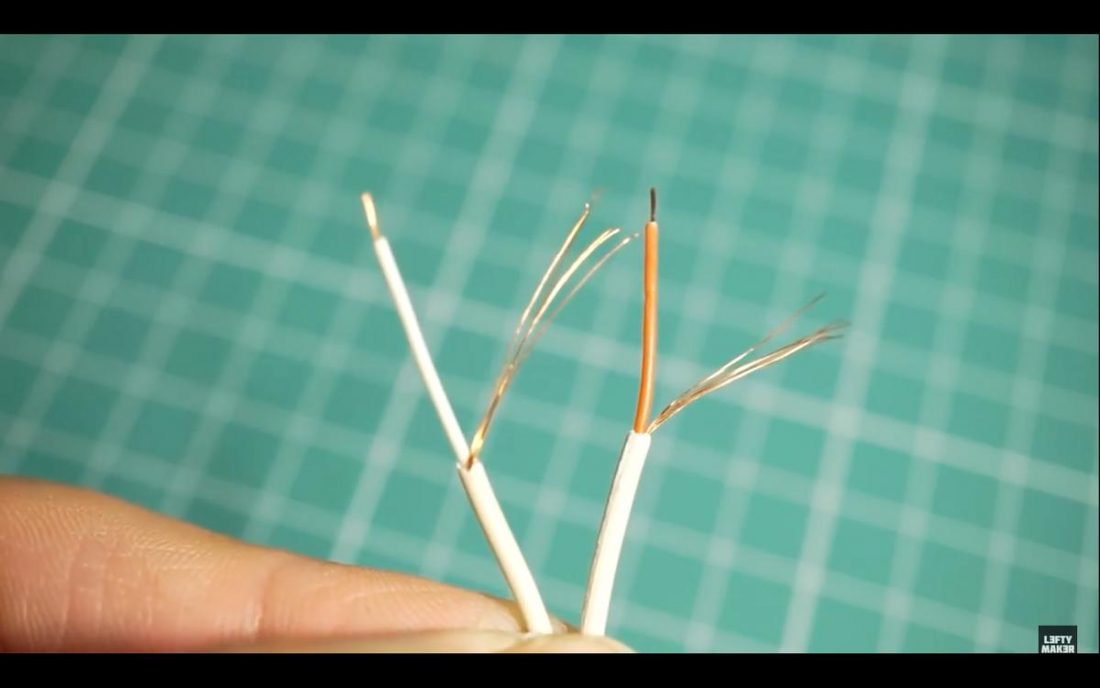
Cut the bent plug off with a wirecutter (From Youtube.com/LeftyMaker) - Using a wire stripper or a small, sharp knife, remove the cable’s outer jacket about an inch from the tip. Some cables have an enamel coating instead of a jacket. If that’s the case, expose the coating to an open flame for a few seconds. This will melt the enamel to reveal three separate wires.
- White – for the tip or the left channel (can also be blue or green)
- Red – for the ring or the right channel
- Bare – for ground (can also be black)
Removing the jacket reveals a white wire, a red wire, and bare wires for ground (From YouTube.com/LeftyMaker) - Turn on the soldering iron and allow it to get hot. Once it’s ready, take some solder and apply it to the ends of the wires. This is called tinning the wires. If your headphones have two ground wires, wrap them around each other first before tinning. Use the damp cloth or sponge to wipe off tiny pieces of solder that may have collected on the iron. This prevents the headphones from short circuits when used.
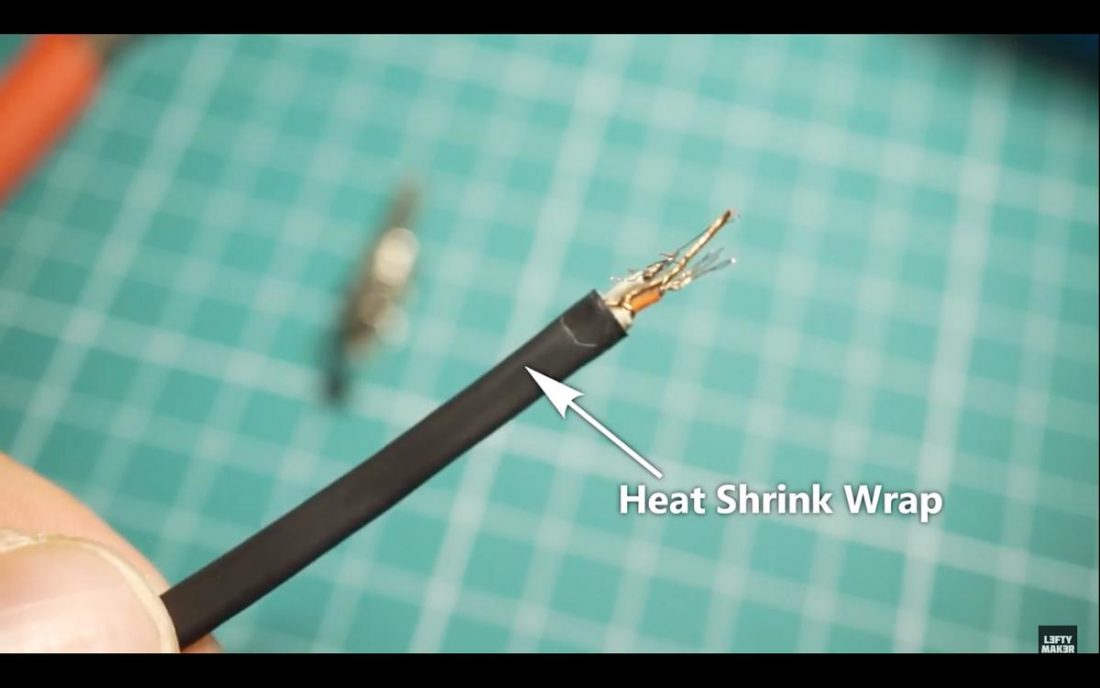
- Slip the heat shrink over the wires. This will provide insulation and protection. Alternatively, you can also use Sugru or electrical tape in securing the headphone wires.
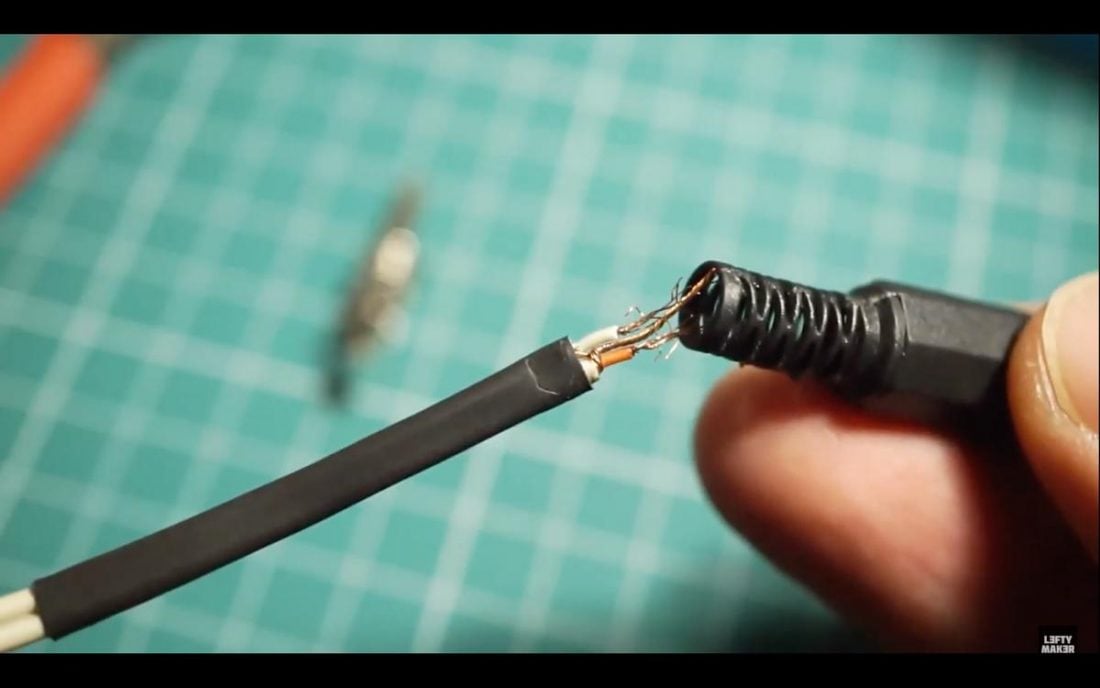
A heat shrink protects the wires (From Youtube.com/LeftyMaker) - Take the new plug and unscrew its casing. Insert the tinned wires into the casing, making sure the casing faces the right direction.
Insert the wires into the new plug’s casing (From Youtube.com/LeftyMaker) - Hold the new plug in place using a helping hand tool. This will make it easier to attach the wires to the plug.
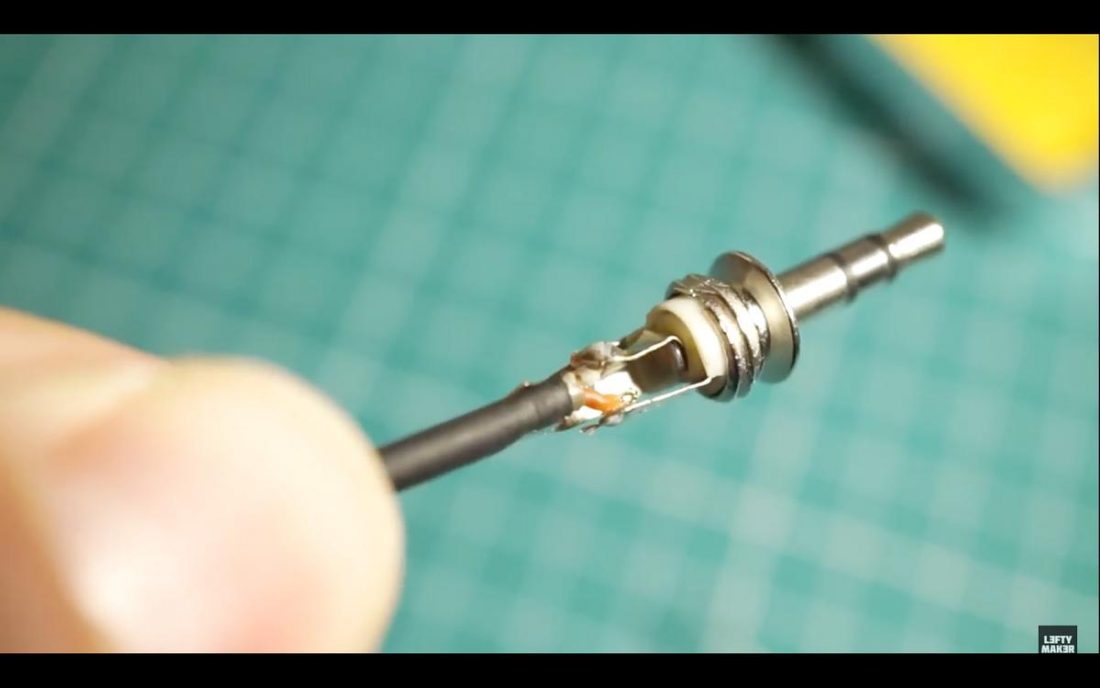
- Starting with the ground wire, insert the end of the wire into the contacts of the new plug. Follow with the left wire then the right wire. If they don’t fit, hold the wire in place for several seconds and allow the solder to cool.
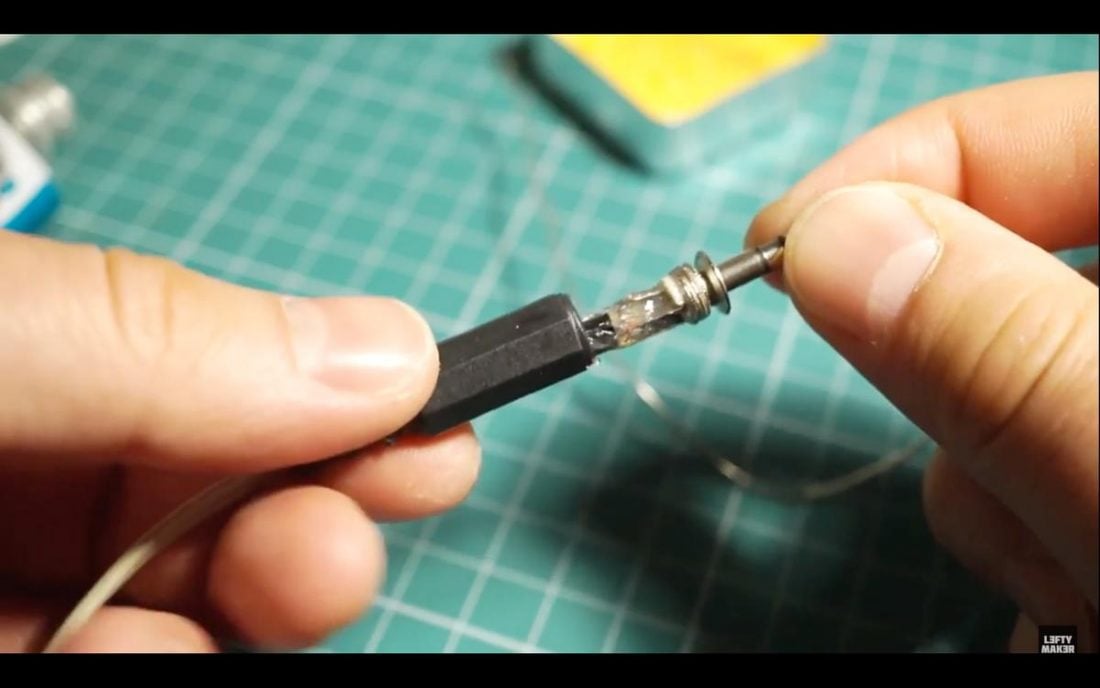
Connect the left channel to the tip and the right channel to the ring (From Youtube.com/LeftyMaker) - Pull the heat shrink casing over the wires and screw the casing into the plug.
Screw the casing back into the plug (From Youtube.com/LeftyMaker) - Test your new headphone plug. If it doesn’t work, you likely have the left and right wires mixed up. The solution is to de-solder the wires by touching the soldering iron to the connections. The wires will come off easily so you can solder them in their proper places.
How to Avoid Bending Your Headphone Plug
The easiest way to fix a bent headphone plug is to prevent it from bending in the first place.
Keeping your headphones in good shape may seem like a no-brainer, but you’ll be surprised to find that many of the things people do with their headphones are actually causing a lot of damage.
Here are a few things you need to remember when handling your headphones.
- Pull the plug, not the cable
- Remove your headphones from the jack when not in use
- Untangle the cables
- Buy headphones with a right-angle plug
Pull the plug, not the cable
Pulling on the cable creates unnecessary stress on the plug, making the plug more prone to breaking. To remove headphones from the jack, grip the plug with your thumb and index finger then pull gently but firmly.
Remove your headphones from the jack when not in use

Keeping your headphones plugged is an easy way to get into accidents that could’ve been avoided. You can get caught in the cable and accidentally yank the headphones off, or hit the plug against something solid while plugged in, which is one of the main reasons why headphone plugs get bent in the first place.
Untangle the cables
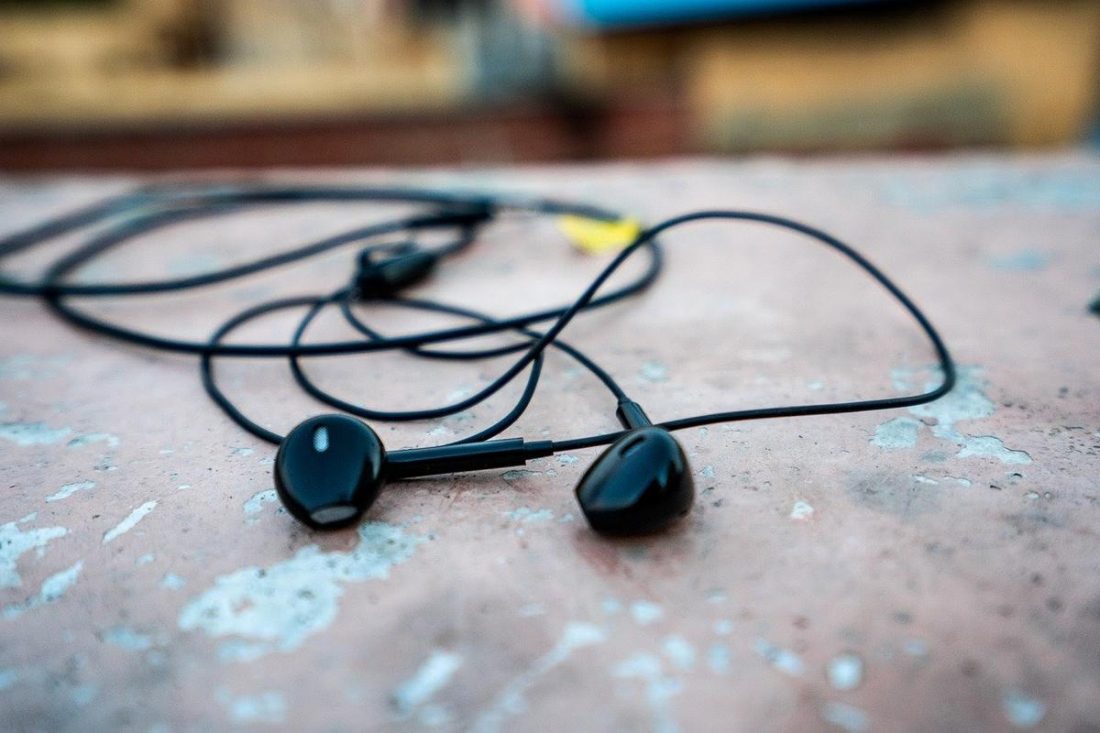
Tangled headphones can cause damage to the internal wires. You need to untangle your headphones to prevent split wires and even bent plugs. Use binder clips or dedicated storage boxes to keep your headphone cables organized.
Buy headphones with a right-angle plug

Headphones with a right-angle plug are designed to keep them from being pulled off accidentally.
It’s hard to yank off the cable if your headphones have this kind of plug. You need a good, firm hold on the plug to remove it from the jack.
Conclusion
Using any of the two methods above, you can learn how to fix a bent headphone jack without heading off to the repair center.
Fixing damaged headphones can come with a learning curve. But in the end, you get to enjoy your favorite music, podcasts, and other media with high-quality, static-free sound with headphones that stay in place inside the audio jack.
Were you able to fix your headphone plug? What method did you use? Do you have extra tips and tricks to make it easier for others to fix their headphones? Let us know in the comments below.
I fixed the issue of the bent jack quite easily, I simply took an adjustable wrench and tightened it repeatedly around the jack, surprised i didn’t see this solution anywhere else. Putting the comment here for a safe way to do it.