Learn all about Apple’s Live Listen, including how to use it, what to do if it’s not working for you, and whether eavesdropping with AirPods is even legal.
Apple’s Live Listen feature is an accessibility feature that improves hearing and allows you to use your AirPods as hearing aids. The feature has been around for four years but have only recently received a fresh wave of attention, thanks to a viral TikTok video highlighting its interesting “snooping” capabilities.
However, as Live Listen isn’t one of Apple’s heavily-marketed features, finding and using it may not be immediately apparent to those keen on trying this feature. More importantly, with all this talk of “spying” with your AirPods, is the feature even legal to use?
Well, you’ve come to the right place. In this article, we’ll discuss Live Listen in detail for those curious about whether you can really spy with AirPods. Plus, explain the legalities surrounding the use of Live Listen. Let’s get into it!
What Is The ‘Live Listen’ Feature?

Live Listen launched in 2018 as part of Apple’s many hearing accessibility features. As such, its primary purpose is to help you hear voices and/or conversations in noisy settings. This makes it ideal for those with mild hearing impairments.
So, how does Live Listen work?
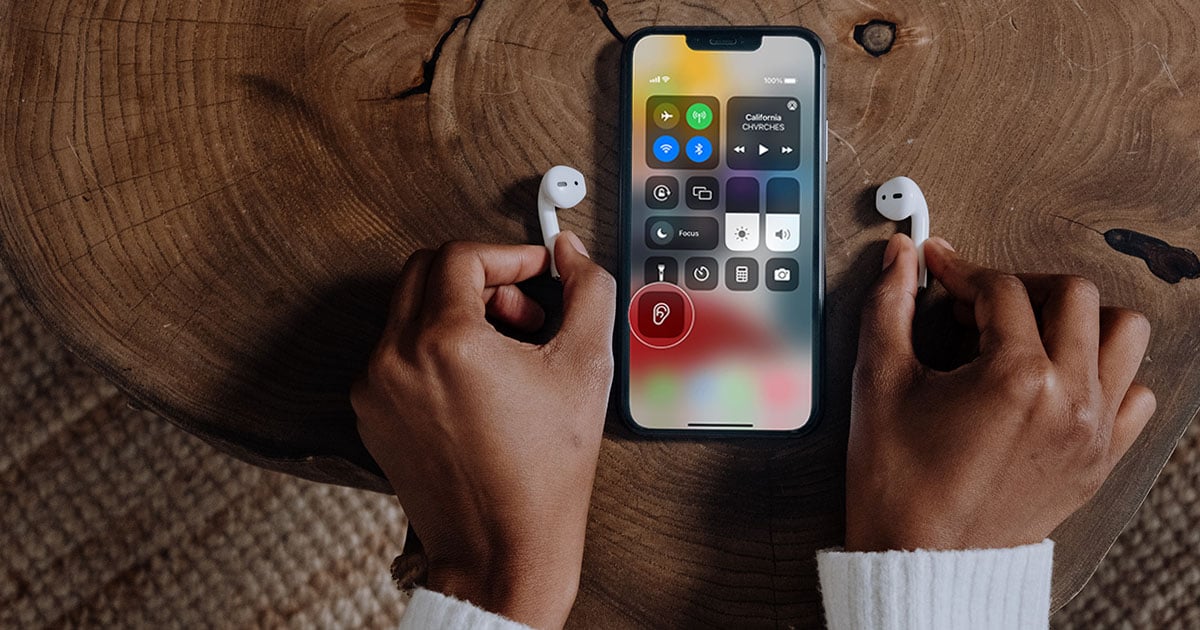
Live Listen basically turns your iOS device into a directional microphone. It picks up sounds coming directly at it and feeds them back to your earbuds or hearing aid via Bluetooth.
So, if you set your iOS device on a table with its mic facing someone, it boosts that person’s voice. The result? Significantly improved hearing, no matter where you are.
Another reason why Live Listen is so unique is that it works up to 15 meters away. This makes it ideal for large meetings and classroom lectures. It even works as an at-home baby monitor.
Live Listen is undoubtedly a welcome feature for those hard of hearing. However, given that you can practically leave your iPhone in a room and hear any conversation that happens nearby, it has also spurred discussions about how potentially damaging it can be if used as an eavesdropping tool.
How to Use Apple’s Live Listen Feature
Whether or not you intend to eavesdrop using your AirPods, the process for getting started with the Live Listen feature is quite simple. Just make sure to update your device’s iOS to the latest version, so it all goes smoothly.
Here’s how to use Live Listen:
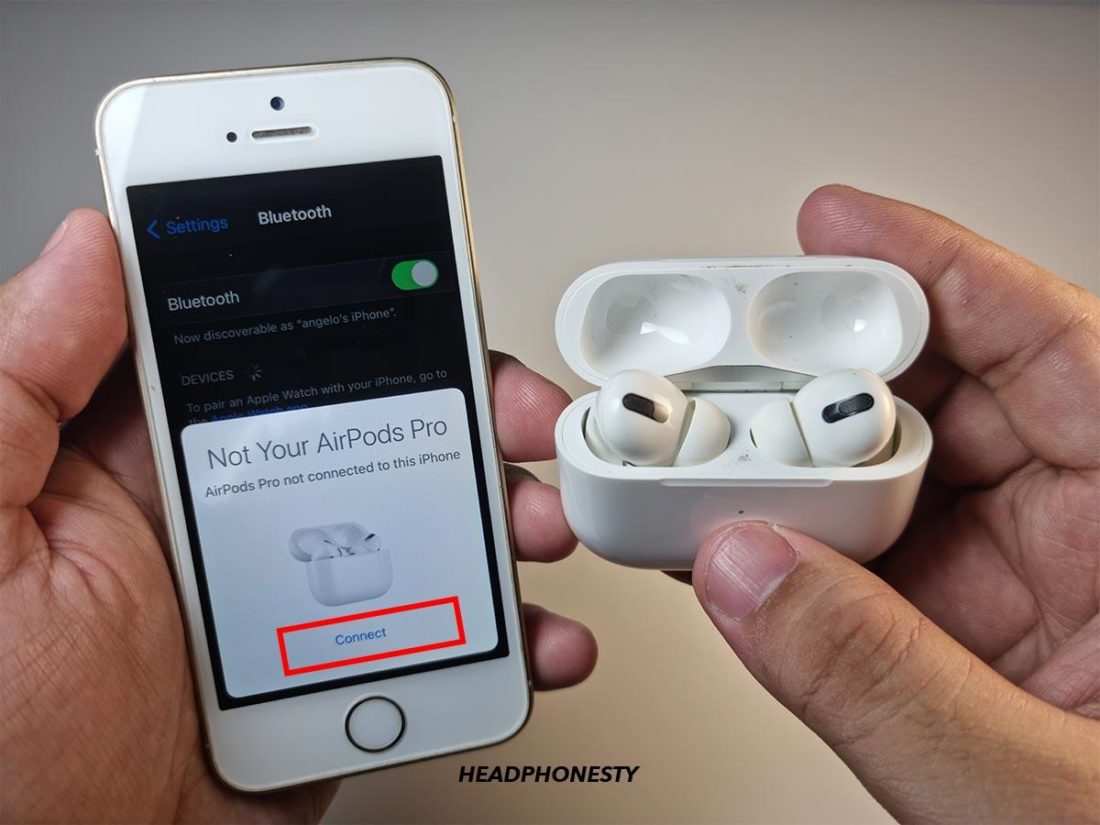
- Connect your AirPods, Beats, or hearing aid to your iOS device.

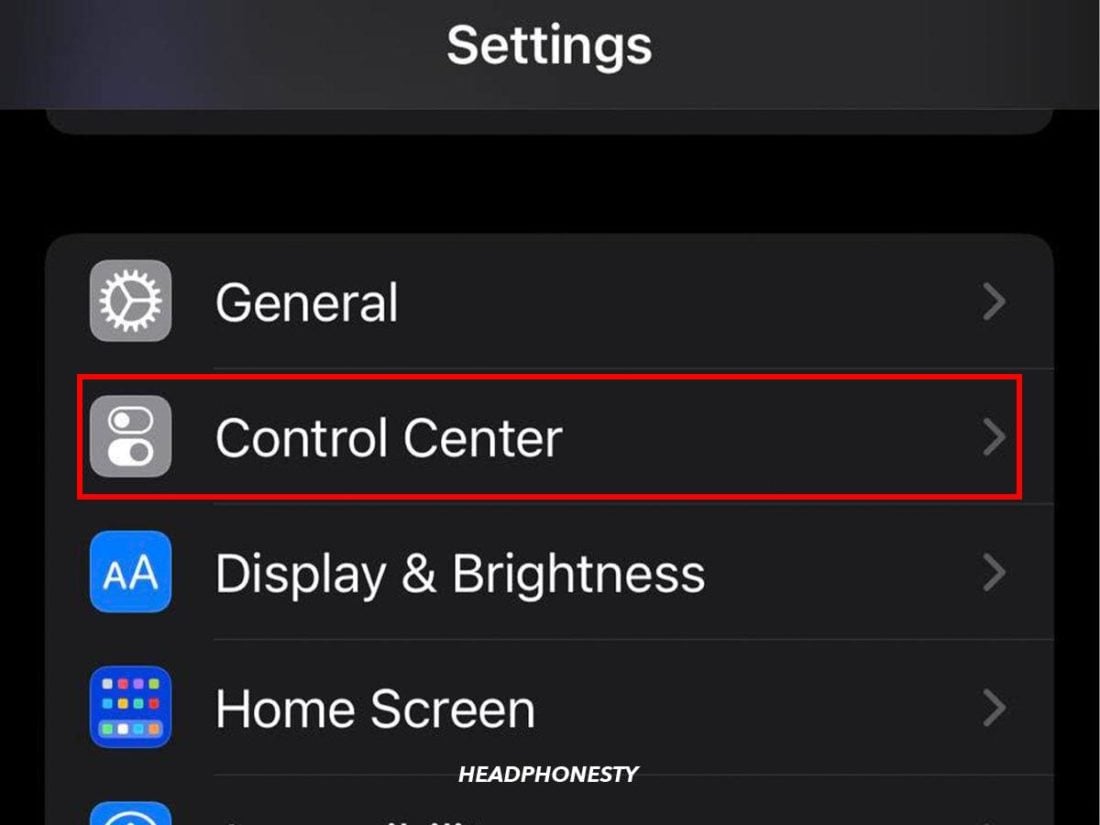
Toggle Bluetooth on and connect your AirPods, Beats, or MFi to your iPhone. - Go to Settings, then Control Center.
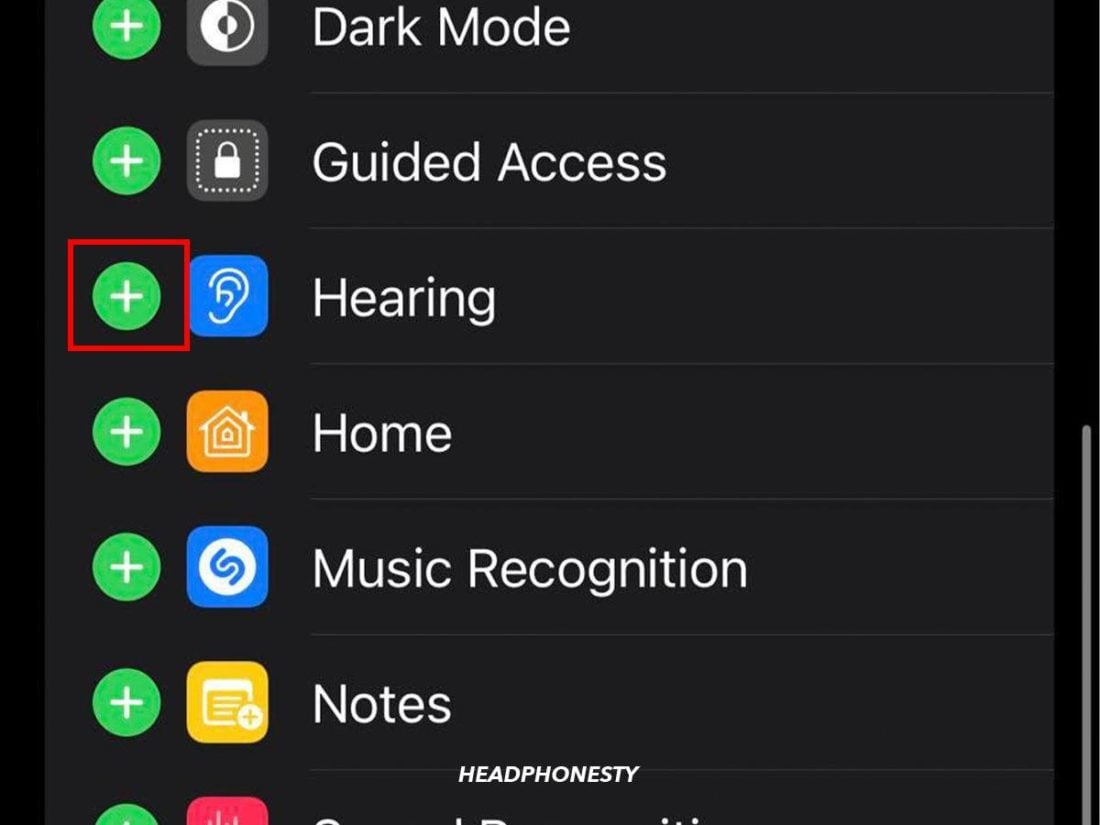
Under Settings, tap on Control Center. - Search for Hearing in the list and tap the green plus sign.
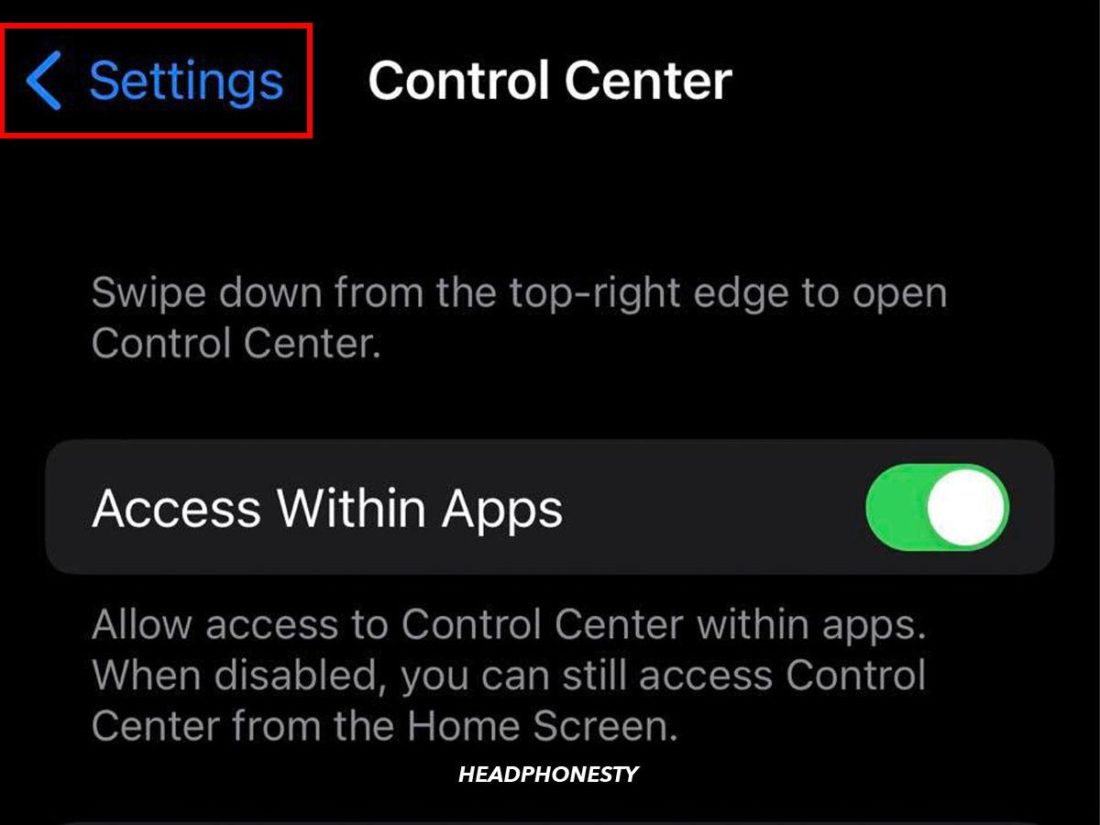
Tap on the green plus sign next to the “Hearing” option. - Tap “Settings” in the top left corner to save your changes.
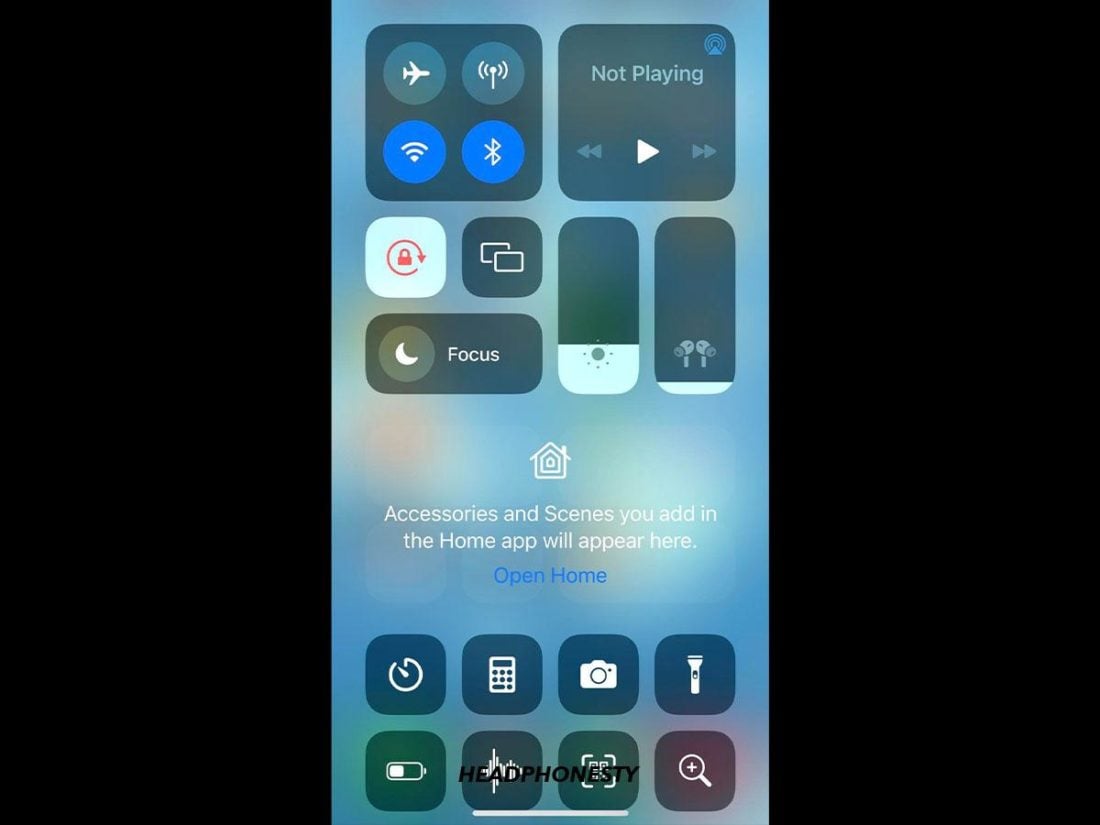
Turn on “Access Within Apps” - Open the Control Center by swiping down from the top-right corner of the screen.
Open the Control Center. Swipe down from the top-right of the screen or swipe up from the bottom, depending on the iPhone model you have. - Tap on the Hearing button.
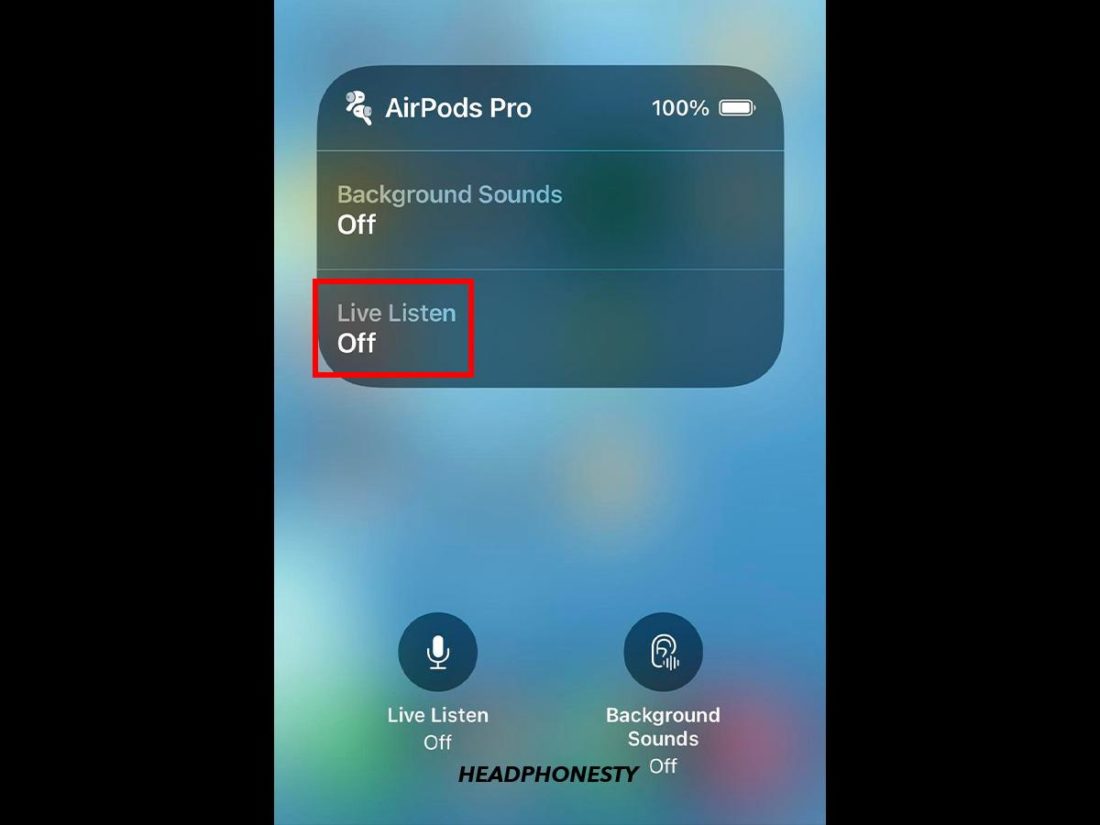
Click the “Hearing” icon. - Select Live Listen.
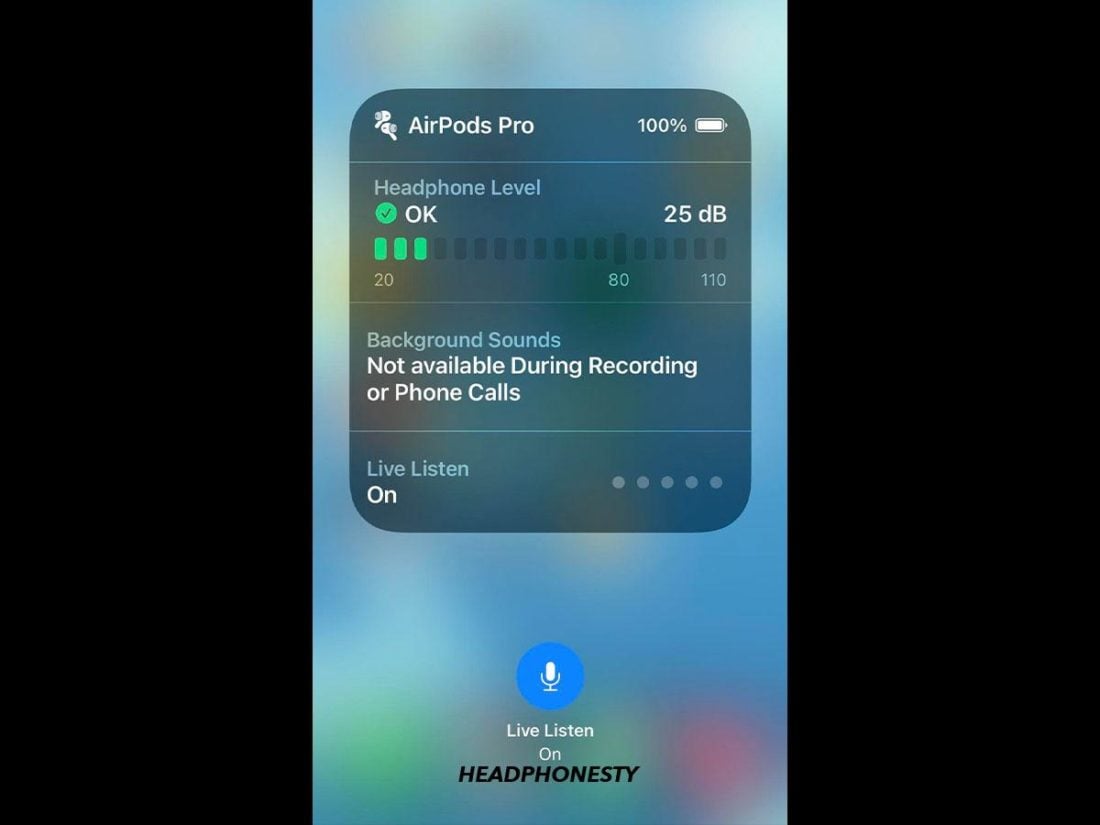
Tap on “Live Listen” to turn it on. - Position your iOS device near an audio source you want to hear.
Adjusting the volume to your liking.

Live Listen Feature Not Working: Problems & Solutions
If the Live Listen feature isn’t working on your iOS device, don’t worry. If the number of queries on the Apple Community site is anything to go by, this is somewhat of a common occurrence. The good news is that most of these causes are fixable, with little effort needed on your part.
Here are the top five solutions for Live Listen issues:
- Check the requirements
- Close background apps
- Enable Automatic Ear Detection
- Turn on Hearing Aid Compatibility
- Reset and reconnect your AirPods
Check the requirements
If your Live Listen feature isn’t working, your iOS device probably doesn’t meet the system requirements. That can happen in several ways:
- You’re using an incompatible device. Live Listen works with a specific selection of audio devices. This includes the AirPods (all generations), AirPods Pro, AirPods Max, Powerbeats Pro, Beats Fit Pro, and MFi hearing devices. You can check the Apple Support page for the compatibility ratings of MFi devices and how to pair them.
- The distance between your AirPods and phone is too far. As previously mentioned, the required operating range for Live Listen to work is 15 meters. If you go beyond that range, the feature either won’t function, or your AirPods’ audio will cut out. Physical materials like concrete, plaster, and metal can also cause audio interference and disrupt the signal.
- Your iOS device isn’t updated. iOS updates not only address security risks but also introduce new features and offer app support for existing ones. So, if Live Listen isn’t working, try updating your device to iOS or iPadOS 14.3 or later, which is the recommended minimum.
On that note, here’s a quick guide on how to update your device’s iOS:
- Go to Settings.
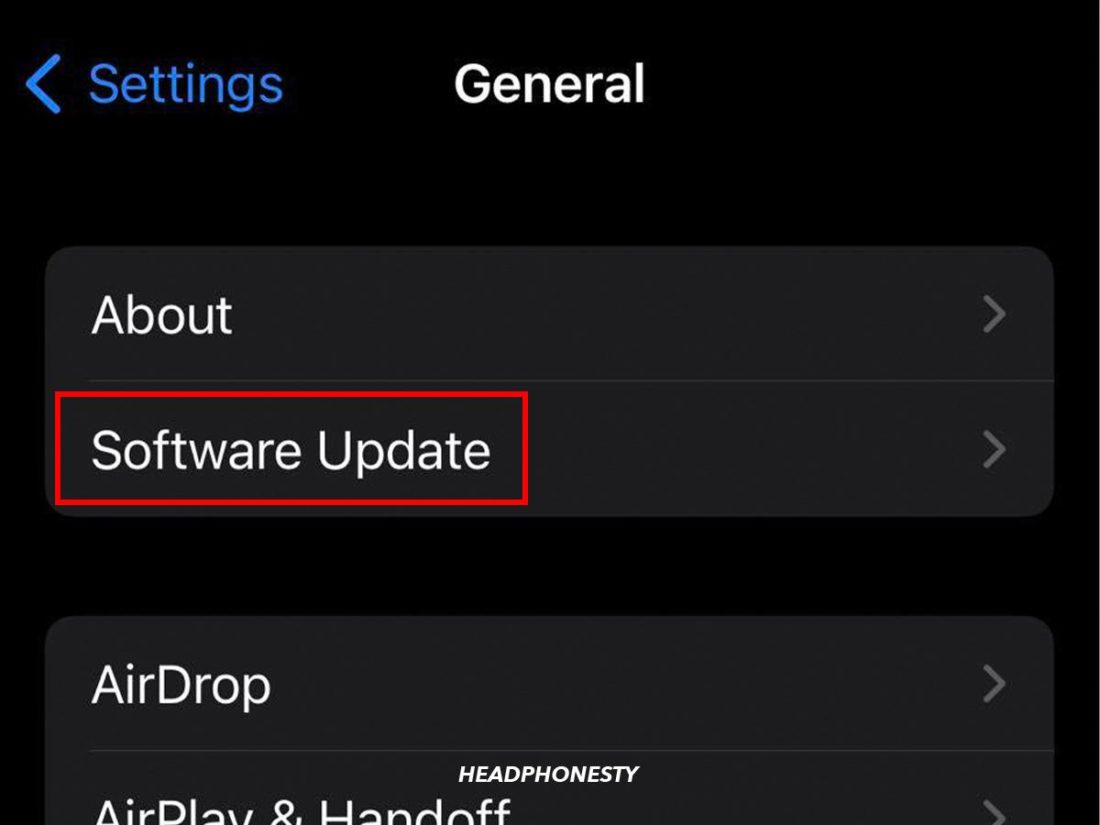
Click on Settings. - Select General, then Software Update.
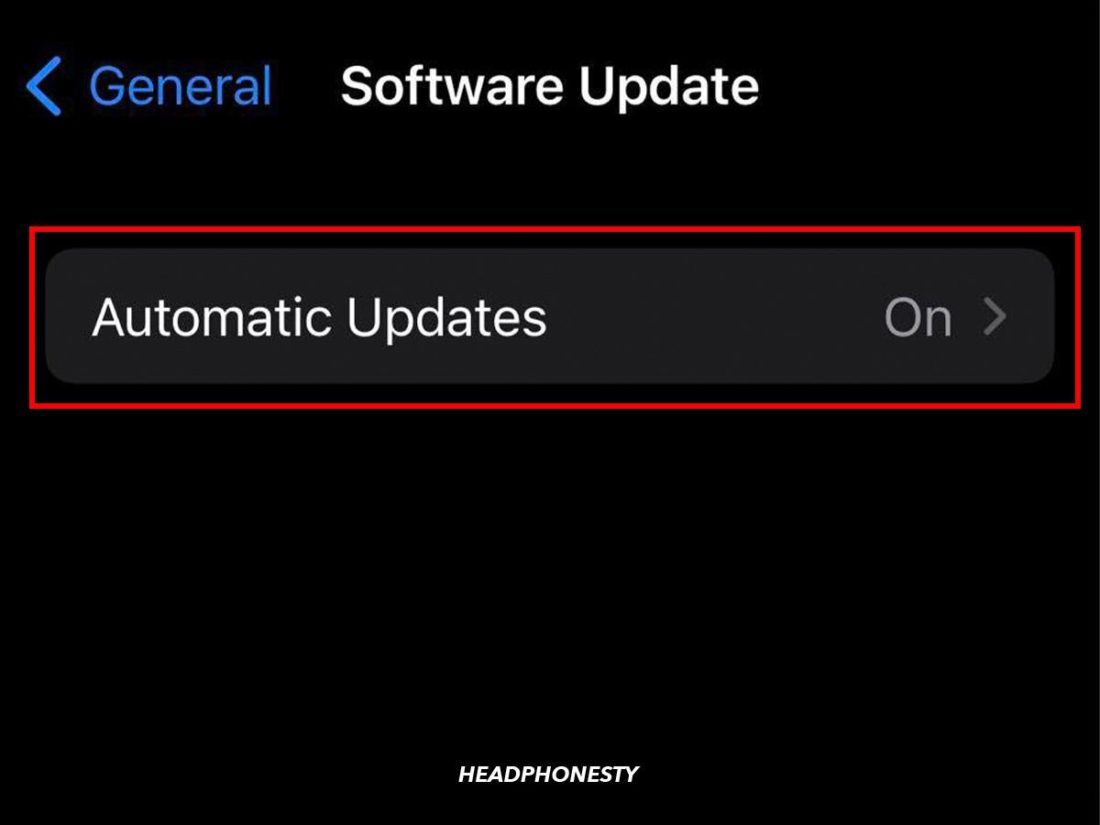
Tap on “Software Update” under Settings. - Make sure Automatic Updates are turned on.
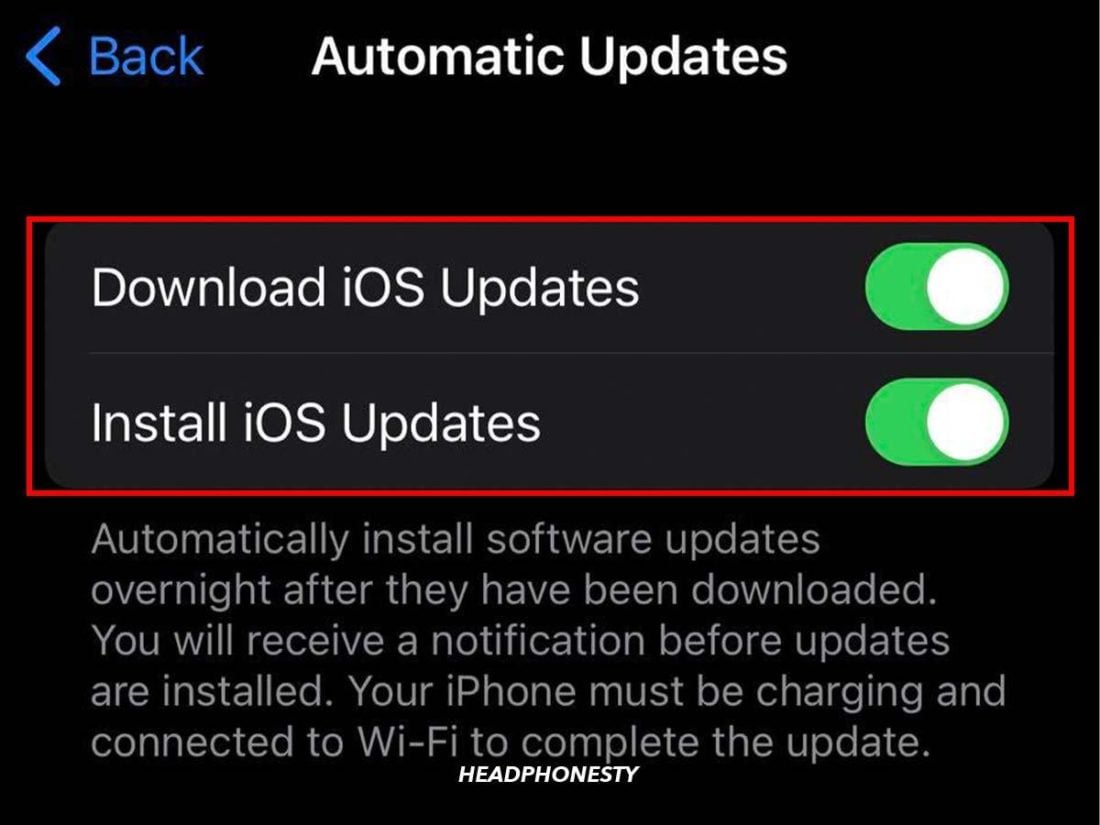
Make sure to turn on “Automatic Updates.” - Enable Download iOS/iPadOS Updates and Install iOS/iPadOS Updates.
Tap on both download and install iOS/iPadOS Updates to allow the device to be updated automatically. - If there’s an update available, it’ll appear under Automatic Updates.
- Select Download and Install, and you’re done.
Close background apps
If your iOS device is running multiple apps simultaneously, one of those apps may be preventing Live Listen from functioning properly. This could also be caused by other audio apps that require access to your device’s mic.
To fix this, force-close all background apps. Here’s how:
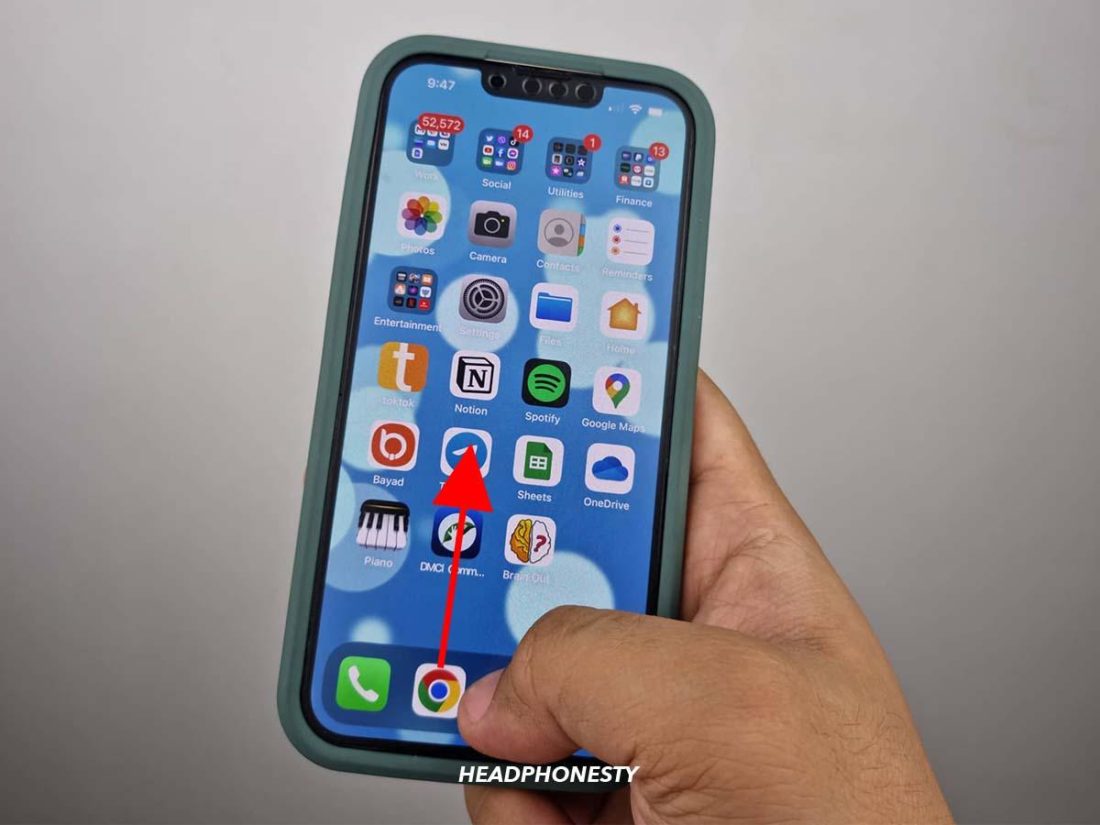
- Swipe up from the bottom to the middle portion of your iOS device’s screen.
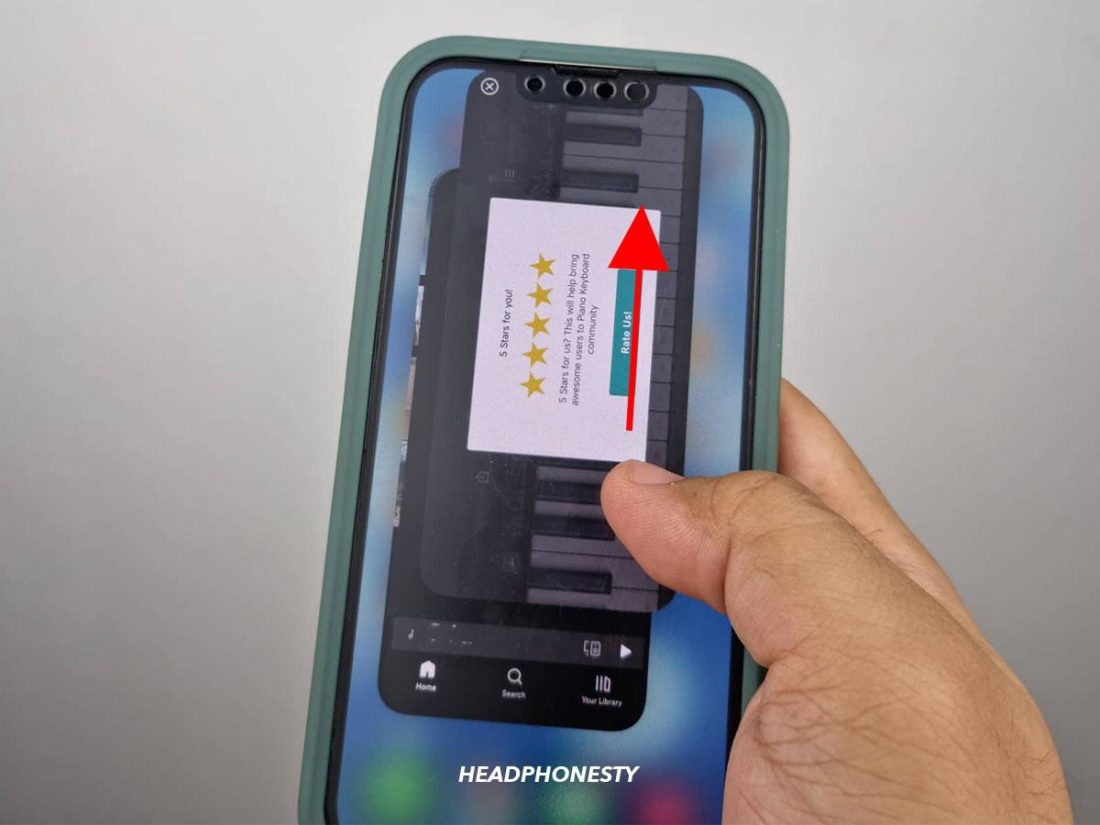
Swipe up from the bottom of your device’s screen to start closing all the apps in the background. - Swipe up on each app preview to close it. Do this until everything is closed.
Keep swiping up on each app preview till there are none left in the background.
Enable Automatic Ear Detection
Automatic Ear Detection uses infrared sensors in your AirPods to determine if you’re wearing them or not. This feature lets you pause or resume audio playback by simply removing or wearing your AirPods.
If you don’t have this feature turned on, it could make you more likely to encounter problems getting Live Listen to work. So, to ensure all your bases are covered, keep this feature enabled.
Here’s how to turn on Automatic Ear Detection:
- Make sure to connect your AirPods to your iOS device via Bluetooth.
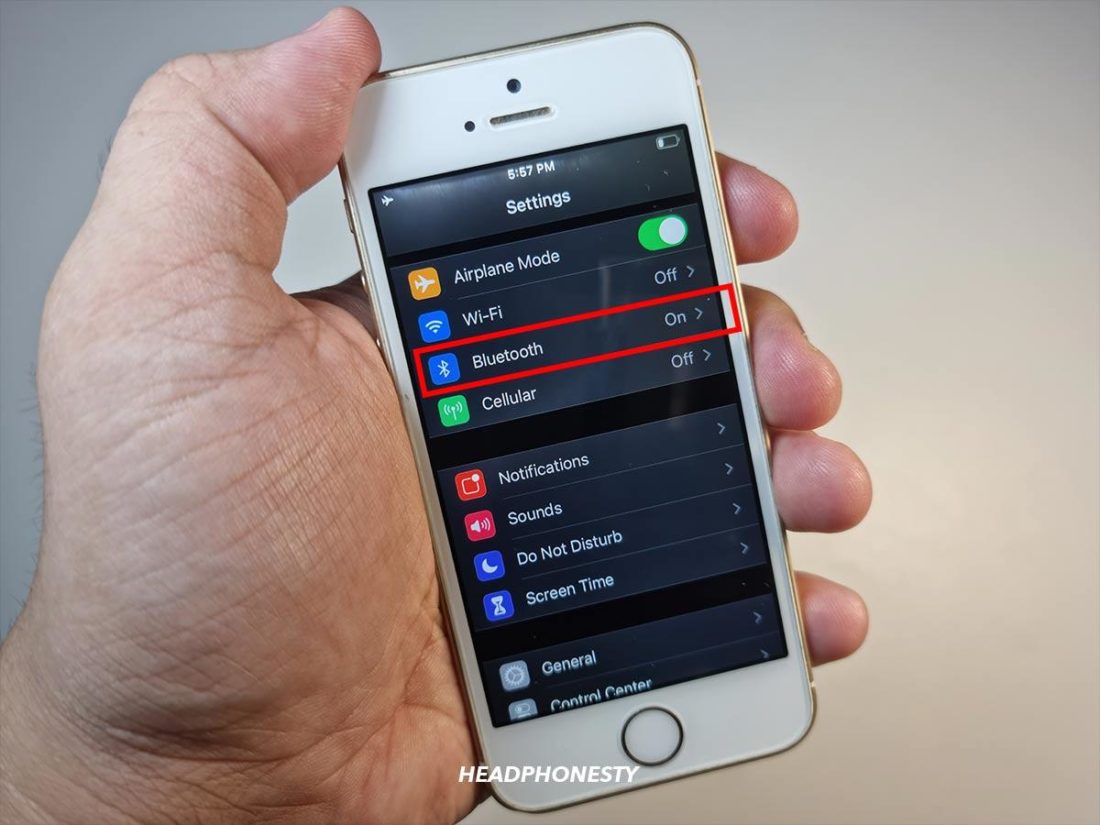
With your Bluetooth on, connect your AirPods to your iOS device. - Go to Settings.
Navigate directly to Settings. - Tap Bluetooth on the sidebar.
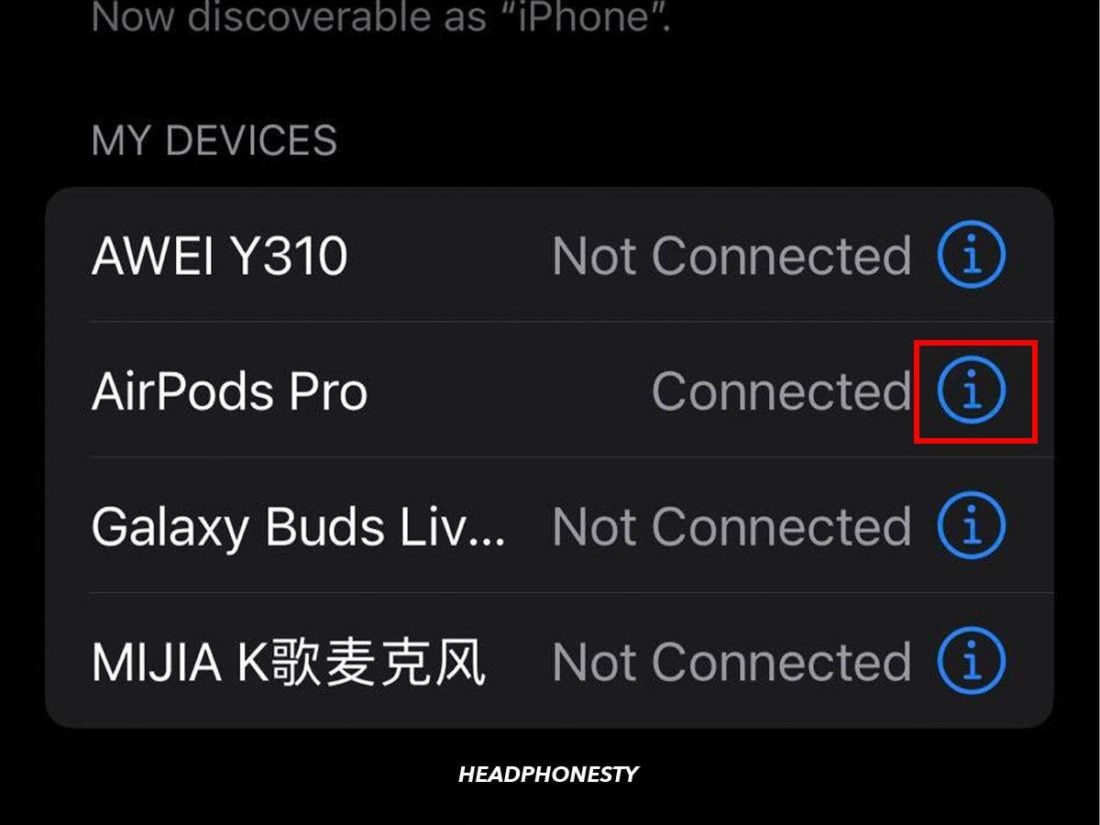
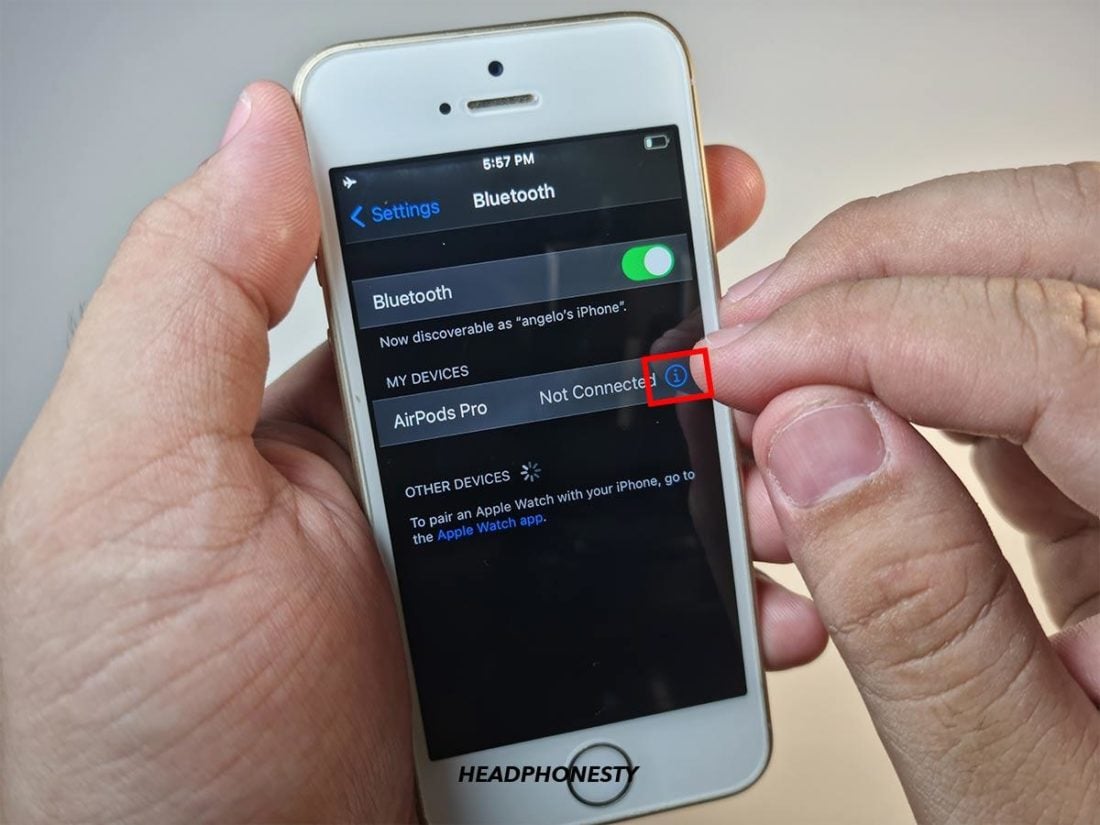
Toggle Bluetooth on. - Tap the Info (“i”) icon to the right of your AirPods’ name.
Tap on the “i” icon next to your AirPods. - Enable Automatic Ear Detection.
Turn on “Automatic Ear Detection” to complete the process.


Turn on Hearing Aid Compatibility
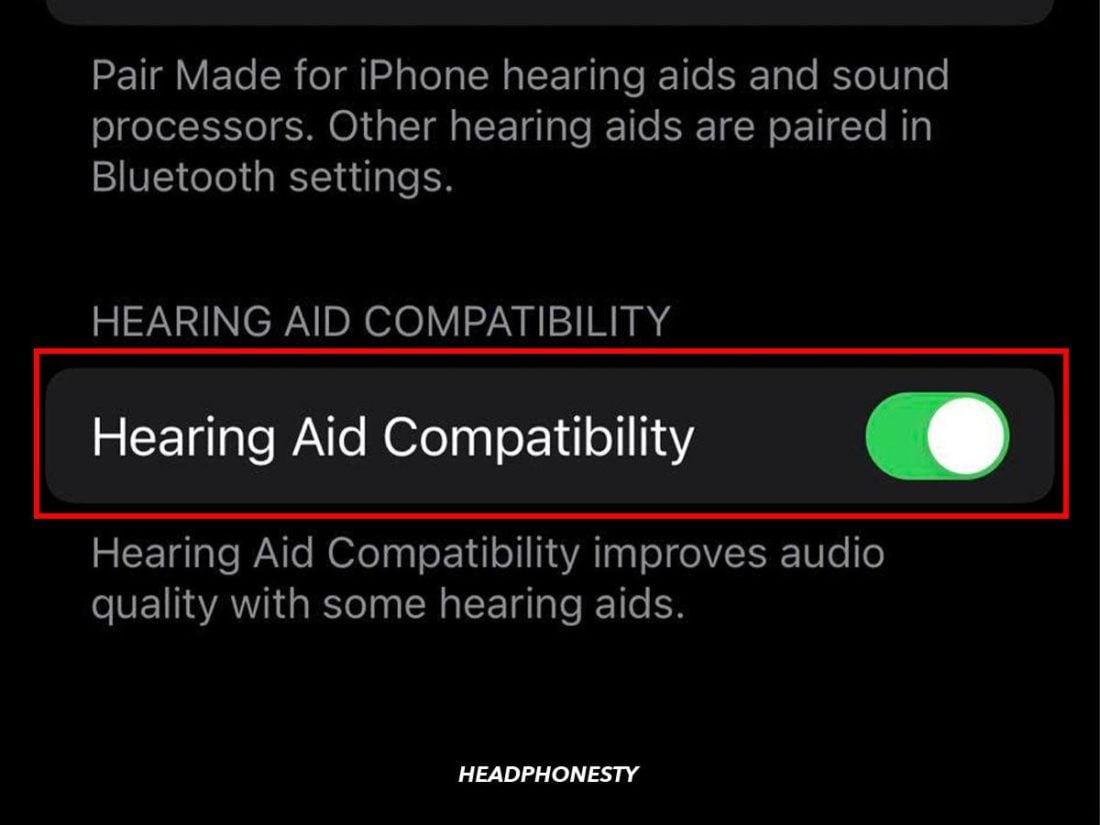
Apple’s Hearing Aid Compatibility feature boosts the audio quality of 3rd-party hearing aids while minimizing interference. It’s an important accessibility feature that ensures your hearing aids work smoothly with your iOS device, so it’s best to keep it on.
You can enable Hearing Aid Compatibility by following these easy steps:
- Go to Settings.
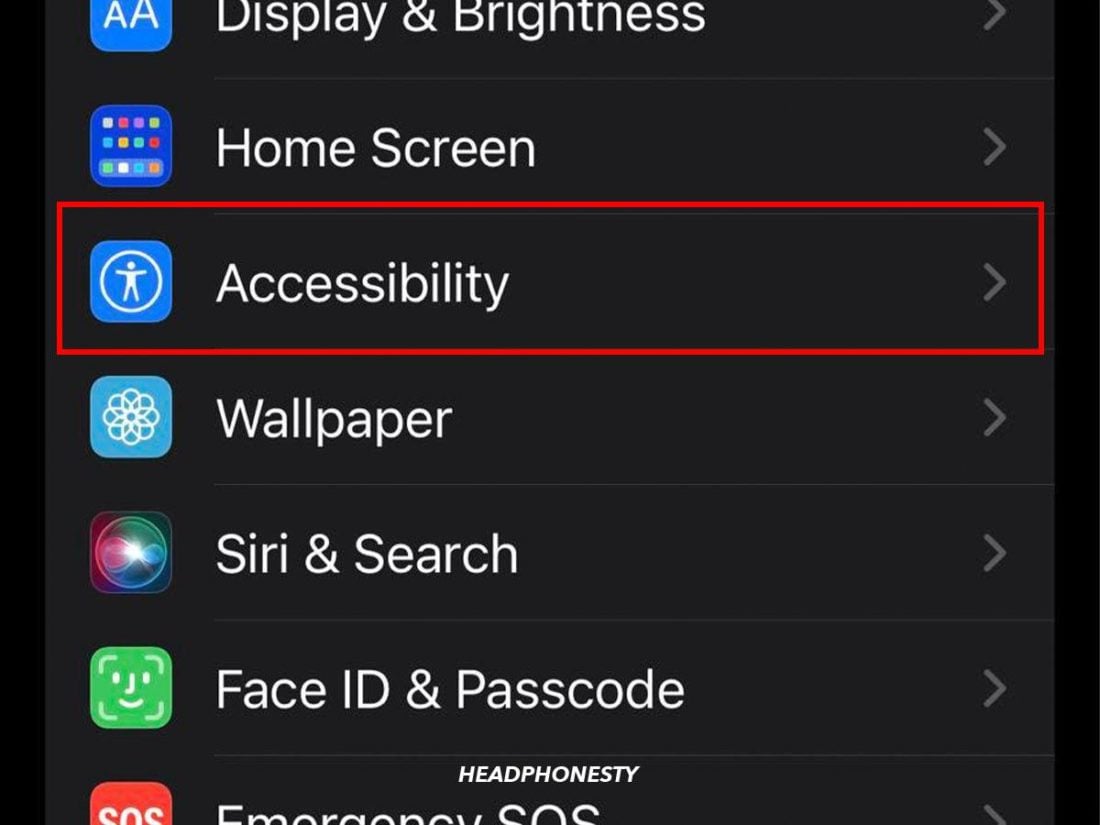
Head to “Settings” on your screen. - Tap Accessibility.
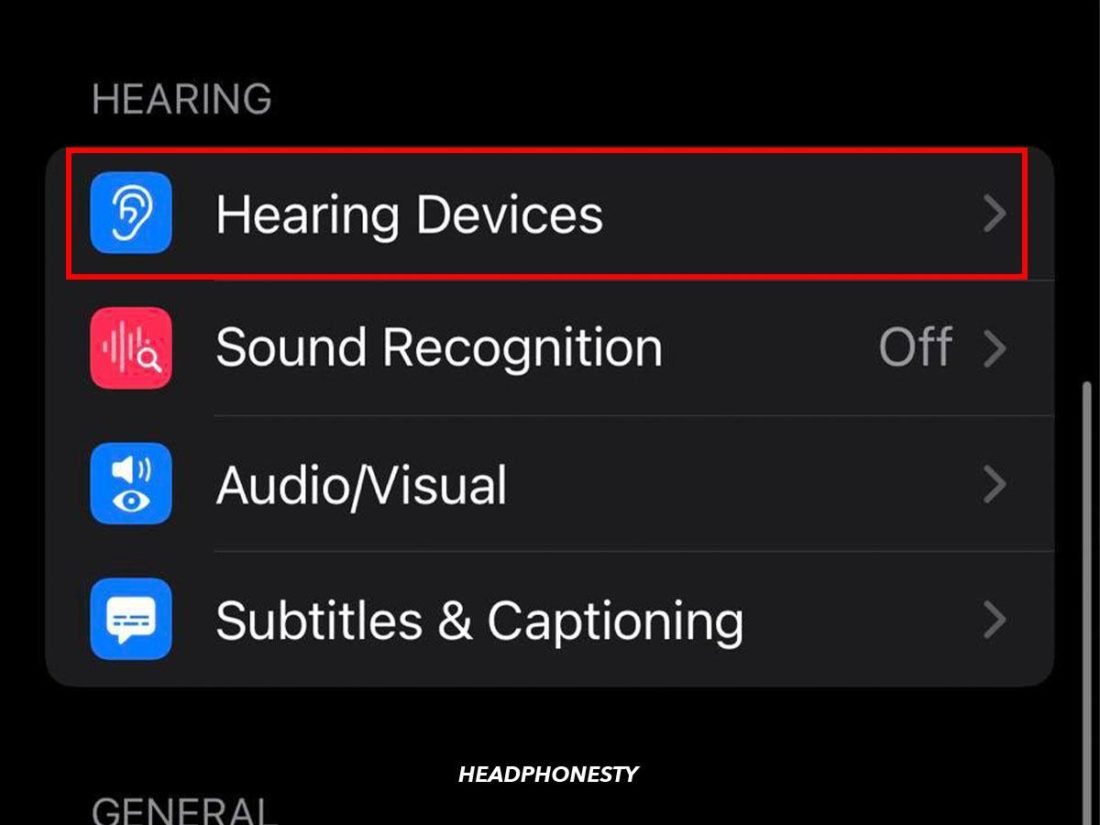
Click on the “Accessibility” icon. - Select Hearing Devices.
Under “Hearing”, select “Hearing Devices.” - Enable Hearing Aid Compatibility.
Finally, turn on “Hearing Aid Compatibility.”

Reset and reconnect your AirPods
If the Live Listen feature isn’t working due to a possible issue with your AirPods, you can reset and reconnect them. Doing this restores their factory settings while eliminating any faulty configurations and software issues affecting how certain features work. You’d be surprised at how many problems this simple action can solve, so it’s always worth trying.
Here’s how to quickly reset and reconnect your AirPods and AirPods Max:
For AirPods and AirPods Pro
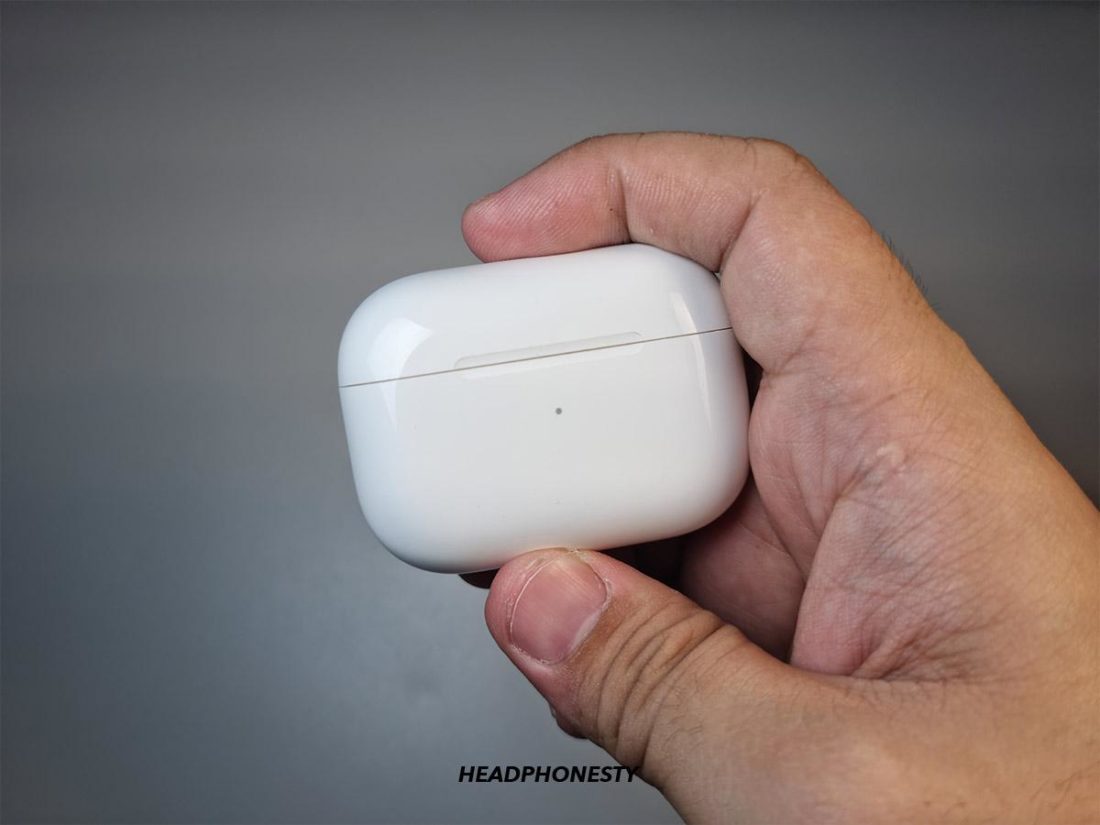
- Place both AirPods in their charging case and wait for at least 30 seconds.
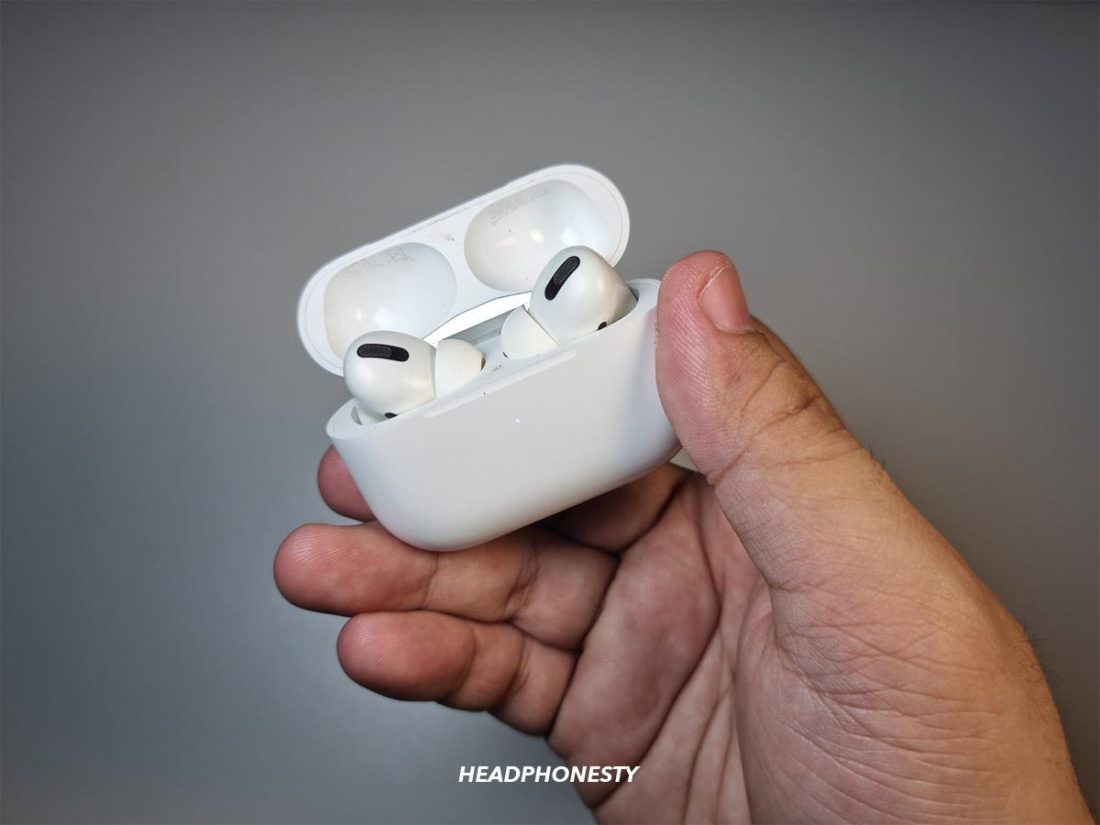
Keep your earbuds in the charging case and close the lid for about 30 seconds. - Open the charging case lid (this will remain open throughout this entire process.)
Open the charging case lid. Remember to keep it open throughout the reset process. - On your iOS device, go to Settings.
Tap on “Settings” on your iPhone. - Tap Bluetooth.
Turn on Bluetooth to activate the pairing process. - Tap the Info (“i”) icon to the right of your AirPods’ name.
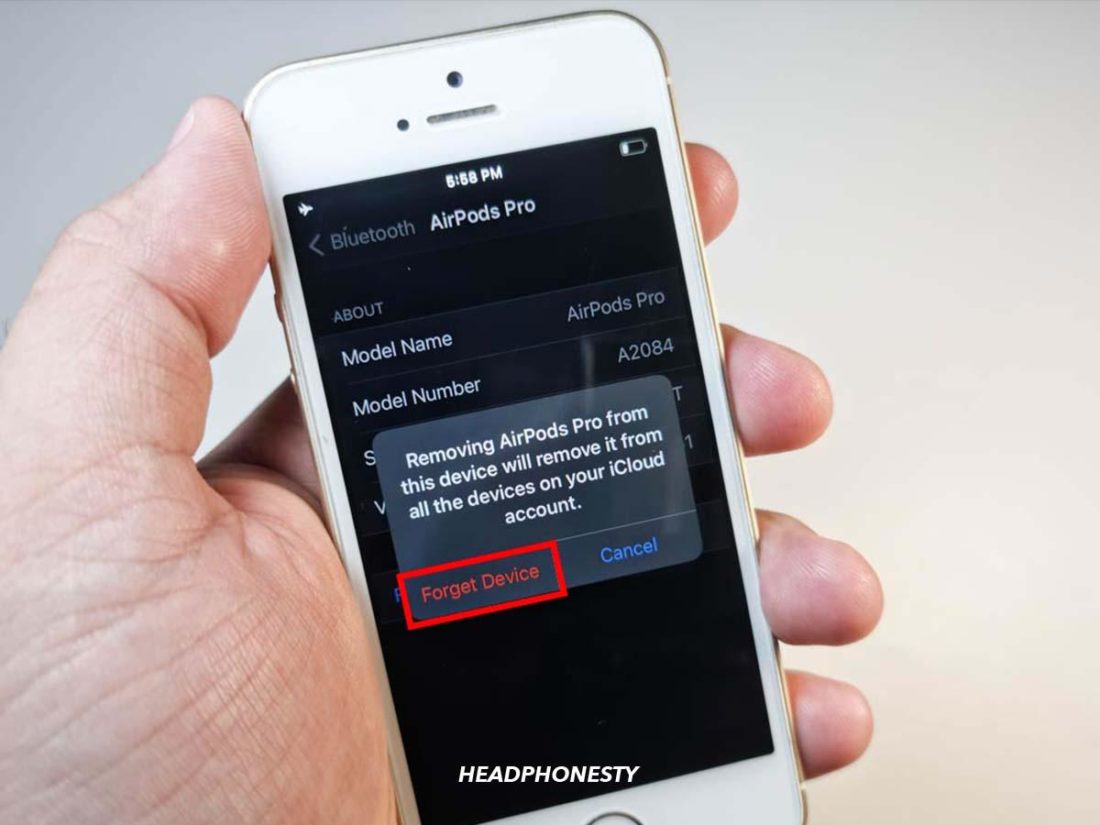
Tap the “i” icon next to your AirPods. - Select Forget This Device.
Select “Forget This Device.” - Confirm this action by selecting Forget Device.
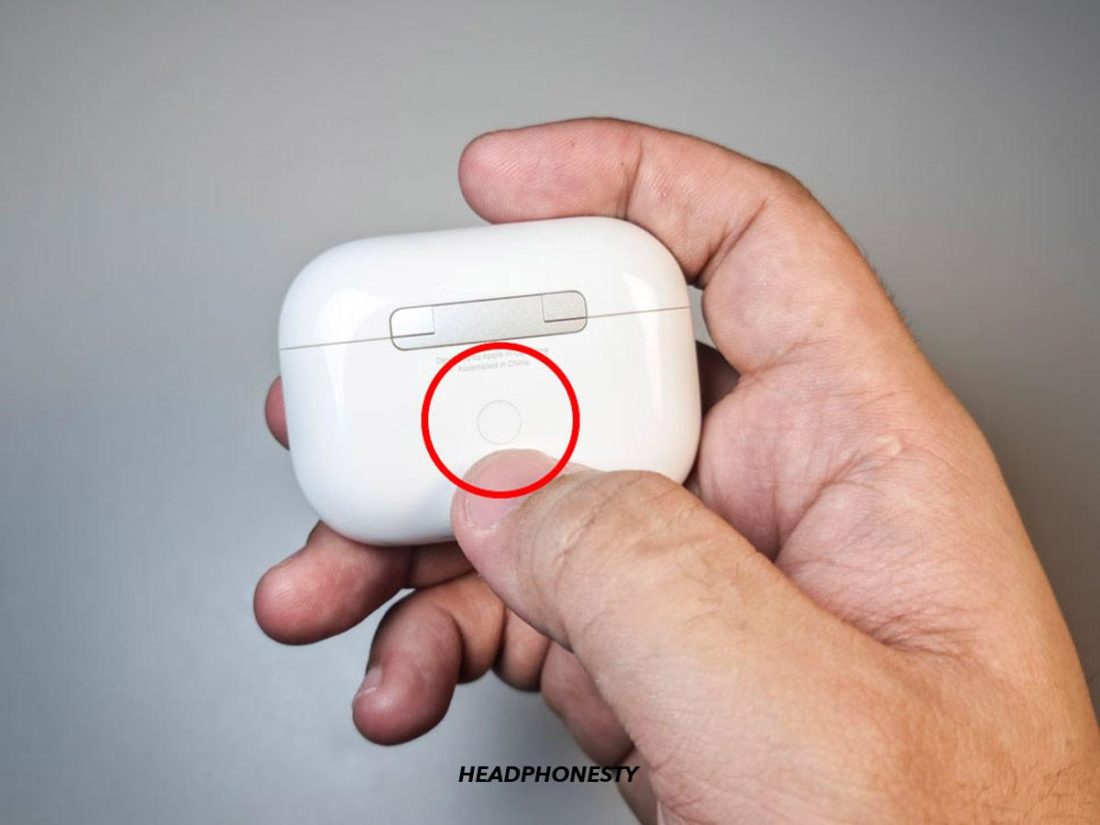
Tap one more time on “Forget Device” to disconnect your AirPods or AirPods Pro. - Hold down the setup button on the case for 15 seconds. The status light should flash amber, then white, which means it’s resetting. If you have a wired charging case, you’ll be able to locate the status light in the case between where the AirPods are positioned. For wireless charging cases, the status light can be found on the front of the case.
Keep pressing the setup button on the case till it flashes white. - To reconnect your AirPods, bring them closer to your iOS device and wait for the setup prompt to pop up. From there, simply follow the on-screen instructions.
To reconnect your AirPods/AirPods Pro, bring them next to your iOS device and simply follow the instructions that pop up on screen.


For AirPods Max
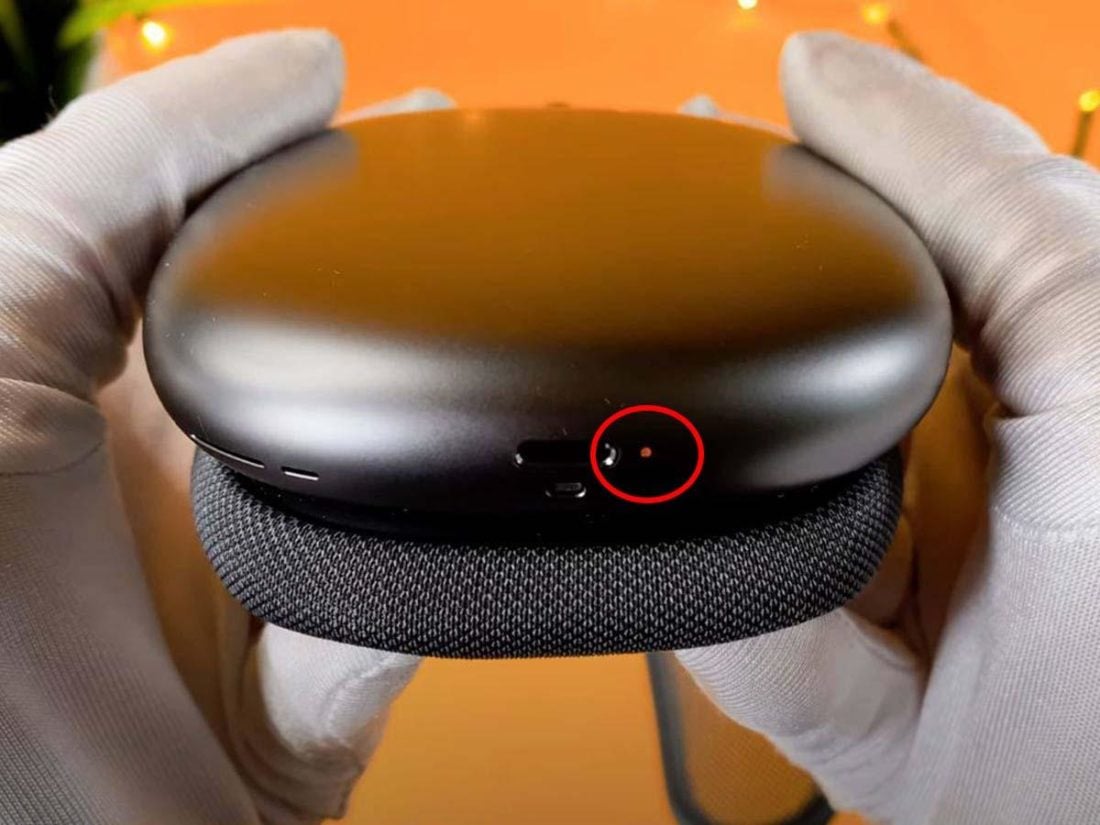
- Hold down the Digital Crown and Noise Control button simultaneously for 15 seconds.
Keep pressing the Digital Crown and Noise Control button for about 15 seconds.
https://www.youtube.com/watch?v=qLCqZM0Zbt4 - Wait until you see the status light flash amber, then white.
The status light will first flash amber.
https://www.youtube.com/watch?v=qLCqZM0Zbt4 - Once that’s done, you can reconnect them to your iOS device.

If you’re still facing problems resetting your headphones, you can take a look at this detailed guide on How to Reset AirPods Max Like an Apple Genius.
Eavesdropping With AirPods: Is the Live Listen Feature Legal?
Now that we know Live Listen makes it possible to “spy” using our AirPods, it opens up a new set of possibilities. And some dreaded questions, like is it legal?
One might feel tempted to use the feature to keep tabs on a spouse, listen in on office conversations, or even record incriminating exchanges with a boss (that last one is possible with the help of Voice Memos).
Given all these accidental (yet covert) uses of this feature, a glaring question arises as to whether Live Listen is actually legal.
The most straightforward answer is that it depends on how you use it.
Live Listen is technically legal when used as a hearing accessibility feature. However, using it to monitor and record private conversations is another story altogether.
When is eavesdropping illegal?
The US has strict federal and state laws regarding electronic surveillance. For example, the 1986 Electronic Communications Privacy Act (ECPA), which amends the Wiretap Act of 1968, makes it illegal to “intentionally intercept a wire, oral or electronic communication by using any electronic, mechanical or other devices” without the consent of those involved.
Secret recordings of conversations that are “reasonably expected to be private” are also considered illegal. This depends mainly on context, location, and the general demeanor of the person being recorded.
For instance, if the conversation takes place in a private setting, like a house or car, there’s a reasonable expectation of privacy. Suppose the person is being discreet in how they’re relaying information instead of blabbing about it in a public or group setting. In that case, too, there’s a reasonable expectation of privacy.
As such, any recordings made in these situations are illegal.
The loopholes
Interestingly, there are a few loopholes, one of which was thoroughly on display during the recent Depp-Heard trial. Exemptions to electronic eavesdropping or recording are allowed if:
- The person recording is authorized by law to do so;
- One of the persons directly involved in the conversation consents;
- If you gave blanket consent after signing a job contract.
So, in sum, the Live Listen feature is legal when used for its intended purpose. However, using it with your AirPods or other compatible devices to intentionally listen to and record private conversations without consent will have legal repercussions. Those caught violating the laws that govern this can face five years in prison and a fine of US$250,000.
Live Listen vs. Transparency Mode: What Is the Difference?
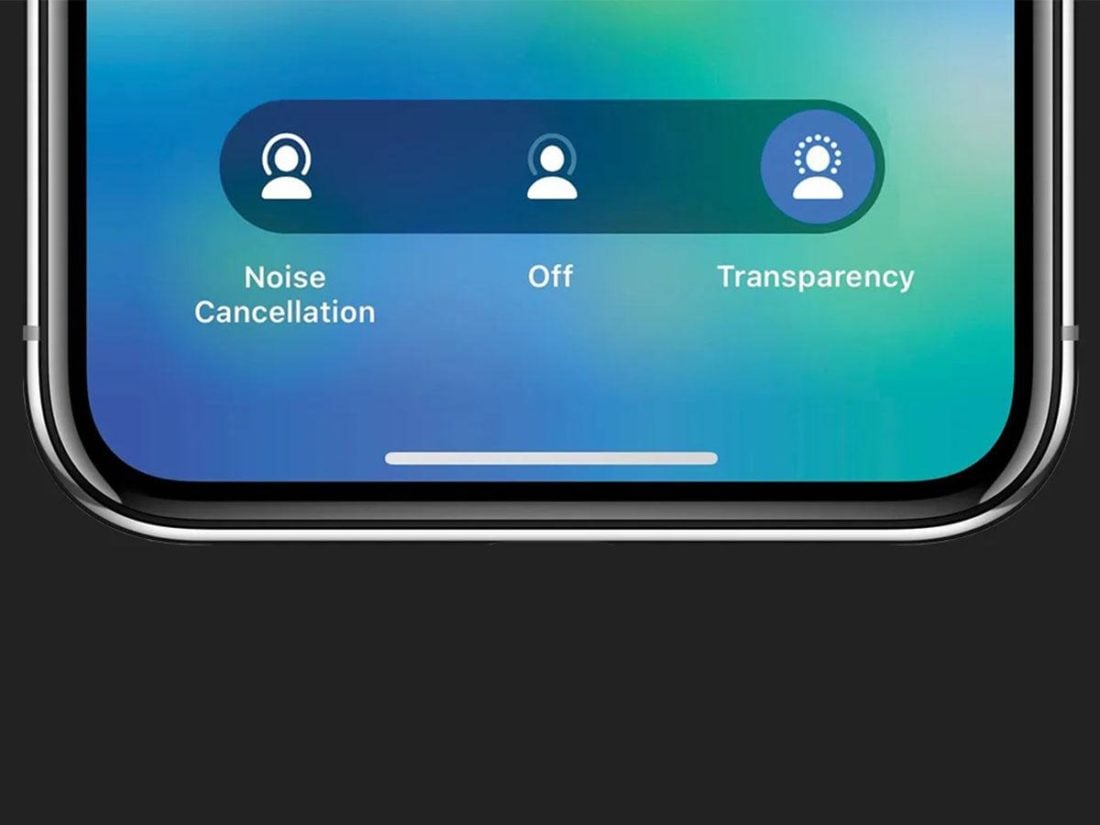
Source: https://www.iphonelife.com/content/airpods-pro-controls-how-to-use-noise-cancellation-transparency-mode
AirPods Pro and Max users have the bonus of three noise control modes on their devices – Active Noise Cancellation (ANC), Transparency Mode, and Off.
As you probably already know, the ANC uses microphones to block unwanted background noise for better-sounding audio. Transparency Mode, on the other hand, filters in ambient sounds. It’s designed to help you hear what’s happening around you without having to take off your AirPods.
Transparency Mode is quite similar to Live Listen, as both use microphones to pick up ambient sound and feed it back to you.
Understandably, this can confuse users as to why they can’t just stick with the Transparency feature and still hear sounds around them.
However, there are a few key differences to note between the two:
- Transparency Mode uses the external mics on the AirPods, while Live Listen uses the microphone on your iOS device.
- Live Listen can boost specific sounds from short distances away, depending on how close your iOS device is to the audio source.
- Transparency Mode only filters in sound as you would normally hear it if you weren’t wearing AirPods.
- Live Listen and Transparency Mode differ in sound quality, with the former delivering audio in mono and the latter in stereo.
Overall, Live Listen does offer more flexibility than the Transparency feature. That’s because you can reposition your iOS device to pick up specific sounds more clearly. For example, if you want to hear someone sitting at the opposite end of the table, you can simply slide your phone closer to them.
Conclusion
If you’re the proud owner of any or all of the Live Listen-compatible devices mentioned above, congrats! You’re ready to go out into the world and eavesdrop to your heart’s content. Just don’t forget the risks involved if you do.
On a more serious note, the Live Listen feature has a lot of good to offer beyond the realm of spying and eavesdropping. Aside from being a great help in social situations or class and business settings, it can also be a money-saving solution for those with actual hearing impairments.
After all, hearing aids can be pretty expensive. So the fact that you can use the much cheaper AirPods as a pseudo hearing aid is a big plus!
Have you tried out Live Listen recently? How was your experience using it? Tell us all about it in the comments section, we’d love to hear from you!
The live listening Seems to be echoing
Hi, I enjoyed your write-up. Thank you. I use Android only, but I need the live listen function for aiding my hearing. Can live listen be done on androids? If so, can you refer me to an article that I can read? I have Pixel 4XL. What earbuds do I need to get? Thank you.
Use the sound amplifier (idk how is called) is by google on the playstore