Uncover the easiest ways to use your AirPods as a reliable video mic for any device.
Using your AirPods’ mic for video recording allows you to move away from the camera and better isolate your voice from background noise.
However, the AirPods mic cannot be used with the native iPhone or Android camera apps, which only allow input from the built-in mic.
To overcome this, there are several third-party video recording apps. For desktop recordings, you can adjust the microphone settings to work for a Mac or PC. Keep reading to find out how!
How to Use AirPods as a Mic for Video on Your Phone
You can enhance your video’s audio quality by using AirPods as a microphone, though it requires a third-party app that supports Bluetooth microphone input.
I tested this method using the Filmic Pro app, and the results worked well enough. Here are the steps I followed:
- Download the Filmic Pro app and select a plan.
- Pair your AirPods with your phone.
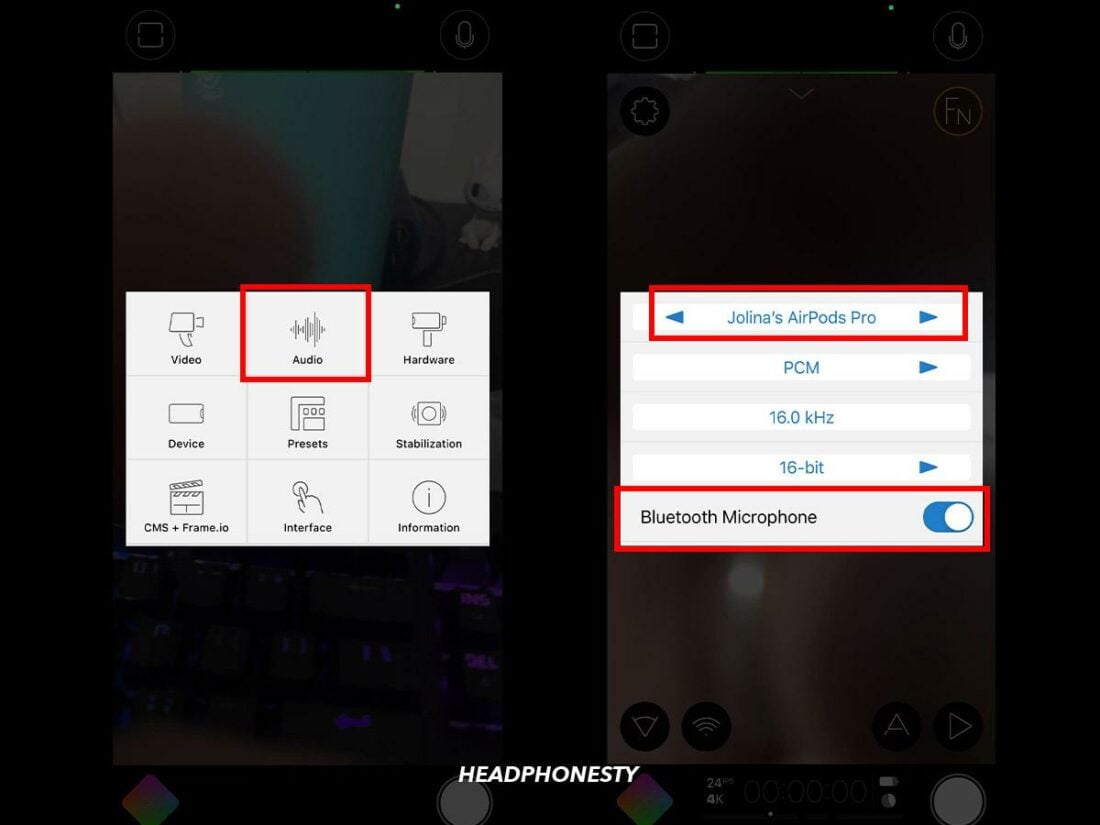
- Click on Filmic Pro’s Settings > Audio > toggle on Bluetooth Microphone.
- Select your AirPods as the preferred microphone input.

Set your AirPods as the Bluetooth mic with Filmic Pro
How to Use AirPods as a Mic for Video on Mac
When recording videos on your Mac, using your AirPods as a microphone can improve your audio quality. Fortunately, once paired, your AirPods should be the default microphone.
You can confirm you’re using the AirPods microphone with these steps:
- Pair your AirPods with your Mac.
- Go to System Settings > Voice Control > Microphone > Confirm AirPods are selected.
- Open Quicktime Player to test it. Go to File > New Movie Recording.
- You’ll find the Microphone input option near the Record button. Here, you should see your AirPods with a check (✅).
Steps to use AirPods as a mic for video on Mac

How to Use AirPods as a Mic for Video on PC
A PC may not automatically set your AirPods as the default microphone like a Mac, so here’s a simple process to follow to set it up.
- Pair your AirPods with your PC and confirm they’re paired in the Bluetooth and other devices settings.
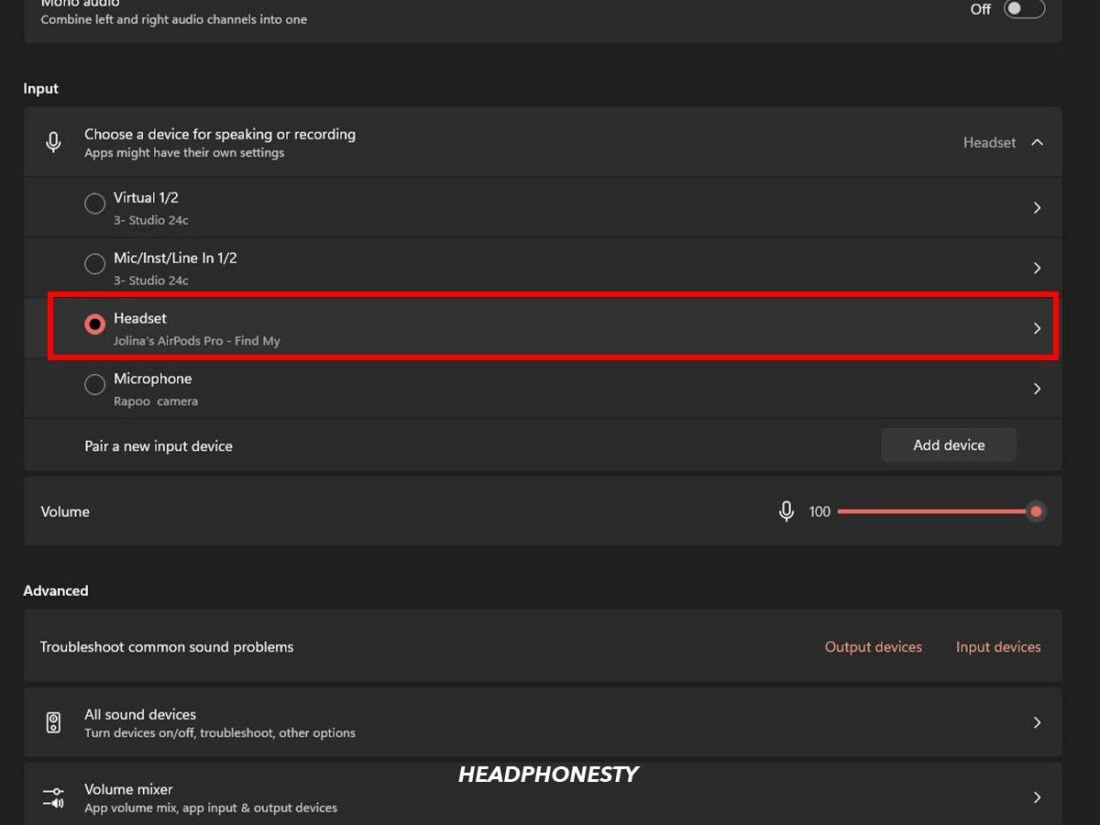
- Set the AirPods as your default recording device in the Sound settings > Under Input select Choose a device for speaking or recording > AirPods.
Select your AirPods as mic input in Sound settings
Best Third-Party Phone Apps To Use the AirPods Mic for Video
When selecting a third-party video recording app for your phone, you’ll need one with Bluetooth microphone input.
Also, consider factors such as user-friendly interfaces, advanced audio settings, and compatibility with your device. Below are the top apps that meet this criteria:
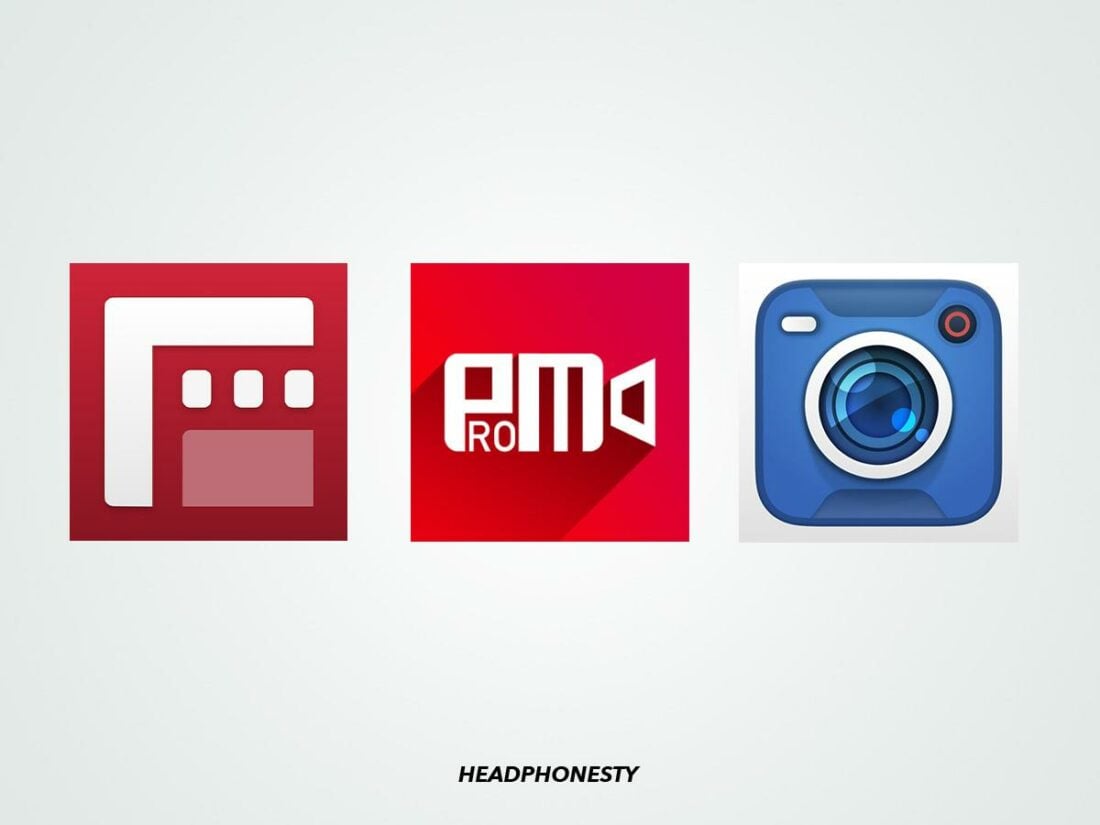
- Filmic Pro: Filmic Pro offers advanced manual controls such as focus, exposure, and white balance, making it a top choice. The app is also accessible across iPhone, Android, and tablets. However, you may encounter occasional audio lag if you’re not close to your phone. Plus, some Android users may experience bugs while using the app.
- ProMovie: ProMovie boasts a rich set of impressive features, making it a compelling choice for content creators who use both iPhone and iPad for recording. But again, lagging can be an issue when using the app, impacting the overall user experience.
- Blackmagic Camera: Blackmagic Camera, a recently released app, offers impressive features to enhance your video recording experience with a more intuitive interface. However, like other apps, lagging can be a problem. It is also important to note that Blackmagic Camera is exclusively available for iPhone users, which can be limiting.
Frequently Asked Questions
- Can I adjust AirPods mic sensitivity?
- Can I use my AirPods as a Live Microphone?
- Are there multiple microphones on AirPods?
Can I adjust AirPods mic sensitivity?
You can adjust the AirPods’ mic sensitivity by changing the one used for recordings. To do this, go to Settings > Bluetooth and tap the “i” next to your AirPods. Access the Microphone option and try Automatically Switch AirPods, Always Left AirPod, or Always Right AirPod to see which works best.
Can I use my AirPods as a Live Microphone?
AirPods won’t work as microphones for recording audio during live video streaming on social media. Facebook, YouTube, and Instagram default to using built-in microphones instead. You may have seen streamers wearing AirPods, but they’re using them to monitor audio, not record.
Are there multiple microphones on AirPods?
Yes, the AirPods feature two microphones, each serving distinct purposes. The microphone positioned at the end of the stem, closer to your mouth, is mainly for calls and interacting with Siri. The second microphone minimizes background noise during calls.