We compiled the tried-and-true method for fixing AirPods that just won’t stay connected to your Mac.
Given that Apple has sold millions of AirPods based on their “seamless” compatibility with other Apple products, it’s really frustrating when your AirPods just keep disconnecting from your Mac.
The premium price you spent to stay within Apple’s ecosystem seems to all go to waste, especially when it happens during a crucial meeting.
Luckily, there are easy fixes for the AirPods that keep disconnecting from Mac. This article discusses the tried-and-true fixes you can try. Here’s what to do.
Charge Your AirPods
There’s a reason why your AirPods alert you when your battery gets to 20, 10, and 5 percent. Low battery life limits AirPods’ efficiency and also causes connectivity issues.
If your AirPods keep disconnecting from your Mac, the first thing you should do is check their battery life. Here’s how:
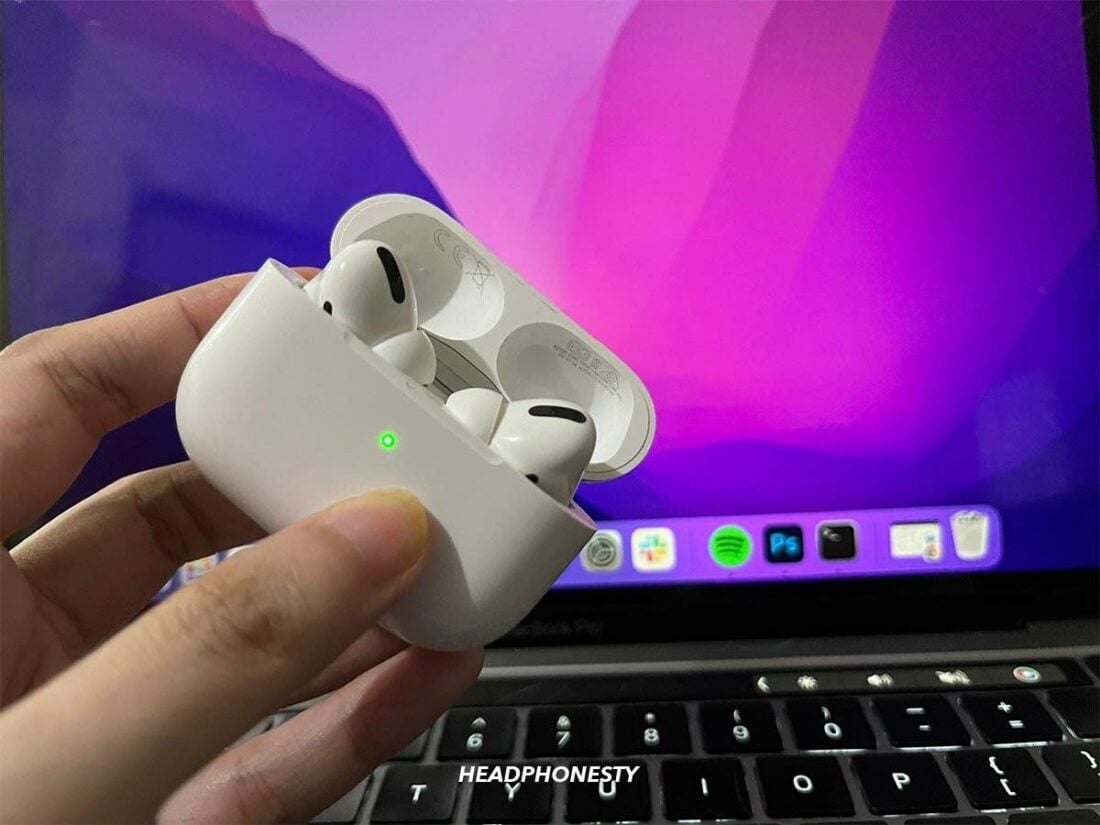
- Bring your AirPods close to your Mac and open the lid.

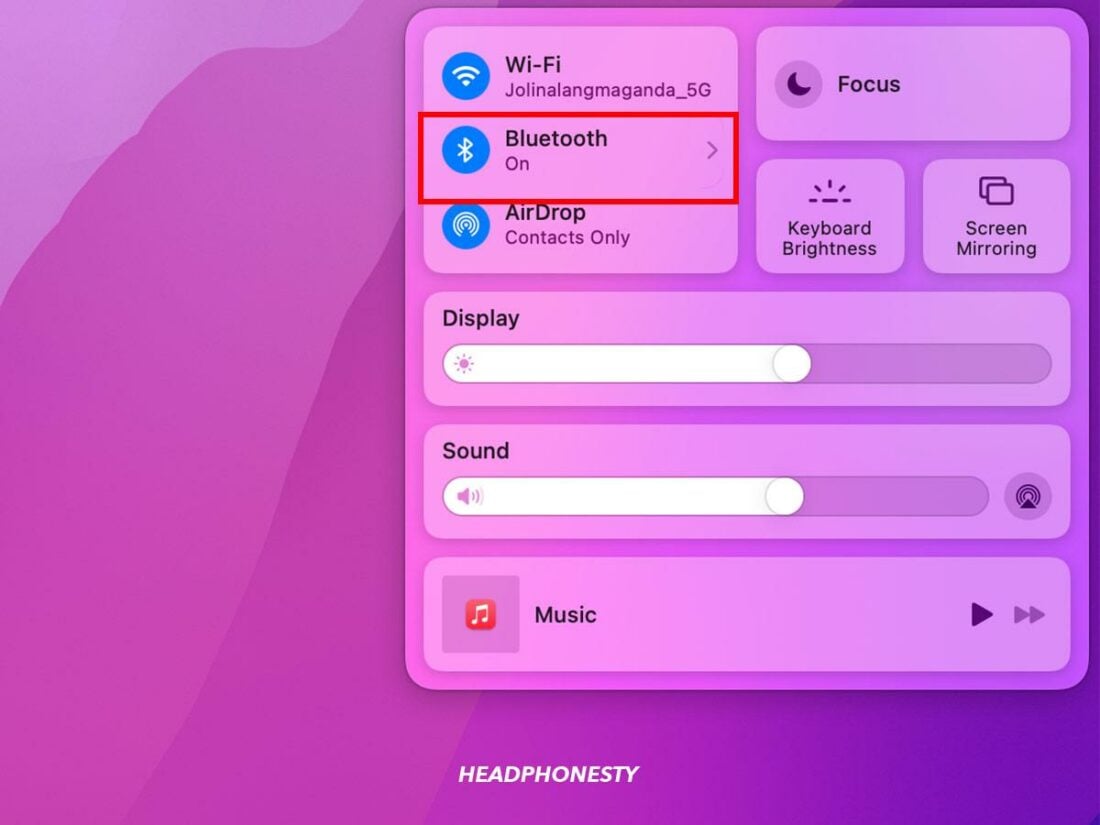
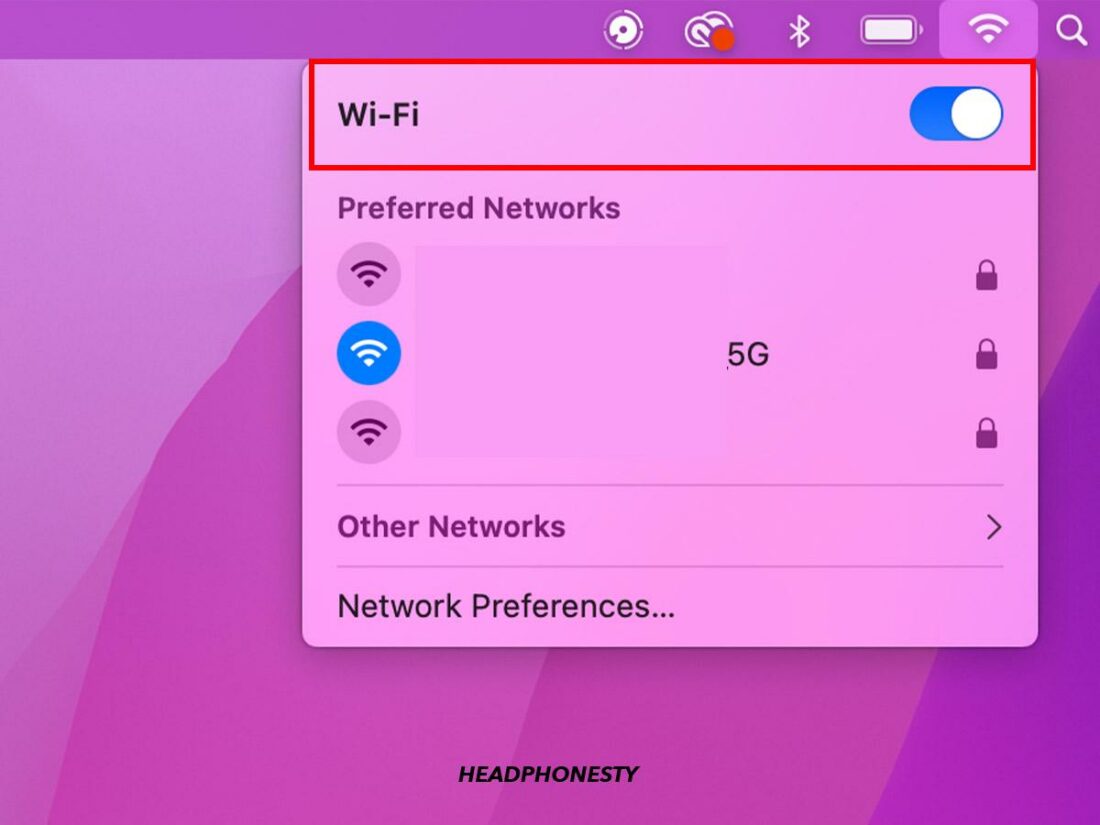
Bring your Airpods near your Mac - Click on the Control Center icon at the top right corner of the screen.
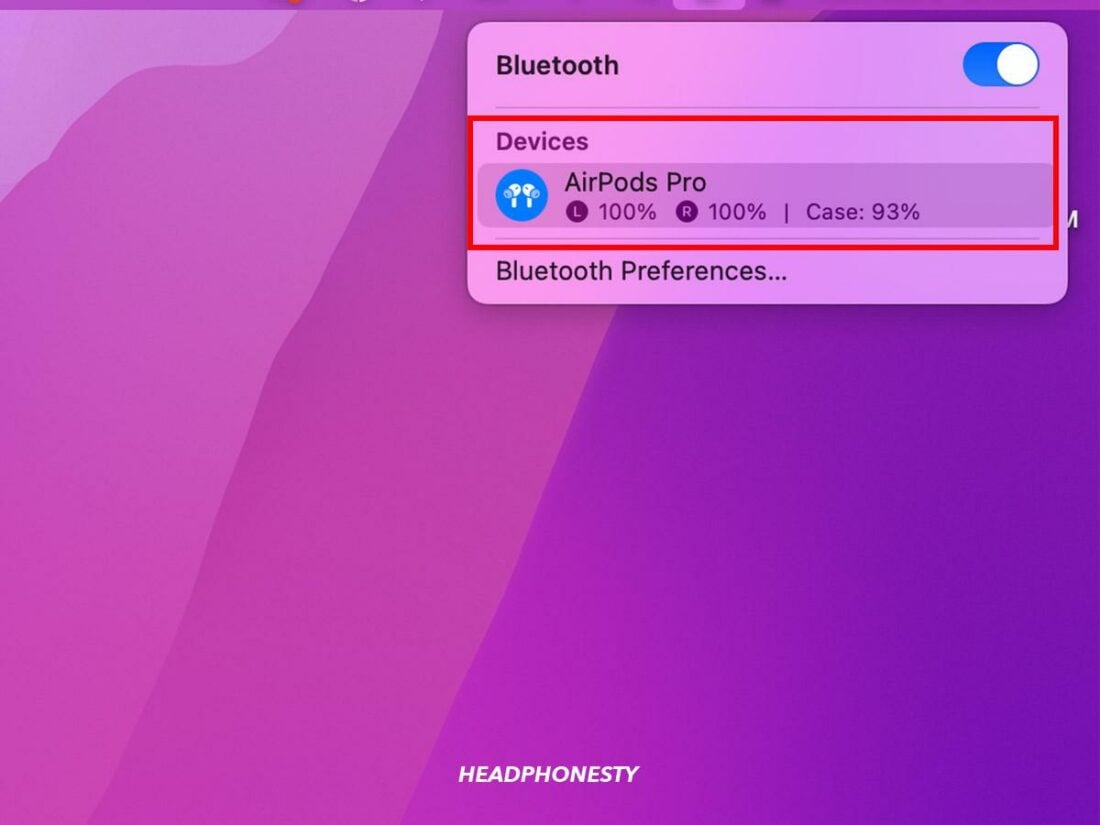
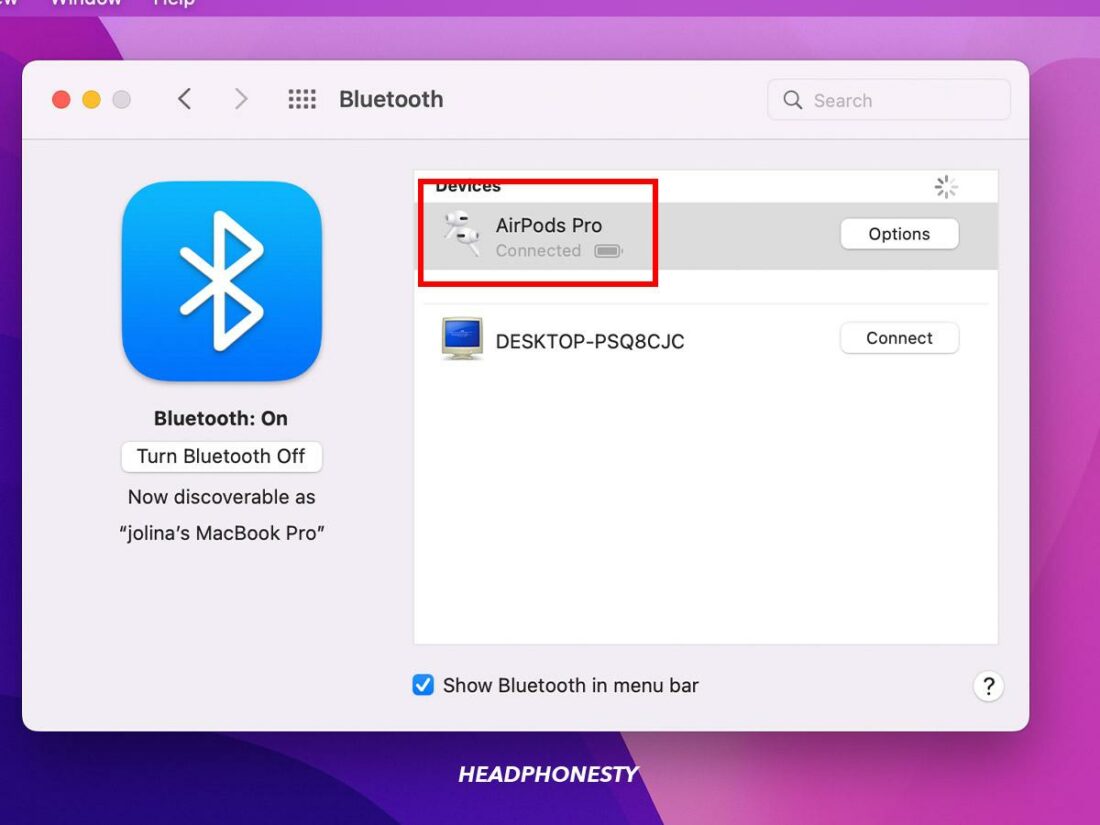
Control Center - Select Bluetooth to find your AirPods.
Bluetooth - If your AirPods are connected, you should be able to see the battery percentage for the AirPods and the case there.
Airpods Battery percentage

This method is for newer macOS versions – that is, macOS Big Sur or later. However, if you have an older version, you’ll have to select the AirPods and click “Connect” to see the battery info. If that’s the case, you can:
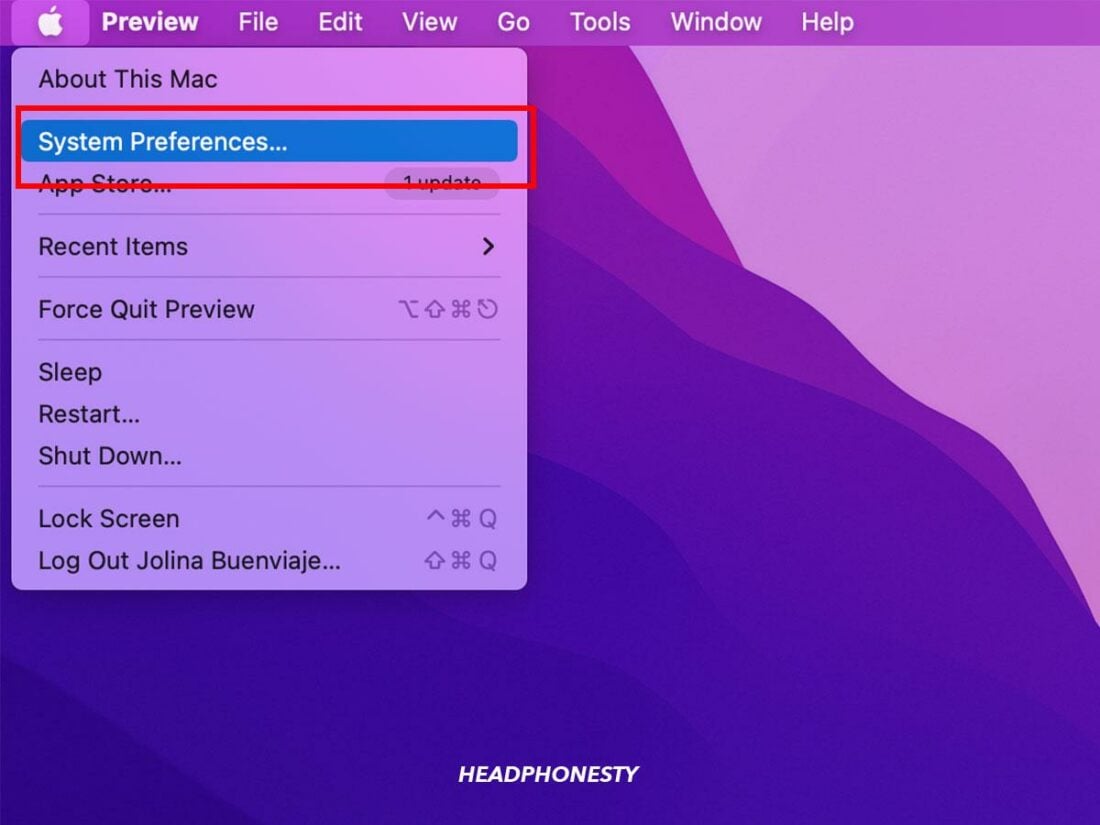
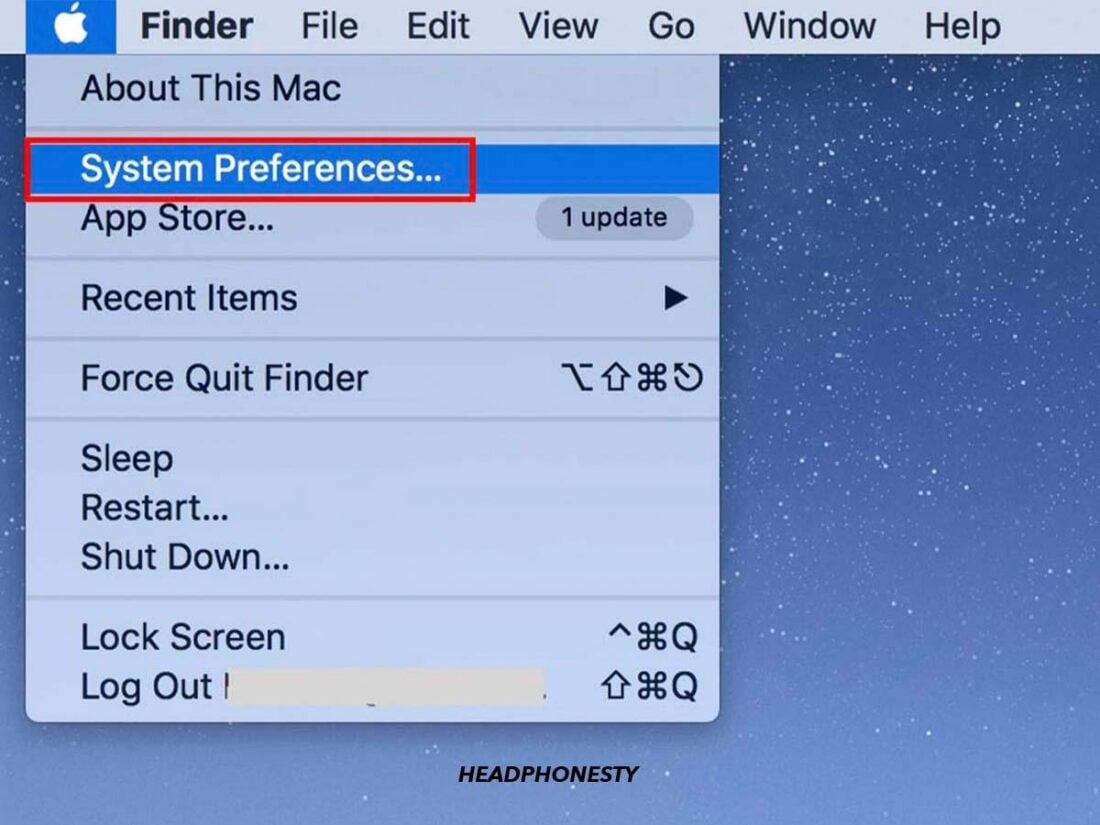
- Click on the Apple logo in the top left corner of the screen.
Apple logo - Select System Preferences from the drop-down menu.
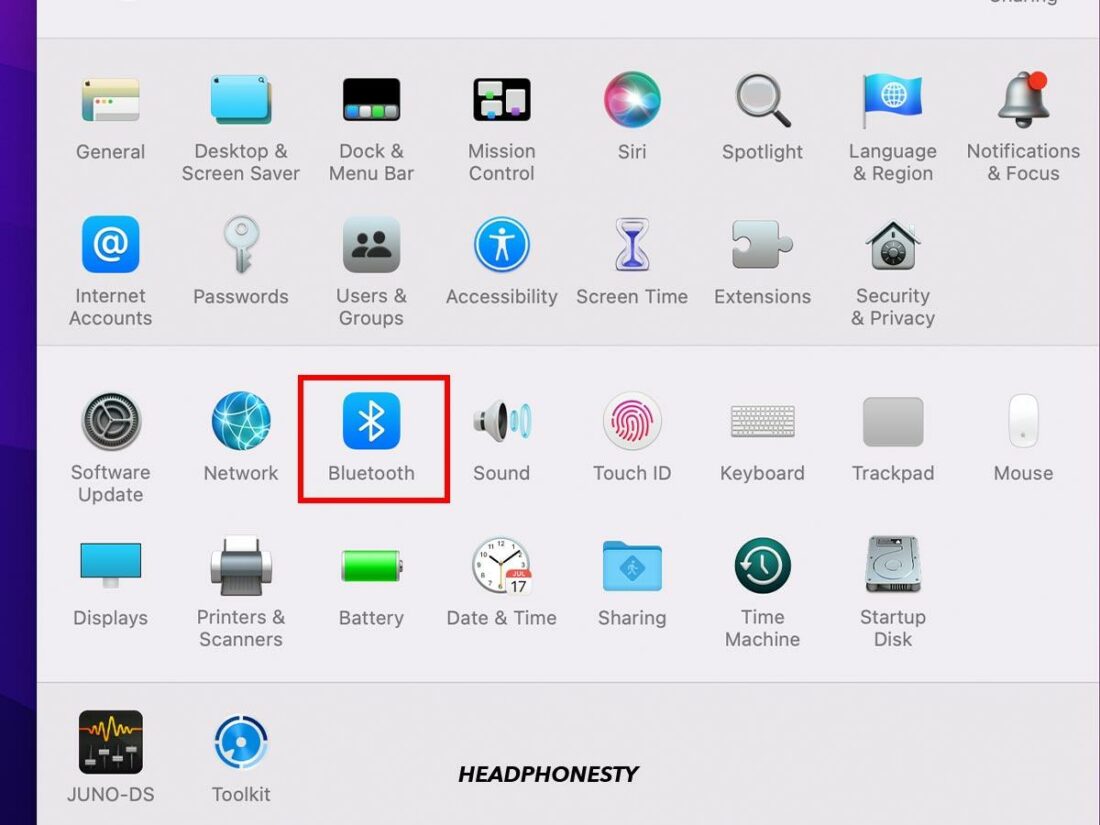
System preferrences - Choose Bluetooth from the panel.
Bluetooth - Once paired, you’ll find the battery percentage sign beside the “Connected” status.
Connected


Always check if both AirPods are charging because only one AirPod charging is another problem many users face. If your AirPods keep disconnecting even with enough battery, it’s time to try another trick.
Restart Your Mac
When you restart your Mac or any computer, for that matter, you return it to its initial state. The initial state here simply means the machine’s condition before it began processing conflicting instructions, programs, and applications.
You’re essentially giving your Mac a fresh start. Now, the keyword here is restarting.
There are a couple of ways to restart your Mac. Here are two surefire techniques you can use if your AirPods disconnect from your Mac.
Warm booting
Warm booting allows you to save any work you’ve started beforehand. It will also automatically re-open the apps that you want after the restart. Here’s how to warm re-boot your Mac:
- Click on the Apple logo in the top left corner of your screen.
Apple logo - Select Restart in the drop-down menu.
Restart


Cold booting
Cold booting refers to the forced restart of your device. It means that your Mac won’t save any unsaved progress of your work – if there’s any. Here’s how to do the cold re-boot:
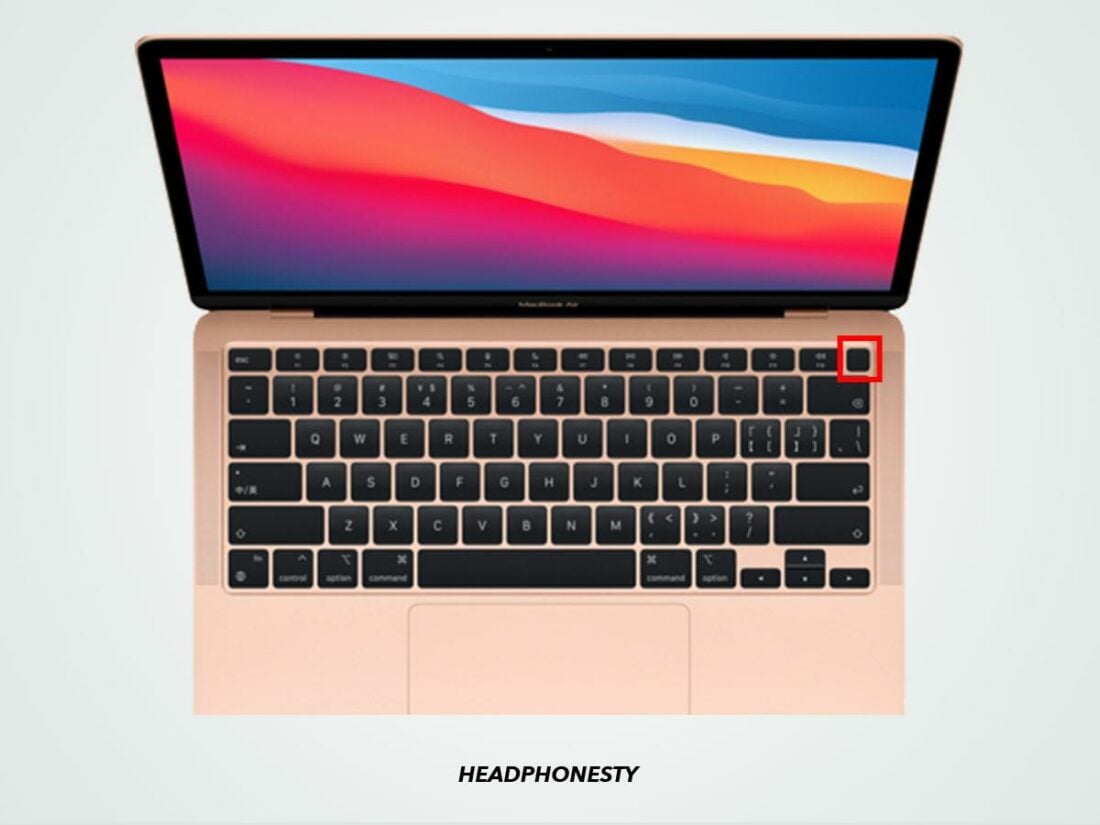
- Press and hold down the power button, then release it once your Mac is off.
Power button - Wait for at least five seconds and press the power button to boot your Mac.
Reset the AirPods
Simply resetting your AirPods will return them to their factory settings. Here’s how to reset your AirPods:
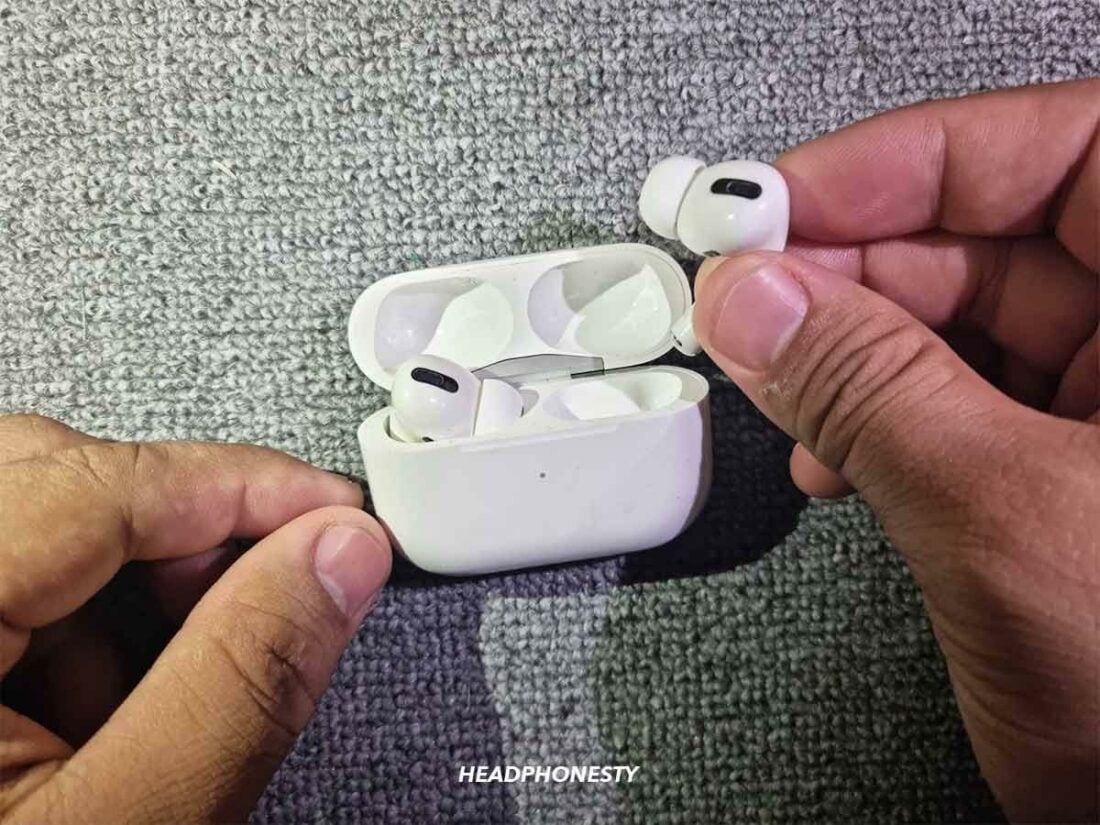
- Put your AirPods into their charging case.
Put your AirPods into their charging case - Close the lid and wait for thirty seconds.
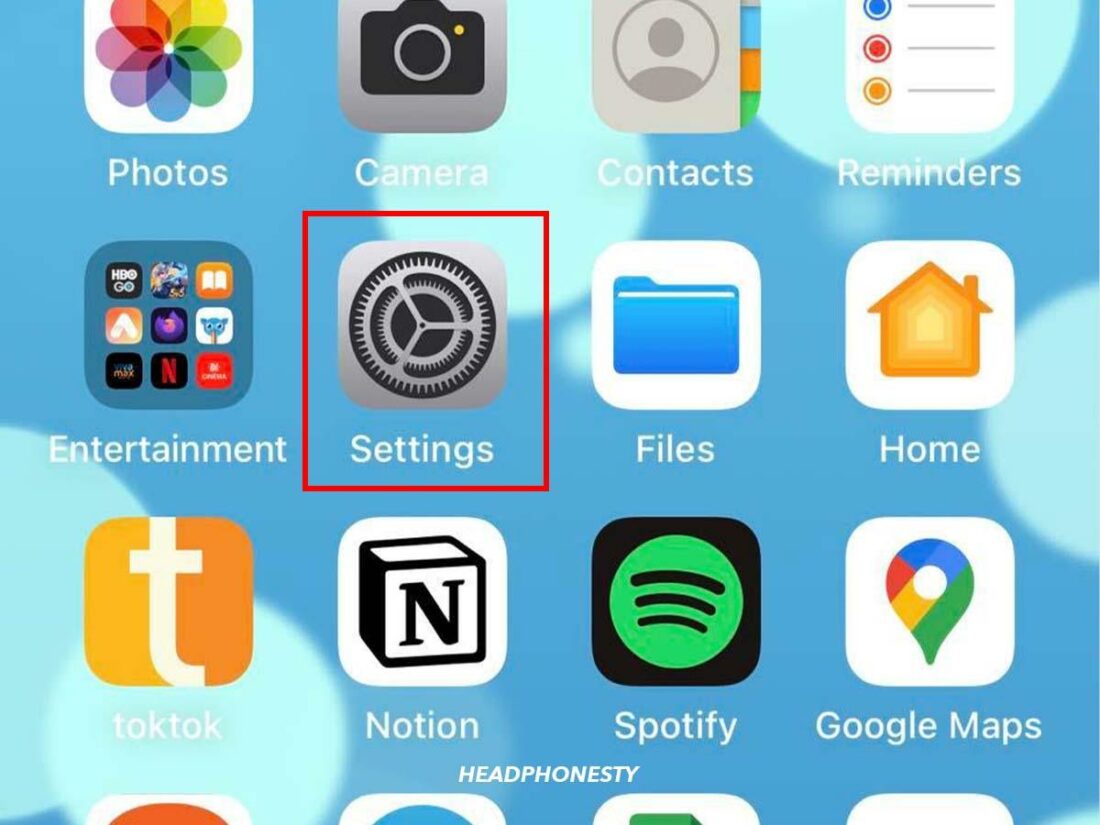
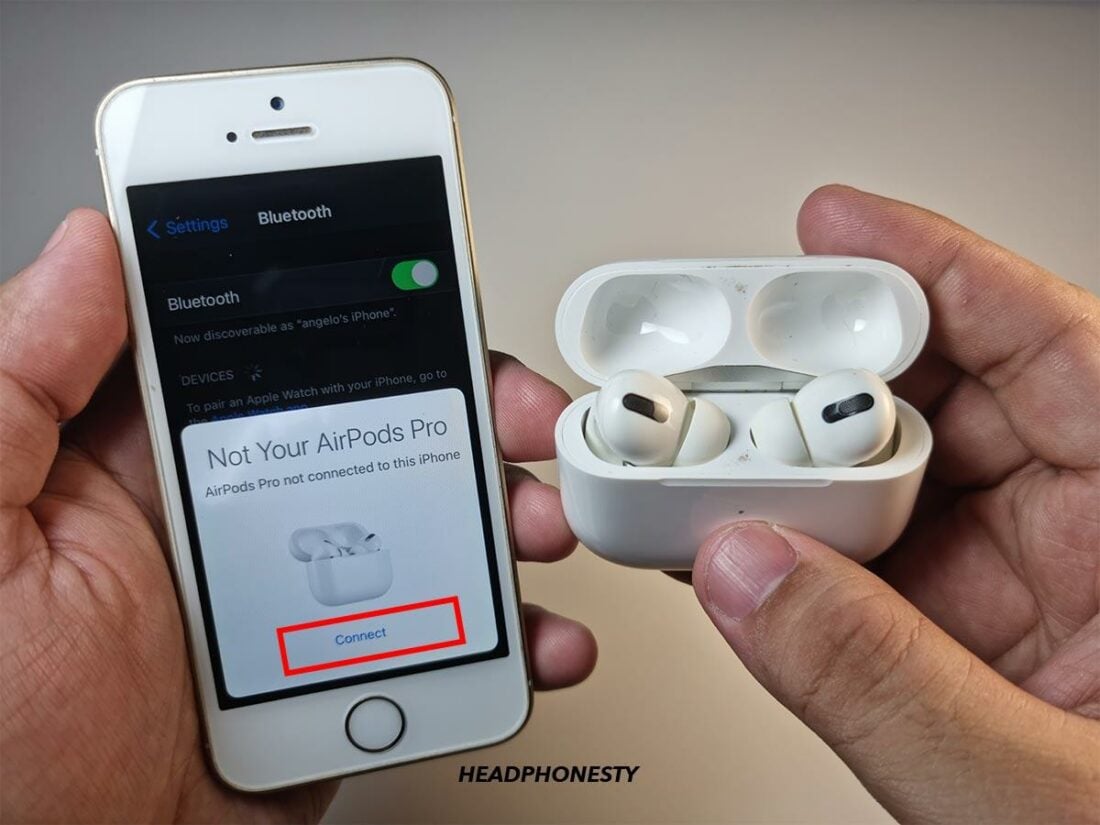
Close the lid - Open the charging case next to your iPhone and enter Settings on your iPhone.
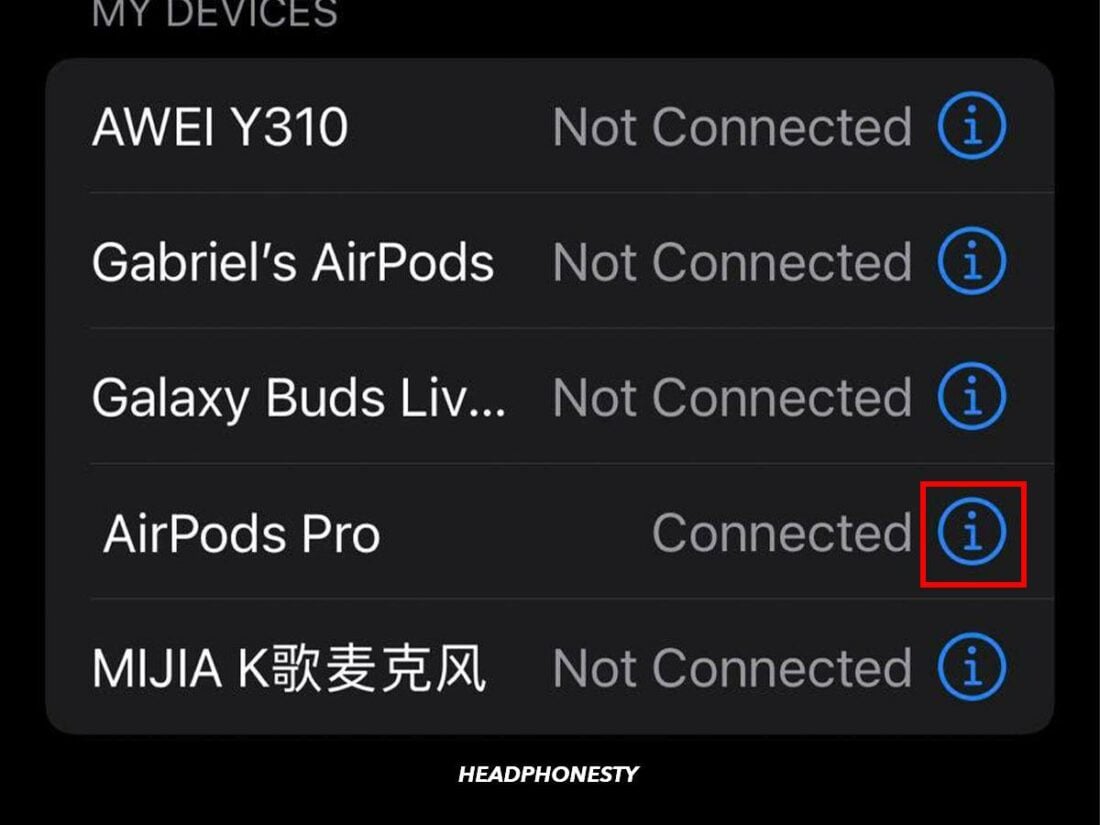
Settings - In the Settings menu, select Bluetooth and find your AirPods. If your AirPods aren’t on the devices list, skip to step 7.
Airpods pro - Tap the “i” icon next to your AirPods’ name.
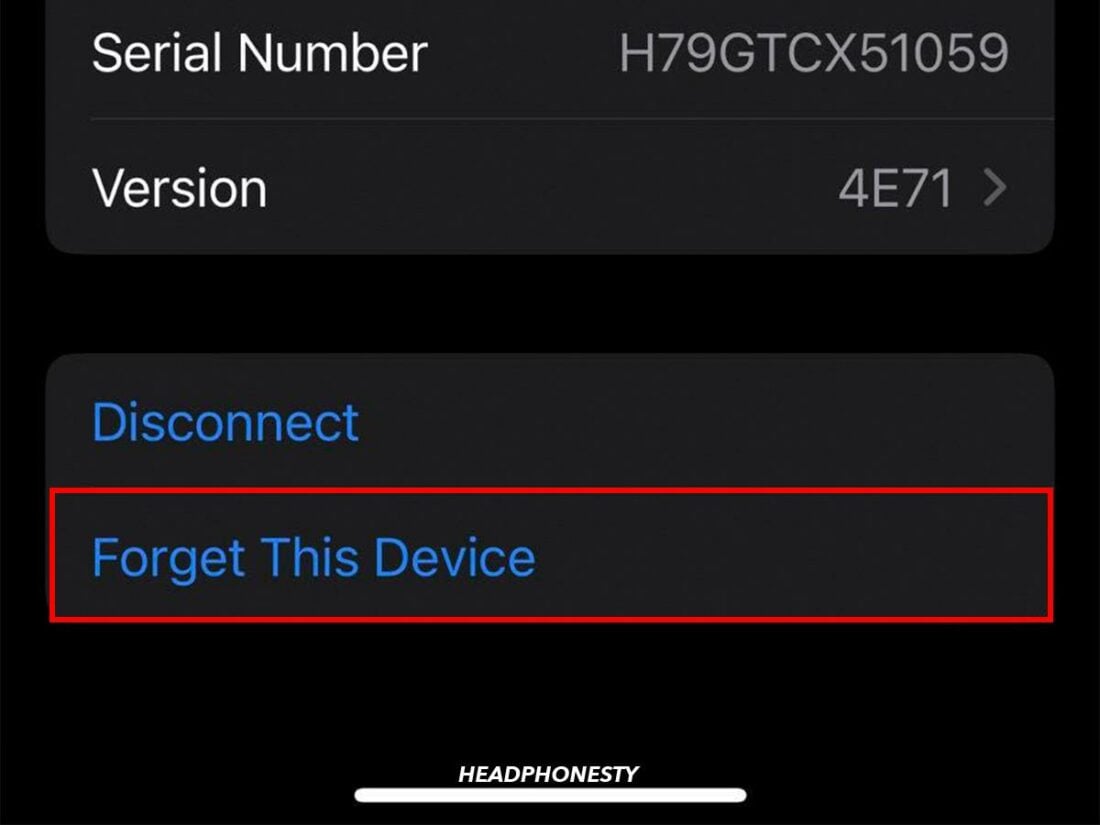
Tap the “i” icon next to your AirPods’ nam - Select Forget this device and confirm it again. This option removes the AirPods from all your devices (where you’ve signed in with your Apple ID).
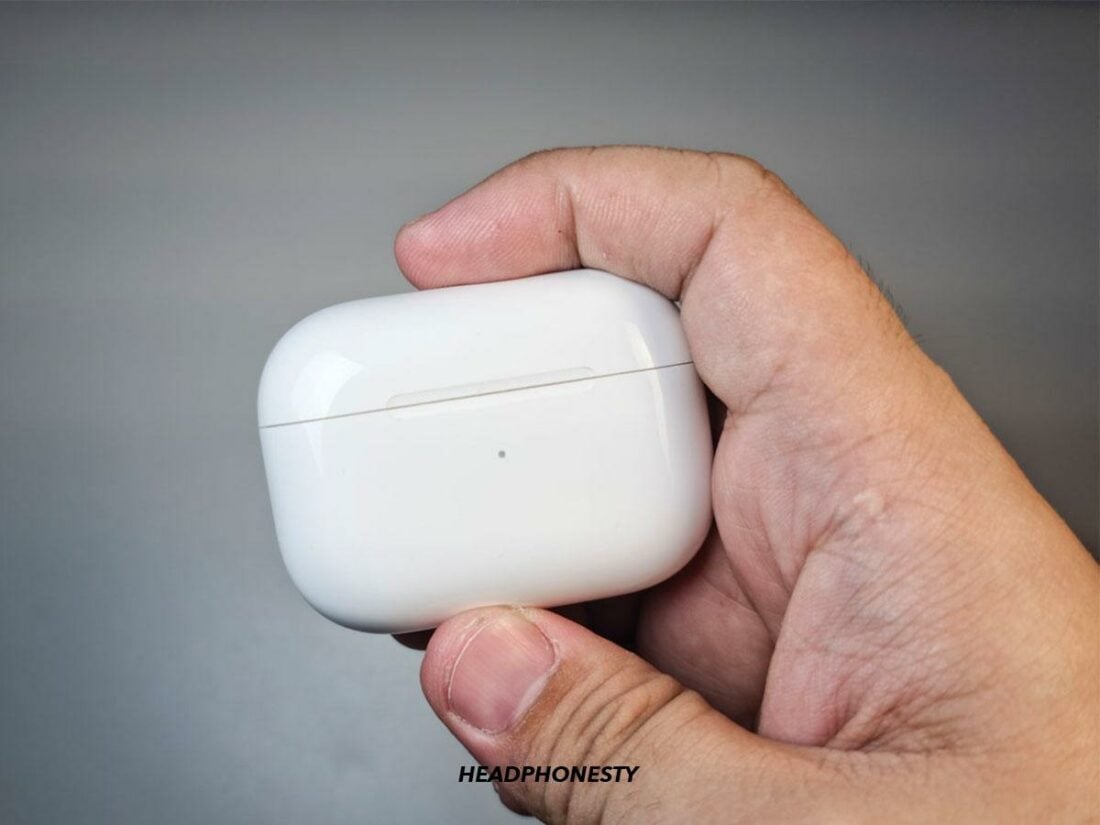
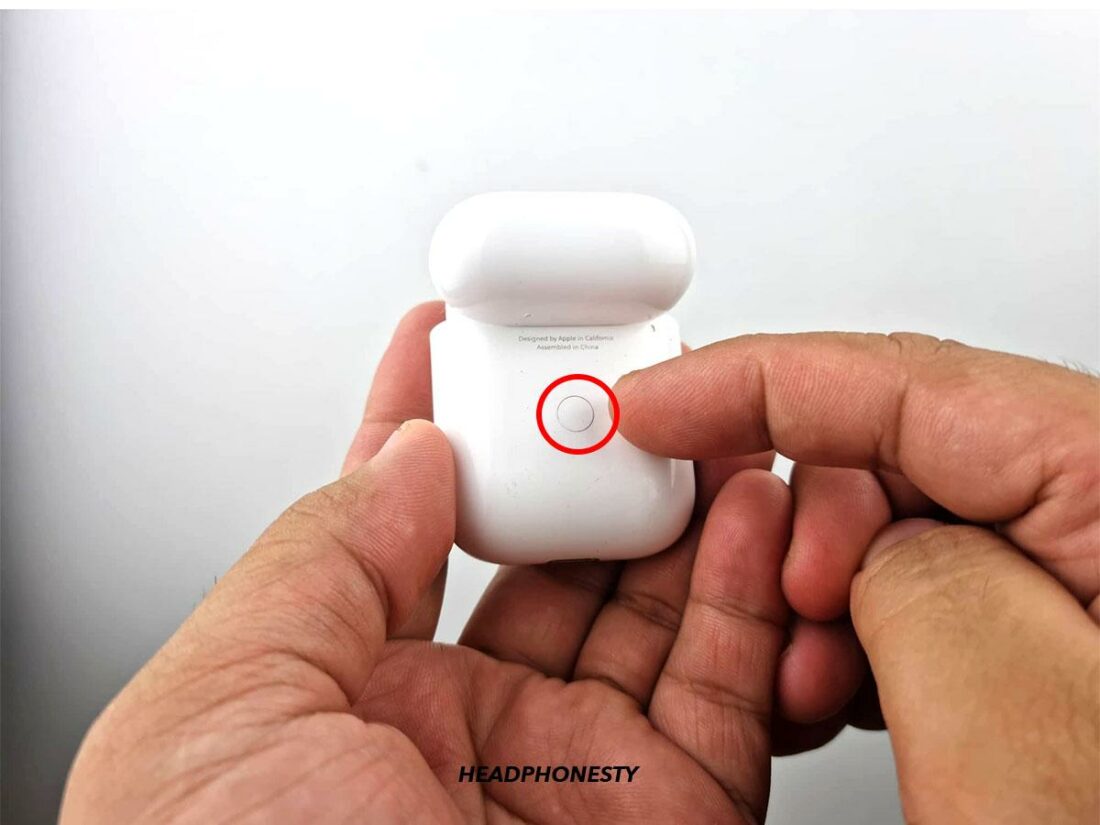
Forget this device - Open the charging case lid and hold the setup button for 15 seconds. The status light changes from amber to white.If you’re using AirPods with a wired charging case, your status light will be inside the case. But if you’re using a wireless charging case, the status light is at the front of the case.
Setup button - Keep the charging case open and near your device so the AirPods can connect.
Connect

If your AirPods still don’t reset after following these techniques, they’re not resetting correctly. In that case, read our guide on what to do if AirPods won’t reset.
Disable Automatic In-Ear Detection
Usually, this cool feature helps the AirPods know when you insert them into your ears to activate the auto play/pause. When your AirPods’ sensor blocks, then your AirPods won’t stay connected to Mac.
You may encounter this a lot with the AirPods Pro as it uses an optical sensor instead of the skin detection sensor in the 3rd gen.
If you suspect that this is the cause, here’s how you can switch off AirPods’ in-ear detection on your Mac:
- Click on the Apple logo at the top of your screen.
Apple logo - Go to System Preferences.
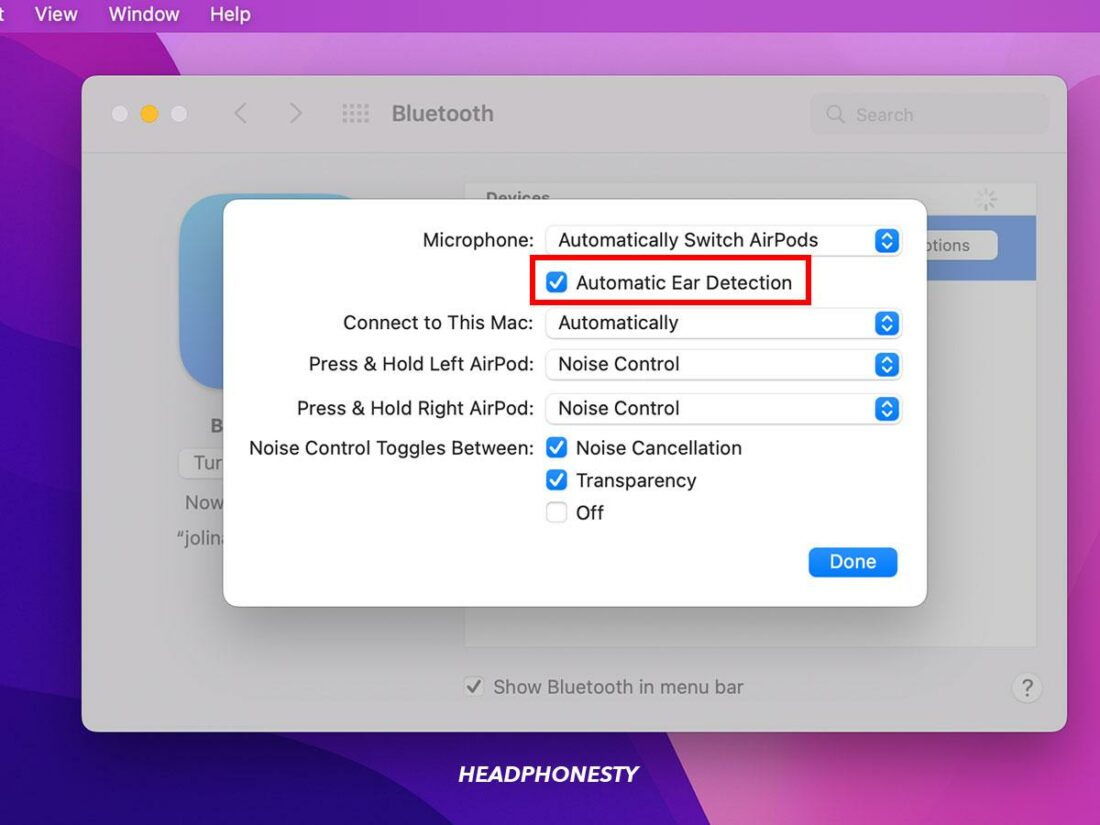
System preferences - Select Bluetooth and choose Options.
Options - Toggle the Automatic Ear Detection on or off.
Automatic Ear Detection


Disable Automatic Switching
AirPods can automatically switch between iPhone, iPad, Mac, or Apple TV that use the same Apple ID. This feature allows you to quickly switch between devices without re-connecting your AirPods.
For example, when listening to music on your iPhone, you can quickly answer a Facetime call on your Macbook and return to the music afterward.
Though it’s a pretty helpful feature, some users find it frustrating. For example, you can unintentionally switch devices you’re using just by flipping open your AirPods case, and whoosh – your AirPods drop connection.
Automatic switching may be why your Airpods keep disconnecting from your Mac. Here’s how to turn this feature off:
- Click on the Apple logo and select System Preferences.
System preferences - Choose Bluetooth for a list of connected devices.
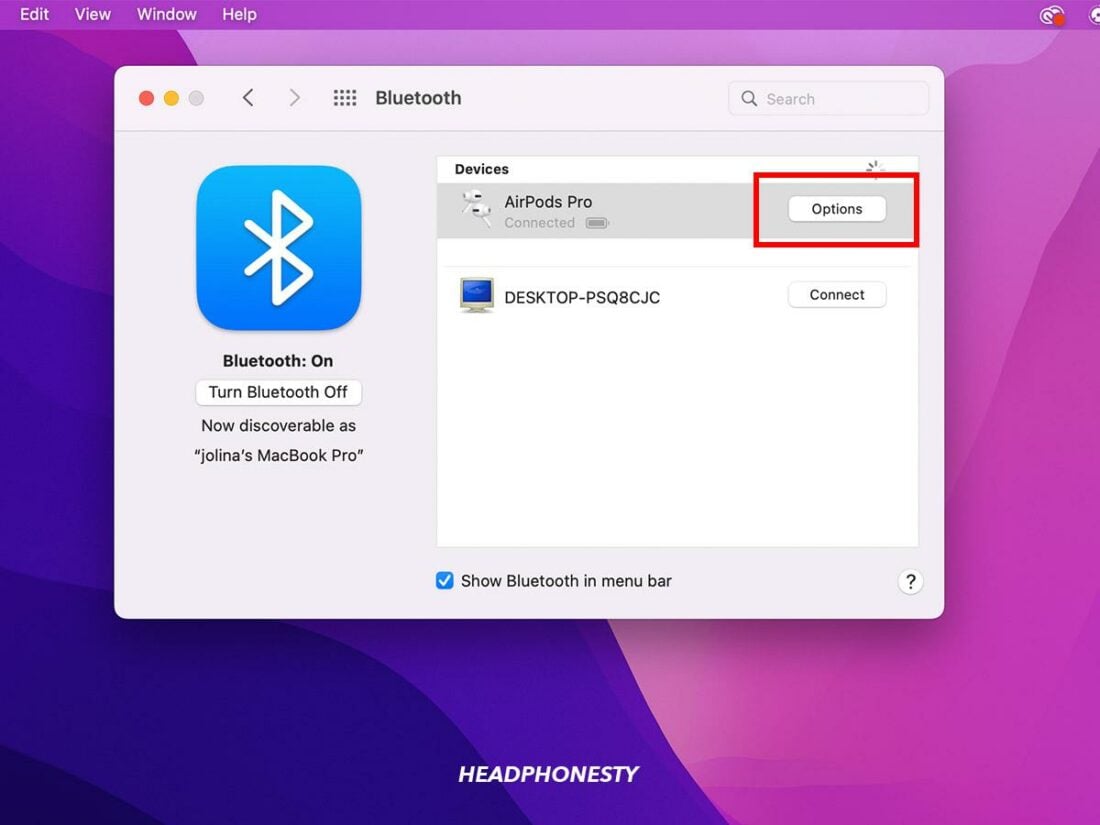
Bluetooth - Find your AirPods and click on the Options button.
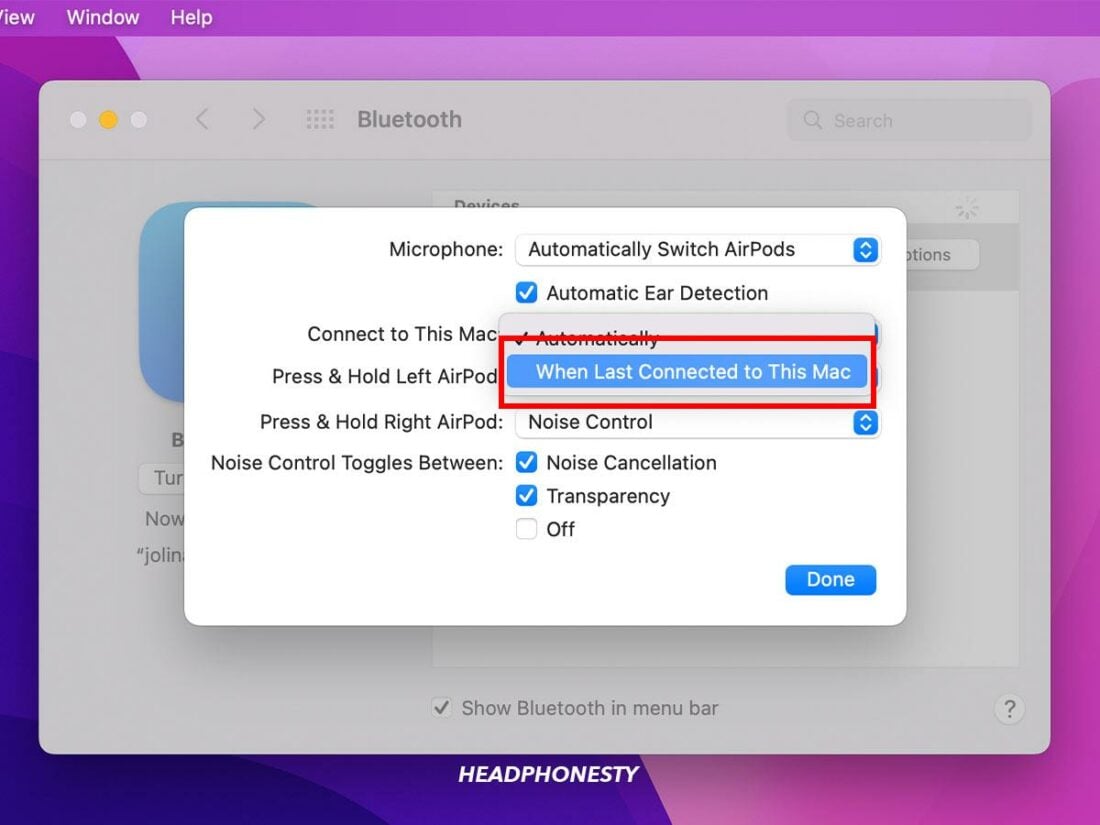
Options - You’ll see a Connect to This Mac menu. Select When Last Connected to This Mac to turn off the Automatic Switching.
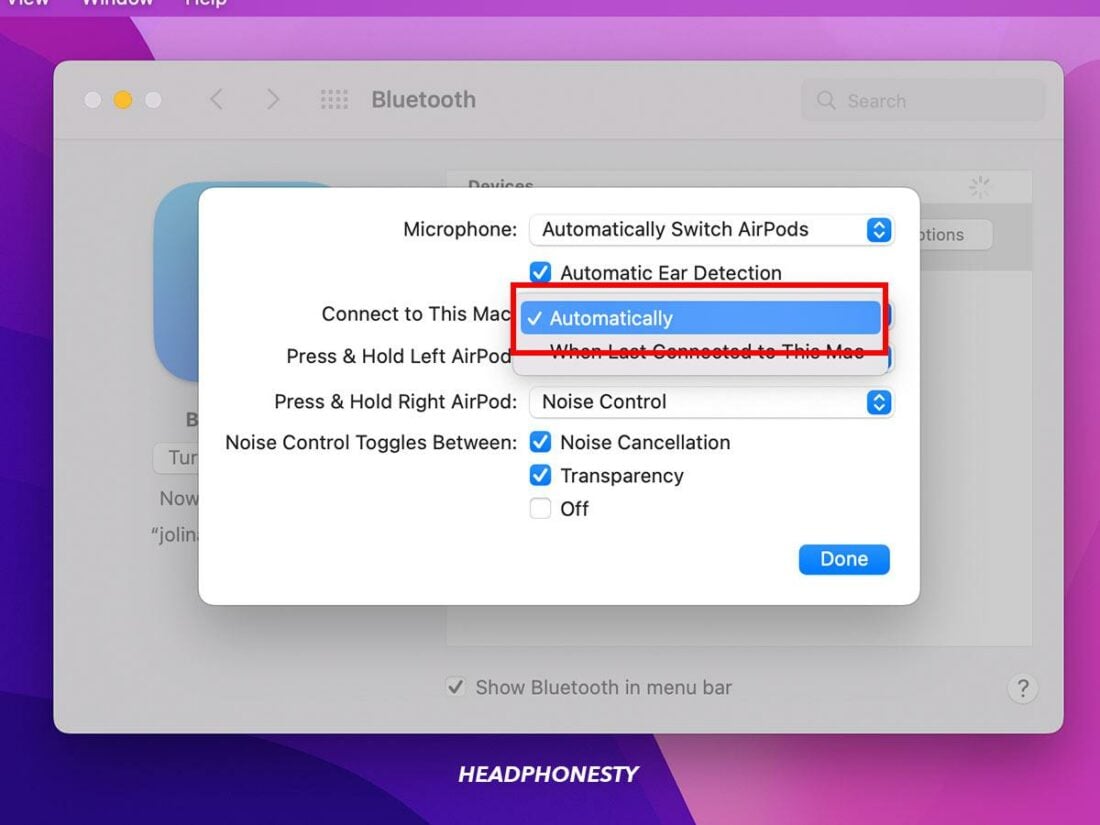
When Last Connected to This Mac - If you want to get this feature back on, you can simply select Automatically.
Automatically
Clean Your AirPods
Dirt is another reason why your AirPods keep disconnecting from your Mac. Yes, dirty AirPods aren’t just an aesthetic problem.
Debris on the metal band at the bottom of your AirPods can keep it from connecting to the charging case – causing them to run out of battery. In addition, extreme dirt build-up can cause Bluetooth interference, leading to your AirPods dropping connection.
If your AirPods have been collecting a lot of debris, you should try cleaning them. Here’s how to do so:
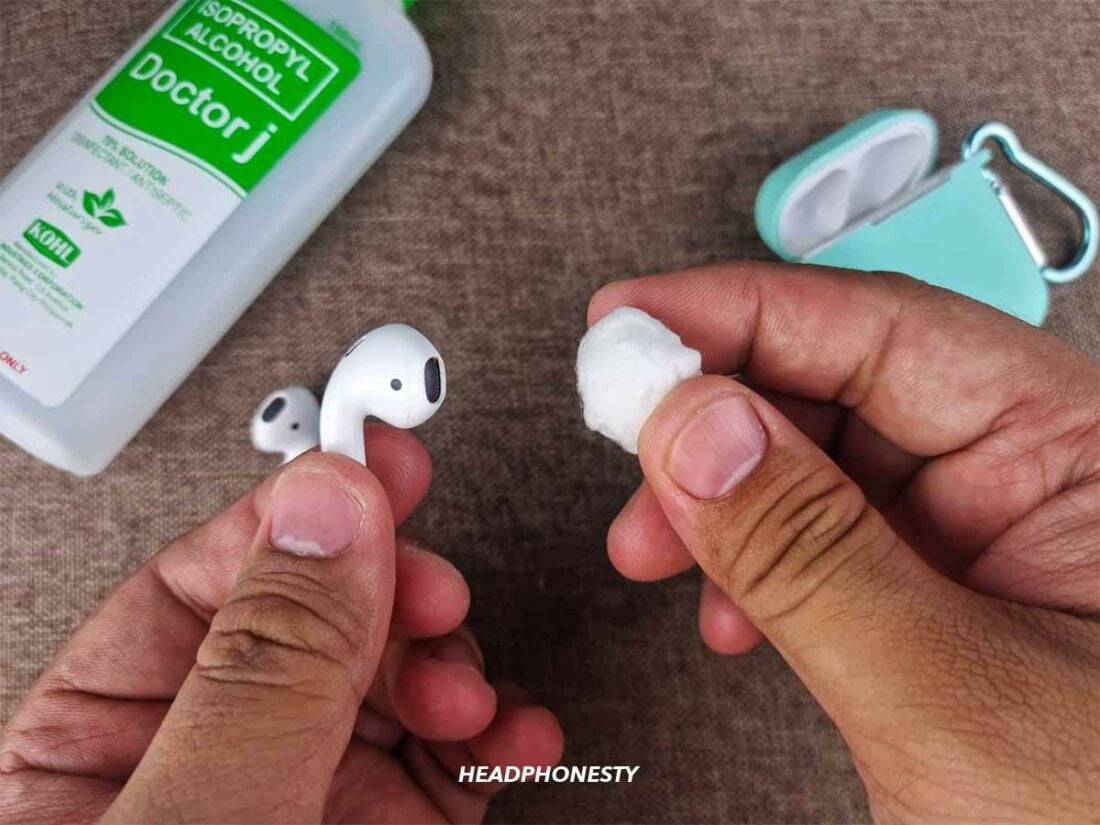
- Dip a cotton ball into 70 percent isopropyl so you can clean the surface of your AirPods.
Cotton ball with alchohol - Use a wooden toothpick to get the dirt stuck in your AirPods’ crevices. Be gentle when doing this to avoid damaging the speaker’s mesh.
Cleaning with toothpick - Finish your clean with a brush and wipe from a lint-free cloth to remove stubborn debris.
Wipe to remove stubborn debris


Update MacOS to the Latest Version
Apple performs some background updates for you, but if your AirPods keep disconnecting from your Mac, you must try a manual macOS update.
It’s best to back up your Mac before doing this so you don’t lose any files.
After that, you can update your macOS. Here’s what you should do:
- Click on the Apple logo in the menu bar and select System Preferences.
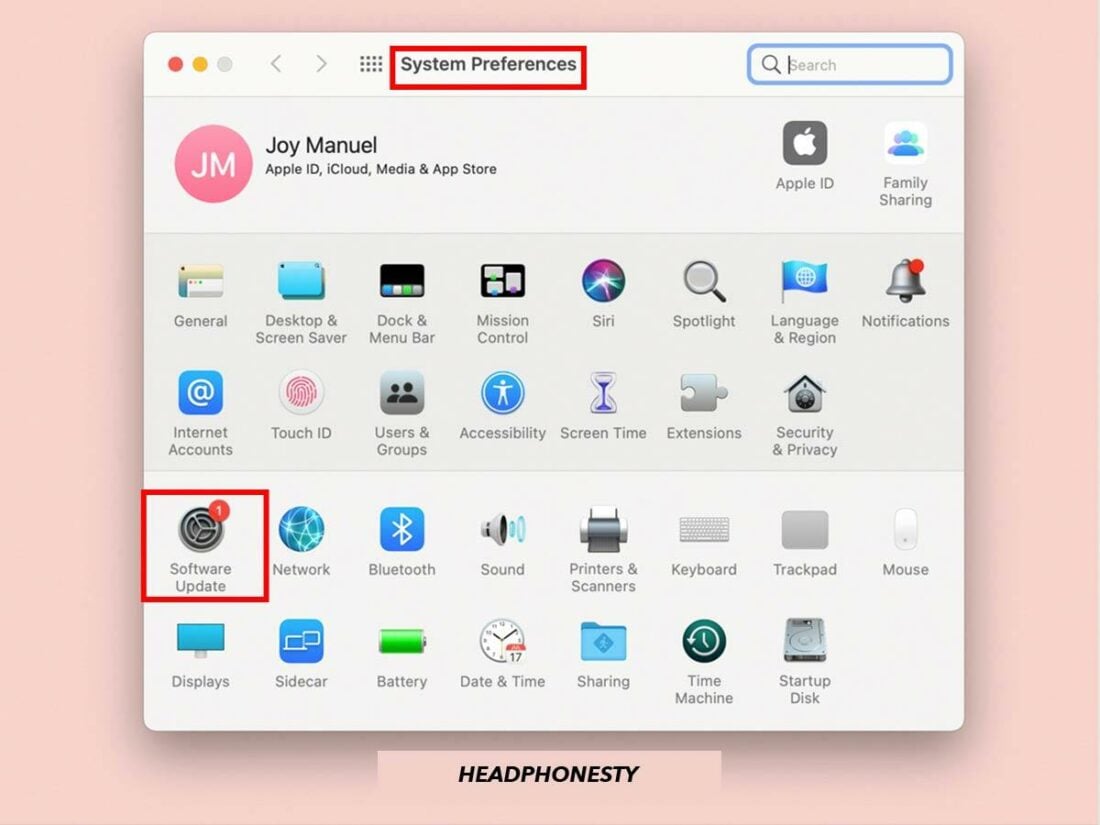
System preferences - Select Software Updates to reveal any available updates for your Mac.
Sofware update - Your Mac will scan for updates, and if it finds any, you’ll receive a prompt to Update Now or Upgrade Now. If there’s none, your Mac is up to date.
Updating
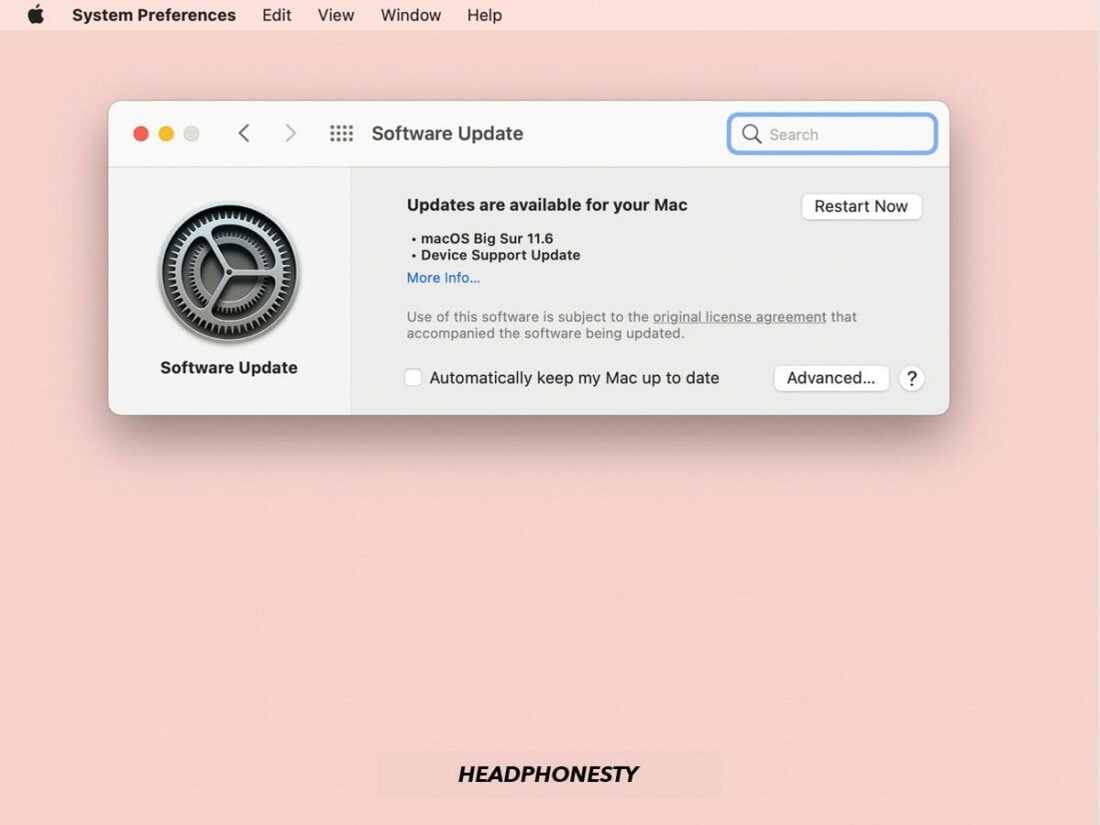
Unfortunately, there’s no guarantee that you’ll always find software updates. When this happens, use the search feature to find Software Update, or open the App Store from your Dock and click Updates Tab to find newer macOS versions.
Update AirPods’ Firmware
Ignoring the bugs and glitches in outdated firmware can be why your AirPods are dropping connection. After all, there’s a reason Apple updates them. That said, the best way out is to update your firmware.
These firmware update settings are automatic, but sometimes, they aren’t. In this case, it means you have to update them manually. Here’s how to do that:
- Insert your AirPods back into their charging case.
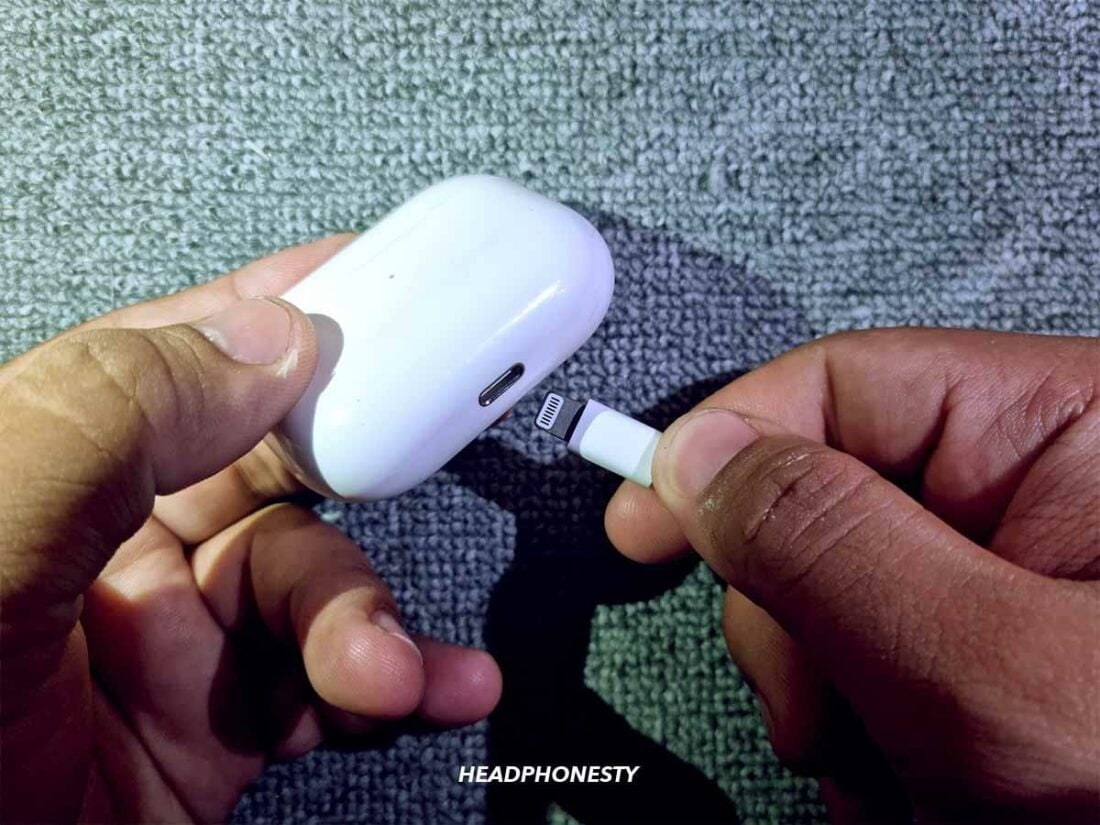
Insert your AirPods back into their charging case - Connect the charging case to a power source with the AirPods still in it.
Connect the charging case to a power source with the AirPods still in it - Place your AirPods close to your Mac. Ensure that your Mac has an internet connection when you do this.
Ensure that your Mac has an internet connection - If there’s any firmware update, your AirPods will start downloading them.

Reset Your Mac’s Bluetooth Module
This technique should be your last resort, as resetting your Bluetooth module will disconnect any Bluetooth devices connected to your Mac. That is, no Bluetooth-connected keyboard or mouse.
That said, there are a couple of ways you can reset your Mac’s Bluetooth module. Here’s a step-by-step guide for each technique:
MacOS Big Sur or earlier
The reset Bluetooth module is readily available through the macOS user interface for macOS Big Sur or earlier. Simply do this:
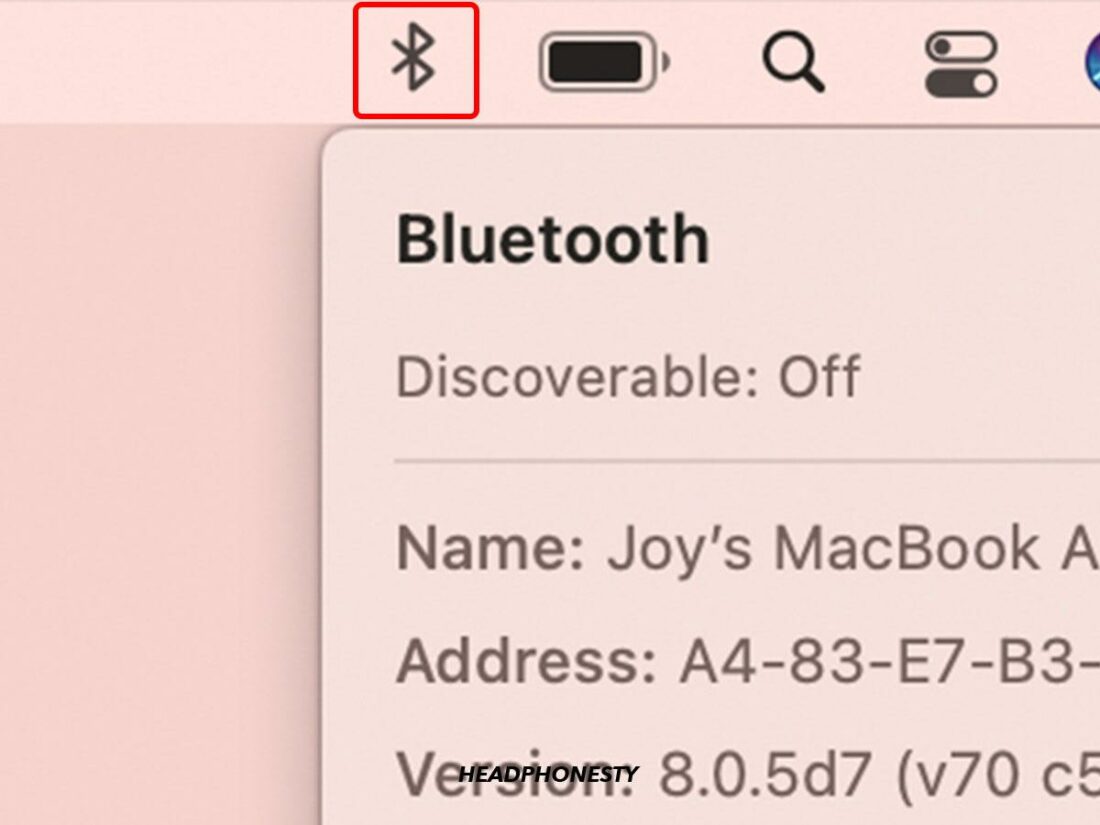
- Press and hold the Option + Shift keys while clicking on the Bluetooth icon in the menu bar.
Bluetooth icon - Select Reset the Bluetooth Module from the drop-down.
Reset the Bluetooth Module - Click OK to confirm your instruction.

MacOS Monterey or later
You can’t use the method for Monterey or later since Apple removed it from the user interface. Fortunately, there’s a workaround that’s a bit more technical, but it gets the work done. Here’s how:
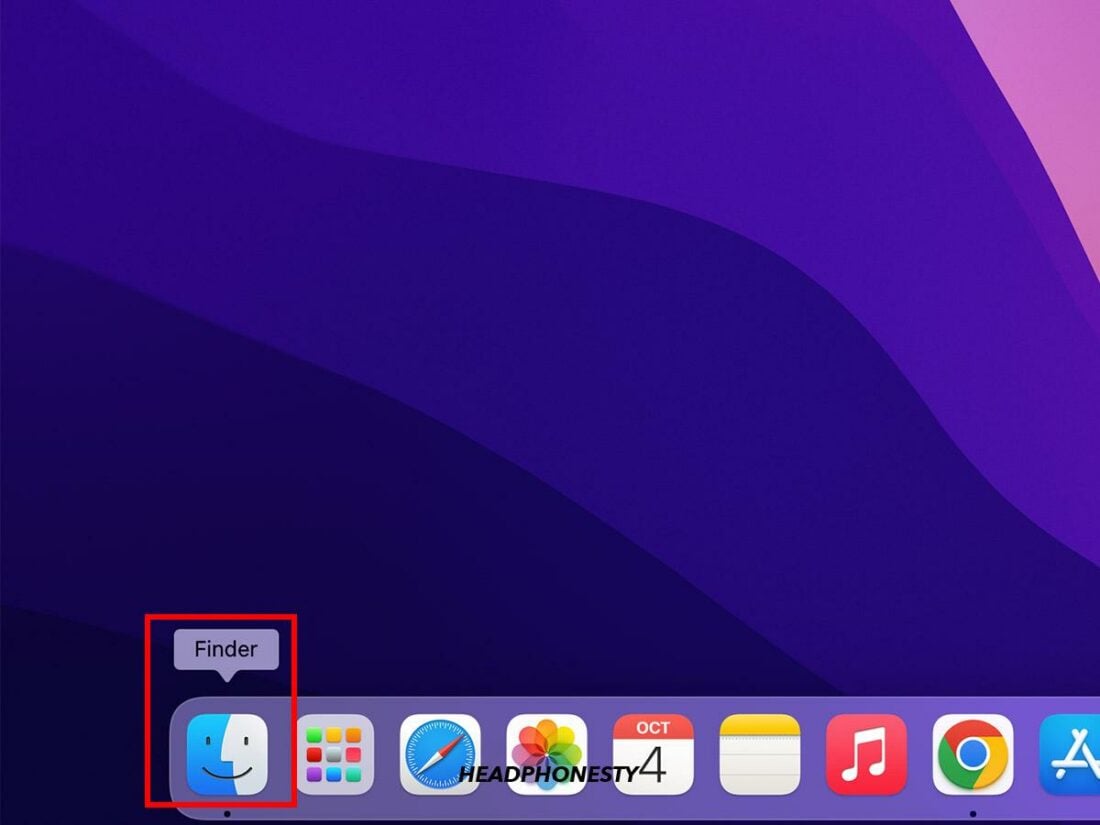
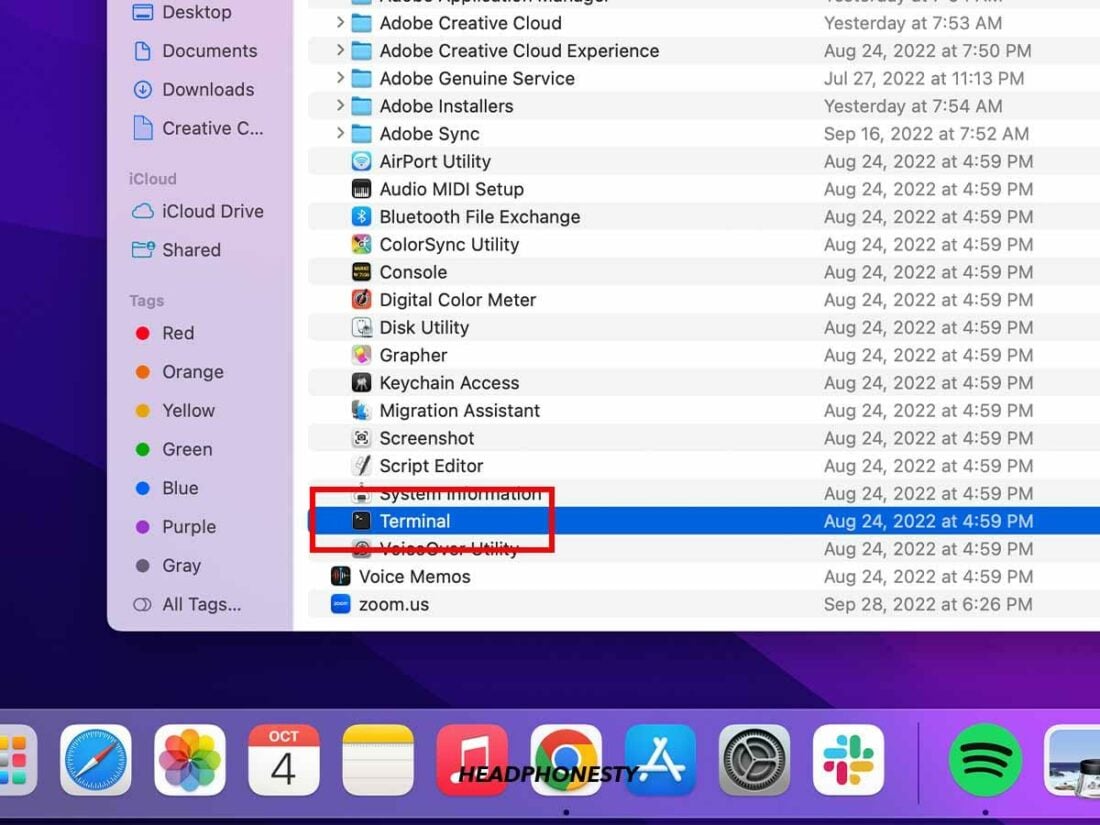
- Open the Launchpad in the dock.
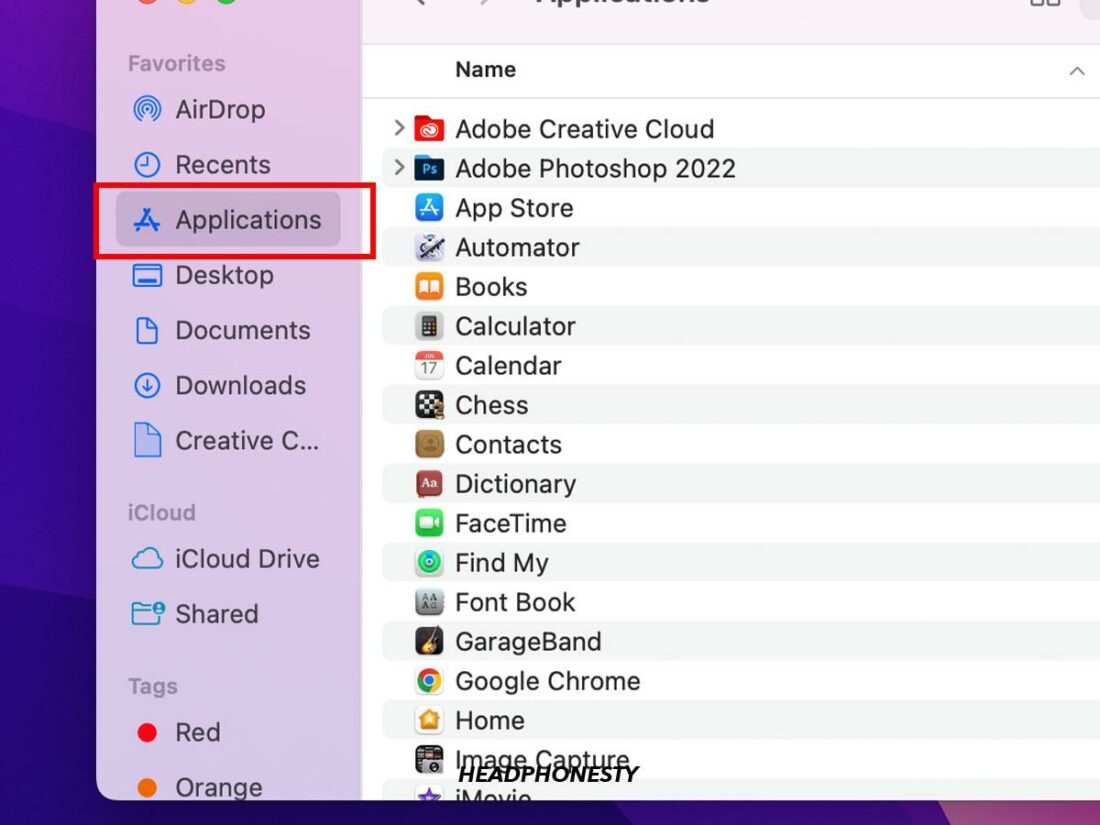
Finder - Select Applications from the menu on the left.
Applications - Click Utilities and select Terminal.
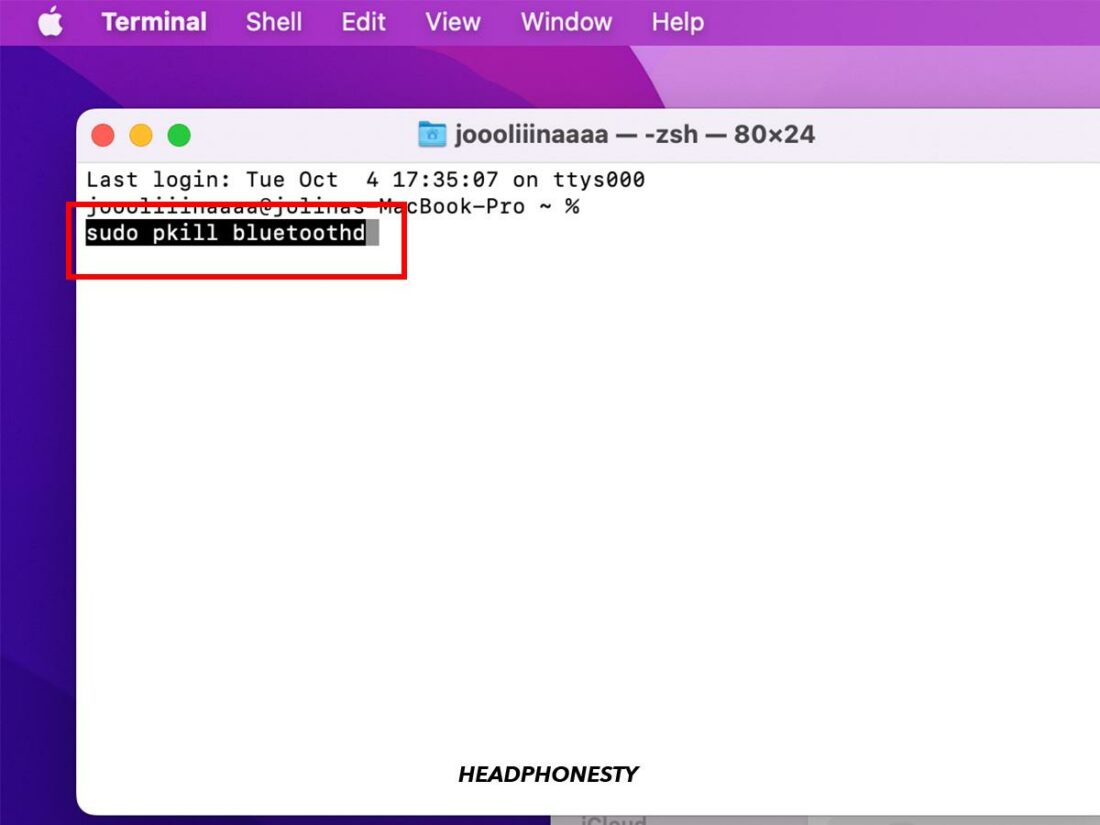
Terminal - Copy this instruction into the terminal sudo pkill bluetoothd and hit Enter.
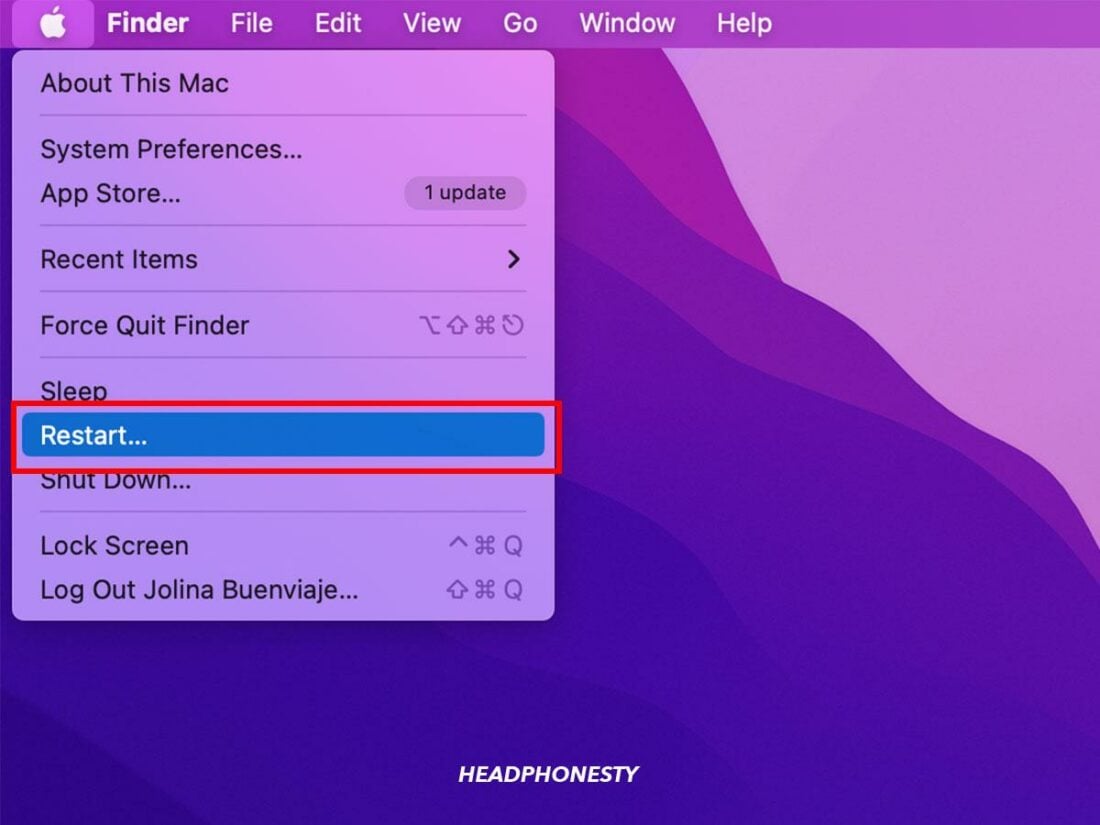
sudo pkill bluetoothd - Restart your Mac so the Bluetooth Reset can kick in.
Restart
If Nothing Works, Contact Apple Support
By this time, if your AirPods just keep disconnecting from your Mac, you can be sure it’s a hardware issue. In this case, you can contact Apple Support for replacement.
Simply visit Apple’s support website for more information on how Apple can help you fix your disconnection issue for your Mac.
But there’s a condition:
Your AppleCare warranty has to be active. In addition, you still have to be within a year of your AirPods warranty coverage unless you have the AppleCare+. With AppleCare+, you get extended service coverage with perks like free battery service and 24/7 priority access to Apple experts.
Not sure if your AirPods are still under warranty? You can check it on the Apple coverage web page.
Conclusion
If you got to use your AirPods for a while, you’d find that Apple delivers on its promise of a great listening experience through the AirPods. But it all goes away if your AirPods keep disconnecting from your Mac.
Thankfully, you’ve learned the most effective tricks to fix this connectivity issue. Now, you can enjoy a seamless listening experience without hearing the disconnection beep now and then.
What do you think of our tips on fixing AirPods that keep disconnecting from your Mac? Think we missed any techniques? Let us know in the comments.