Learn how to replace your headphone pads plus helpful tips to properly take care of them.
We all know the great feeling of using high-quality headphones with comfy ear cushions, which is why nothing is as annoying as using a perfect pair of headphones with deformed or worn-out ear pads.
You’d think that the best course of action would be to simply replace your headphone pads, and you’d be right! However, with the majority of headphones having “non-removable” pads, it could seem like a scary task.
There’s no need to worry, though! Replacing your headphone pads isn’t actually a complicated process that’ll take hours of your time. We took the liberty of making it even easier for you by creating this ultimate guide that’ll teach you how to properly replace headphone pads as well as other tips on how to keep them in shape.
When to Replace Headphone Pads
With how often we use our headphones, we tend to not notice just how bad our headphone pads deteriorate throughout its entire lifespan. The only time it’s highly noticeable is when it becomes irritable to wear and adversely affects the overall sound quality of the headphones.
Before moving forward, you need to determine if it’s actually the right time to change your headphone pads. You wouldn’t want to make unnecessary permanent changes to your headphones, would you?
For your reference, below are some of the more common reasons why you should replace your headphone pads.
Rough Feel and Cracking
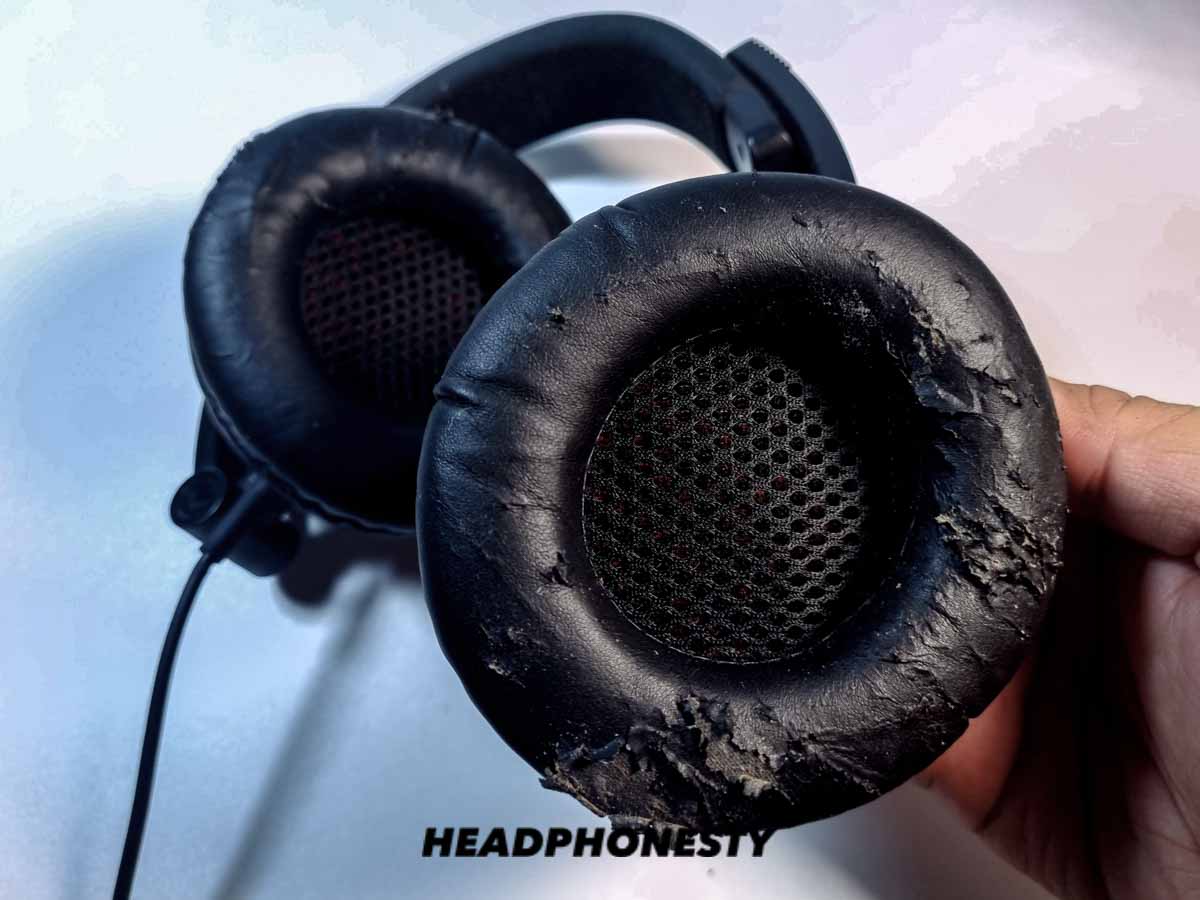
If your headphone pads start feeling rough when you put them on, and the materials show any sign of cracking or crumbling, then it’s definitely time to swap them out.
Rot and Smell

Because of the porous nature of foam headphone pads, it’s normal for them to absorb sweat, oils, and dirt over time. This continuous buildup of moisture can eventually deteriorate and rot the ear cushions so much so that no amount of cleaning will be able to get rid of the stench, let alone make them usable again.
Deformation
If you feel your headphone pads just aren’t as comfortable as they used to be, then it might be time to replace them. Headphone pads are prone to losing their springy bounce and can be deformed into a flattened shape, which can be quite irritable to wear.
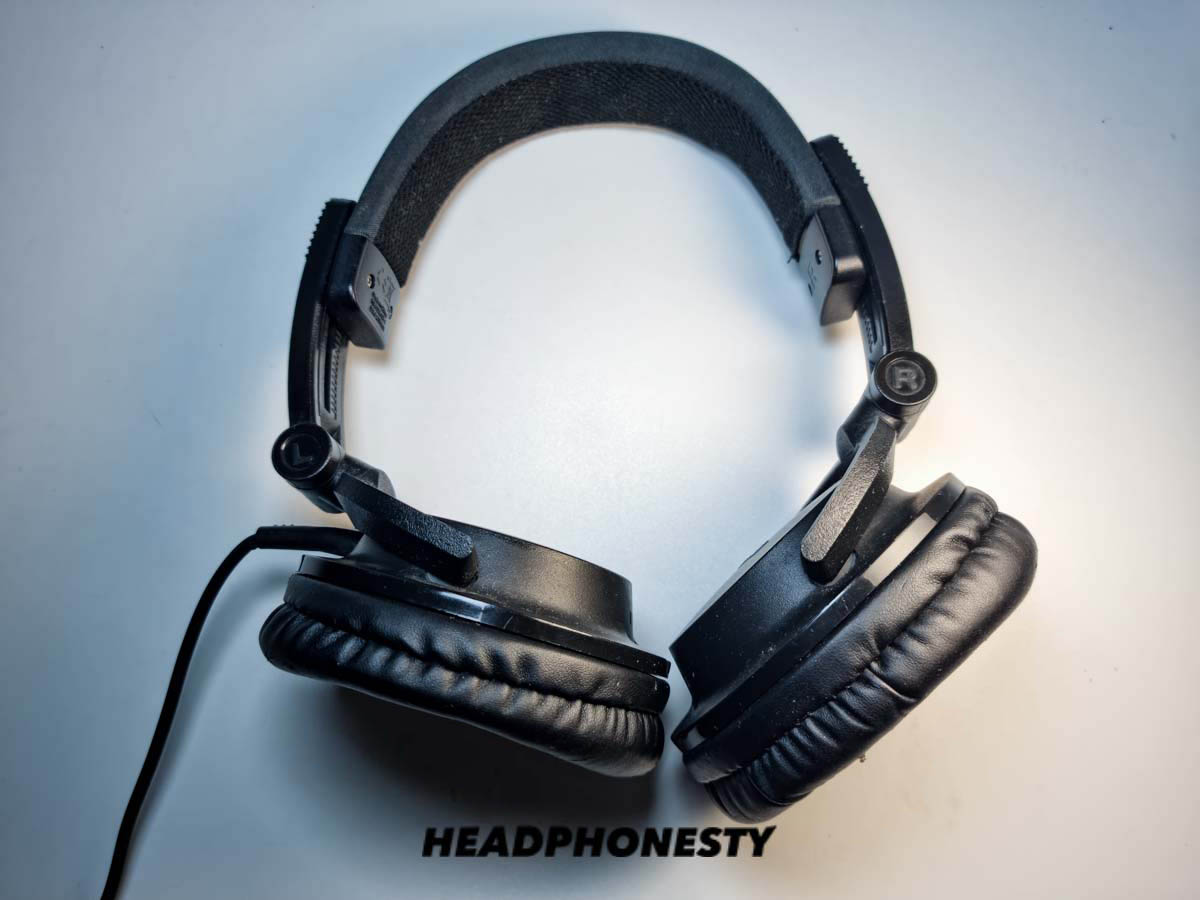
How to Replace Headphone Pads
Replacing your headphone pads aren’t as complicated as you think they are. In fact, the entire process is quite simple and can be done easily in minutes.
Although some headphone models may require specific steps when it comes to swapping out their headphone pads, we’ve covered all the possible methods for all headphone types so far.
Prepare your tools
Always having everything you need at hand before starting the headphone pad replacement procedure (or any other project), is a great way to stay organized.
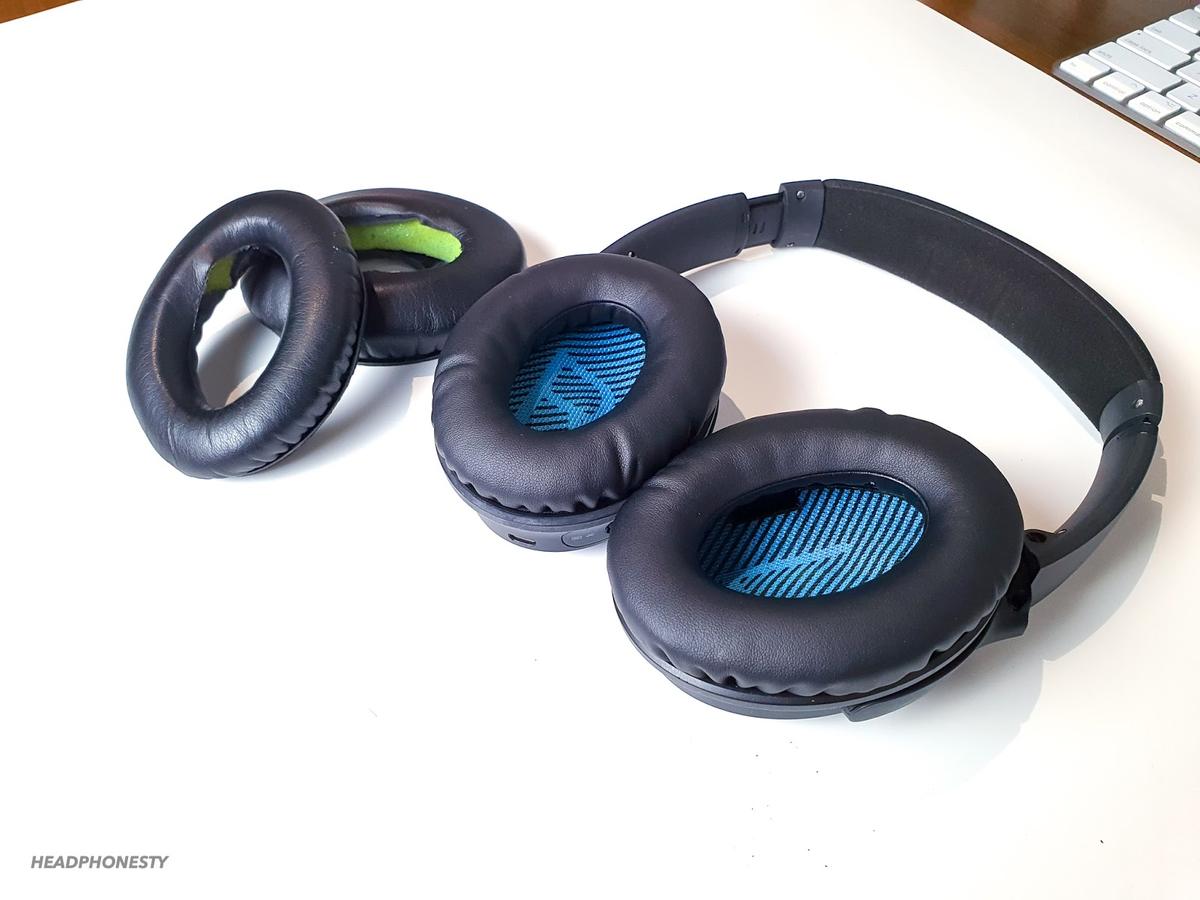
1. Replacement Pads
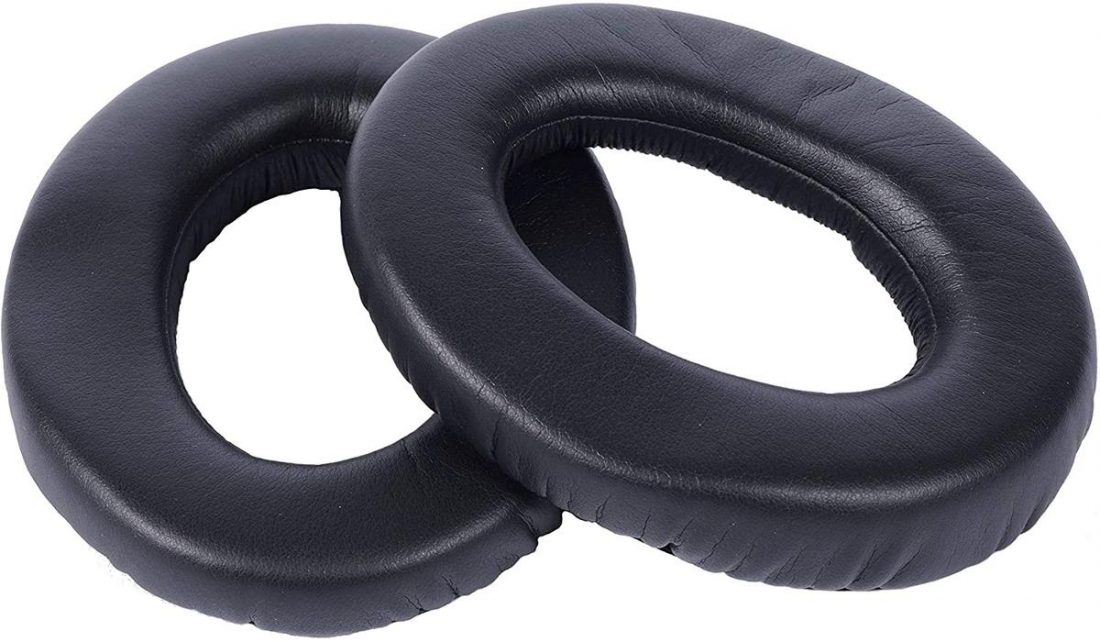
The first thing that you’ll need is a new pair of replacement headphone pads.
If your manufacturer did not provide you with a replacement pair and you don’t know how to look for one that fits your specific headphone model, please refer to the ‘How to Find the Best Replacement Headphone Pads’ section of this article.
2. Earpad Tape
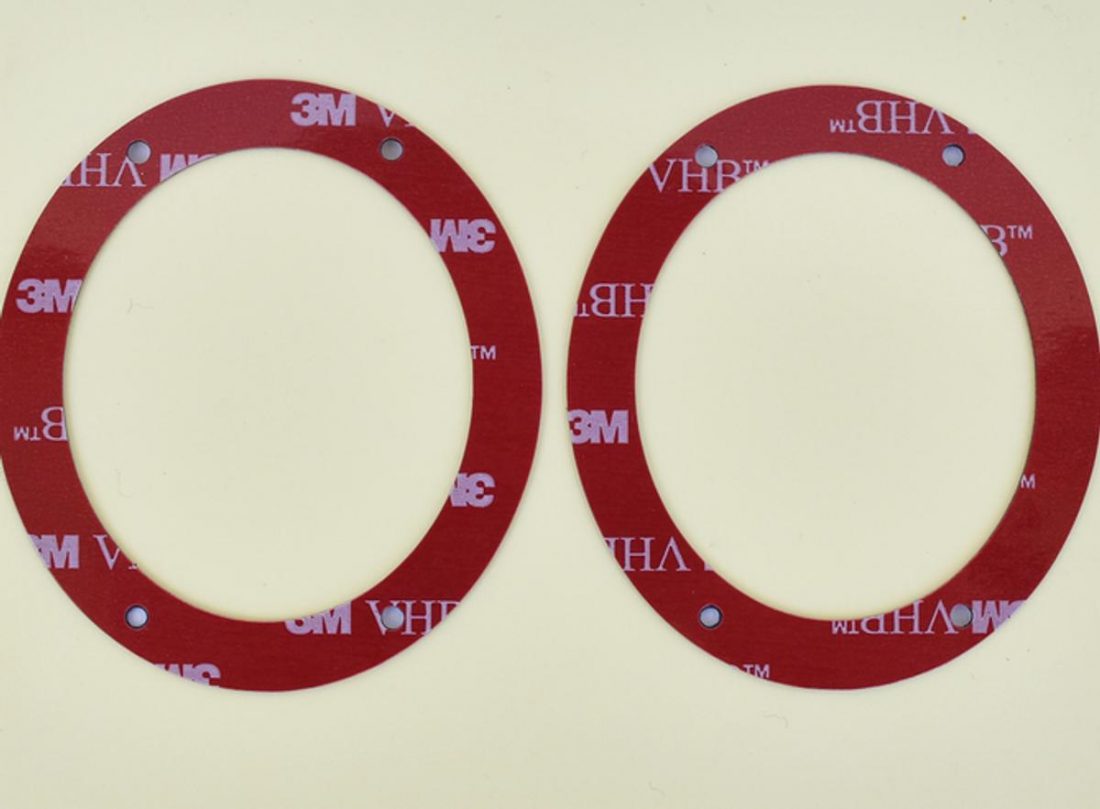
You need earpad tapes to secure the replacement pads. In most cases, earpad tapes usually come with their own pair of replacement pads, but if they don’t, you can always buy a separate pair of your own.
3. Prying Tool
The prying tool can be anything you can use to pry/remove the headphone pads. You can buy a professional prying tool in any tech store. Or, if you want to save some cash, you can also use an unused plastic card, a dull butter knife, or even your fingers. Anything can work as long as it can get in between and separate the headphone pads from the headphones without damaging the latter.
4. Old Toothbrush
The old toothbrush (or any other brush with similar bristles) will be used to clean the dust and old tape/glue residue left behind by the old headphone pads.
Remove Old Headphone Cushions from Headset
Before you proceed with taking off the headphone pads from your headset, it’s important to know that these pads are attached differently depending on the model of your headphones.
Some pads are made to be easily removable, others are securely glued in place, while some even need a few screws to take them off. We’ve listed careful instructions for each scenario, so make sure you know exactly how your headphone pads are attached before proceeding with a specific method.
- Method 1: For Easily Removable Pads
- Method 2: For Glued Headphone Pads
- Method 3: For ‘Non-Removable’ Headphone Pads
Method 1: For Easily Removable Pads
This is the easiest method and only works for headphone pads that aren’t attached using glue or other adhesives.
- Using your hand or a prying tool, lightly pull away at a small portion around the outer edge of the headphone pad. This is to check if there is any adhesive used.
- If you’re sure there isn’t any glue, continue working around and pulling away at the rest of the headphone pad until it completely comes off the driver.
- Repeat the process for the other side.
The fabric can stretch just enough for you to remove the ear pads without tearing them as long as you’re careful.
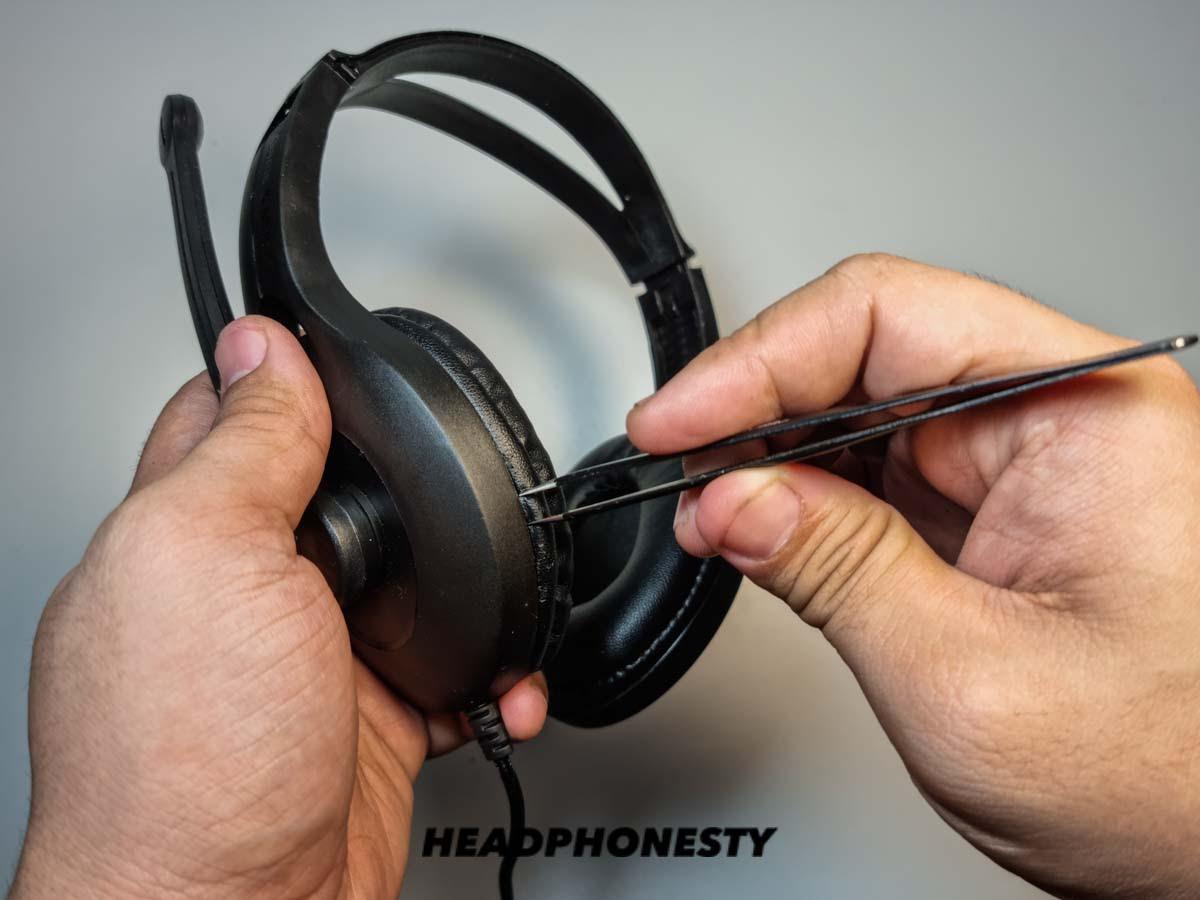
Method 2: For Glued Headphone Pads
Some headphone brands, such as Beats, use factory adhesive or glue to attach the ear pads to the headphone drivers.
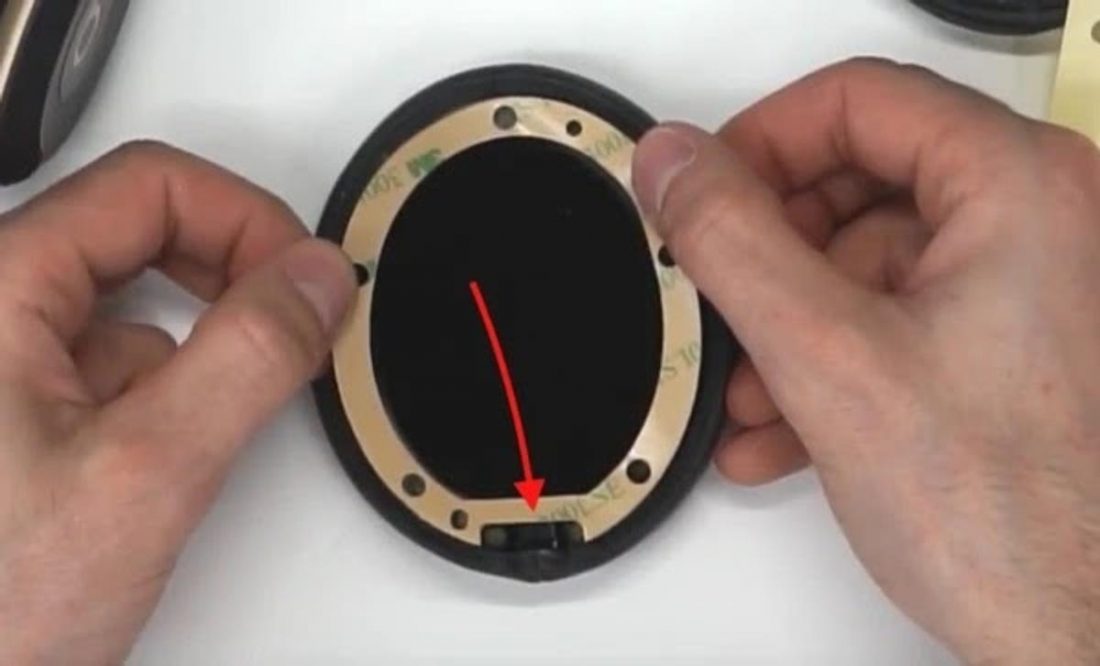
- Using the prying tool, gently insert it in between the ear pad and the speaker housing of the headphones.

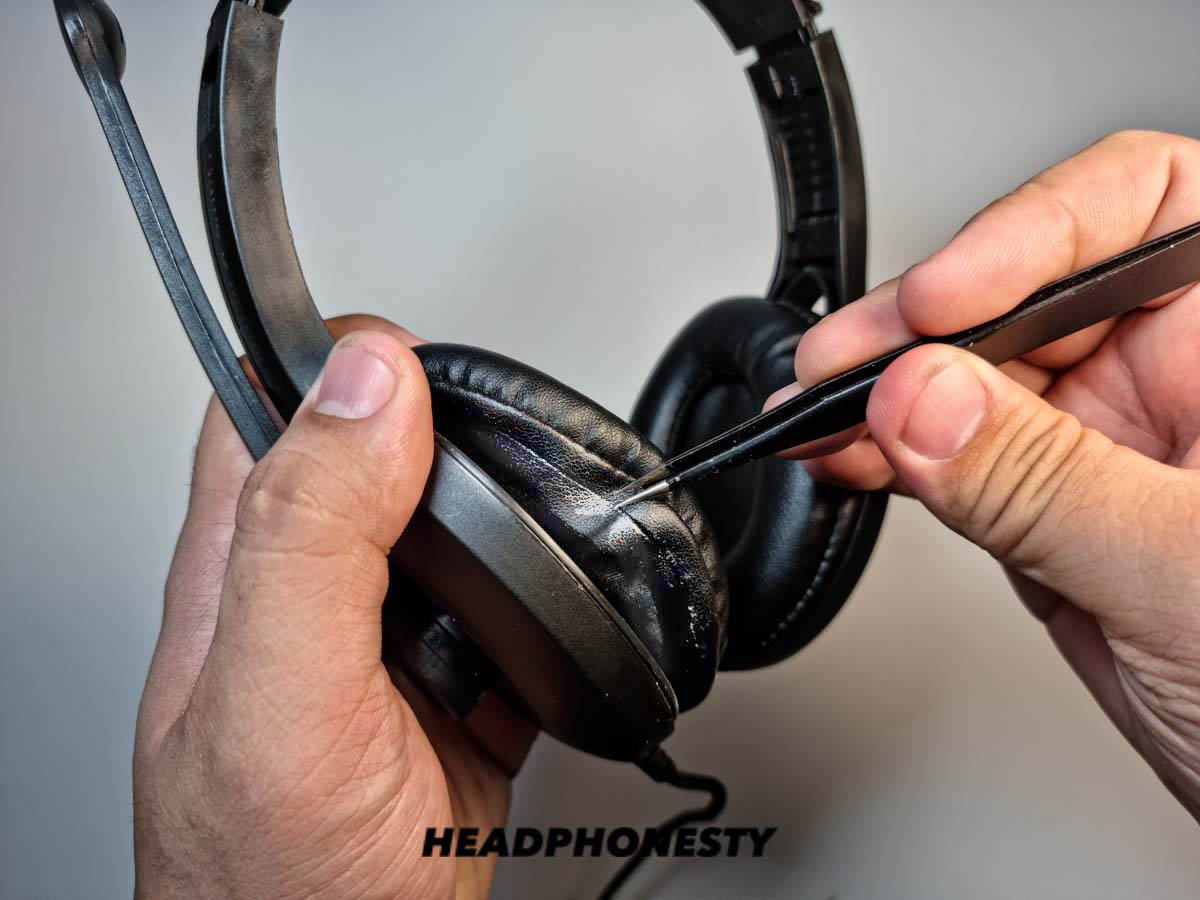
Place prying tool in between speaker and earpads - Start prying away at a small section of the headphone pad then work your way around the entire pad until it eventually comes off.
Removing glued earpads using prying tool - Using the old toothbrush, gently brush off any dirt or glue left behind on the headphone driver. You can follow it up by damping a small cloth or pad with alcohol and rubbing off any remnants of adhesive residue you can find.
Remove leftover glue using toothbrush - Repeat the process for the other side.

If you’re afraid to damage your headset, it always helps to start slow and steady while making little progress when prying your headphone pads away.
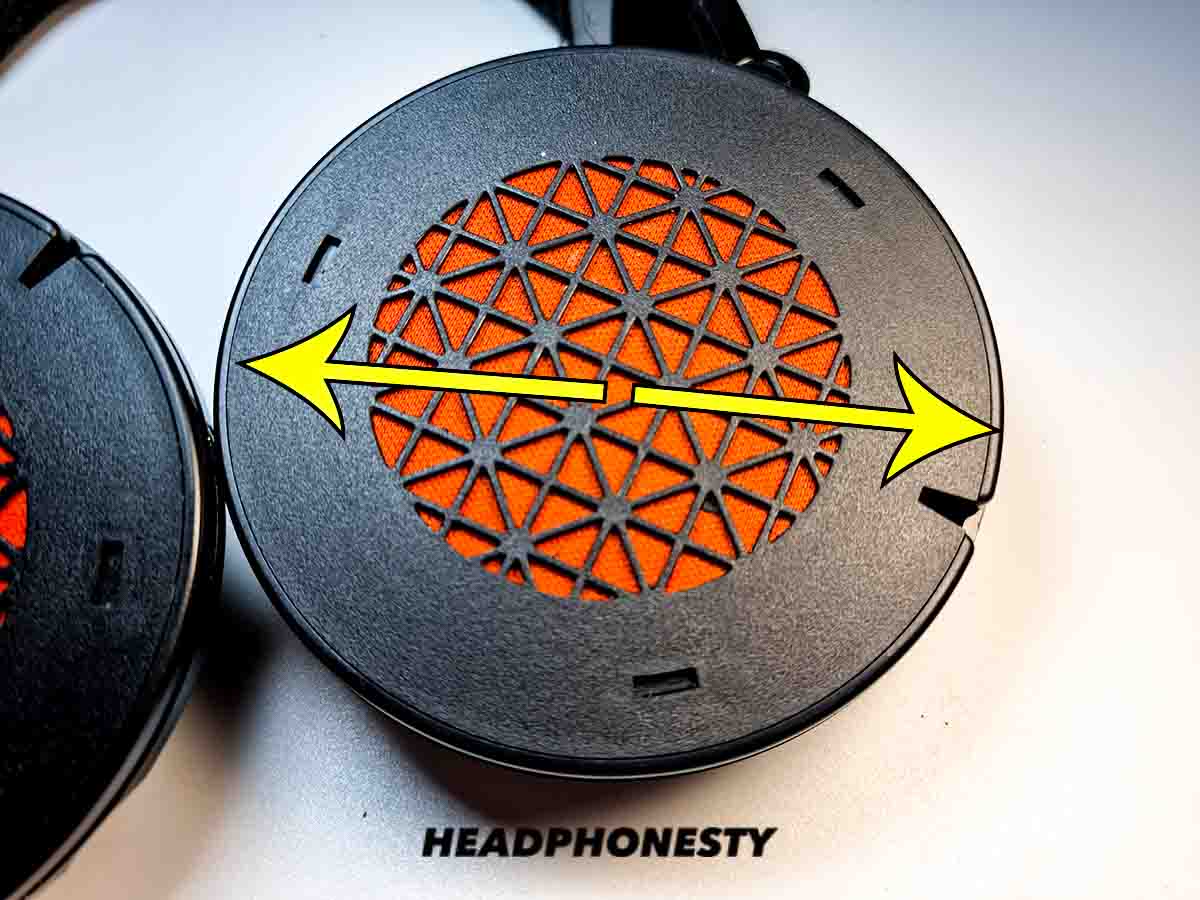
Method 3: For ‘Non-Removable’ Headphone Pads
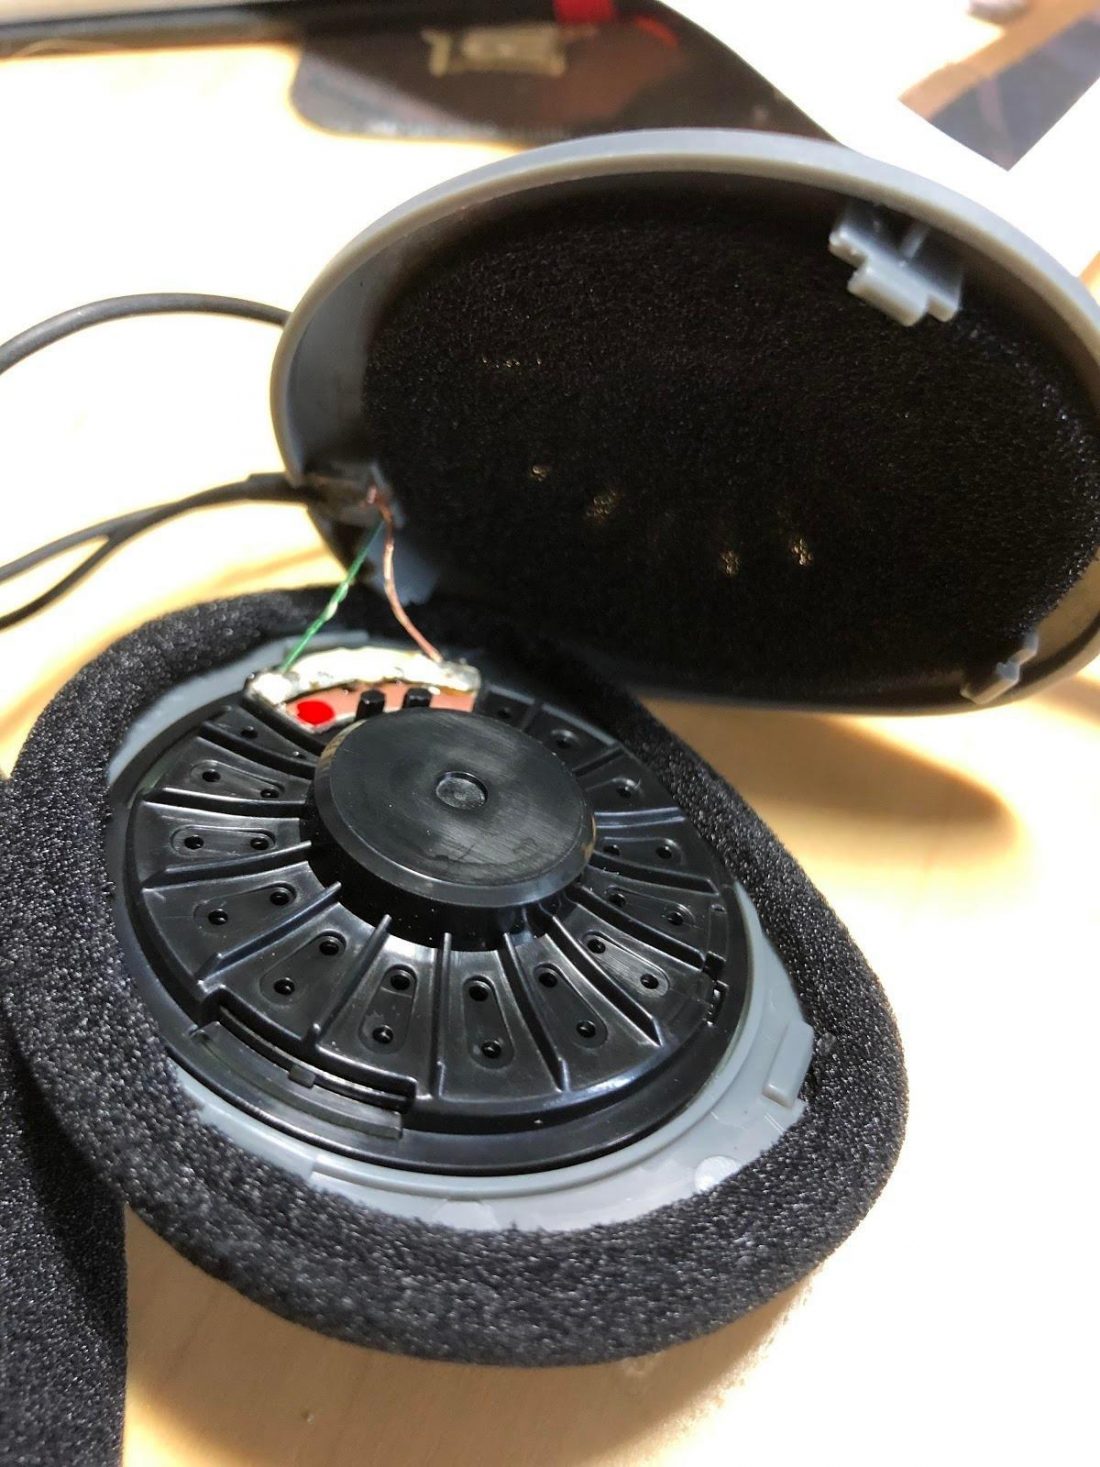
There are specific headphone models, such as the Koss KPH30i, where it is near impossible to remove the ear pads without having to pry the entire headphone driver housing open. As such, this method requires a little bit more skill and effort to pull off.
Install Replacement Headphone Pads
When installing your new headphone pads, it’s important to go easy and take your time to ensure that the pads fit perfectly.
For Easily Removable Pads
- Line up one side of the cloth/material of the new pad into the plastic lip or groove of the headset.
- Once you’ve got a portion of the cloth securely in place within the lip, continue with the rest of the headphone pad by sliding the ring of cloth into the groove using your fingers.
- For a snug fit, slightly rotate the ear pad to secure the entire ring of cloth in its place.
For Glued Headphone Pads
- Apply the Earpad Tape to each headphone pad. Ensure the tape is in its proper place by checking that the holes of the tape perfectly line up with holes in the pad’s frame.

Applying earpad tape to a headphone pad (From: joesge.com). - Once the tape has been properly applied to the pad, remove the paper cover from the backside of the tape. If you’re having trouble peeling off the paper, try using a small flat edge screwdriver.
- Properly orient the earpad before attaching it to the headset. Make sure that the seam of the pad is facing down towards the cable/charging port.
- Attach the headphone pad to the headset and hold it in place for a couple of seconds or until securely installed.
How to Find the Best Headphone Pads Replacement
Headphones come in different shapes and sizes, which is why it’s a must that you replace your headphone cushions with perfectly fitting earpads.
This section will tackle the two main ways to find the best replacement headphone pads as well as a bonus tip for our crafty readers.
Check with Your Headphone Manufacturer
The best way to have perfectly fitting headphone pads is to buy the same pads that the manufacturers use for your specific headset model. Simply look up your headphone model and search for the associated replacement ear pads that are compatible with it.
If applicable, you can also check if your warranty covers the replacement of your headphone pads.
Shop for Replacement Headphone Pads Online
Shopping for replacement headphone pads online should only be done if your manufacturer doesn’t provide them or if you’re looking for pads with a different look/feel and at a more affordable price.
How to Measure Headphone Pads
When ordering headphone pads online, it’s best to determine the measurements of your earpiece so that you can buy replacement pads that will comfortably fit your headphones.
Here’s how you find the average width and length of an oval-shaped earpiece:
- Measure the length in inches
- Measure the width in inches
- Add the two values together
- Divide the result by 2 to get the average
- Convert inches to millimeters
- Find headphone pads that are closest to the average size of the earpiece
Example:
An oval-shaped earpiece that is 3.25 inches long by 2.25 inches wide.
Legend: L – Length | W – Width | As – Average Size
Formula: (L + W) / 2 = As
Solution:
(3.25 + 2.25) / 2 = As
(5.5) / 2 = As
2.75 = As
The average size of headphone pads that you should look for is 2.75 inches or 70 mm.
Determine Which Material to Buy
When picking out what headphone pads to buy, always note that different materials offer different levels of comfort, durability, sound isolation, and even sound quality.
Here’s a quick comparison table of the most common headphone pad materials:
| Material | Features |
|---|---|
| Memory Foam | Allows for a wider soundstage, provides better comfort than other materials |
| Velour | Has cleaner bass, generally comfortable, less ventilation, requires more cleaning |
| Genuine Leather | Adds bass, very durable and can last longer, little to no ventilation, easier to clean |
| Protein Leather | More bass, is comfortable yet durable at the same time, requires less effort to keep clean |
BONUS: DIY Headphone Cushions
If you’re feeling a bit crafty and want to save a few pennies, here’s how you can make your own DIY headphone cushions.
- You’ll need to obtain some thick and elastic ladies’ hair bands.
Thick scrunchies - Just like putting on easily removable headphone pads, simply insert the end of each hairband to the plastic lip or groove of your headphones.
- Once you’ve got a portion of the hairband securely in place within the lip, continue with the rest of the headphone pad by sliding the rest of the elastic into the groove using your fingers.
DIY headphone pads

What to Expect When Replacing Headphone Pads
Replacing your headphone pads affects not only the overall look and feel of the headset but also its characteristics and performance. Here’s what you can expect from this headphone pad replacement procedure.
Sound Quality
Different headphone pads and their corresponding materials can alter the standard distance between the headphone driver and your ears. This inevitably affects the headphone’s overall sound quality and sound stage size.
As previously mentioned, each headphone pad material has its own unique characteristics that separate it from the rest. Don’t be surprised if your headset sounds a little bit off when you install new headphone pads made of a different material from the original.
Comfort
One of the more obvious expectations when it comes to replacing your headphone pads is the difference in comfortability and ear breathability between different kinds of material. Some materials may be more comfortable than others while also offering better breathability.
Tips on How to Take Care of Your Headphone Pads
Properly taking care of your headphone cushions allows it to last longer and prevents you from having to spend more money on replacement pads. Here’s how you can take care of your headphone pads, and by extension, the headset itself.
Clean at least once a week
Some headphone pad materials, such as memory foam, are very porous and tend to absorb a lot of sweat and oils during normal usage.
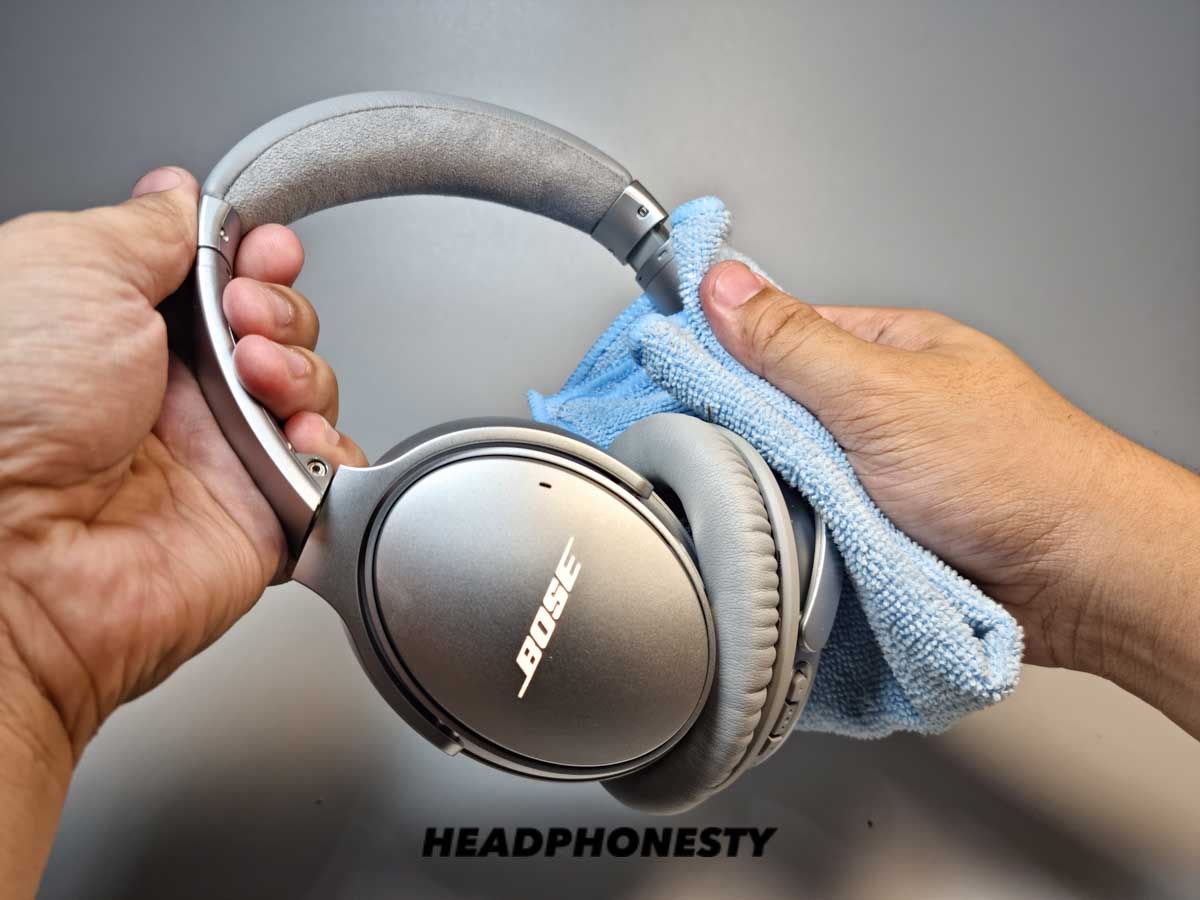
With how often we use our headphones, it’s a generally good practice to use a cloth, dampened with soap, to clean the ear cushions at least once a week. Not only will cleaning your headphones help prevent it from rotting, it also promotes good hygiene by minimizing the growth of bacteria.
Wipe after every use
Simply wiping your headset after every use prevents excess sweat and oil from seeping in and developing a buildup within the headphone pad. It’s as easy as simply using the inside of your shirt to wipe off any excess moisture on your headphones.
Use Leather Conditioner at least once or twice a year
This tip only works if you have headphone pads that have protein leather coating. To protect your headphone pads from locking in moisture and becoming moldy, simply damp a cloth with the leather conditioner and apply it directly over the headphone pads at least once a year.
Store properly
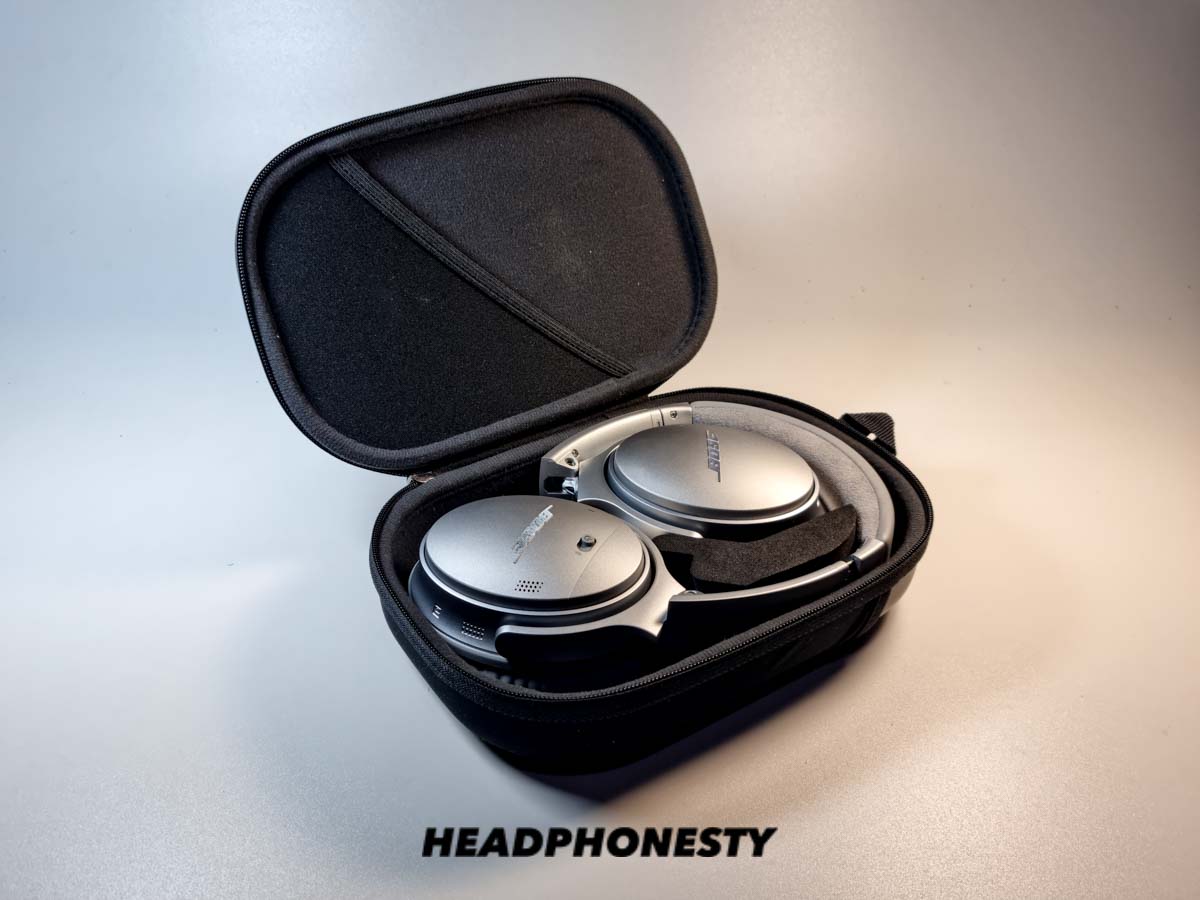
Leaving your headphones out exposes it to light and air, which can speed up the process of headphone pad degradation. It’s also a lot easier to gather dust and dirt when fully exposed rather than when it’s kept in a proper case.
Keeping them in a case when you’re not using them also keeps it safe when carrying it around in your bag.
Use Silica Gel Packets to avoid moisture

A great way to keep moisture away from headphones is using Silica gel packets. These small sachets are available at almost any electronic store and are great at absorbing moisture from their immediate surroundings.
Removing moisture also prevents the development of any odors, so you won’t have to worry about your headphones smelling bad.
Keep your ears clean
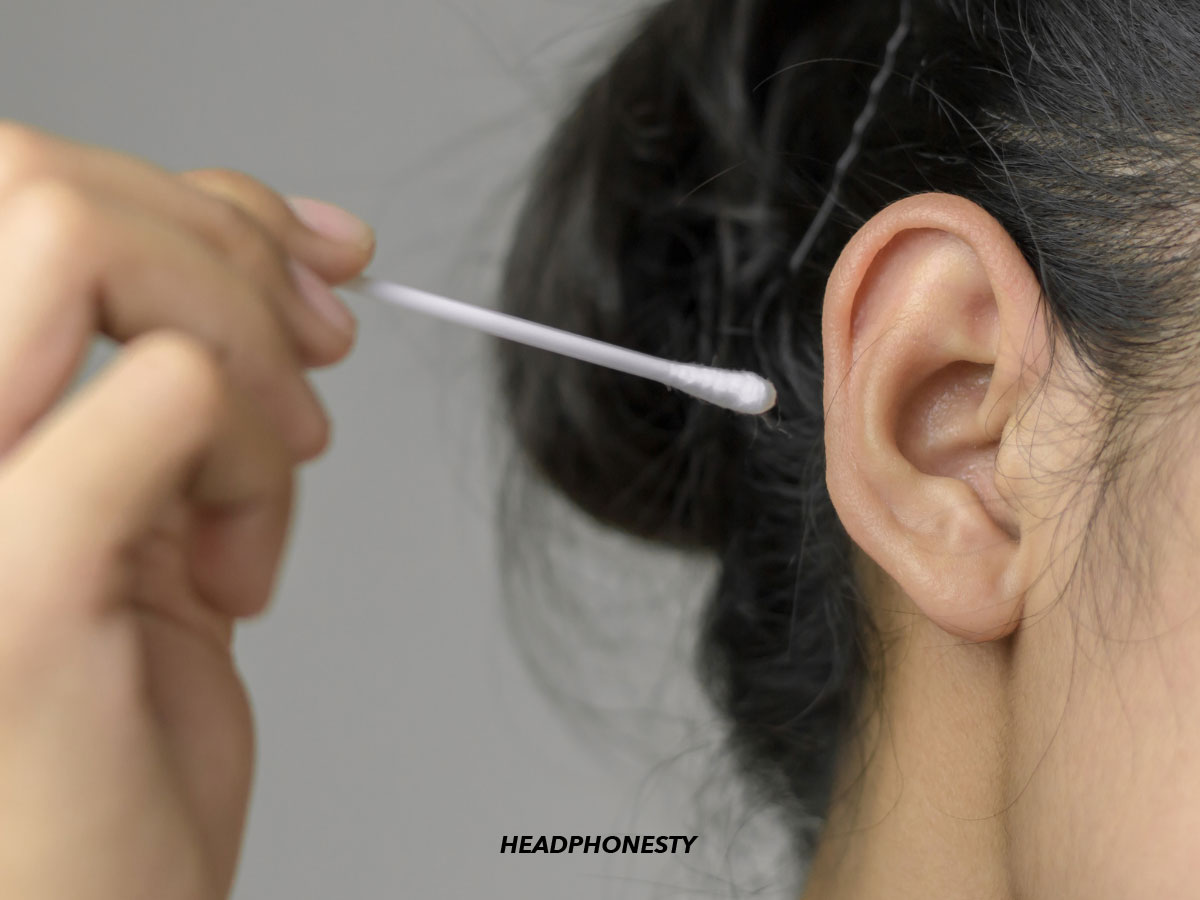
Besides keeping your headphone pads or headset clean, it’s also important that you practice proper hygiene and make sure that you clean your ears regularly. By keeping your ears clean, you won’t be introducing ear wax or dirt that can otherwise contribute to the degradation of the headphone pads.
Conclusion
We hope that with this in-depth guide, you were able to successfully replace your headphone pads, while also learning a thing or two about how to take care of them to improve longevity.
With a pair of newly installed headphone pads, you can now enjoy your tunes with the comfort and overall quality of sound you deserve. Not only that, but you now know the importance of headphone pads and the things you should look out for when in search of a newer pair.
How’d you like our guide? Was it easy to follow? If you’re stuck and need some further assistance with replacing your headphone pads or any other concerns, please feel free to let us know in the comments below, and we’ll be glad to help you out!
Hi Dionne Pascua,
Thanks for your guide, but i still need your advise. I have a problem with my Onikuma K3 headphone. Reason i want to pull the cushion because i want to check the wire inside. got problem with the bass sound. when i touch the cable outside, the bass sound heard. When i release, the sound like far away and slow. I try to pull out the cushion but failed. Need your expertise and hope to hear from you soon.
thanks ya.
I have learned most of this the hard way 🫡
Absolutely valuable information!
Thank you for making this public! 🫡