Got your AirPods acting up and flashing green? Check out these tried-and-true fixes we compiled for you.
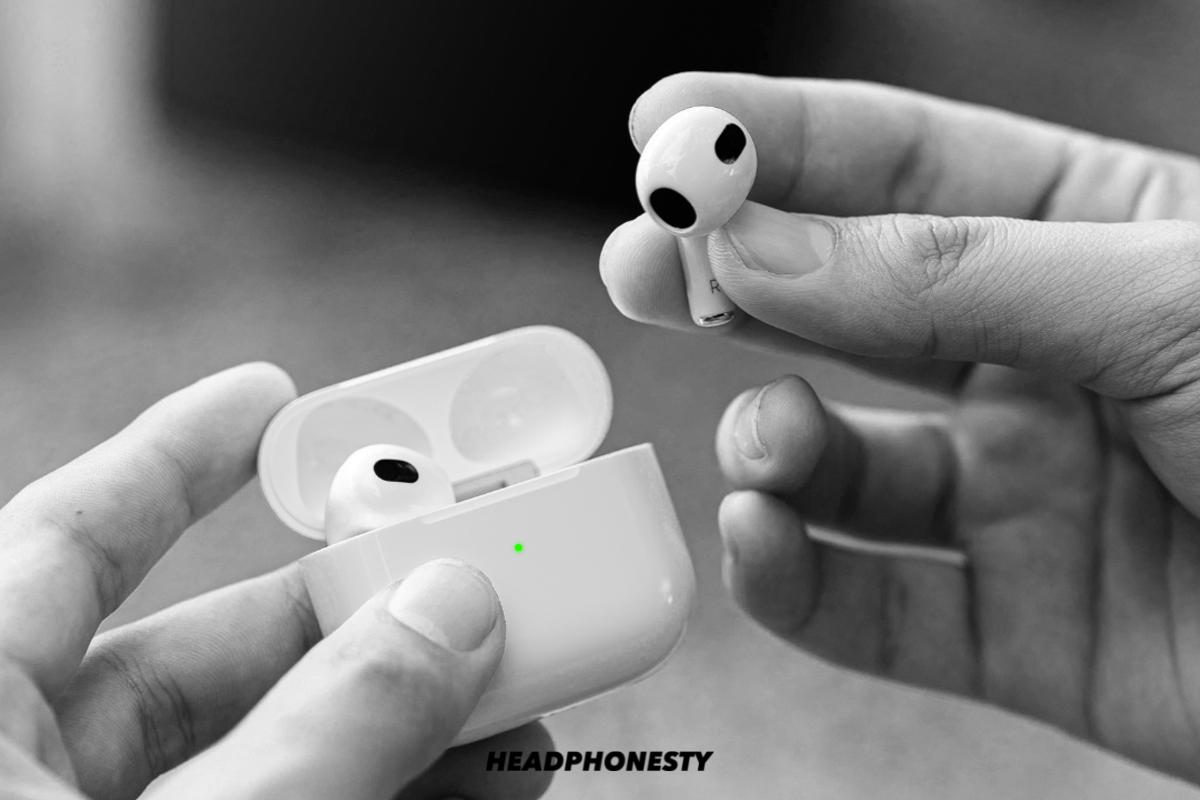
So you’re ready to start the day right, eat breakfast, put on some tunes on your AirPods, and head to work. But for some reason, only one of your AirPods seems to work – and when you check, you see a flashing green light on the charging case.
You have no idea why your AirPods start acting up except for the flashing green light– as if it’s a cryptic message from your AirPods to decode. Now you get to start your day without your pick-me-up tune.
No need to rack your brain thinking about what the flashing green light means and what to do. We’ll detail all that and share some quick (yet proven) solutions below. Let’s get started!
Why Are My Airpods Flashing Green?
A flashing green status light could mean that one of your AirPods is undetected by the case. This could be due to the AirPod not having enough battery or a pairing issue that causes AirPods not to recognize each other as a pair.
Normally, a static green AirPods status light means that either the case or the AirPods have enough charge. If your AirPods are inside, the light indicates the earbuds’ battery. Otherwise, it shows the case’s battery level.

But what does a flashing or blinking green light on AirPods mean? Several problems may be indicated by the flashing green lights, including:
- One of the AirPods not recognized by the case: Your AirPods case can’t register either the left or right AirPods.
- AirPods firmware is outdated: Firmware updates are usually released to fix known issues with the AirPods.
- One AirPod is not charging properly: This might be caused by the dirt buildup inside the AirPods’ case, preventing them from charging.
- One of the AirPods is damaged: If you recently dropped or got your AirPods wet, there’s a chance that there’s hardware damage inside.
Now that you know what the flashing green light can indicate, let’s try different ways to fix that for your AirPods.
AirPods Flashing Green Light & Not Connecting: 5 Proven Fixes
AirPods flashing green and not connecting is a common issue. However, this doesn’t mean there’s no way to solve the problem.
Let’s go over some common solutions:
- Reset your AirPods
- Update your AirPods’ firmware
- Recharge your AirPods and case
- Clean the AirPods’ stem and tail
- Contact Apple Support
If you find your AirPods flashing green and not connecting, resetting them should be your go-to troubleshooting. Resetting your AirPods means they’ll return to the default state like they’re out of the box.
Additionally, resetting should fix any settings, software, or pairing-related issues. Here’s how you can reset your AirPods:
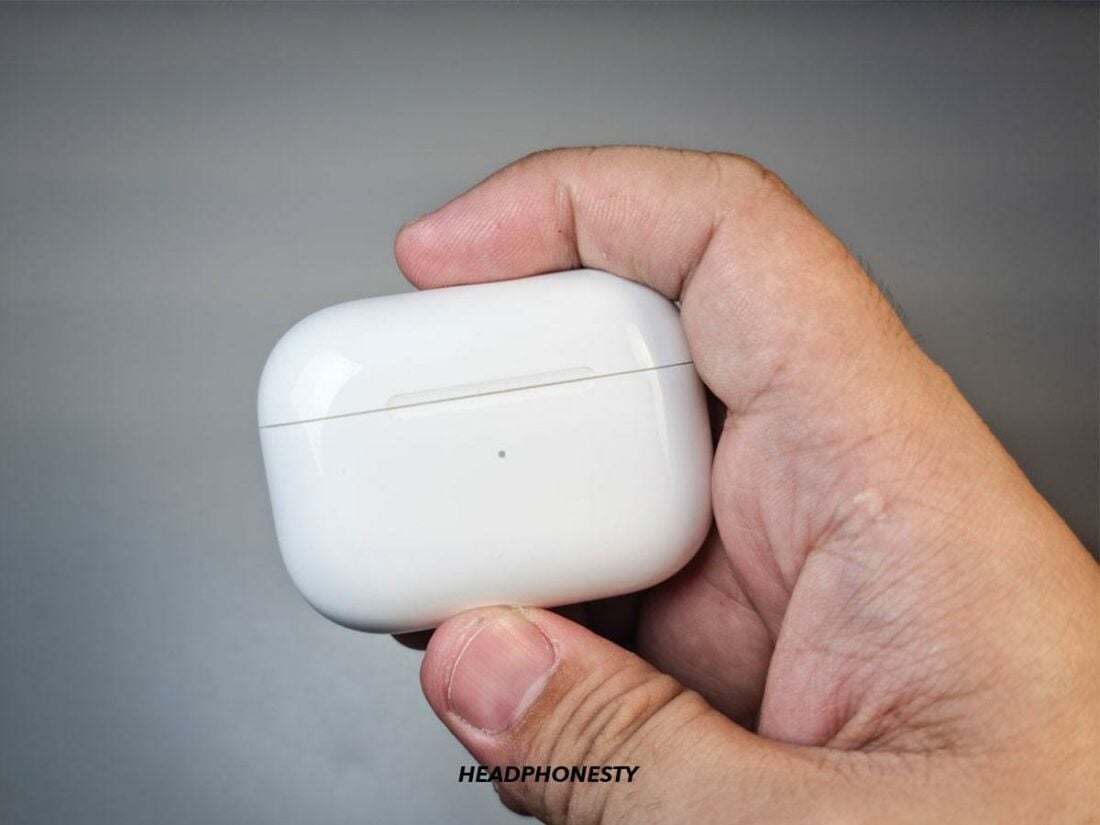
- Put your AirPods inside the charging case and close the lid. Wait for at least 30 seconds – this will restart your AirPods’ power.

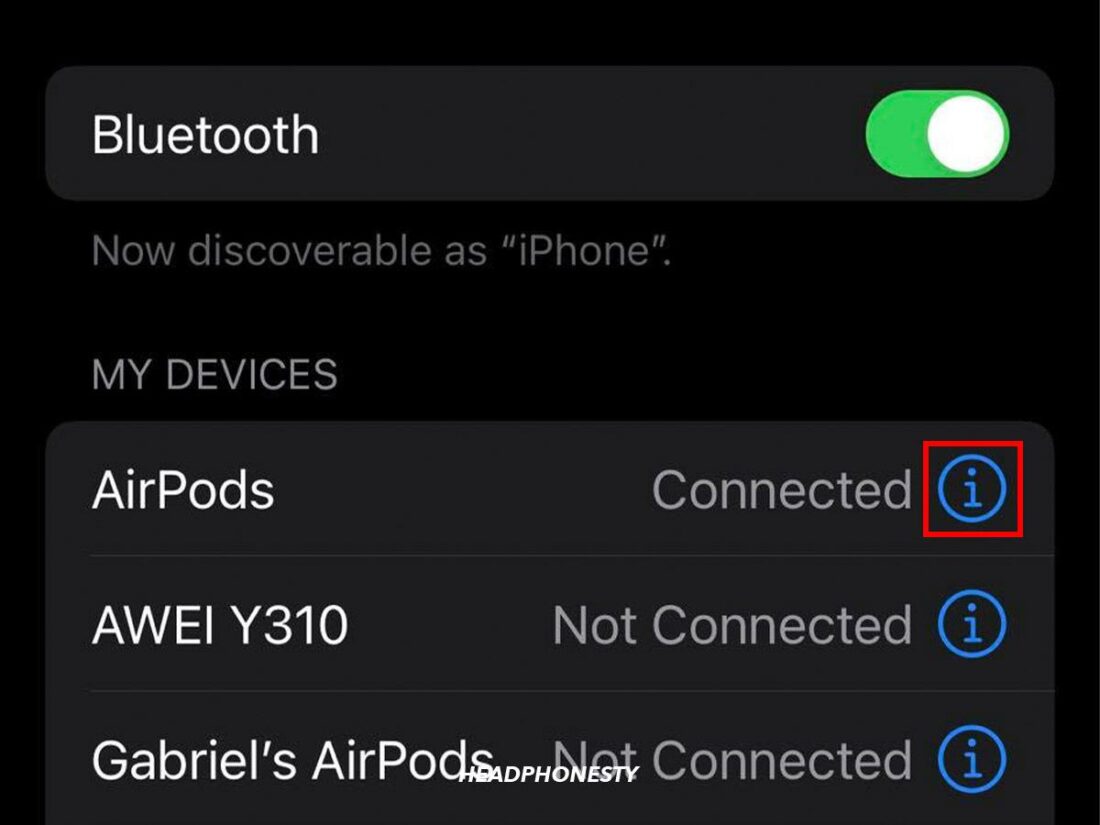
Closed lid AirPods - On your iOS device, go to Settings > Bluetooth > your AirPods. Tap the “i” next to your AirPods’ name
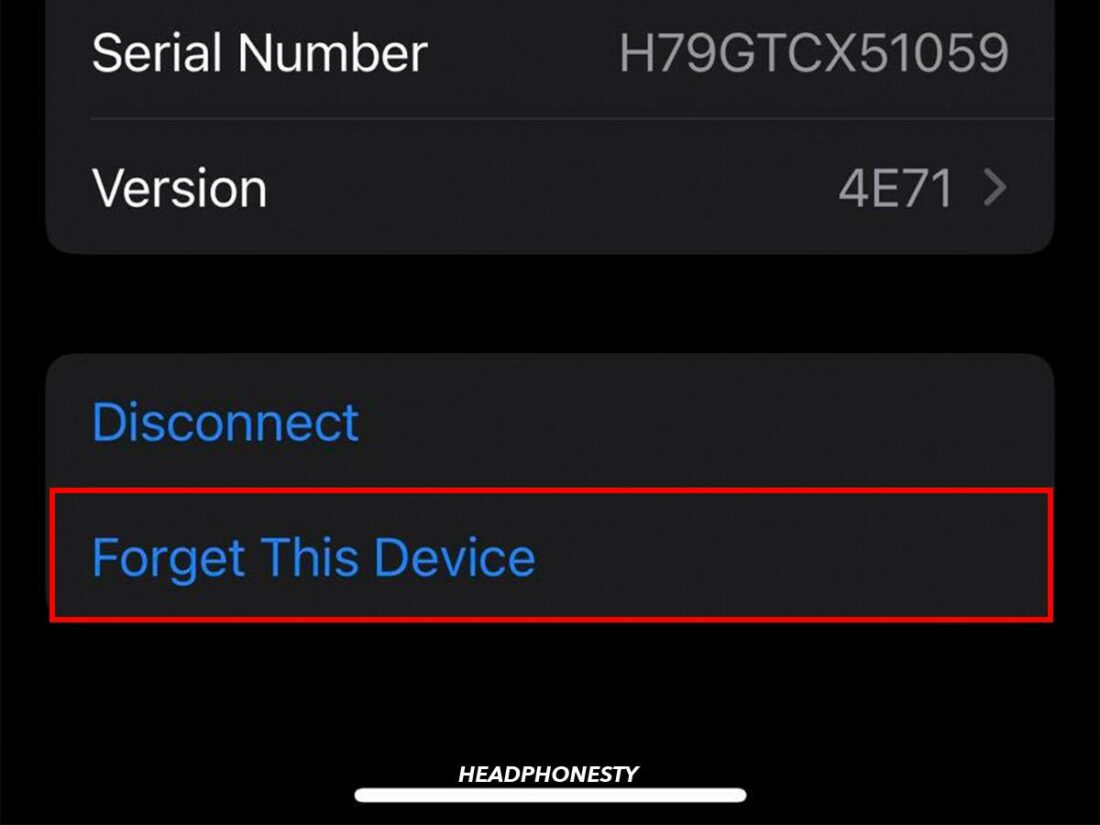
AirPods’ “i” icon - Select Forget This Device. This step removes your AirPods from your devices under the same Apple ID.
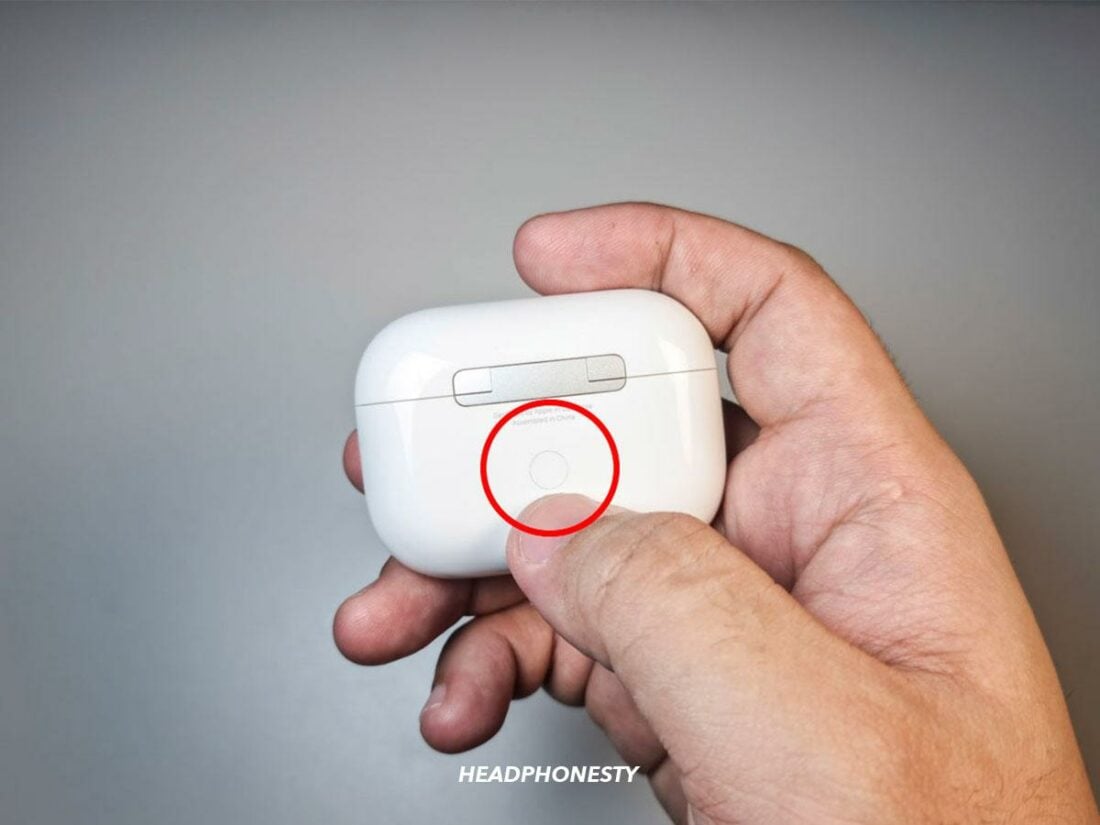
Forget This Device - Press the Setup button at the back of your AirPods’ case for about 15 seconds. You should see the status light change from amber to white.
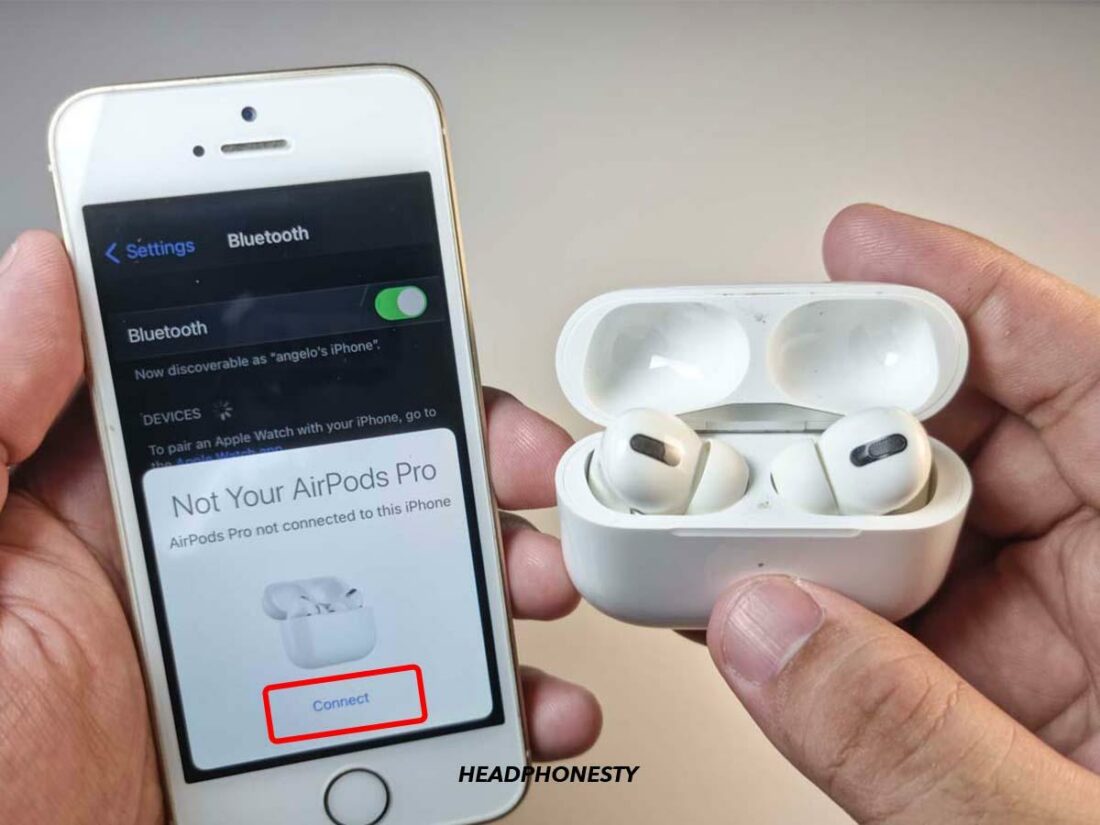
Press the Setup Button - Reconnect your AirPods by placing them close to your iOS device.
Reconnecting your AirPods
Update your AirPods’ firmware
Apple automatically installs firmware updates when your AirPods connect to an iOS device or Mac running Monterey 12.3 or later.
But if the process fails, your AirPods probably don’t have the latest firmware. This means that they could have issues that have been fixed in the latest version.
To check your AirPods’ firmware:
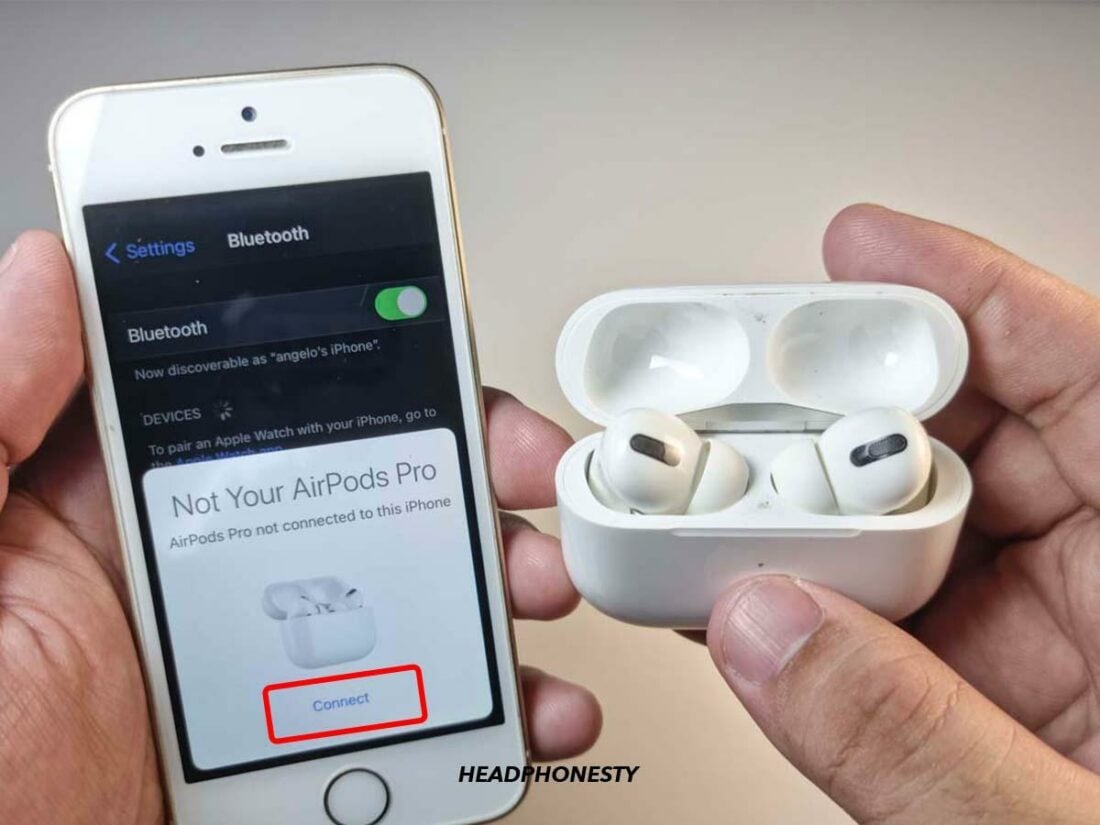
- Pair them with your iPhone or iPad
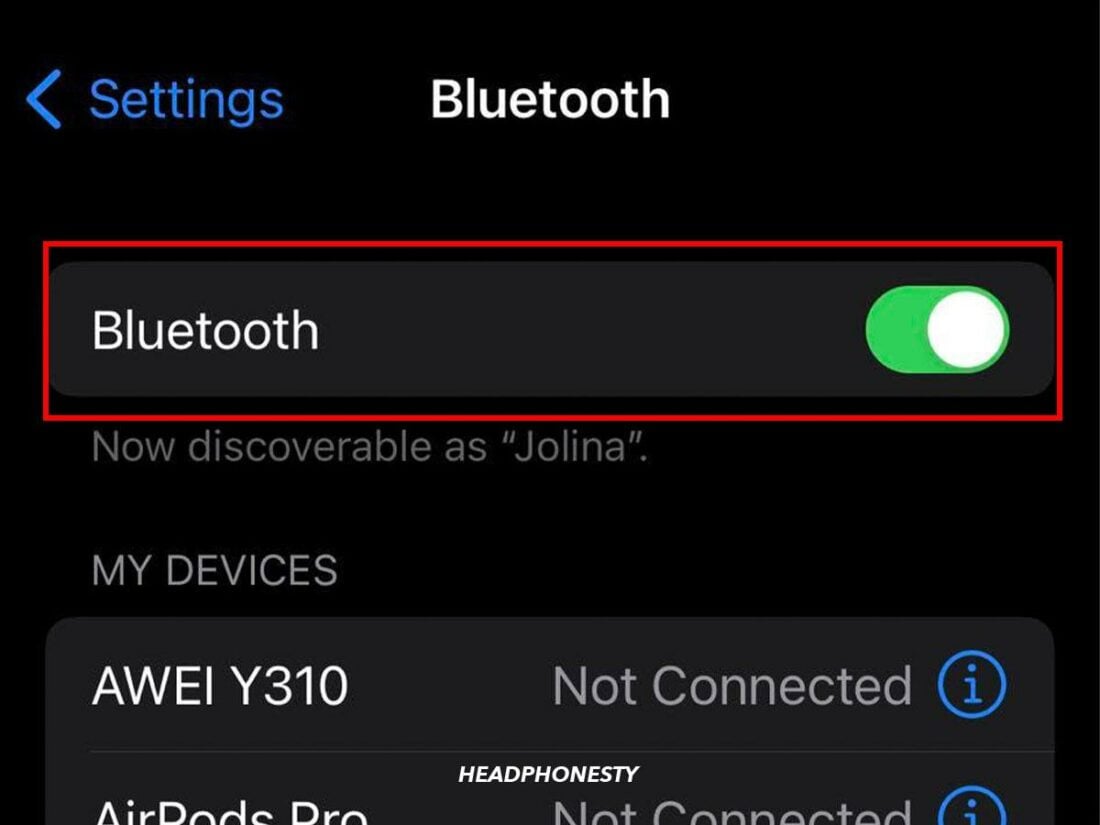
Pairing AirPods with iPhone - Go to Settings > Bluetooth.
Bluetooth Settings on iOS - Tap “i” next to your AirPods name.
Accessing AirPods settings - The number next to “Firmware version” is your AirPods firmware version
AirPods’ Firmware version


If it turns out that your AirPods’ firmware is outdated, there’s a chance that it causes the flashing green status light. To fix that, you can attempt to update your AirPods’ firmware manually. Here’s how to do so:
- Place your AirPods inside the charging case.
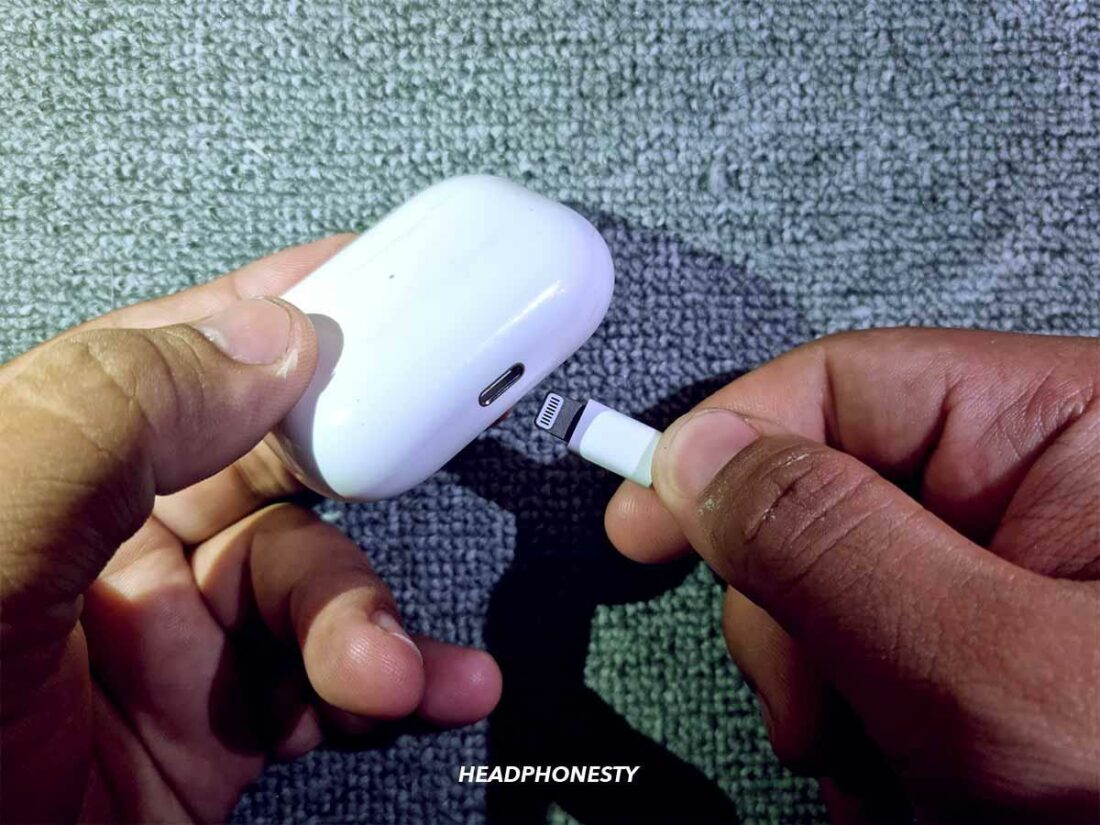
Place AirPods inside the charging case - Charge the case with a Lightning cable or a Qi-certified wireless charger.
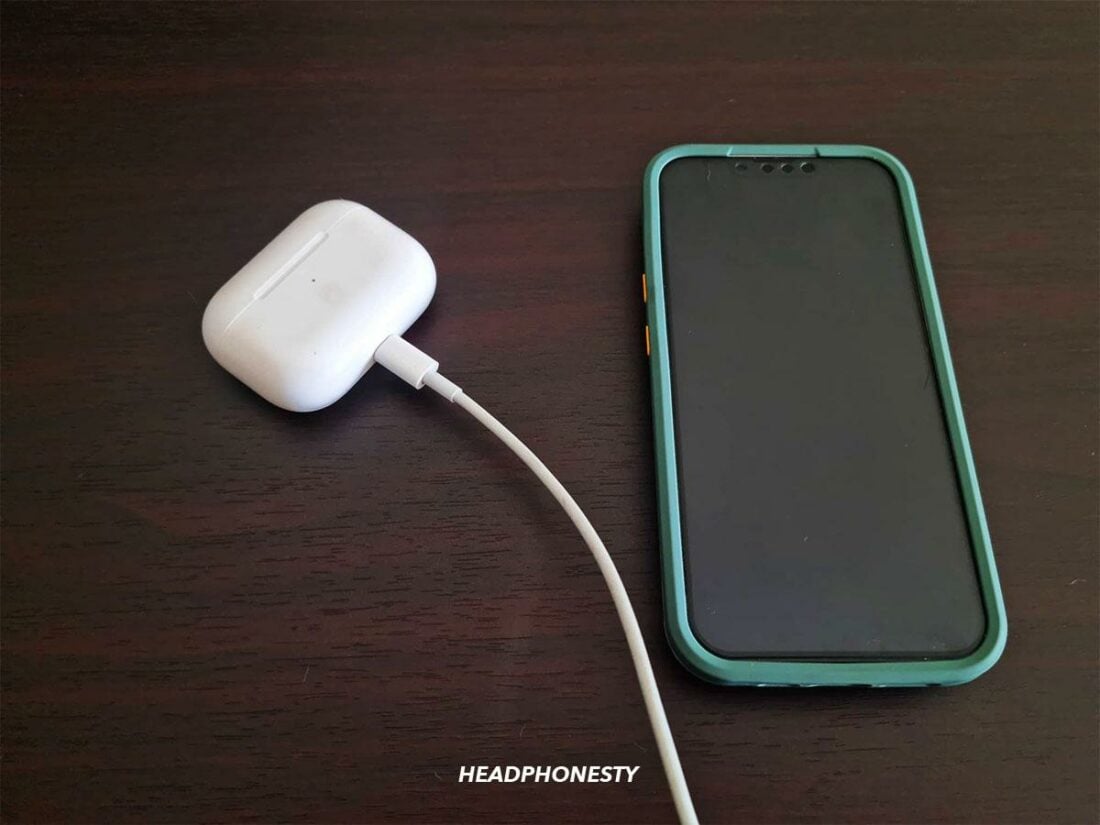
Charge the case with lightning cable - Place your AirPods and iPhone or iPad within two inches of each other. If a new firmware update is available, your device should automatically download and install it. Wait for around 15 minutes, then check if it worked via the AirPods settings.
AirPods and iPhone placed beside each other
Recharge your AirPods and case
Low batteries are known to cause connection issues with AirPods. If one of your AirPods doesn’t charge properly or dies, the case may only recognize one of them. This scenario could trigger the flashing green status light.
Ideally, you should keep lithium-based batteries – including those in your AirPods – between 30 – 80%.
It couldn’t hurt to check your AirPods’ and the case’s battery level. Here’s how to do so:
- On iOS devices: The battery level should be visible in the pop-up pairing dialogue.
- On a Mac: Connect your AirPods, go to Bluetooth, and hover on your AirPods’ name.
- On Android: Use third-party apps like AirBattery. Android doesn’t have a built-in battery meter for AirPods.
If they don’t have enough charge, quickly plug them in until they have sufficient power. Here’s how to properly charge your AirPods:
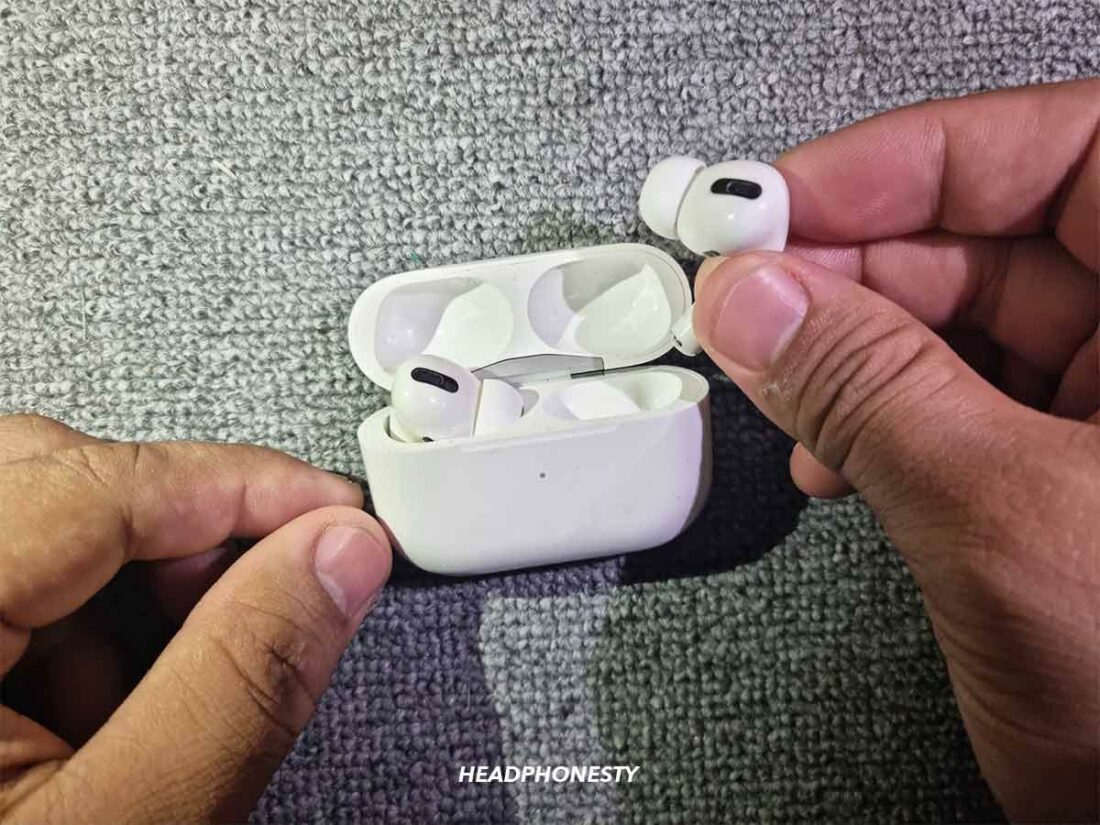
- Put both your AirPods inside the case. Make sure that the stems of your AirPods align correctly with the charging pins inside the case.
Put both AirPods inside the case - Close the lid. Doing so is necessary for the AirPods to start charging.
Close the lid


- Plug the AirPods case with a Lightning cable or place it on a Qi-certified wireless charger.
Plug the charging case

The time required to charge your AirPods and the case varies depending on the power source. Notably, the fastest way to charge the AirPods is with an iPhone or iPad USB charger and a Mac’s USB port.
Clean the AirPods’ stem and tail
AirPods charge through physical contact between their tails and the charging pins at the bottom of the case. Dirt buildups can cause interference between the two. Consequently, this can cause the case not to recognize the AirPods – triggering the flashing green status light.
If you haven’t cleaned your AirPods in a while, clean them and see if it fixes the flashing green light issue. As a bonus, you’ll have cleaner AirPods (and prevent ear infections!).
Here’s what you’ll need:
- Cotton buds
- Rubbing alcohol
- Lint-free cloth
- Wooden toothpick
With all items above at hand, here’s how to clean AirPods and their charging case properly:
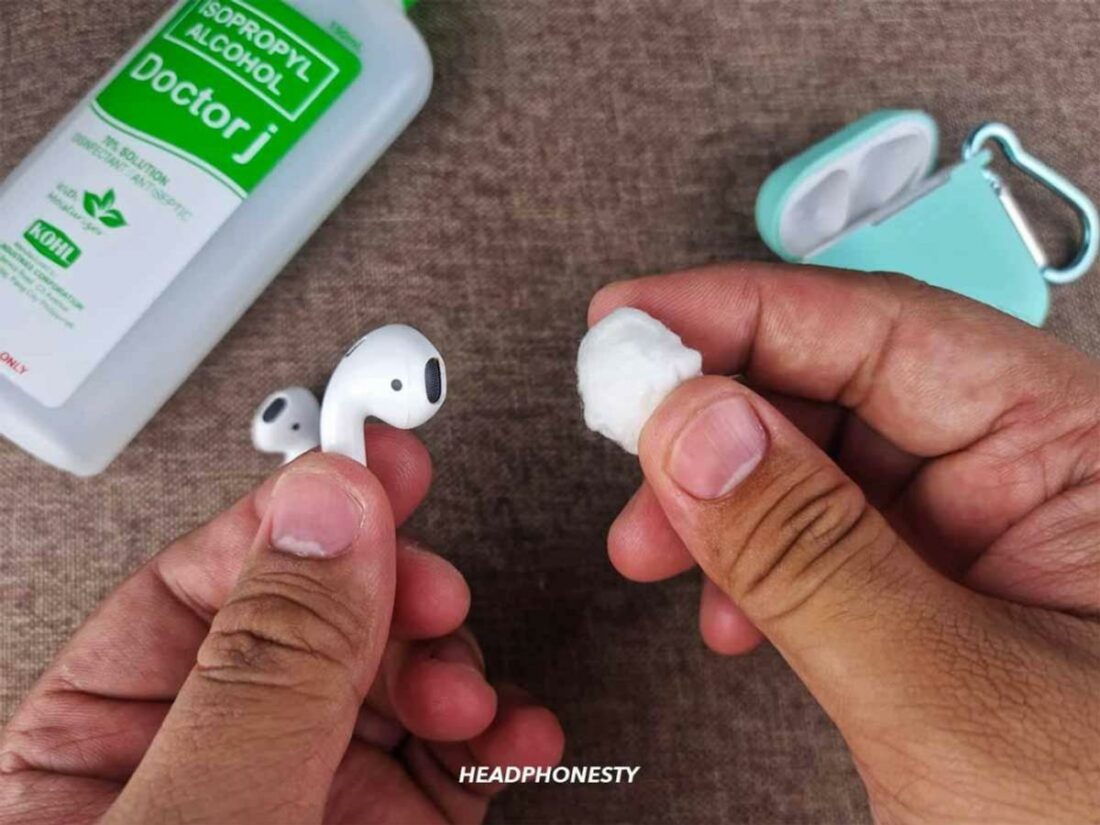
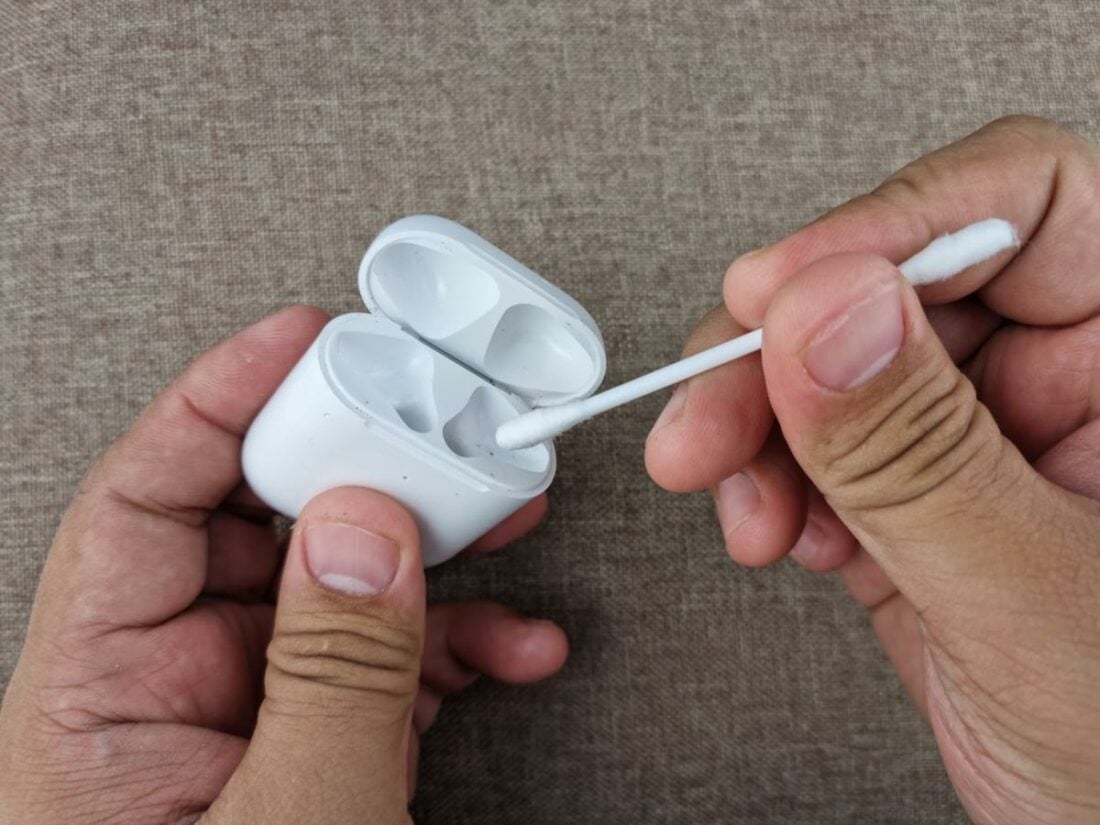
- Dampen a cotton swab with isopropyl alcohol and use it to lean the surface area of your AirPods. Pay closer attention to the ‘tails’ since that’s where the charging pins are.
Clean Airpods with cotton and alchohol - Take a clean cotton swab and dampen it in rubbing alcohol. Use the cotton swab to clean the inside of the charging case. Don’t forget to clean the charging pins where the ‘tails’ of your AirPods would go.
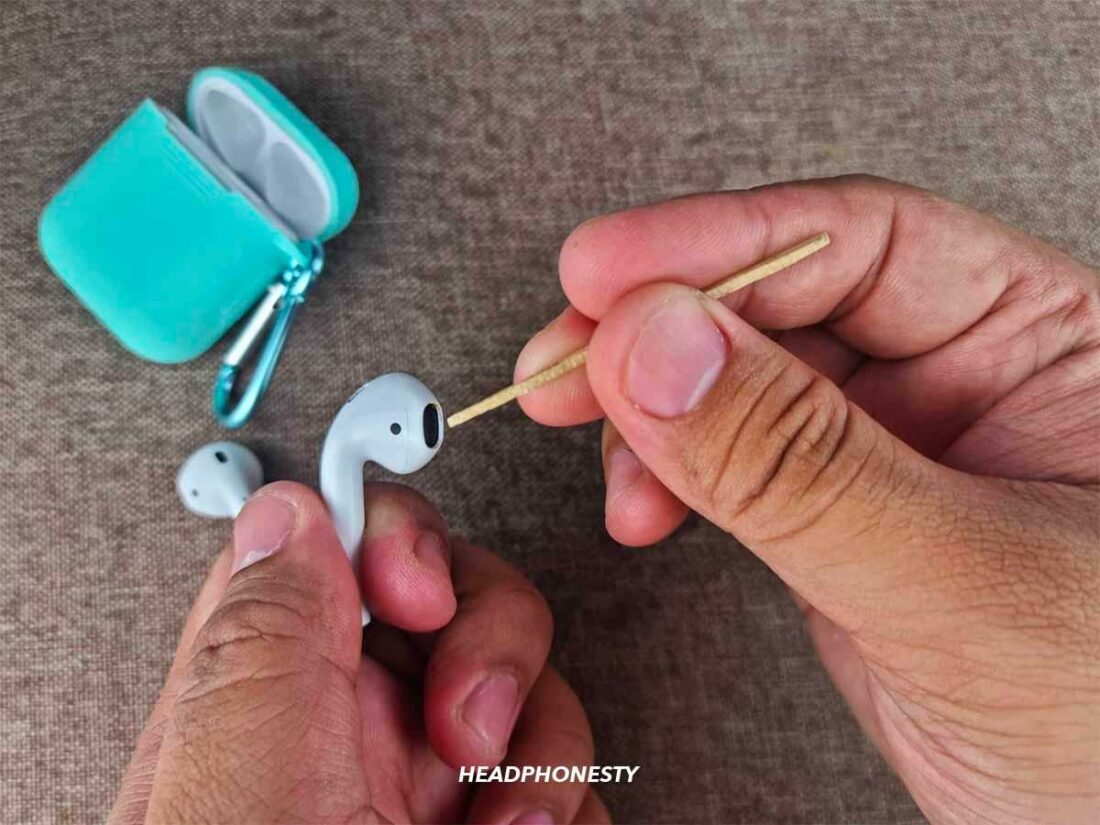
Clean AirPods Charging case with cotton swab - Use a wooden toothpick to pick out stubborn earwax and dirt buildup.
Softly scooping out dirt from the insides using a toothpick.
Dirty AirPods are known to cause other issues,like AirPods having low volume or unbalanced sounds. Read our guide on how to clean your AirPods properly for more information.
Contact Apple Support
If the solutions we compiled above didn’t solve your issue, there’s a chance that your AirPods have suffered hardware damage or are generally faulty. In that case, your best bet is to contact Apple Support to see if they can help you repair or replace your AirPods.
You can contact Apple Support through their support website or the Apple Support app. If you prefer direct conversation, you can call them on the U.S. hotline at 1-800-275-2273. You can also go directly to the nearest Apple Store – they have experts that will help you through the process.
To ensure there’s no hiccup during the process, you can make some preparations by;
- Checking if your AirPods are still under warranty with the Apple Coverage website.
- Listing down what you’ve tried to troubleshoot your AirPods.
How to Fix Other Common AirPods Issues Related to AirPods Flashing Green
Hopefully, one of the solutions above worked for you – or Apple Support managed to help you. But if you’re still stuck with the issue, there may be underlying issues that caused your AirPods’ status light to flash green.
It’s not what you want to hear, but an Apple expert told u/beesuscrisp on Reddit that the flashing green light means the AirPods are just ‘broken’ without further explanation.
But that doesn’t mean you can’t try fixes for other common issues on AirPods. Depending on your problem, trying these different guides might help to fix your issues:
- AirPods not connecting to your iPhone or iPad: If the flashing green light prevents you from pairing AirPods with your iPhone or iPad, try following this guide. It can help to eliminate the possibility of connection-related issues.
- One AirPod not charging: If either one of your AirPods won’t charge, it will eventually die, resulting in your status light flashing green. This guide helps you get that faulty AirPod to charge correctly again.
- One AirPod not working: This guide discusses fixes if only one of your AirPods isn’t working – even when it charges properly. Try out the recommended fixes if you think your situation is somewhat similar.
- AirPods keep disconnecting: If your AirPods have a flashing green light and can connect but keep disconnecting, this is the guide for you.
- AirPods not connecting to Android: If your issue happens when you use AirPods with Android, follow the fixes in this guide.
- AirPods not connecting to Mac: If AirPods work with iPhone, iPad, and Android but not on Mac, the fixes in this guide will solve them.
Conclusion
After exhausting all of the fixes above, you should now use both sides of your AirPods without any issues. Even if the issue comes back later in the future – at least you now know what to do.
Did you find other fixes that we missed in this guide? Let us know in the comments, and we’ll add them here for future readers!