How to fix your Powerbeats Pro earbuds when they are pairing to your device but not playing any sound.
When your Powerbeats Pro earbuds won’t play any sound, it can be a frustrating problem to try and fix. Besides, one of the major selling points of the model is ‘wireless that works,’ so when it doesn’t, you might feel let down and annoyed.
Even worse, Powerbeats Pro are expensive! The prospect of having to replace them isn’t pleasant for anybody, especially regarding such a basic function of the product.
We’ve compiled a list of the top ten easiest fixes to get your Powerbeats Pro working again. Read on, and you’ll be back to your music or podcast in no time!
- Check Your Volumes
- Set Powerbeats Pro as Default Output Device
- Remove and Reconnect Powerbuds Pro From Your Device
- Restart Your Device
- Reset Your Powerbeats Pro
- Update Powerbeats Pro’s Firmware
- Turn Off Automatic Switching
- Check for Bluetooth Interference
- Drain Powerbeats Pro’s Battery
- If Nothing Works, Consult Apple Support
- Conclusion
Check Your Volumes
Mobile phones usually have several different volume sliders. These sliders let you control different sounds on your devices, such as alarms, ringtones, calls, and more.
If your earbuds don’t produce sound when your audio is playing, the media volume may be turned down. Here’s how you can check your audio sliders on different devices:
On Android
The exact method for this can vary according to the device manufacturer and the Android version that your device is running. However, the general gist of the steps should remain the same:
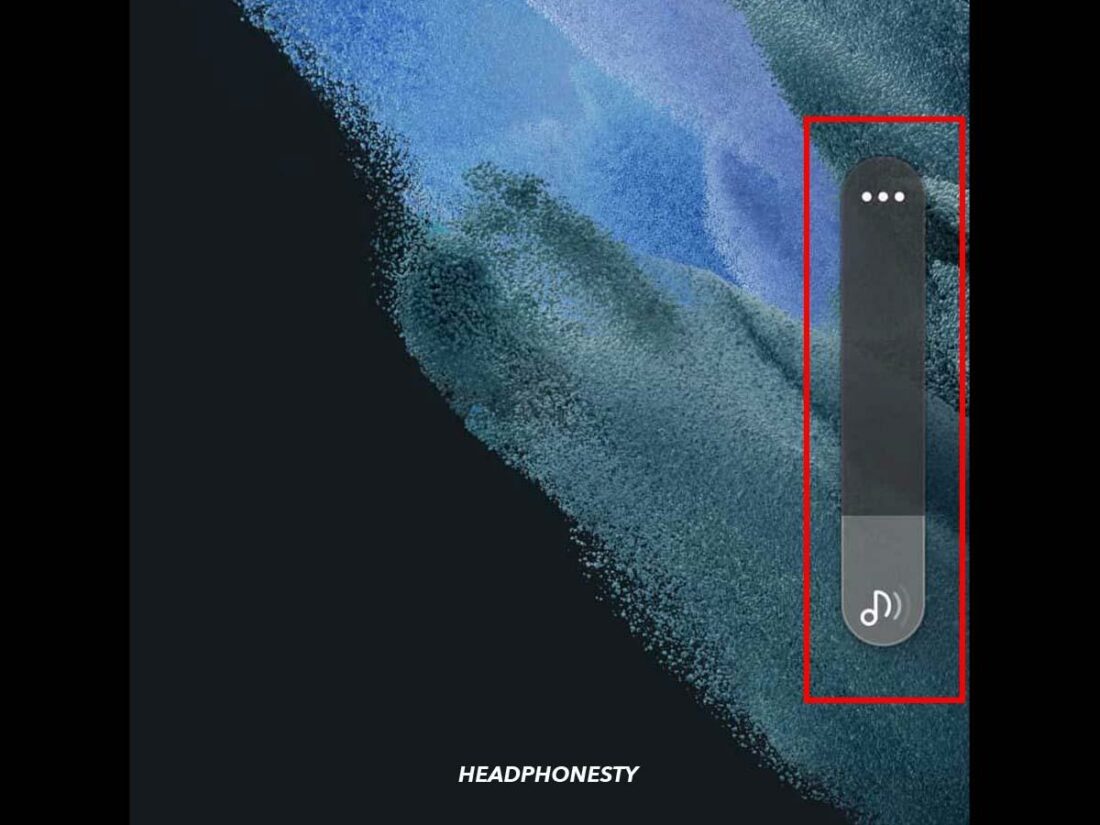
- Press any volume button on your device to make the volume slider pop up at the right of your screen.

Volume slider - Tap the menu (three dots) button on the volume slider. This option will take you to the volume settings of your phone.
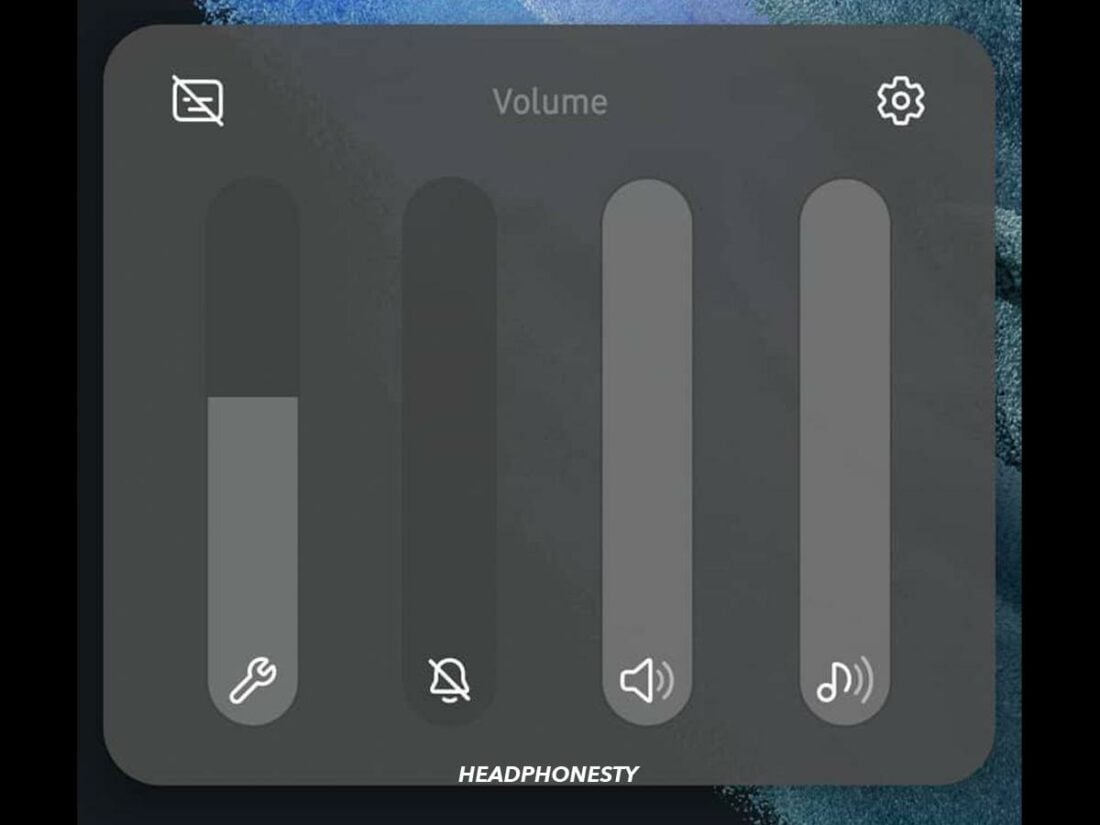
Three dots button - You should now see four volume sliders: media volume, call volume, ring and notification volume, and alarm volume. Ensure that the media volume slider is set somewhere around the middle.
Four volume sliders

If you are struggling to make your earbuds loud enough, you should check out our article on how to make AirPods louder on Android.
On iOS
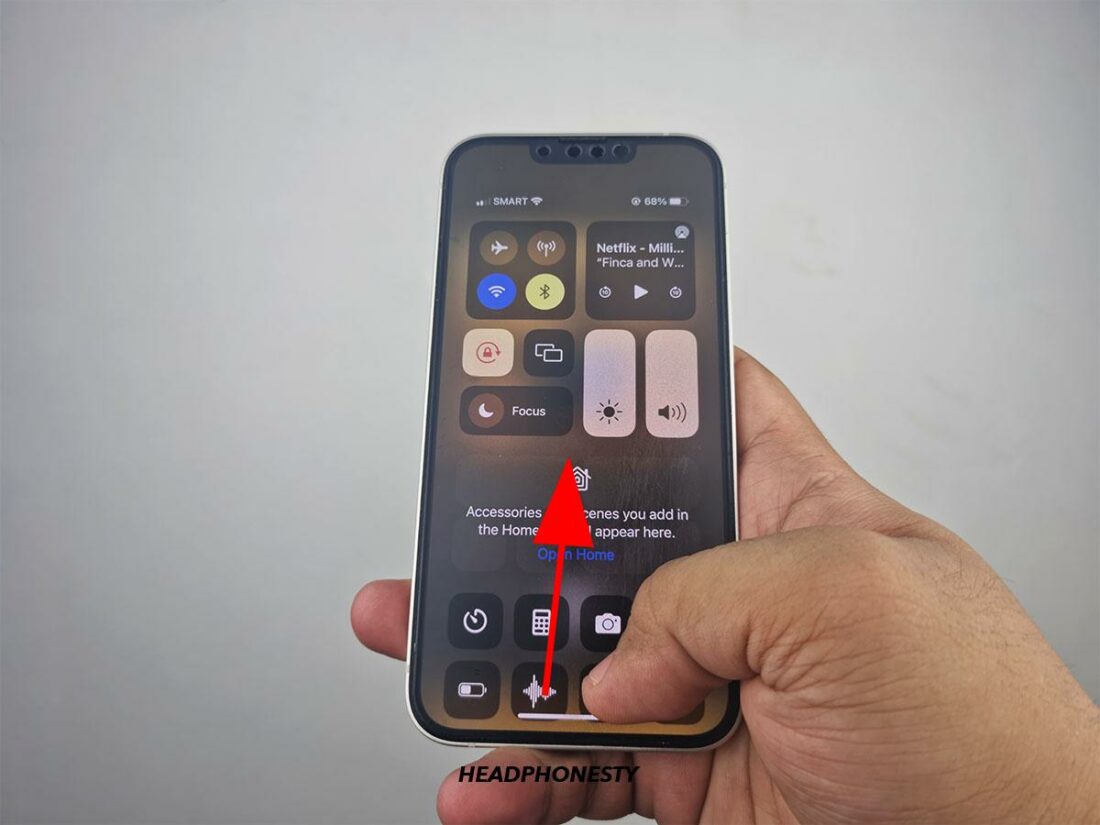
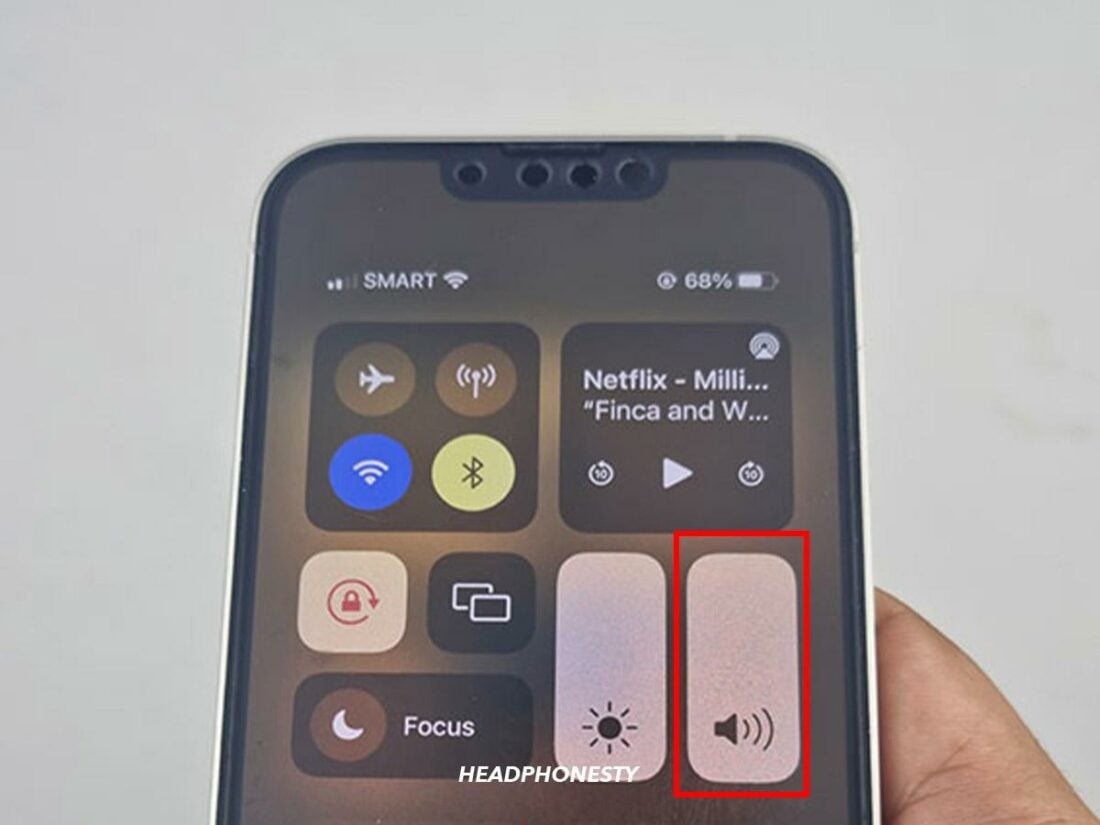
- Open the control panel by swiping up from the bottom edge of your screen.
Iphone control panel - Drag the volume slider there to adjust your media volume. Make sure it is above zero.
Volume slider
For more information on how to boost your earbuds’ volume, read our article on how to make your AirPods louder.
Set Powerbeats Pro as Default Output Device
If your computer detects and connects to your Powerbeats Pro, but the sound still won’t play, you should try setting the earbuds as the default output device. Doing this will ensure that your device sends the sound to your Powerbeats.
Here’s how to set your Powerbeats Pro as the default output device on different devices:
Windows
- Right-click the speaker icon on the taskbar at the bottom right of your screen.
Speaker icon - Select Sound Settings (or Playback Settings if you’re using Windows 7).
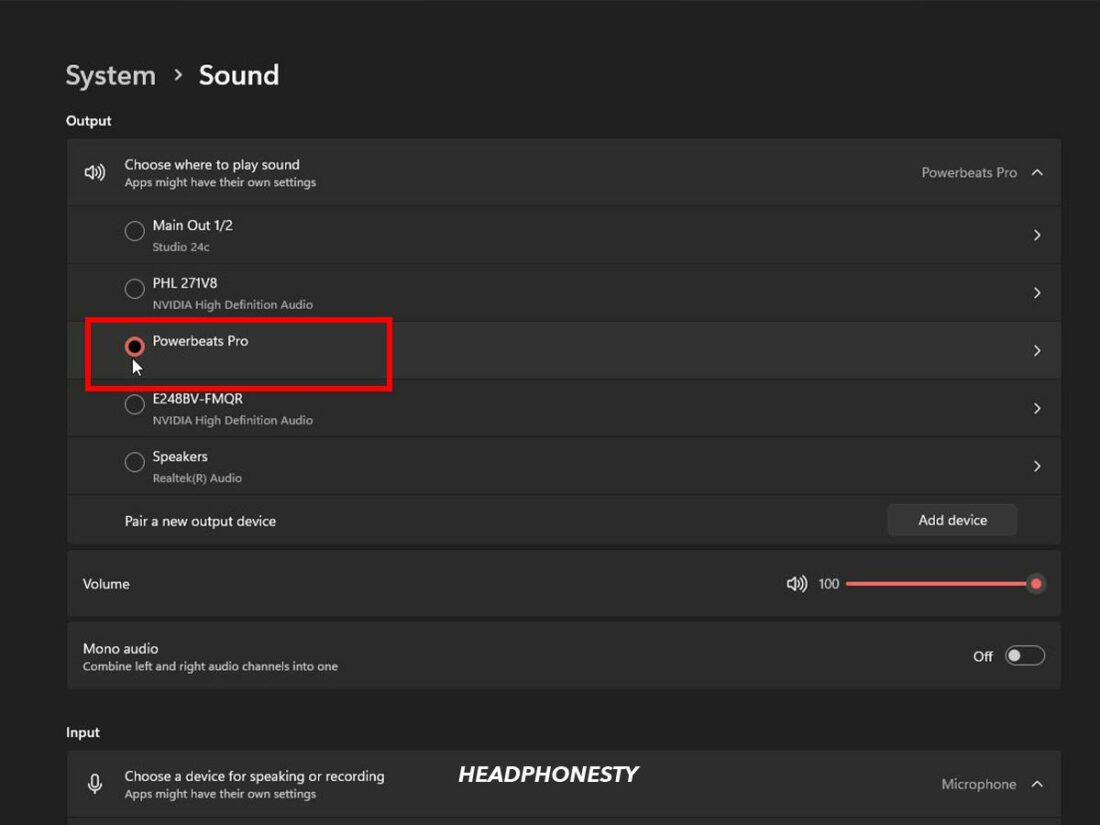
Sound Settings - Click on the drop-down menu beneath Output, and select your Powerbeats Pro. (For Windows 7, you must right-click on your Powerbeats. Choose Set as Default, then click OK.)
Set as default - Your computer should now be broadcasting sound to your Powerbeats Pro. Test it by playing audio.


Check out our article on what to do when Bluetooth headphones are connected but won’t play sound for more information.
Mac
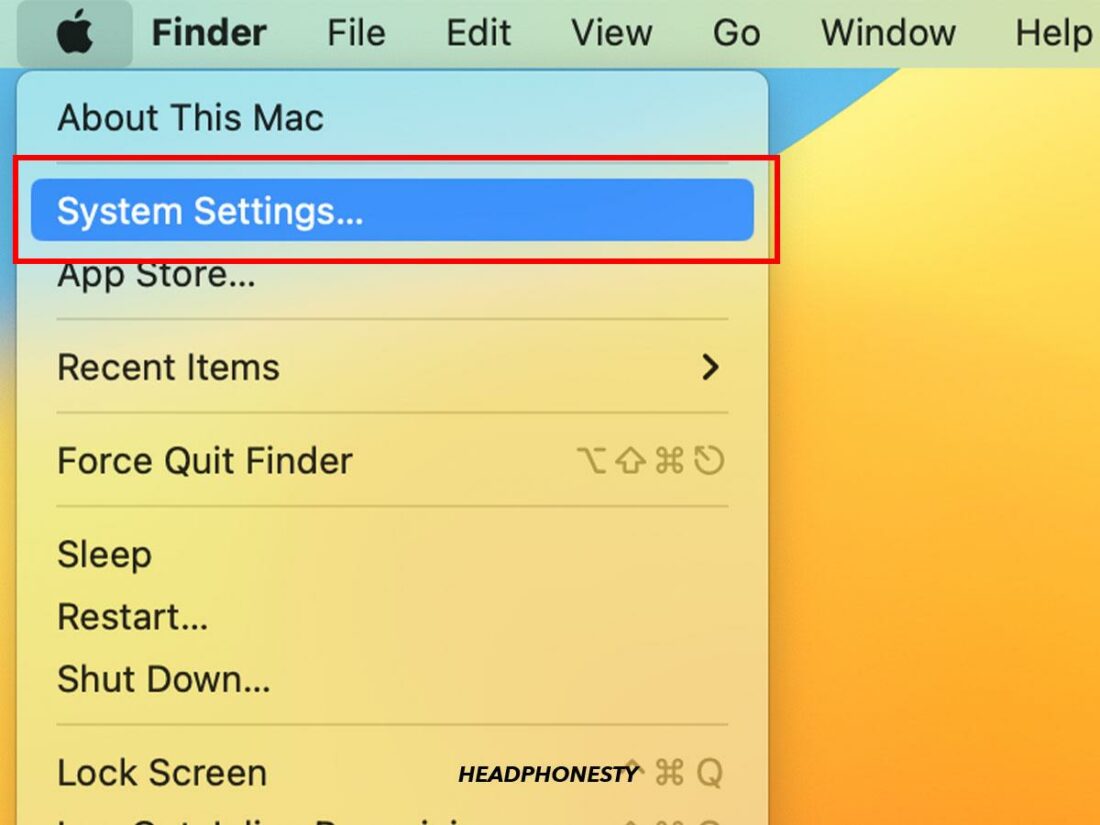
- Open the Apple menu, and select System Settings.
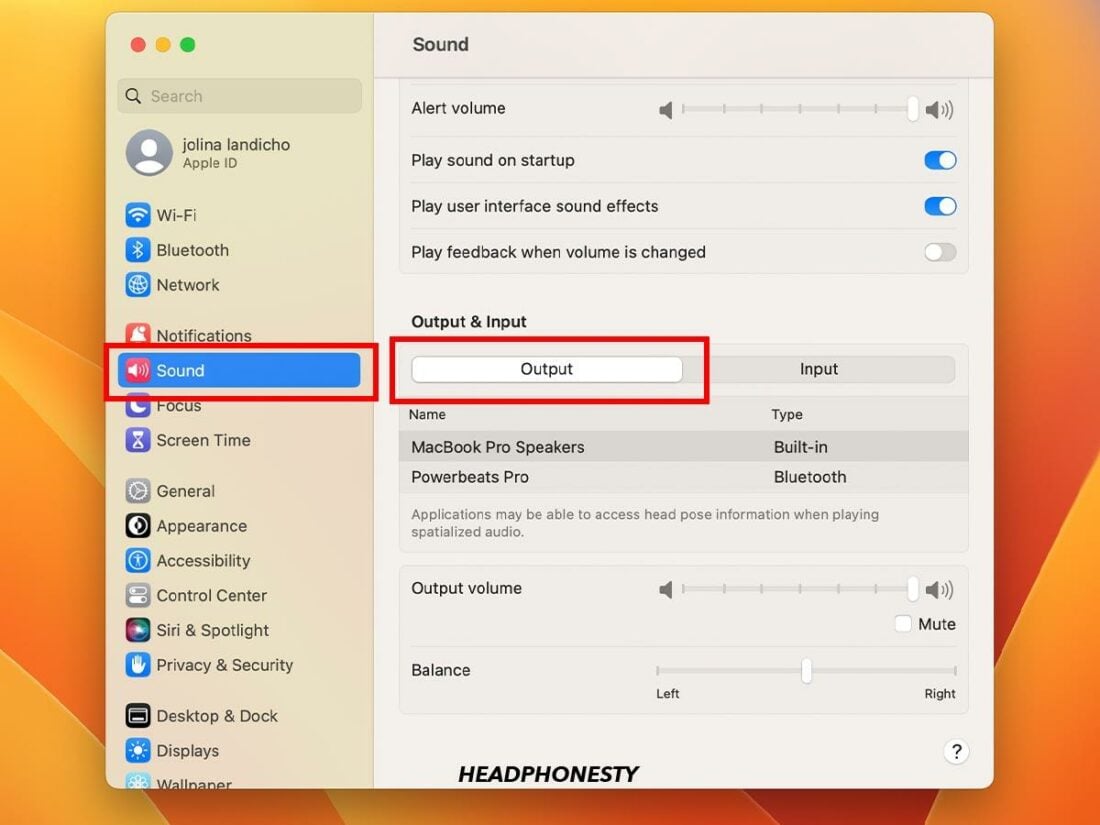
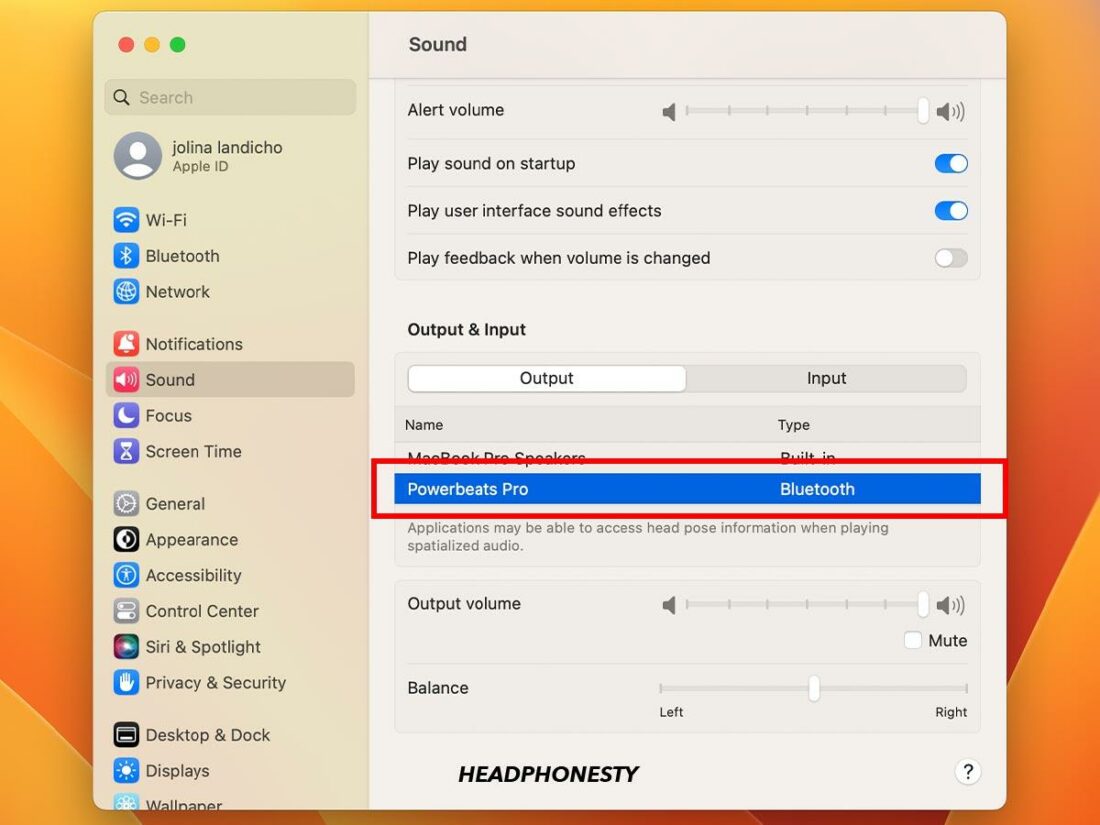
System Settings - Click Sound, then Output.
Output - Select your Powerbeats Pro from the list of connected devices.
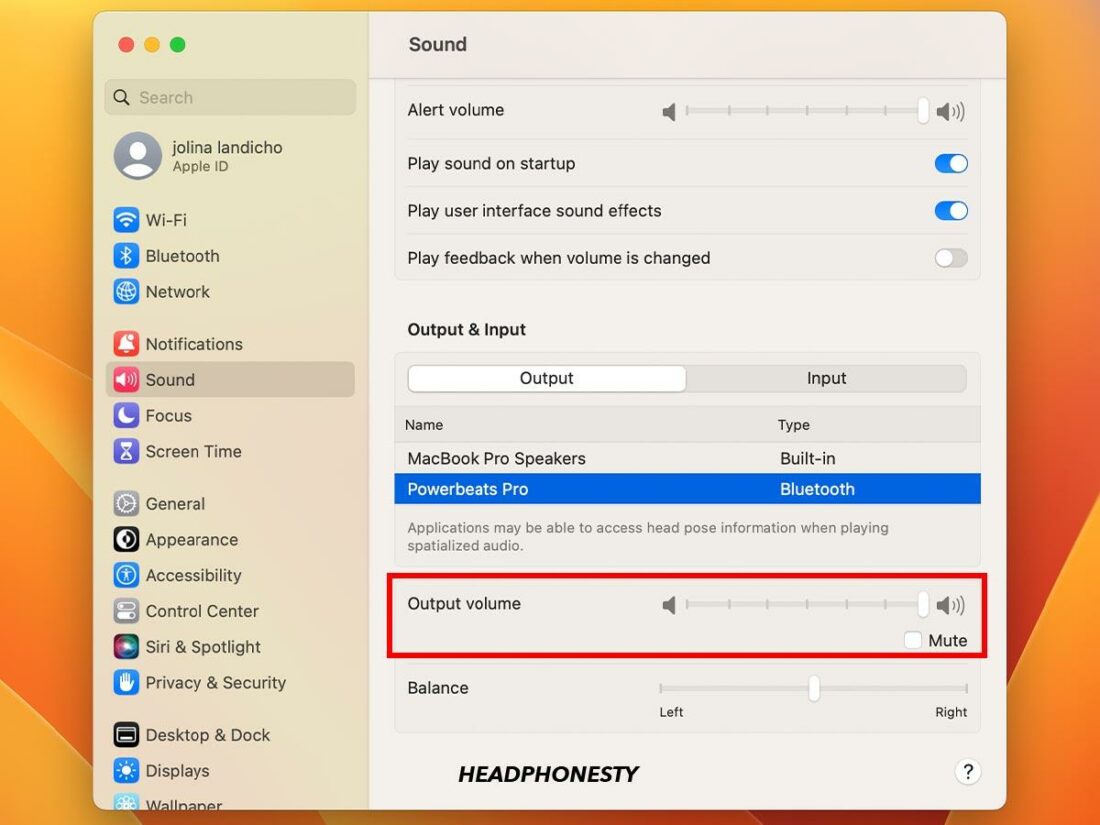
Select powerbeats pro - You should also ensure that the Output slider is above zero to confirm that the sound will be audible.
Output volume slider - Test if this worked by playing audio on your Mac.
If this method hasn’t fixed your problem, don’t worry! There are plenty more methods to try.
Remove and Reconnect Powerbuds Pro From Your Device
Usually, removing and reconnecting Powerbeats from your device restarts the pairing process. Additionally, this will make your earbuds run their software from the beginning, which can bypass whatever bug might be causing this problem.
Here’s how you can remove and reconnect your Powerbeats Pro on different devices:
Android
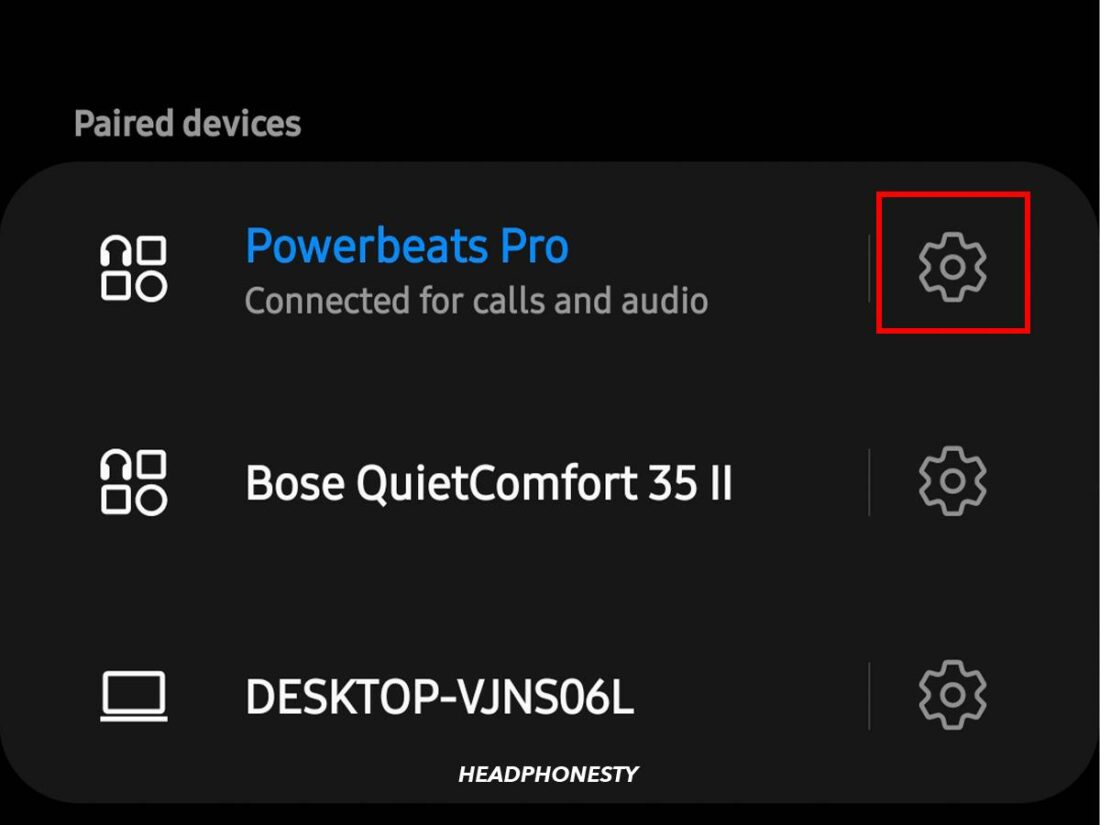
- Go to your device’s Bluetooth settings, and click the gear icon beside Powerbeats Pro.
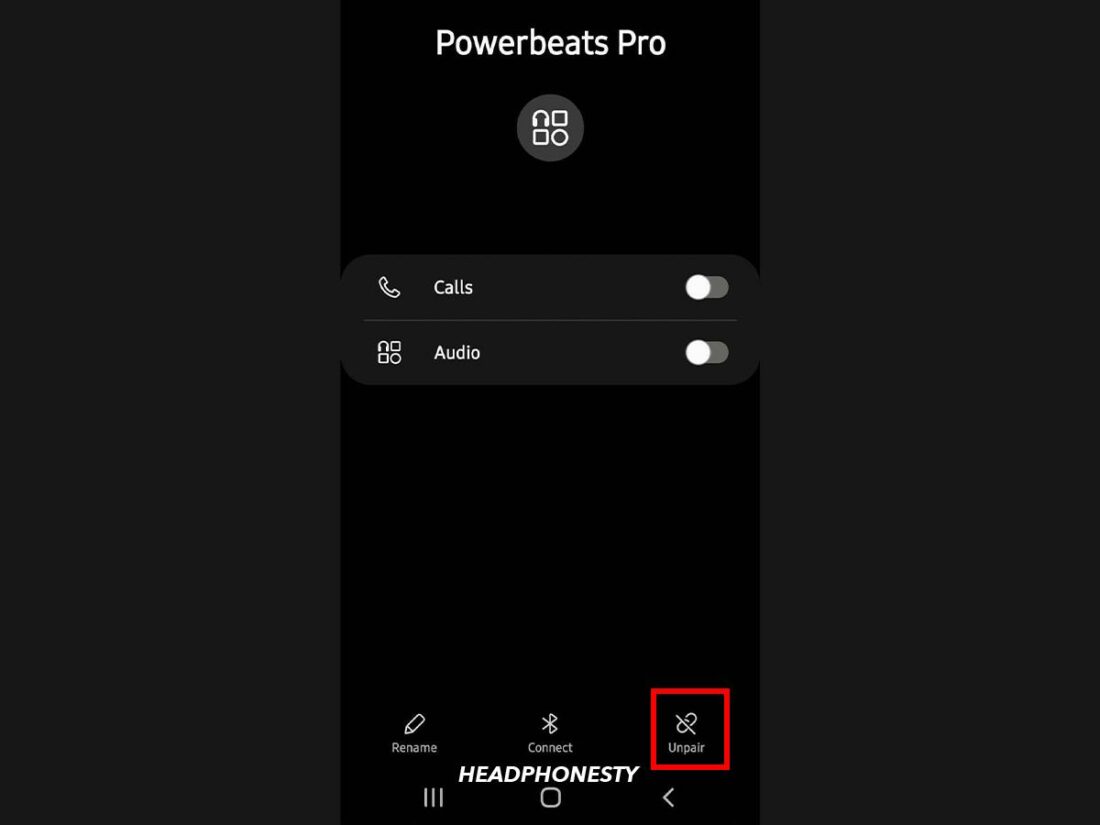
Gear Icon - Click Unpair, and confirm.
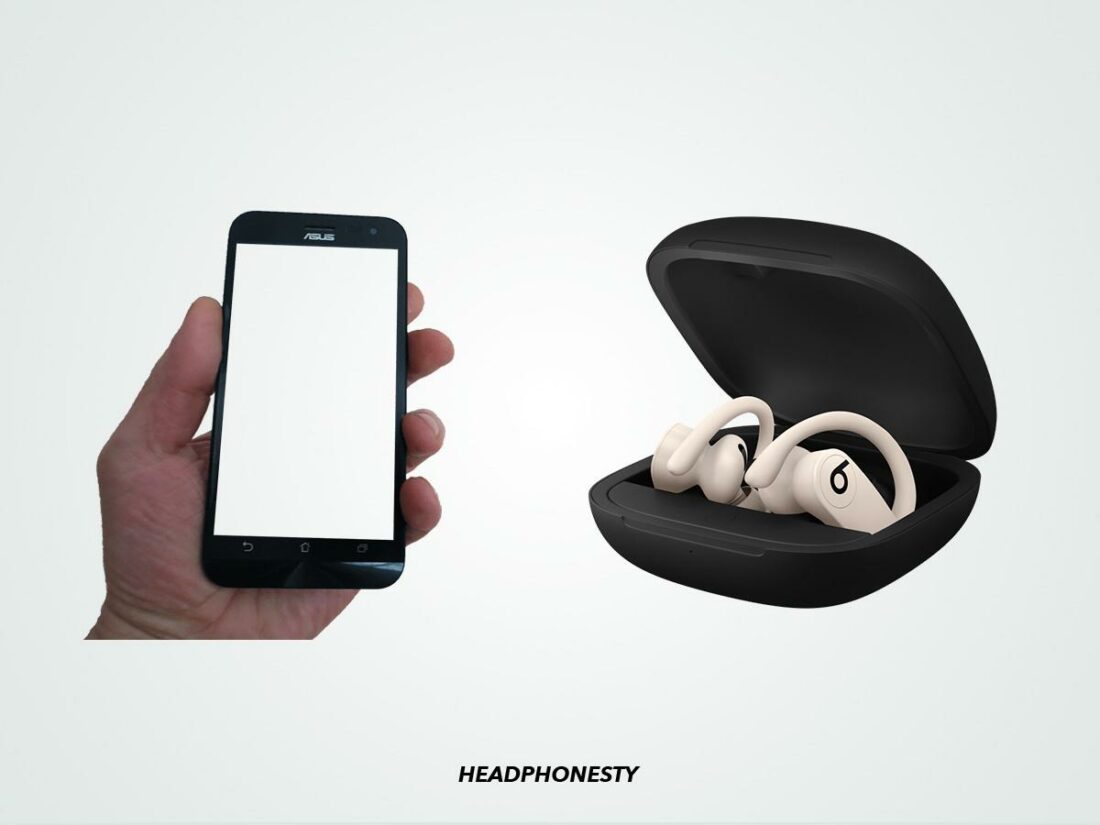
Unpair - Place your Powerbeats in their case, and leave the lid open. Put the case next to your device.
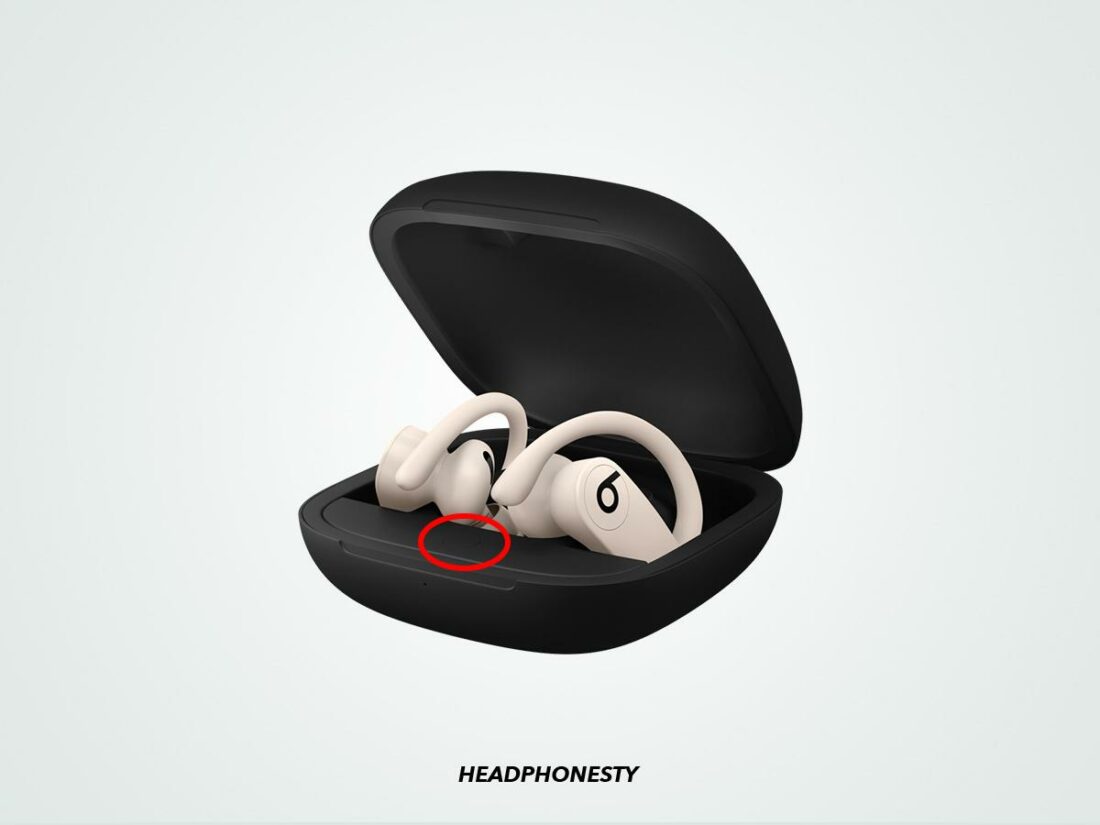
Powerbeats pro next to the device - Then, press and hold the system button on the case until the status LED blinks.
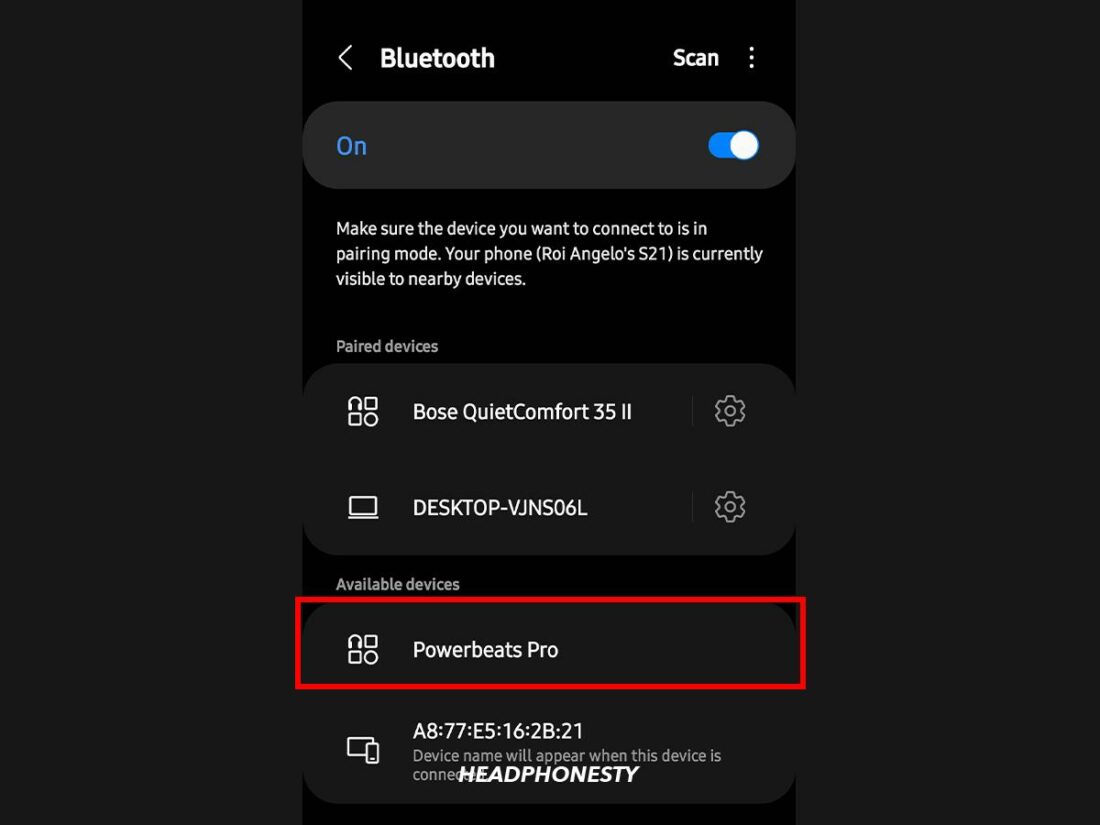
System button - Finally, select Powerbeats from the list of Bluetooth devices on your Android.
Select Powerbeats Pro
iOS
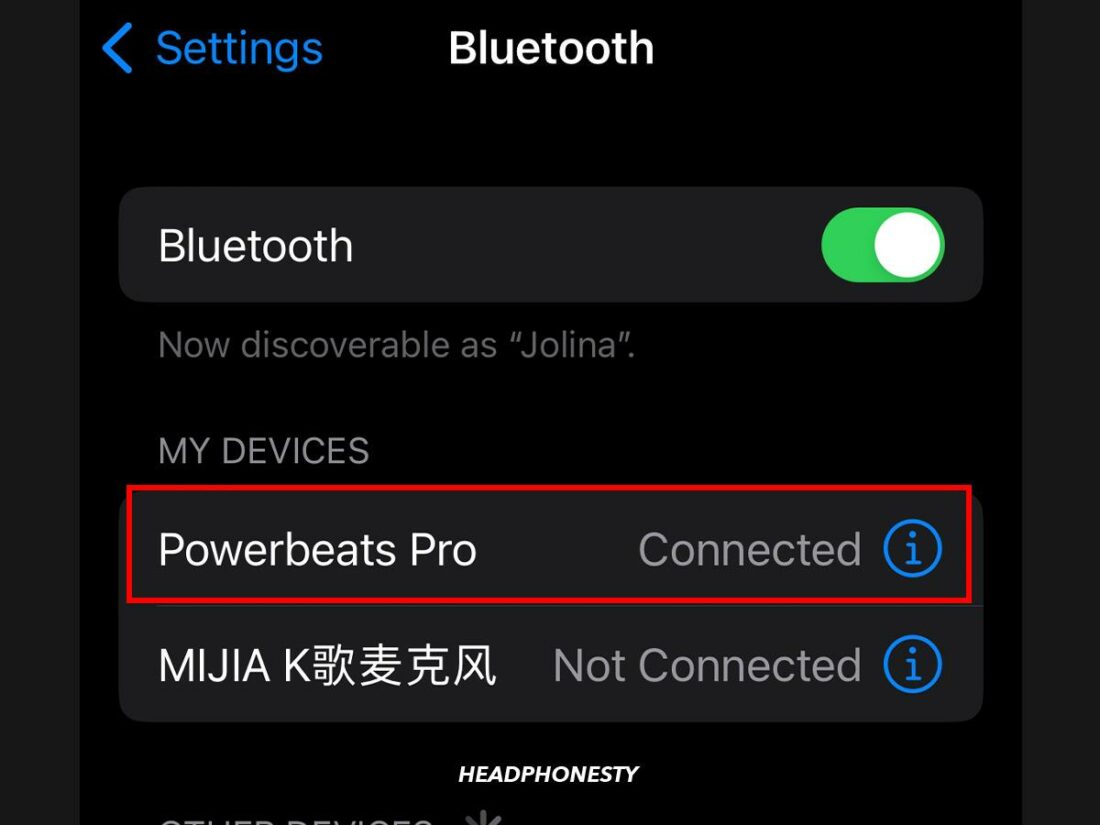
- Go to the Bluetooth settings of your iOS device, and find your Powerbeats.
Select Powerbeats Pro - Tap the ‘i’ icon next to the Powerbeats, and select Forget Device.
Forget Device - Put your Powerbeats in their case and leave the lid open.
Powerbeats pro inside the charging case - Hold the case within two inches of your iOS device.
Powerbeats Pro near the IOS device - Instructions should appear onscreen. Follow these to reconnect your Powerbeats.

Windows
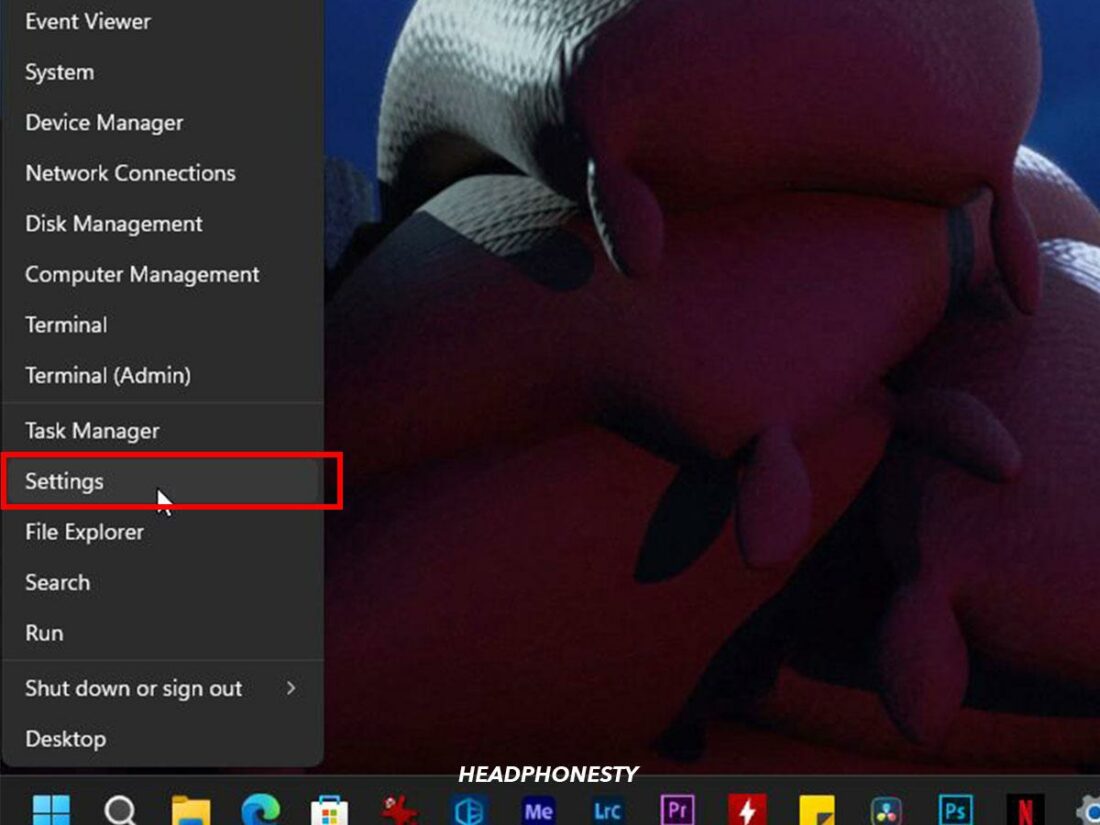
- Click on the Start button and open the Settings app.
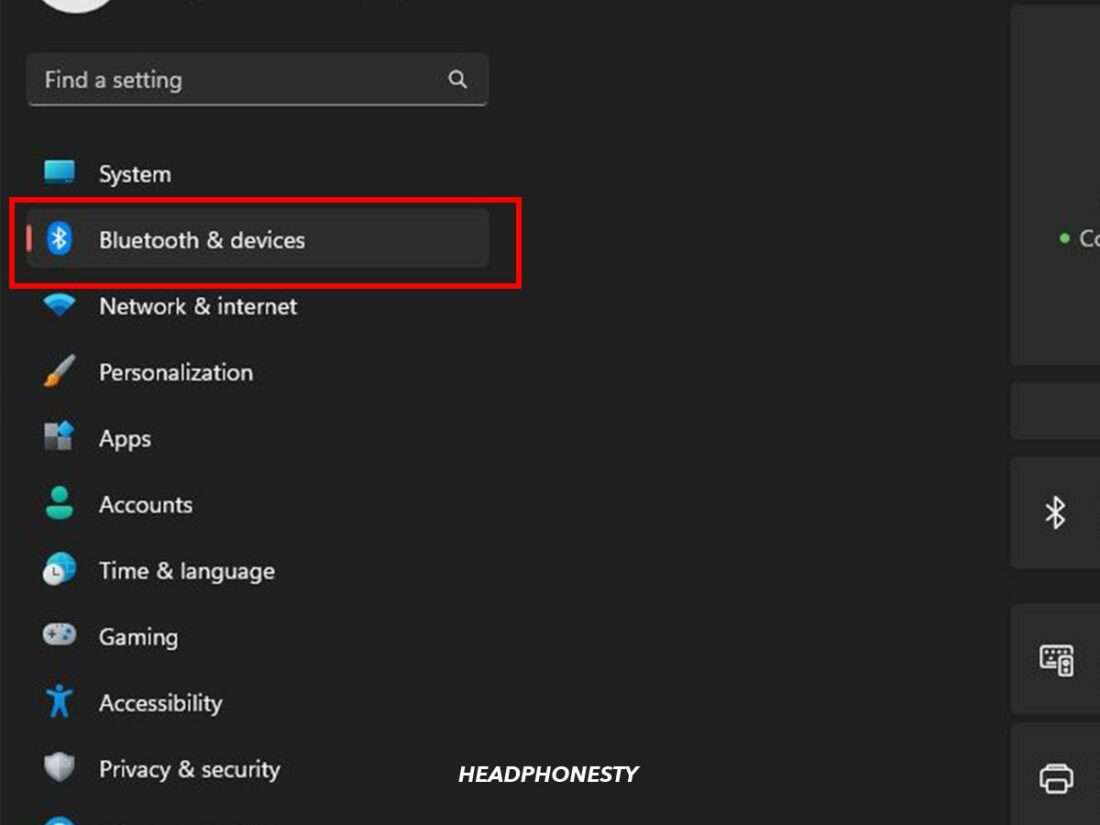
Settings - Select the Devices menu, then Bluetooth & Devices.
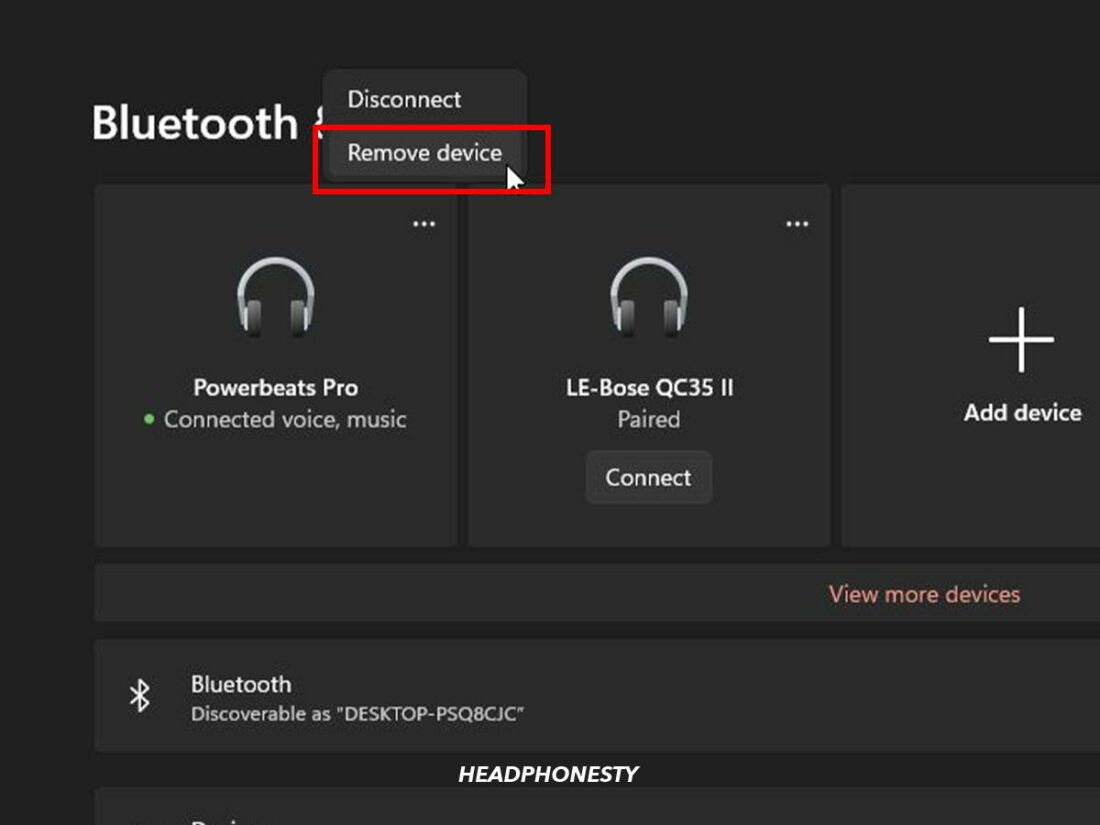
Bluetooth and Other Devices - Select your Powerbeats, then click on Remove Device.
Remove Device - Put your Powerbeats in their case and leave the lid open.
Powerbeats pro inside the charging case - Press and hold the system button on the case until the status LED blinks.
Powerbeats Pro system button - Select your Powerbeats from the menu of available Bluetooth devices.
Select Powerbeats Pro


Mac
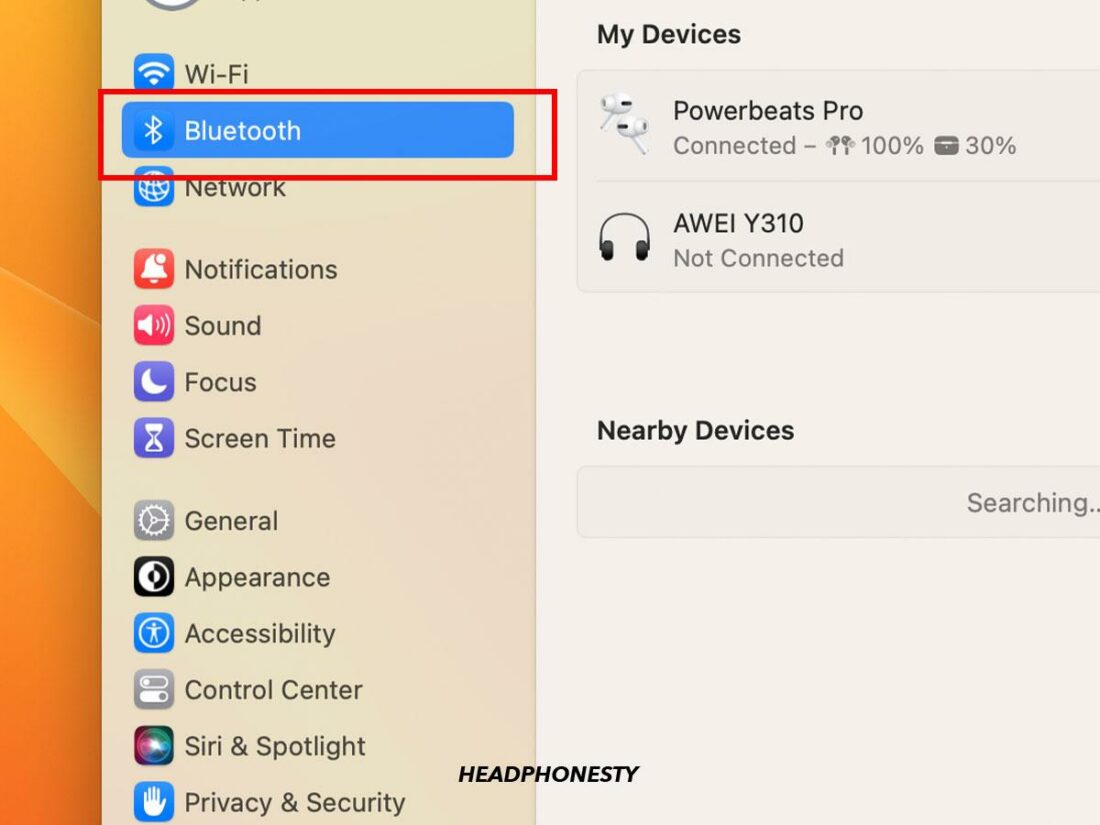
- Open the Apple menu, and select the Bluetooth menu.
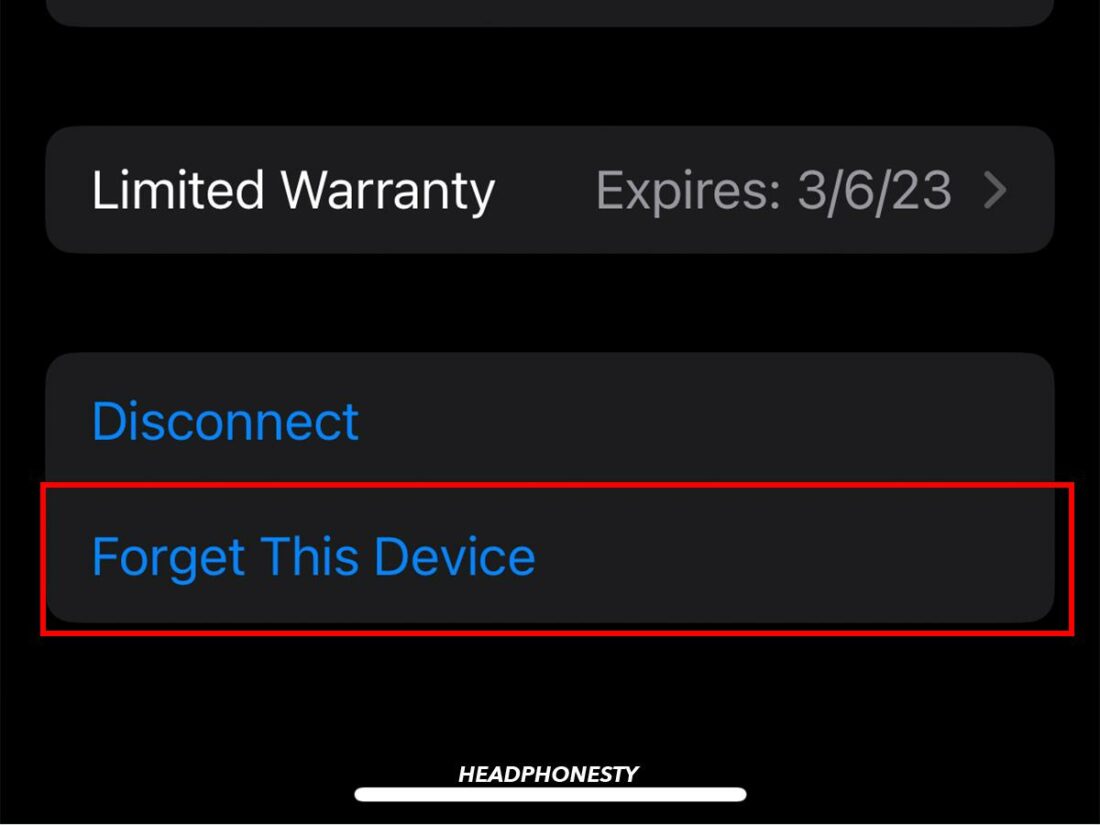
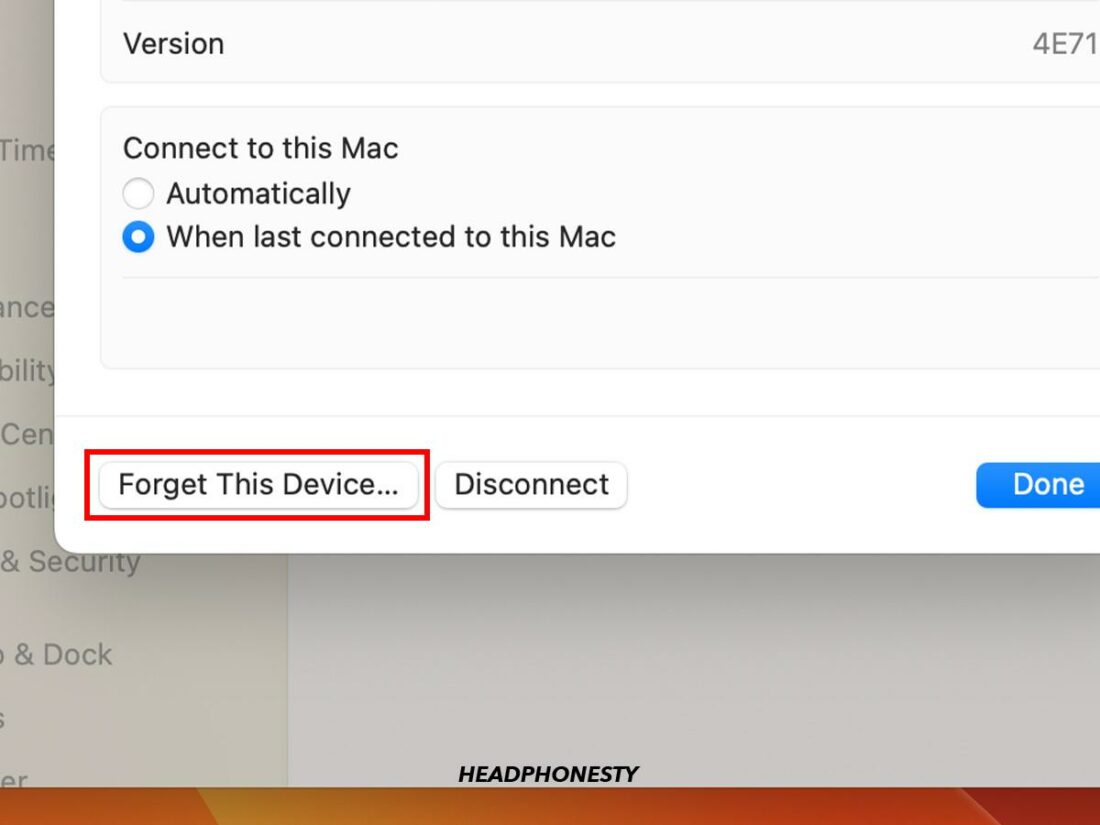
Bluetooth Menu - Click the ‘i’ next to your Powerbeats, then select Forget This Device to remove them from your Mac.
Forget This Device - Put your Powerbeats in their case and leave the lid open. Then, press and hold the system button on the case until the status light blinks.
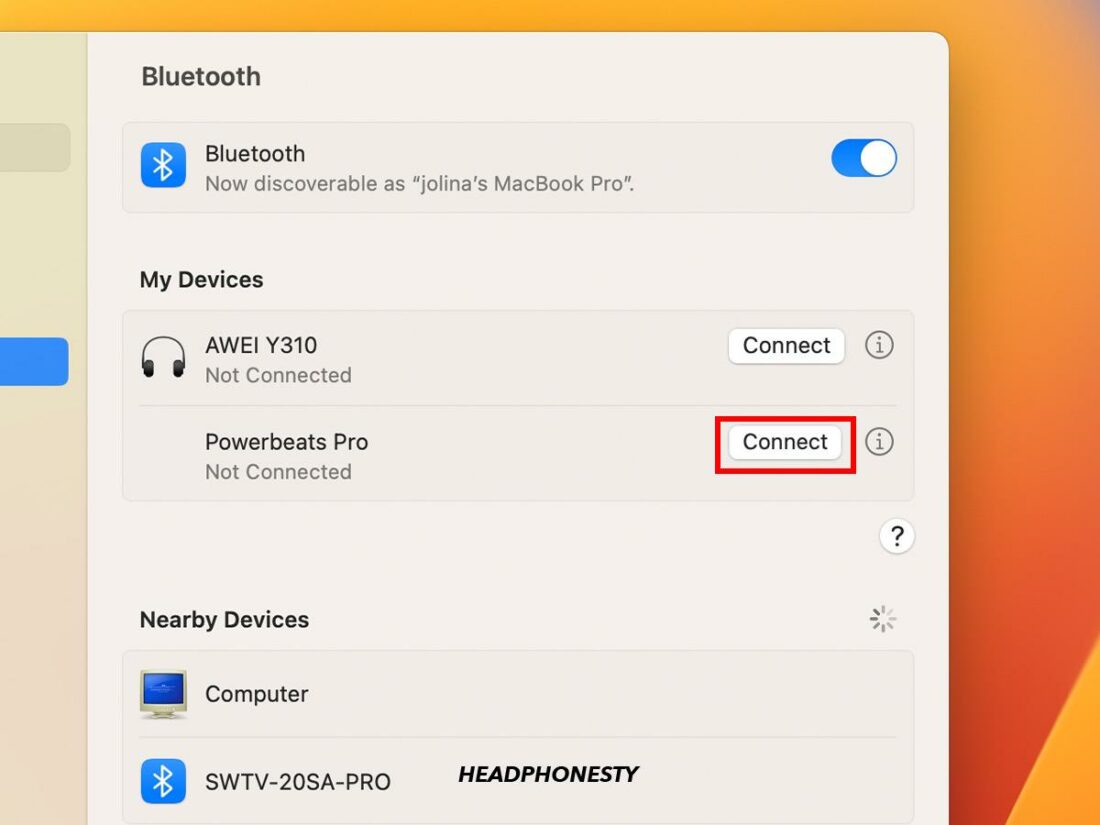
Powerbeats Pro system button - Last, click Powerbeats from the list of available Bluetooth devices.
Connect button

Hopefully, this fixes your problem. If not, read on!
Restart Your Device
When you restart your device, it turns off all the programs currently running, including the one causing a problem. Further, when the device turns back on, it will start everything afresh.
To restart your device, you should:
Android
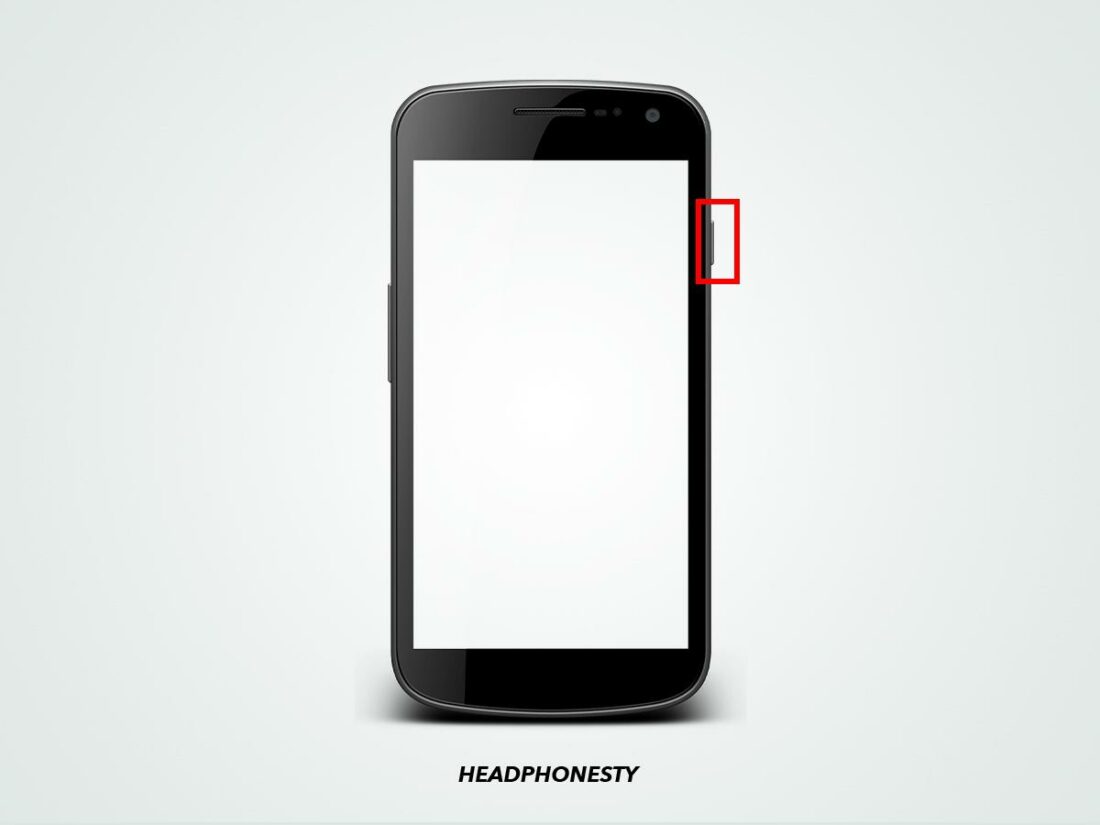
- Press and hold the power button on your device for a couple of seconds. The power menu should appear.
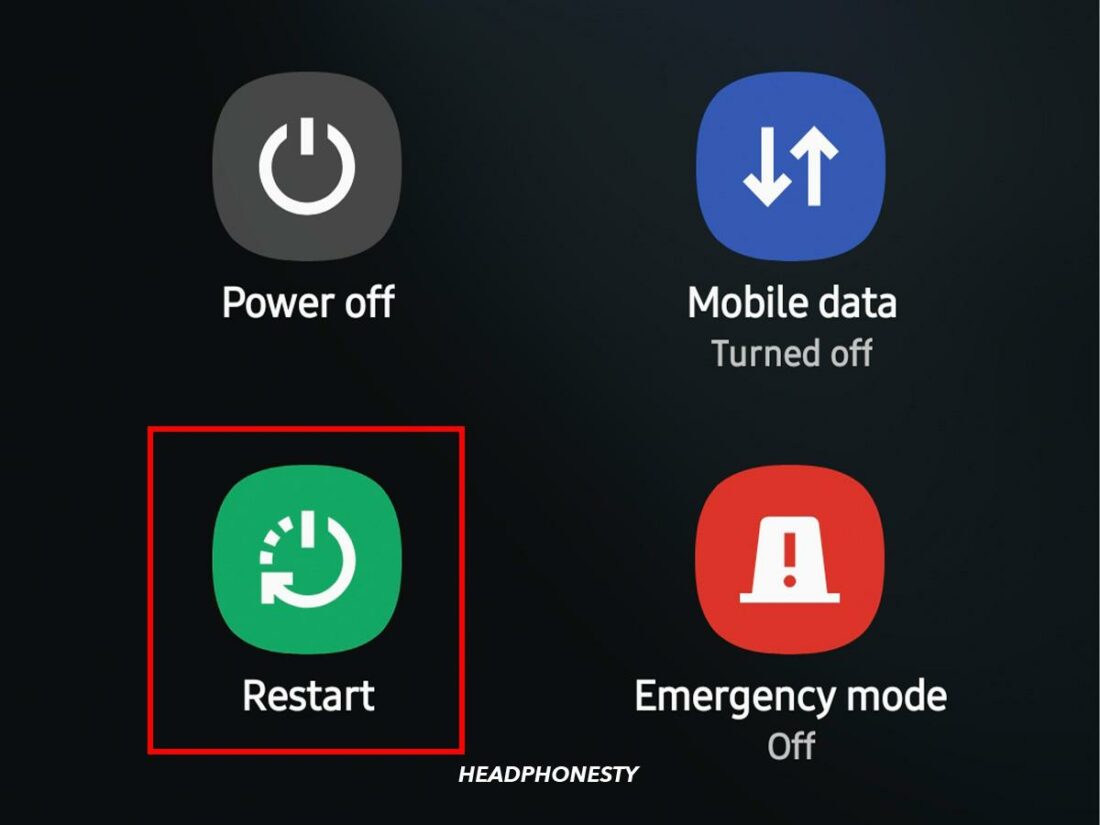
Power button - Select Restart from the menu.
Restart button
iOS
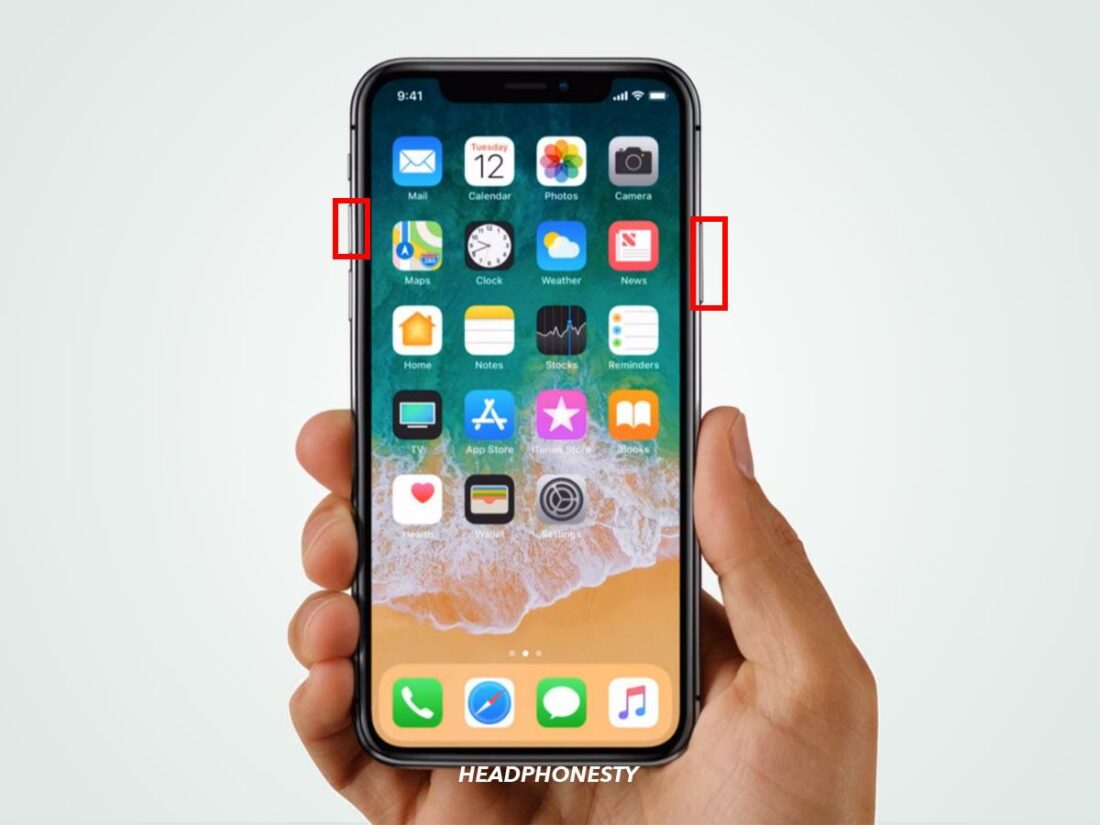
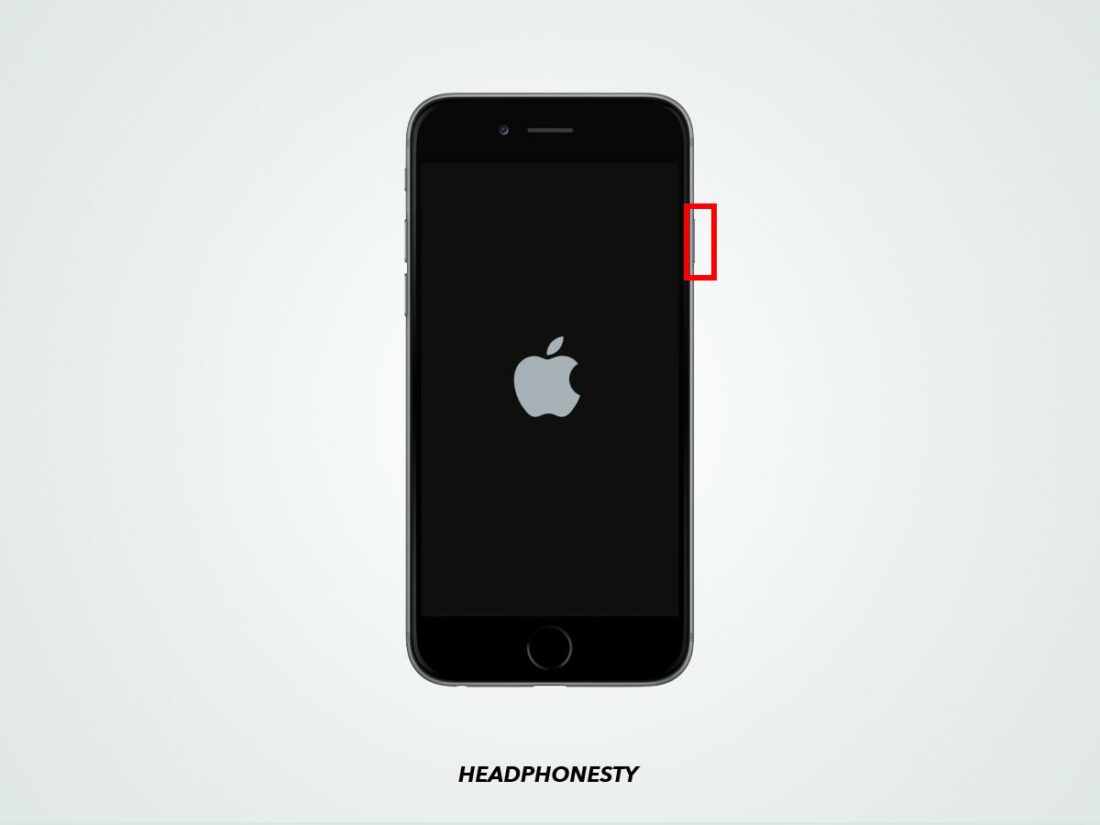
- Press and hold the side button until the power slider appears. If you use an iPhone X or later, you’ll need to hold either volume button as well.
Side buttons - Drag the slider, then wait thirty seconds for the device to power off.
Drag the slider - Lastly, press and hold the side button until the Apple logo appears to turn your device back on.
Power button

Windows
- Make sure you save all your in-process files.
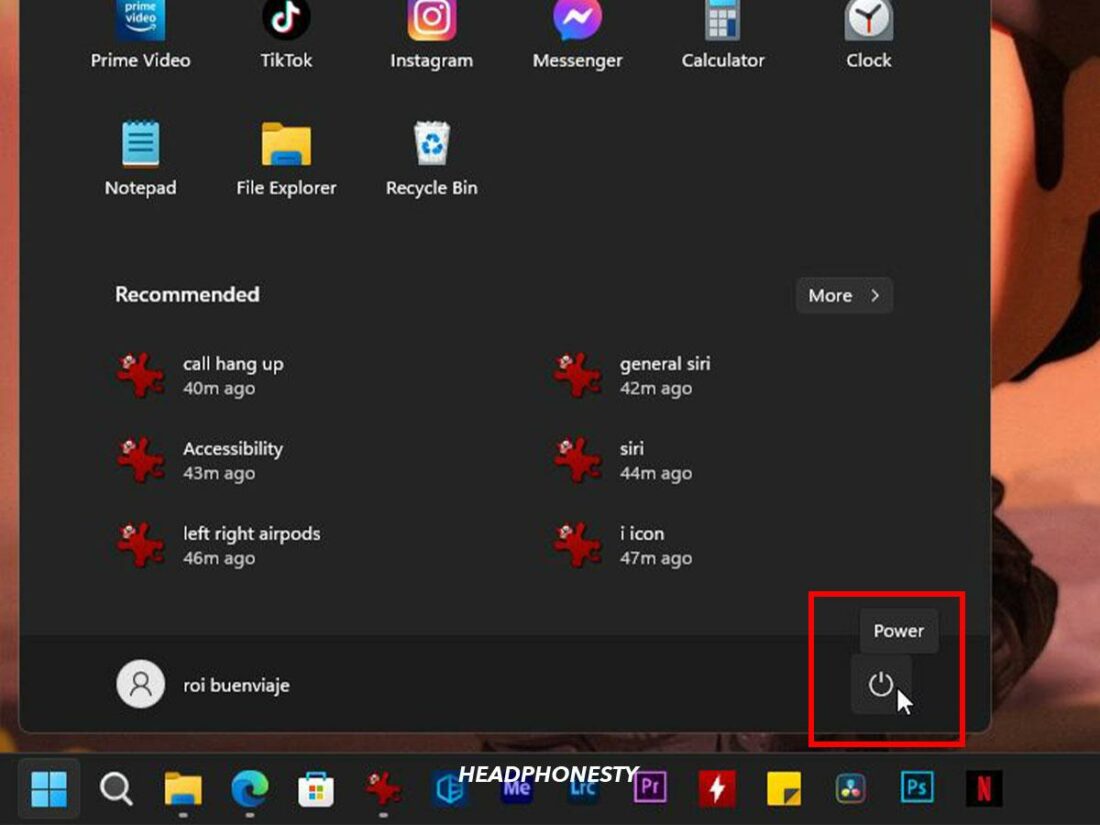
- Click the Start button, then the Power button.
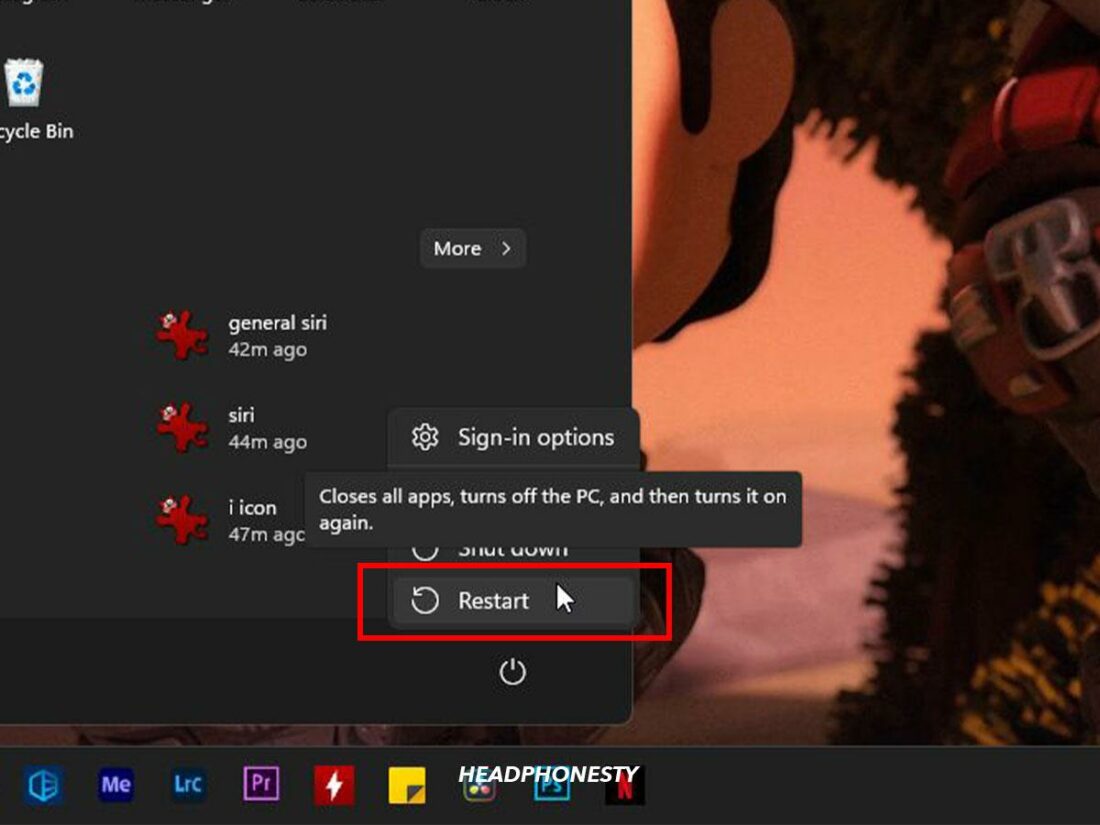
Power button - Select Restart.
Restart button
Mac
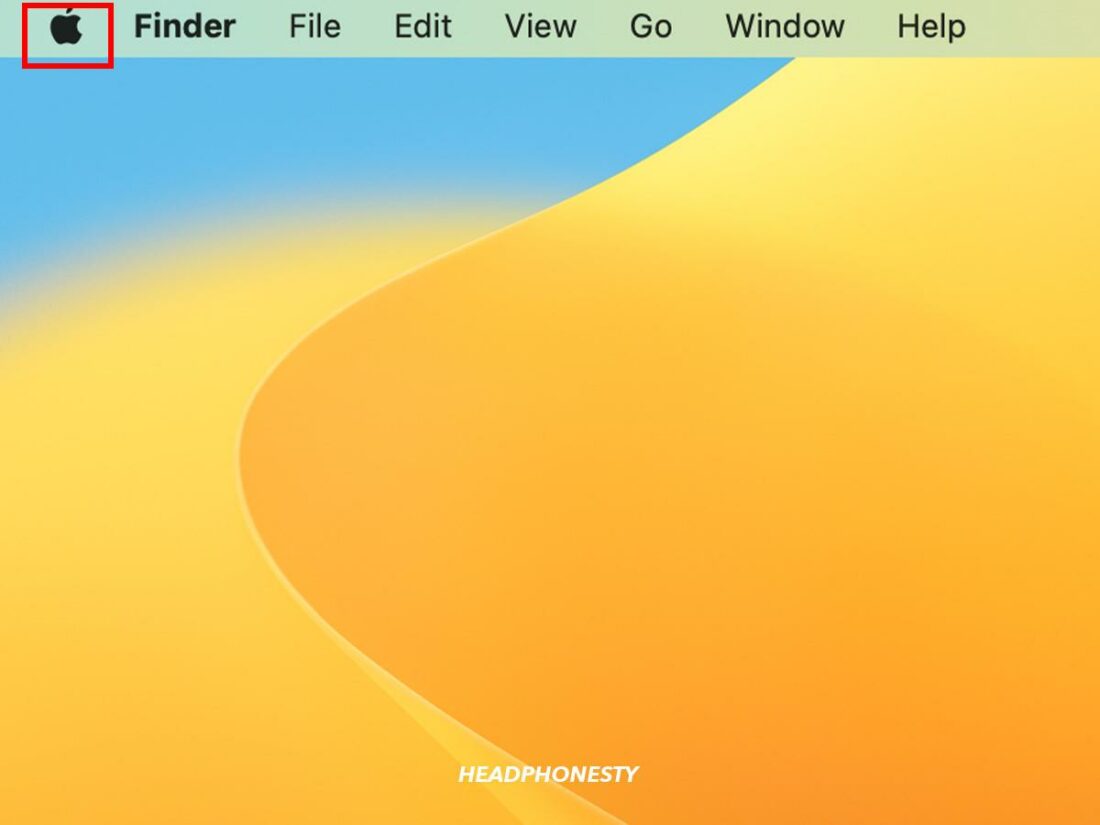
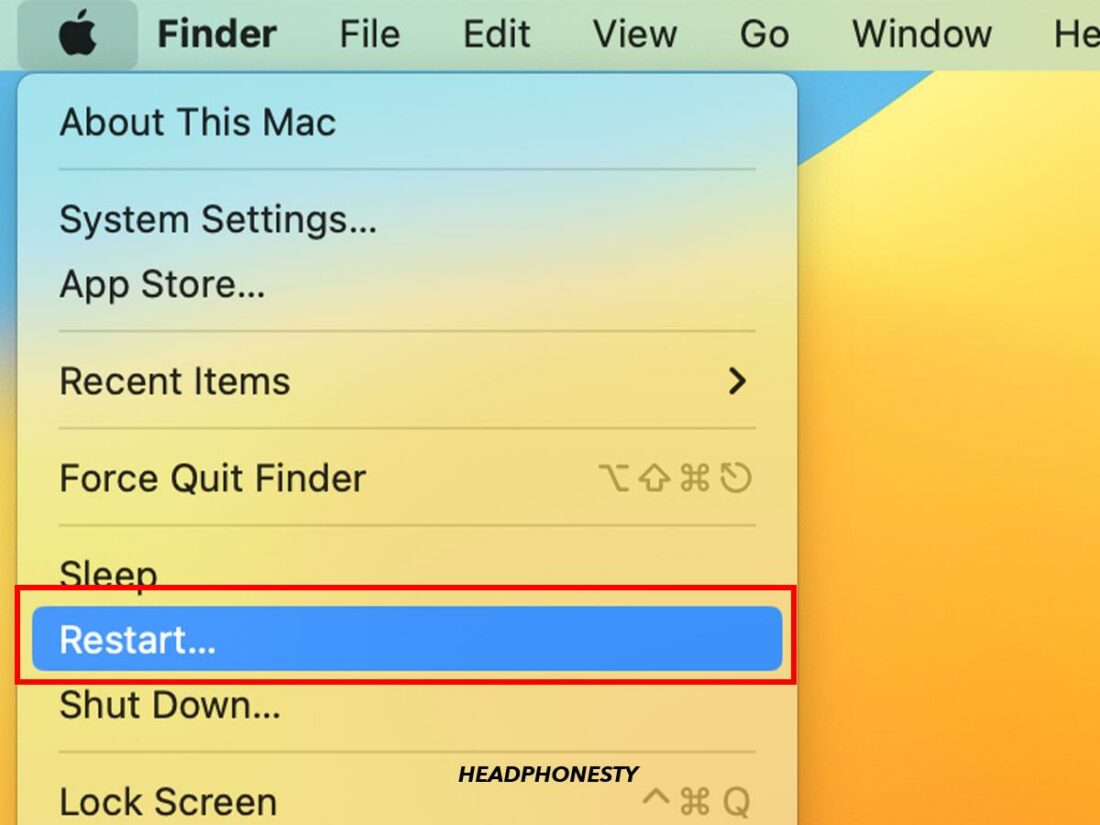
- Open the Apple Menu on the upper left side of the screen .
Apple menu - Select Restart.
Restart
Did restarting your device work? If not, then the next step could be for you!
Reset Your Powerbeats Pro
Resetting a device will clear its current memory and processes, letting it start again from a clean slate. Usually, this often gets rid of whatever bug is causing the problem.
To reset your Powerbeats Pro, you should:
- Put both Powerbeats into their case, and leave the lid open.
Powerbeats Pro inside the charging case - Press and hold the system button for fifteen seconds or until the LED flashes red and white.
Powerbeats Pro system button - Release the button.


For more information on this issue, please read our article on how to reset any Bluetooth headphones.
Update Powerbeats Pro’s Firmware
Updates to a device’s firmware often try to fix bugs that interfere with the user experience. For this reason, updating your Powerbeats Pro might eliminate the glitch causing the problem.
Here’s how you can update your Powerbeats’ firmware:
Android
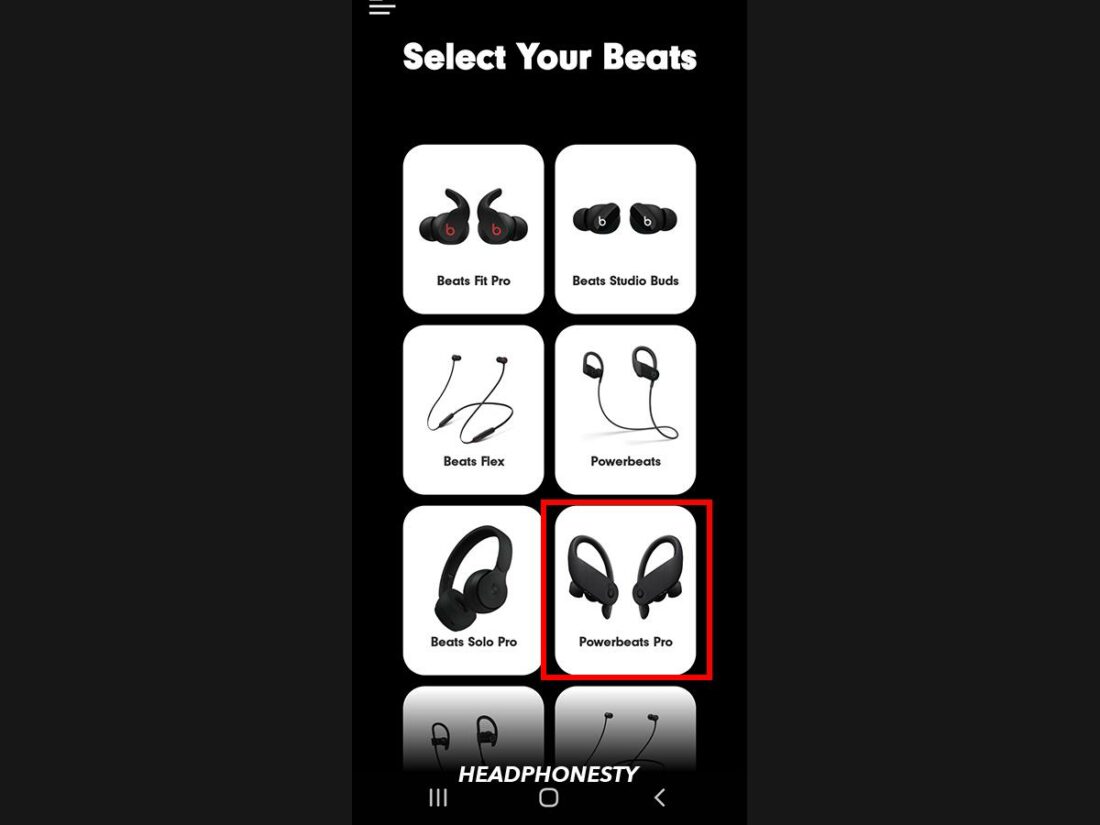
- Open the Beats app for Android, and go to the display screen for your Powerbeats Pro.
Select Powerbeats Pro - If an update is available for your Powerbeats Pro, it will display an update button. Tap this, then follow the onscreen instructions.
- You can check your current firmware version by scrolling to the ‘Under the Hood’ information on the display screen. It will show your firmware version.
iOS
The Powerbeats Pro will automatically update when the update is released – as long as you have the latest iOS version installed. But in case it doesn’t, restarting your iOS device might help to trigger the update.
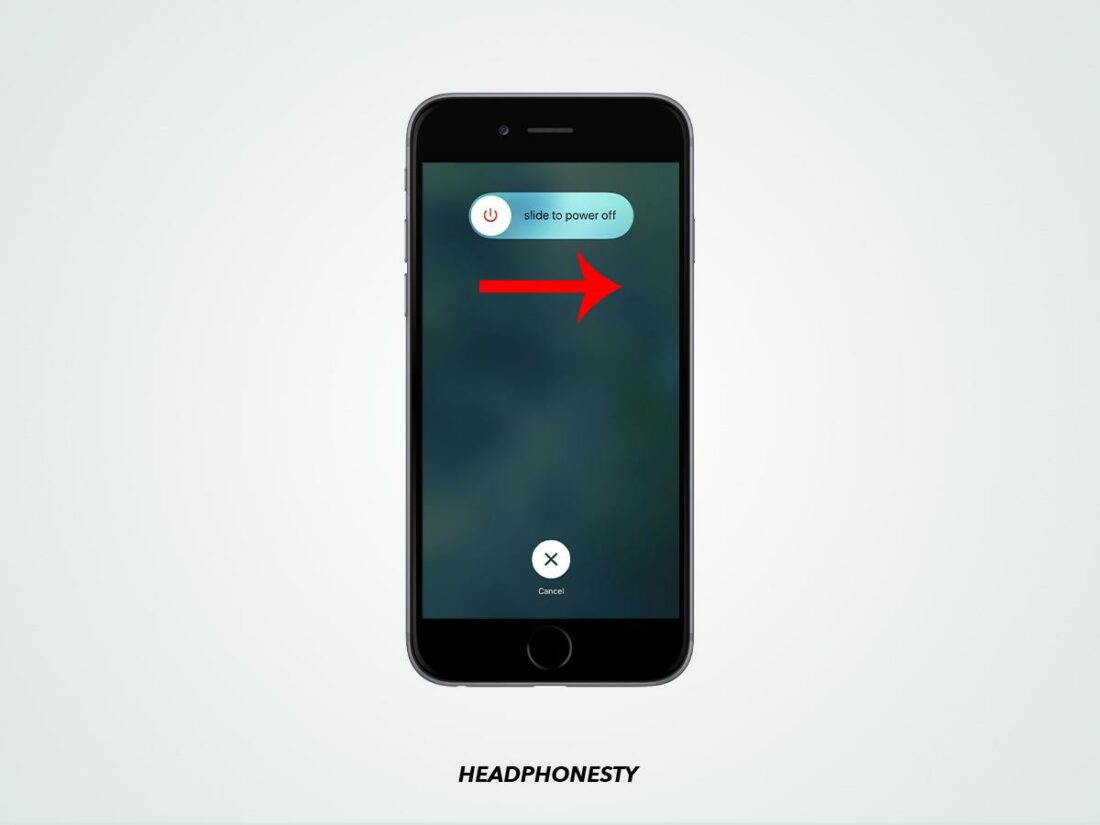
- Press and hold the side button until the power slider appears.If you use an iPhone X or later, you’ll need to hold either volume button as well.
Press and hold the side button - Drag the slider, then wait thirty seconds for the device to power off.
Drag the slider - Press and hold the side button until the Apple logo appears to turn your device back on.
Turn on the device


Turn Off Automatic Switching
Powerbeats Pro users can switch devices automatically using Automatic Switching. So, you can switch between iPhone, iPad, and Mac without changing the settings.
This feature works by making your Powerbeats detect when a device emits sound. They will then connect to this device. However, if Automatic Switching fails, your Powerbeats may play audio from a different device.
Here’s how to turn off Automatic Switching on iOS and Mac:
iOS
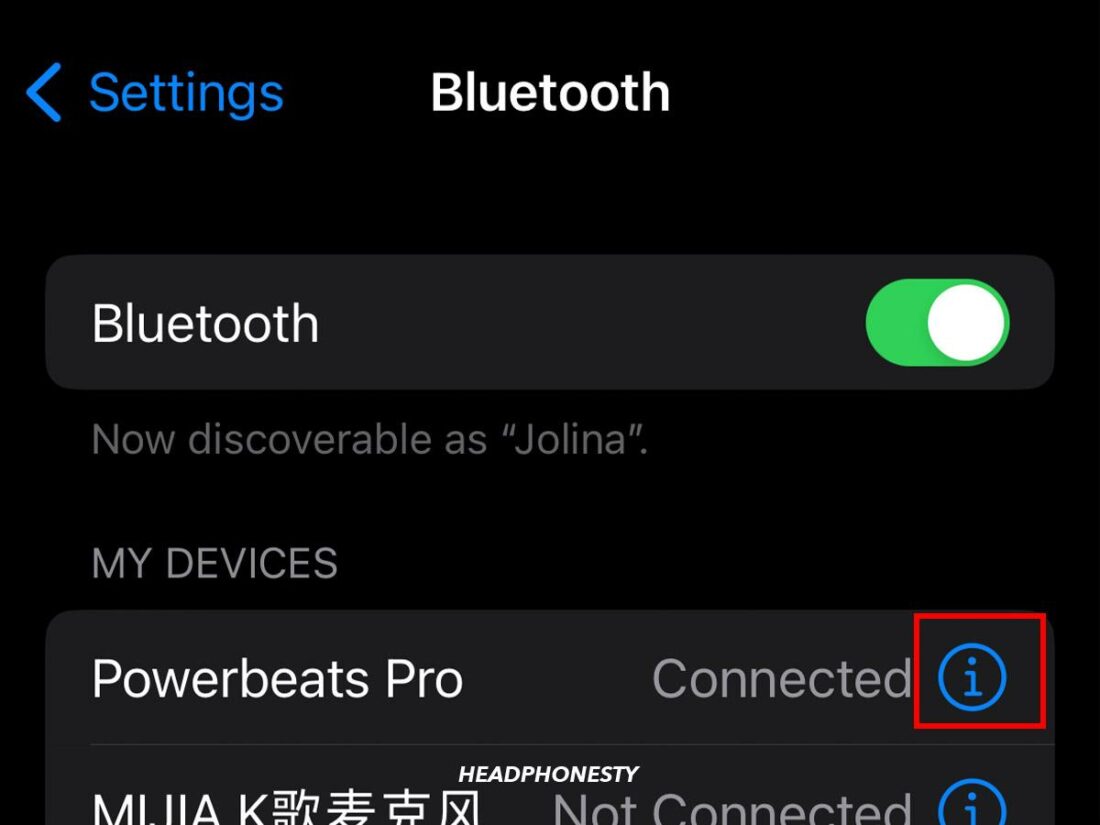
- Ensure that you connect Powerbeats Pro to your device, then open Settings.
Settings - Tap the Bluetooth menu, then the ‘i’ icon next to the name of your Powerbeats.
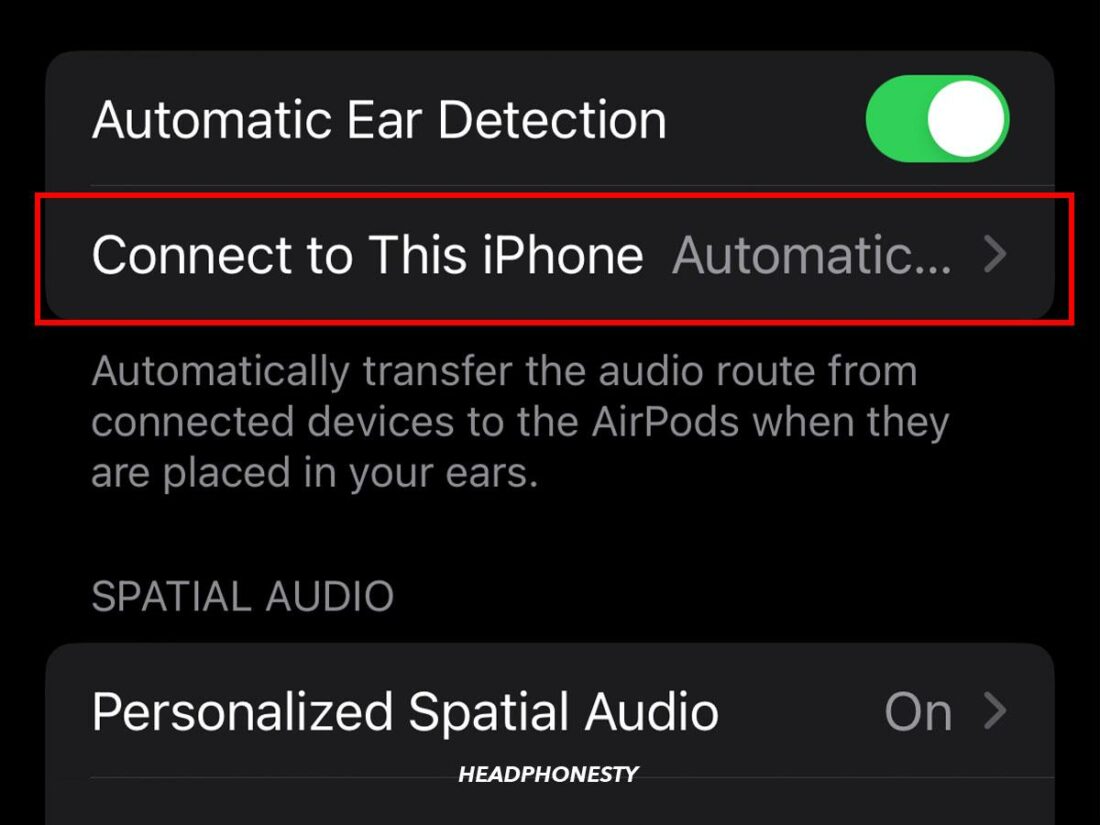
“i” icon - Tap ‘Connect to this iPhone/iPad.’
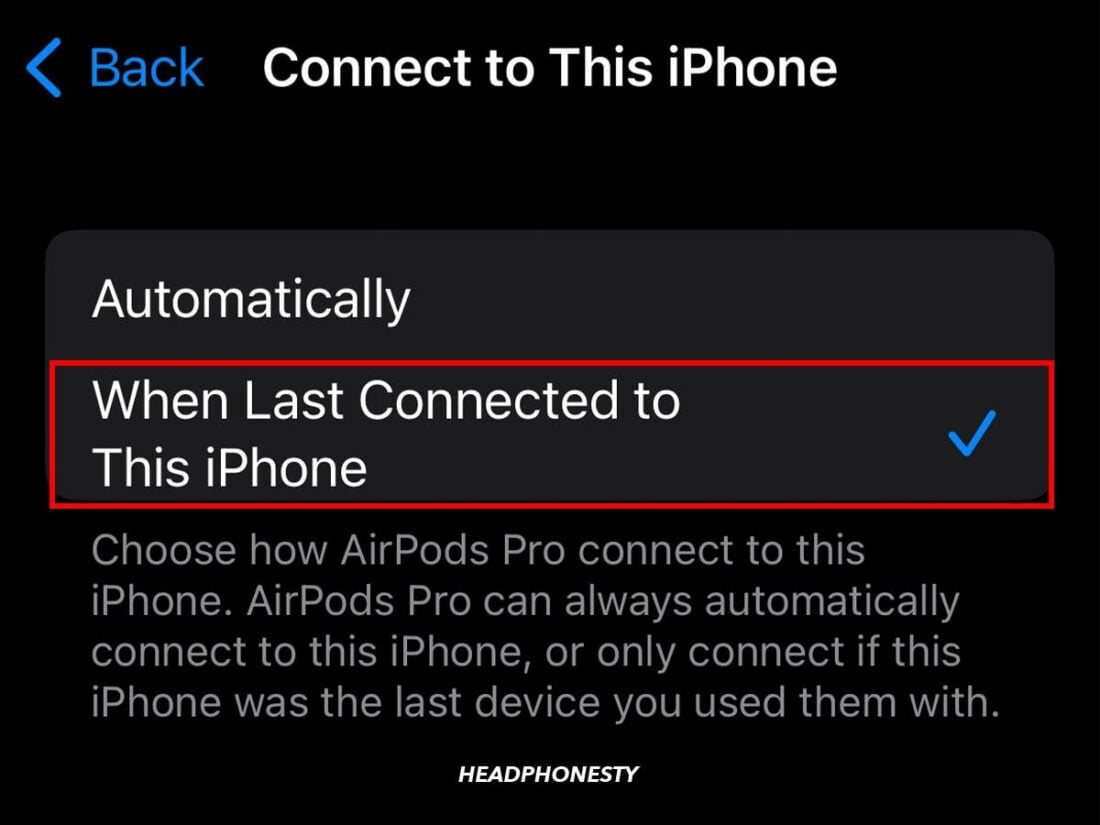
Connect to this iPhone - Choose ‘When Last Connected to this iPhone/iPad’ from the options.
When Last Connected to This iPhone If you still can’t hear anything, it might be an iPhone issue. Visit our guide for how to fix iPhone’s no sound issue.

Mac
- Open the Apple menu, then System Settings.
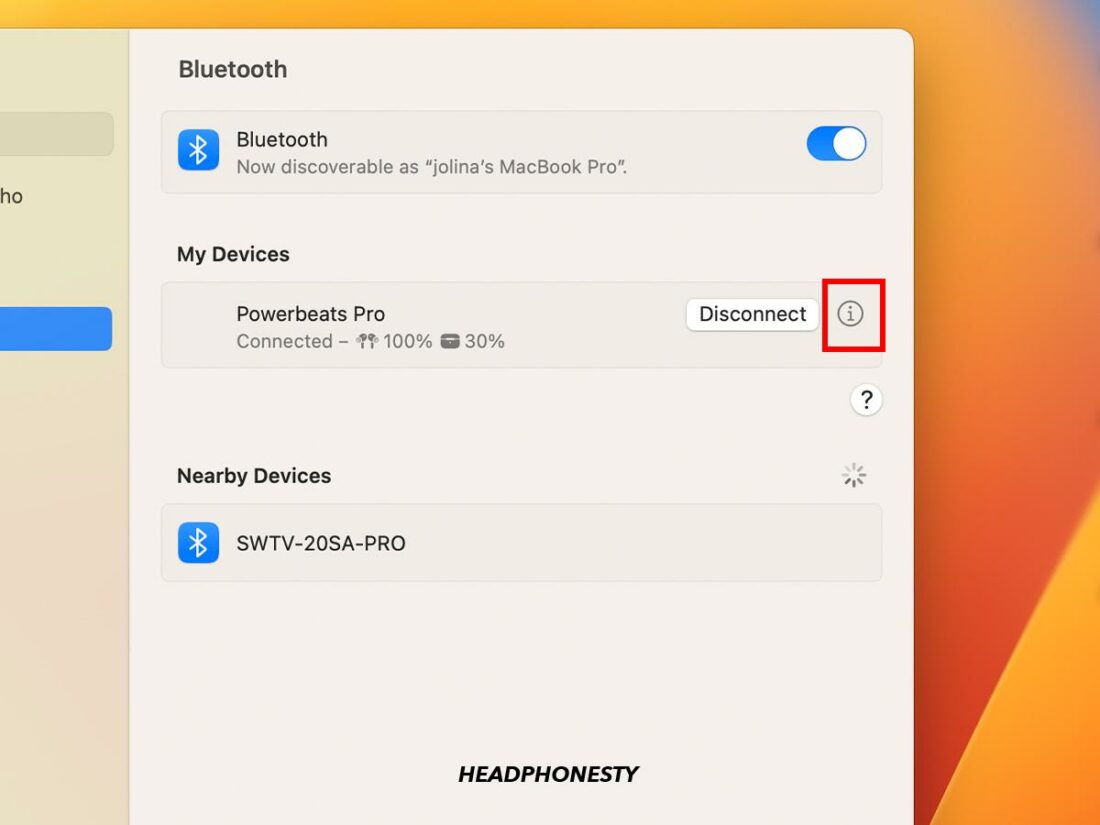
System Settings - Select Bluetooth, and click on the ‘i’ button next to your Powerbeats Pro.
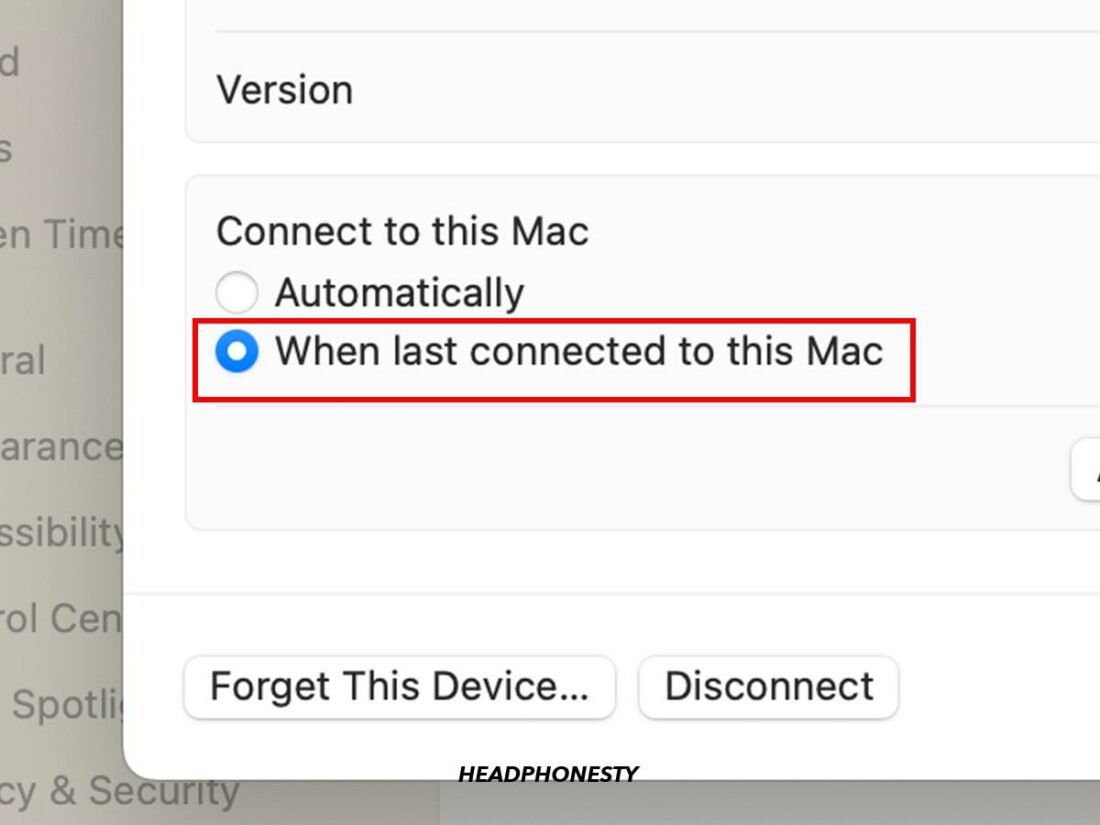
“i” icon - Click ‘Connect to this Mac’ and select ‘When last connected to this Mac.’
When last connected to this Mac

Check for Bluetooth Interference
Bluetooth interference is when something disrupts the Bluetooth connection between two devices– in this case, your headphones and your phone or computer. This results in static, sound delays, or connection dropping, which could explain your issue.
Some of the causes of Bluetooth interference are:
- Lots of WiFi signals
- Microwaves and fluorescent lights
- Physical obstructions
- Devices being out of range
- Outdated firmware
If your Powerbeats Pro don’t work well in certain situations, it could be because of Bluetooth interference. For example, in the gym, when there are numerous overlapping Bluetooth signals. In this case, try to move away from the location and see if the problem persists.
Drain Powerbeats Pro’s Battery
Some users of Powerbeats Pro have reported that completely draining the battery can fix faulty audio. You will need to drain the charge of both the earbuds and the charging case, then recharge them. This will essentially do the same as turning the Powerbeats off and on again.
Here’s how you can drain the charge of your Powerbeats Pro:
- Make sure to disconnect the charging case from a power source.
- Take the earbuds out of their case, and play audio through them (even if there’s no sound). You don’t need to wear the earbuds, so you can just leave them in a safe place until the battery has drained.
- When the Powerbeats Pro have completely discharged and turned off, place them back in the charging case until fully charged.
- Repeat the above steps until the case and the earbuds drain completely. The Powerbeats Pro case holds 3-4 charges, so you might have to do this a few times.
- After fully draining the earbuds and case, place the Powerbeats Pro back in the charging case. They should automatically connect to your device. Additionally, you can test if this has worked by playing audio to the Powerbeats.
If Nothing Works, Consult Apple Support
If you’ve tried everything on this list and nothing has worked, then the problem could be in the electronics of the Powerbeats Pro themselves. Unfortunately, there is nothing you can do about this yourself. To fix internal hardware issues with your Powerbeats, you need to contact Apple Support.
You can chat or call a service representative to get help from Apple Support. Chatting can be helpful if you have photographs or screenshots of how the product connects to your device, but if you want a speedier way to communicate, try calling.
Before contacting support, it could also be helpful to check if the Apple Warranty still covers your Powerbeats Pro. You can enter the serial number of your Powerbeats into the Apple coverage page, which should display their warranty information.
Conclusion
Hopefully, your Powerbeats Pro are back in your ears, and you’re uninterrupted listening to your music or podcast! Which of our solutions worked for you? Did you figure something out that we missed? Make sure to tell us in the comments below!