Check out these top tips and fixes to get your Bluetooth headphones charging again in no time.
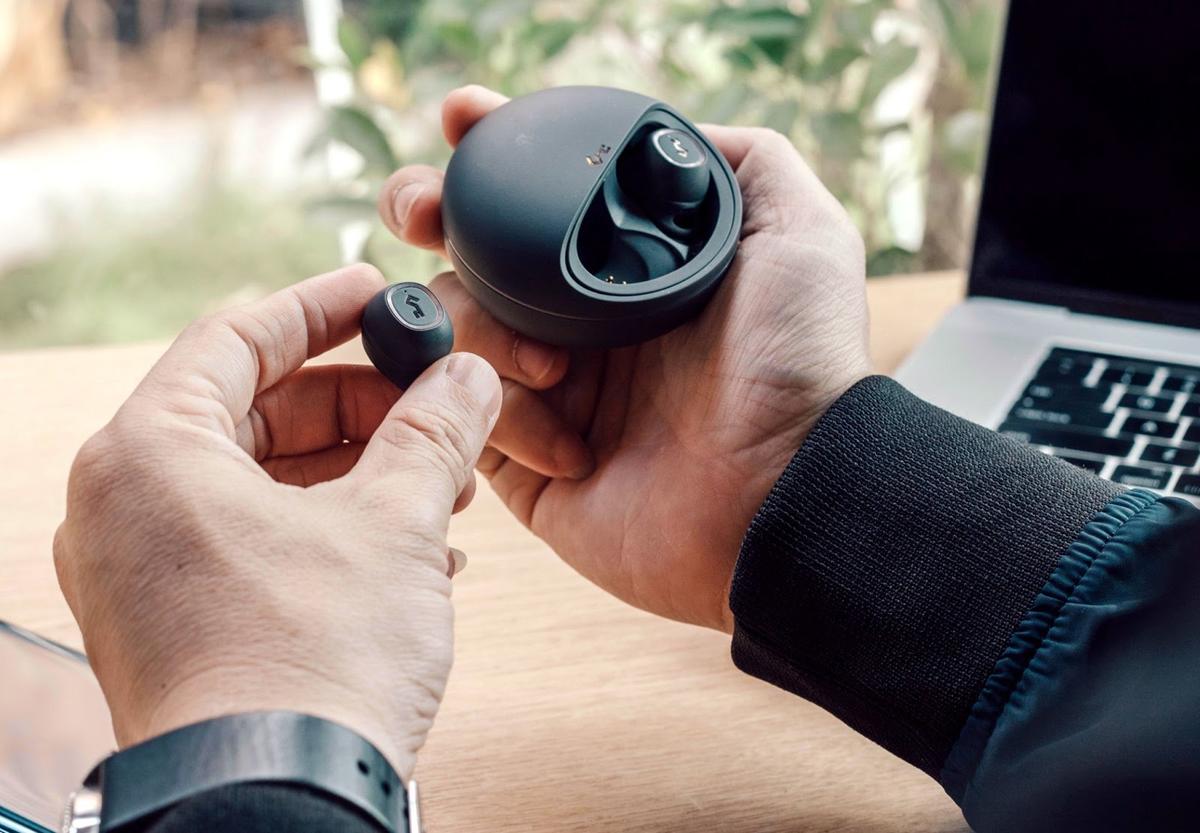
The portability of Bluetooth headphones has made listening to music and podcasts much easier all-day, even while on the go.
However, problems with charging and batteries, usually from damaged cables and charging ports, can render wireless headphones useless. Ultimately, this can put a damper on your listening experience.
Luckily, fixing your Bluetooth headphones can be as easy as removing debris from the charging port, or replacing your battery or charging cable. Keep reading to learn the common fixes to headphones that won’t charge, plus other solutions based on your headphones’ brand.
Bluetooth Headphones Won’t Charge: 7 General Solutions
When Bluetooth headphones won’t charge, it’s mostly due to problems with the port, charging cable, or batteries. So, regardless of brand, there are universal solutions you can try to get your Bluetooth headphones charging again.
Here are some general fixes for Bluetooth headphones that won’t charge:
- Charge directly via a power outlet and not a USB hub
- See if there is any debris in the port
- Try a different charging cable
- Check if the charging port is loose or damaged
- Keep the headphones connected to the charger for a few hours
- Make sure they’re properly seated on the charging stand or case
- Do a hard reset
1. Charge directly via a power outlet and not a USB hub
Make sure to try plugging your headphone charger directly into a power outlet, instead of USB hubs.
USB hubs, while useful, can often be insufficient for charging your headphones. This can be the result of a faulty USB hub or because the USB hub can’t provide enough power to charge the headphones.
Although USB hubs meet the minimum voltage required to charge headphones, which is around 5V, the problem lies in the electric current they supply. Most USB hubs can only output 0.5A or 2.5W at a time, which corresponds to only 1/2 to 1/3 of the output of charging bricks directly connected to a power outlet.
2. See if there is any debris in the port
Debris in the charging port can hinder your device from receiving power properly from your charger. In most cases, cleaning the port is enough to get your headphones charging again.
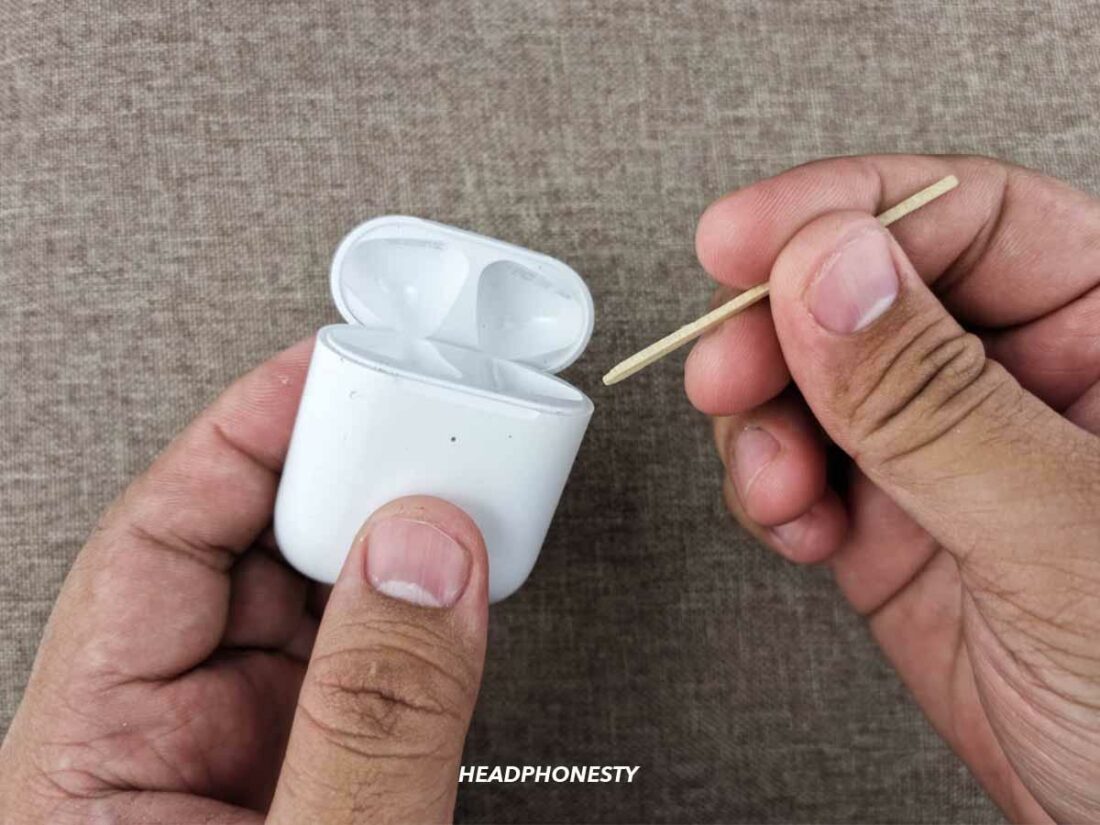
This method is super easy and can be done in no time. All you’ll need is a can of compressed air and a toothpick or any thin, non-metallic object.
Here’s how you can clean your headphones’ charging port:
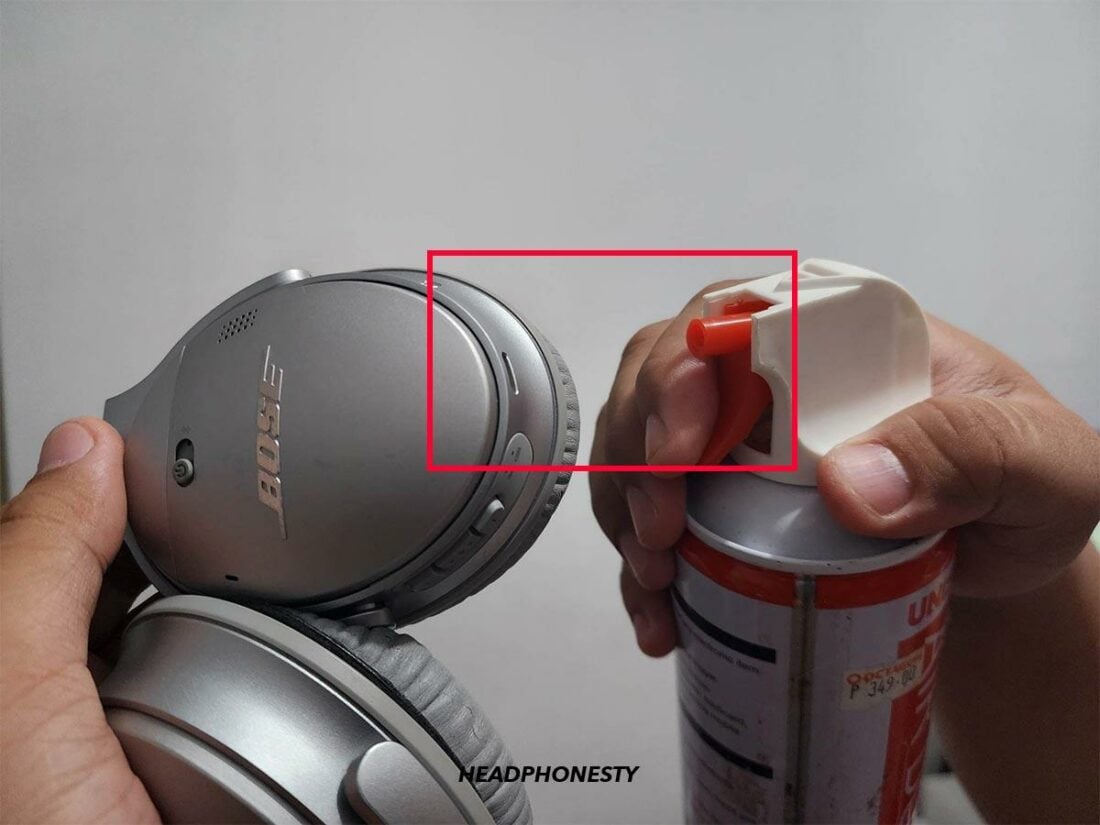
- Start by firing compressed air into the port to drive out debris.When spraying your can of compressed air, make sure to hold the can upright to avoid spraying water into the port.

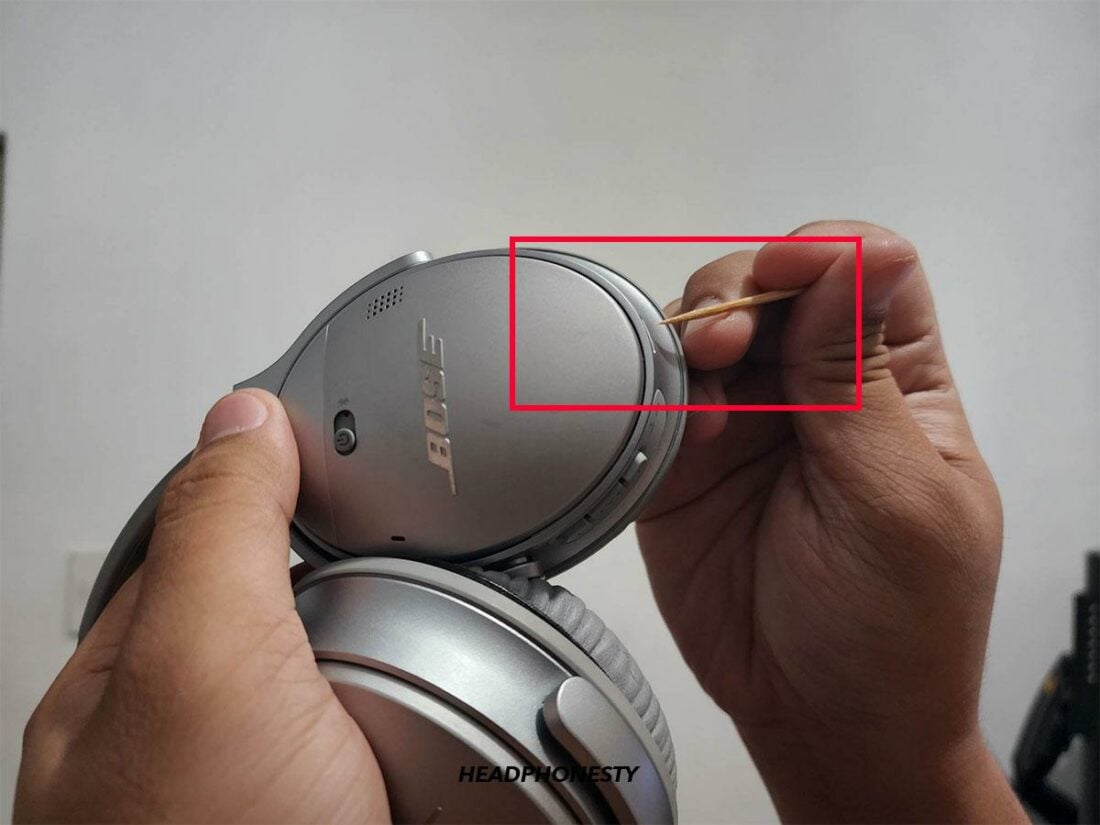
Pointing compressed air into the USB port. - Check the port to ensure all debris has been cleared. If there is any dirt remaining, carefully use a toothpick or a thin, nonmetallic object to remove it. Gently scrape the port from wall to wall, while avoiding the pins inside.Be careful when cleaning the interior of the charging port, as the electrical connectors inside are delicate and can be broken if too much force is applied.
Using a toothpick to clean the port. - Once you’re done clearing away debris, blast compressed air into the port a few more times to ensure all residue is cleared out.
Blast compressed air into the port a few more times.

3. Try a different charging cable
Charging cables house delicate wires that can break with too much tension. That said, it’s hard to tell if a cable is broken, as the damage is internal most of the time. To rule out whether the charging cable is the problem, try charging the headphones with a different cable.
If there is visual damage to the cable, like exposed wires, you can try repairing the cable yourself. These solutions are super easy, and they can save you a few bucks.
4. Check if the charging port is loose or damaged
Much like the case of a loose headphone jack, a loose charging port can also result in many frustrating issues.
Inspect the charging port of your headphones for any damage like bent connectors or bent metal. Also, make sure that the port itself isn’t loose when you touch it, as this could be a sign that the connectors have detached from the headset.
5. Keep the headphones connected to the charger for a few hours
Your headphones’ batteries can become over-discharged if they haven’t been used for a while. This means they will need to be plugged in for longer before the battery can begin to charge again.
6. Make sure they’re properly seated on the charging stand or case
Some headphones aren’t charged directly through a cable but instead through a stand or case that has a cable connected to it. If this is the case for you, make sure your headphones are positioned properly so that they can accept a proper charge.
7. Do a hard reset
Doing a hard reset can solve many problems, including headphones that aren’t charging. The actual process for performing a hard reset can vary from model to model, but you can check out our full guide on how to reset your headphones to get it done without much fuss.
How to Fix Bluetooth Headphones Charging Issues According to Brand
As each pair of headphones is different based on the brand, solutions for each brand will also differ. If you didn’t have any luck with the previous solutions, let’s move on to more targeted solutions depending on your headphone brand.
For AirPods
There’s no other way to charge AirPods, except via the charging case. So, if there is debris blocking the AirPods from making contact with the charging pins inside the case, they won’t charge. There are also cases when only one AirPod would charge, but the other one won’t.
To remedy this, you must clean your AirPods and charging case regularly. Here’s how:
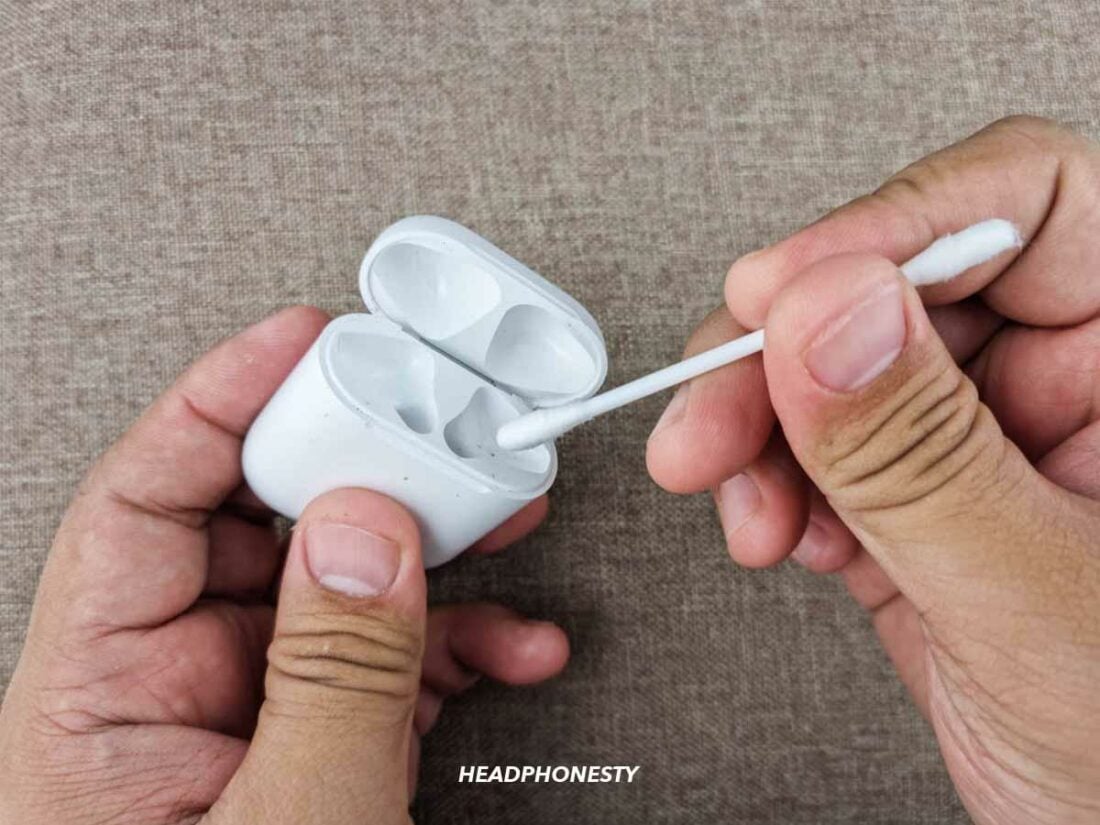
- Start by soaking the tips of a cotton swab in alcohol. Use this to gently clear away any debris from the charging pins found at the bottom of the case.
Use cotton swab to clean the AirPods’ charging case pin. - Consider using a toothpick to remove dirt from spots inside the case that are harder to reach.Be extra careful when using sharp toothpicks, as they can scratch the case or the charging pins.
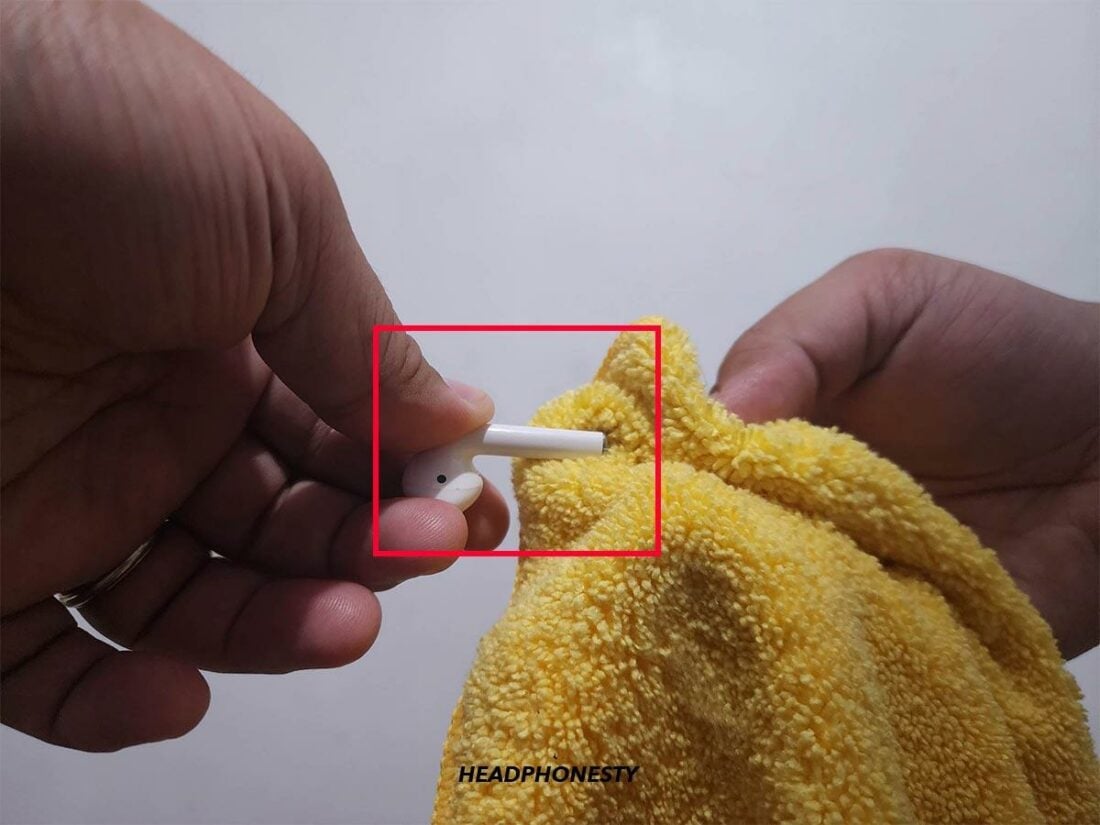
Use a toothpick to remove hard-to-reach dirt inside the case. - Finally, use a microfiber cloth to clean the AirPods themselves, focusing on the tail.
Use a microfiber cloth to clean the AirPods’ tail.
For Beats
Beats headphones use lithium-ion batteries. These batteries are popular for their high energy density, which means that, although they’re small, they can hold a large amount of charge.
However, lithium-ion batteries have a limited number of times they can be charged. Over the years, as they get charged, their battery capacity decreases.
This means that older headphones are more susceptible to a burned-out battery, which results in the headphones either not holding a charge or not charging at all.
To fix this, you can replace the battery inside your Beats headphones. To do so, follow these steps:
- Remove the casing outside of the speaker to expose the battery.
- Gently remove the connection for the battery.
- Use a prying tool to remove the battery.
- Remove the sticker from the back of the battery and place it back into position.
- Place the new battery on the adhesive sticker and reconnect the battery.
- Snap the casing for the speaker back into place.
For Bose
If your Bose headphones are having some difficulty charging, there are different solutions you can try to resolve the issue.
To begin, try the following steps:
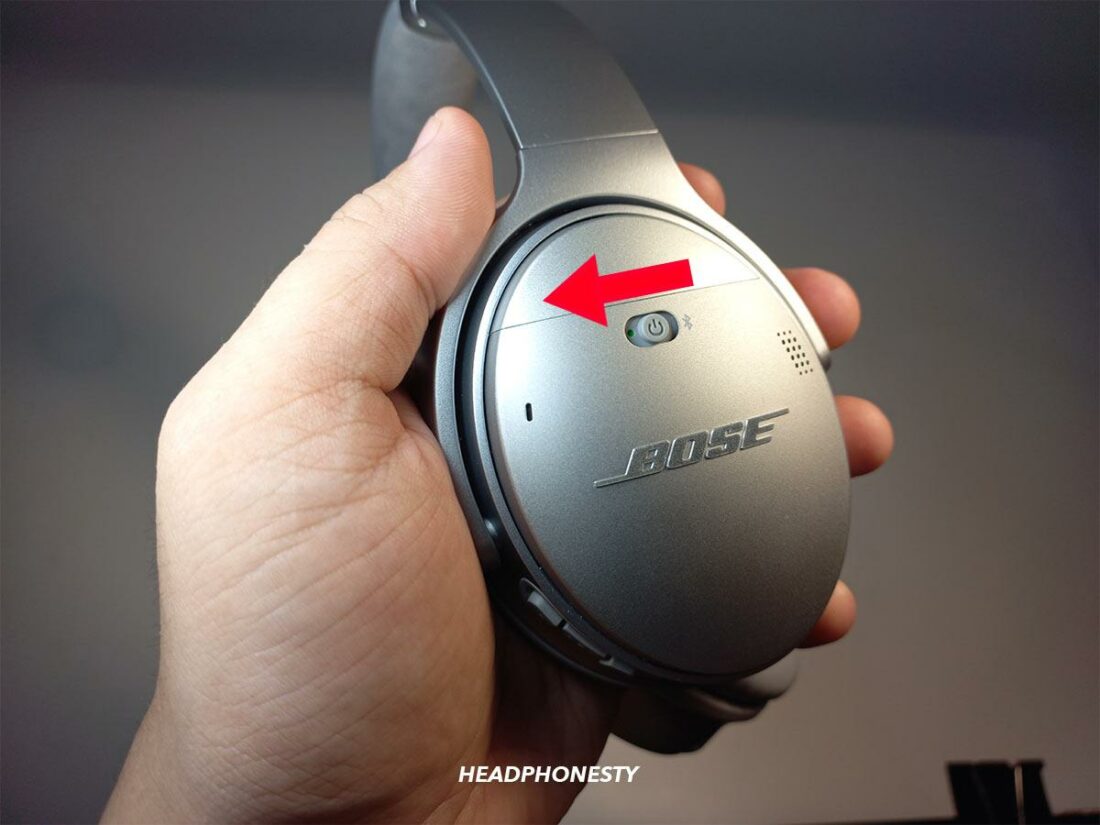
- Before charging, turn your headphones off by holding the power button for around 30 seconds.
Turn your Bose headphones off - Charge your headphones using the USB charging cable.
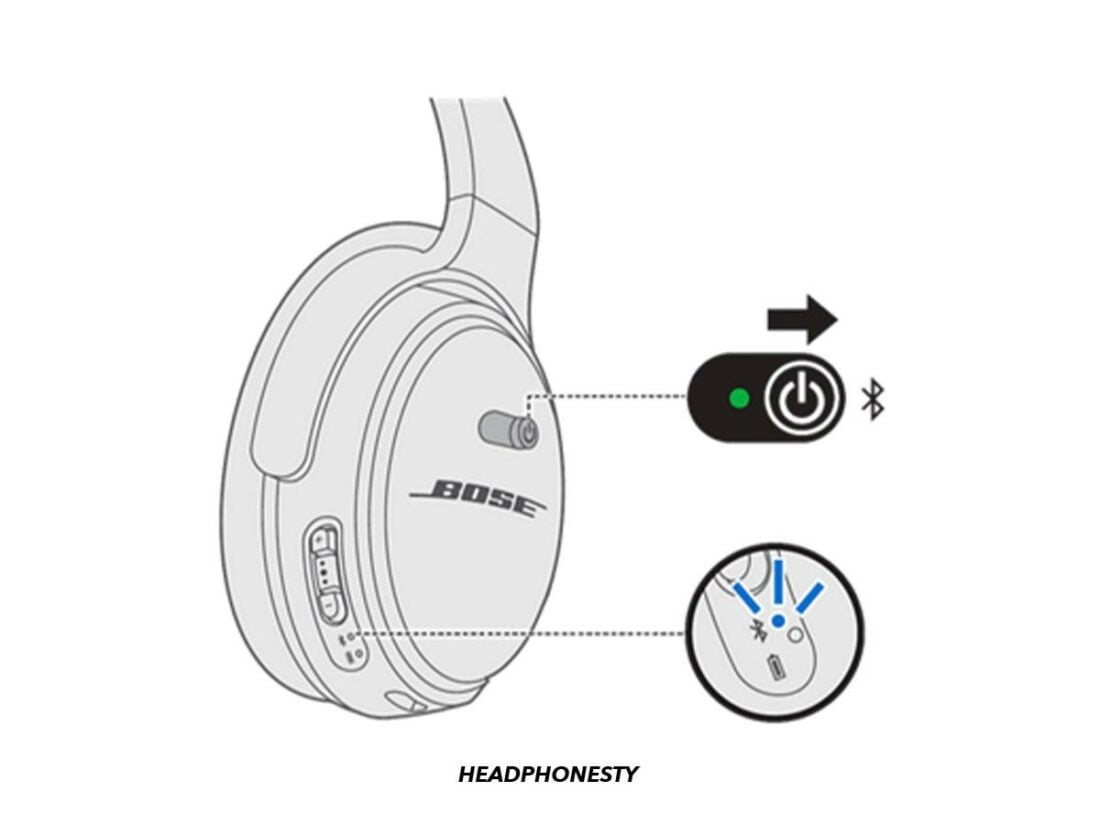
Plug the the USB charging cable. - After 5 seconds, unplug the charger. Then, wait for 1 minute before turning the headphones back on.
Turn on your Bose headphones. - Plug the headphones back in and see if they start to charge.
Plug the headphones back in.


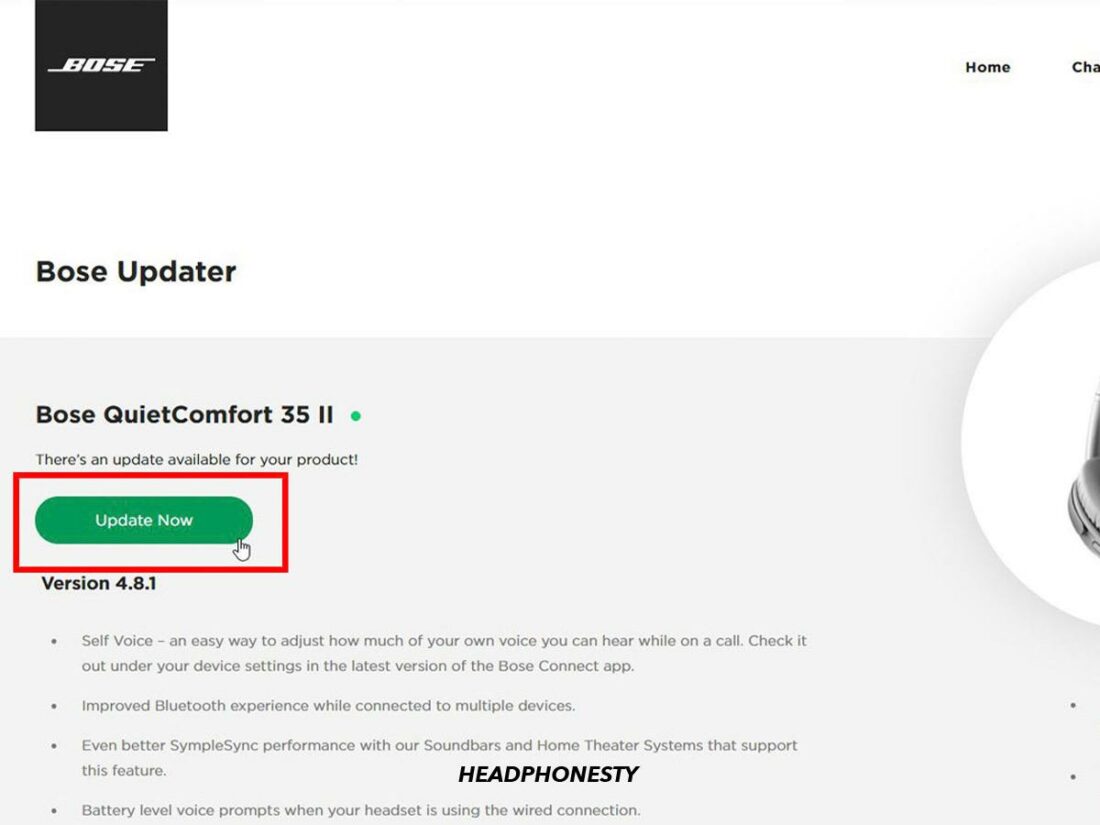
If the above steps didn’t work for you, try updating the firmware of the headphones:
- Download the Bose Software Updater to your PC.

Downloading and installing the Bose Software Updater. - Plug your headphones into the PC and follow the prompts given by the Bose Software Updater.
Click Update Now.

If neither of the above solutions fixed your problem, it’s time to take a more hands-on approach and replace the charging port on the headphones. This solution will require some technical skills, and may require the assistance of a professional in order to be performed correctly.
If you want to give this a try, follow this video guide for an in-depth walkthrough.
For Jabra
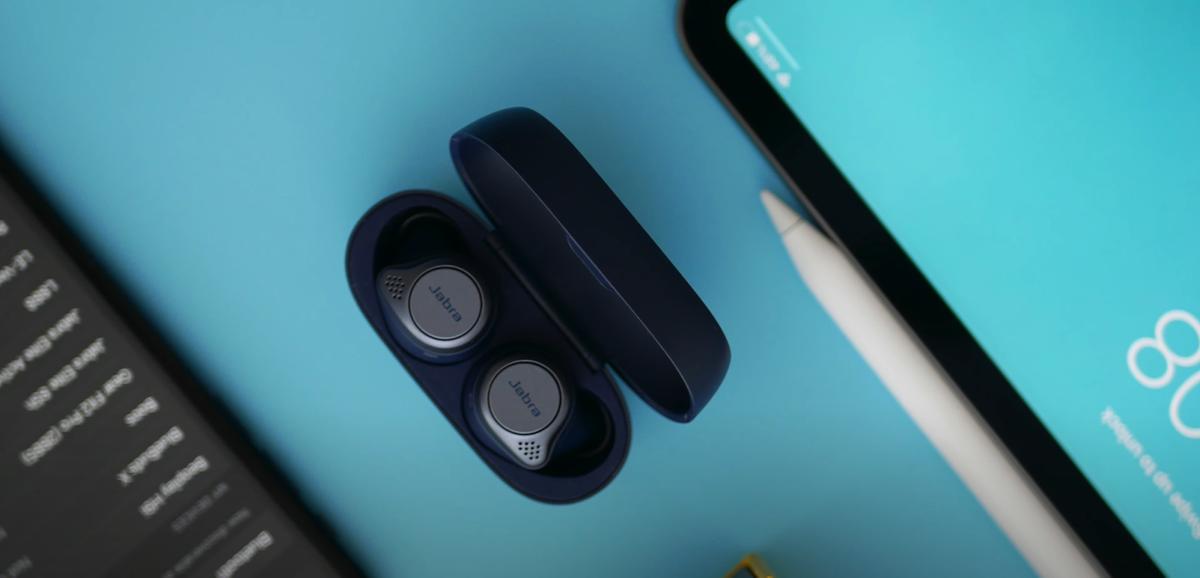
If your Jabra earbuds either won’t charge or cannot hold a charge, it can be due to an issue with your charging case. Resetting the case can resolve this issue.
Here’s what you need to do:
- Put the earbuds in the case and plug the case in to charge completely. This can take up to two and a half hours for them to charge completely.
- Once the case is completely charged, remove the earbuds and then insert them back into the case. Make sure that each earbud flashes red when inserted.
- With the lid open, plug the case into a power source.
- After the battery level LED light shows after 3 to 5 seconds, close the lid and allow the earbuds and the case to charge for another to 2 hours.
For Logitech
Logitech charging issues are commonly caused by a faulty micro-USB connector. Over time, the action of plugging in the charging cable and removing it will gradually weaken the 5-pins inside the charging port.
Fixing this problem at home can be challenging as it requires the speaker piece to be removed and dismantled. Because of this, we recommend that you seek out the services of a professional to avoid further damage. But, if you are confident in fixing the problem yourself, simply follow these steps:
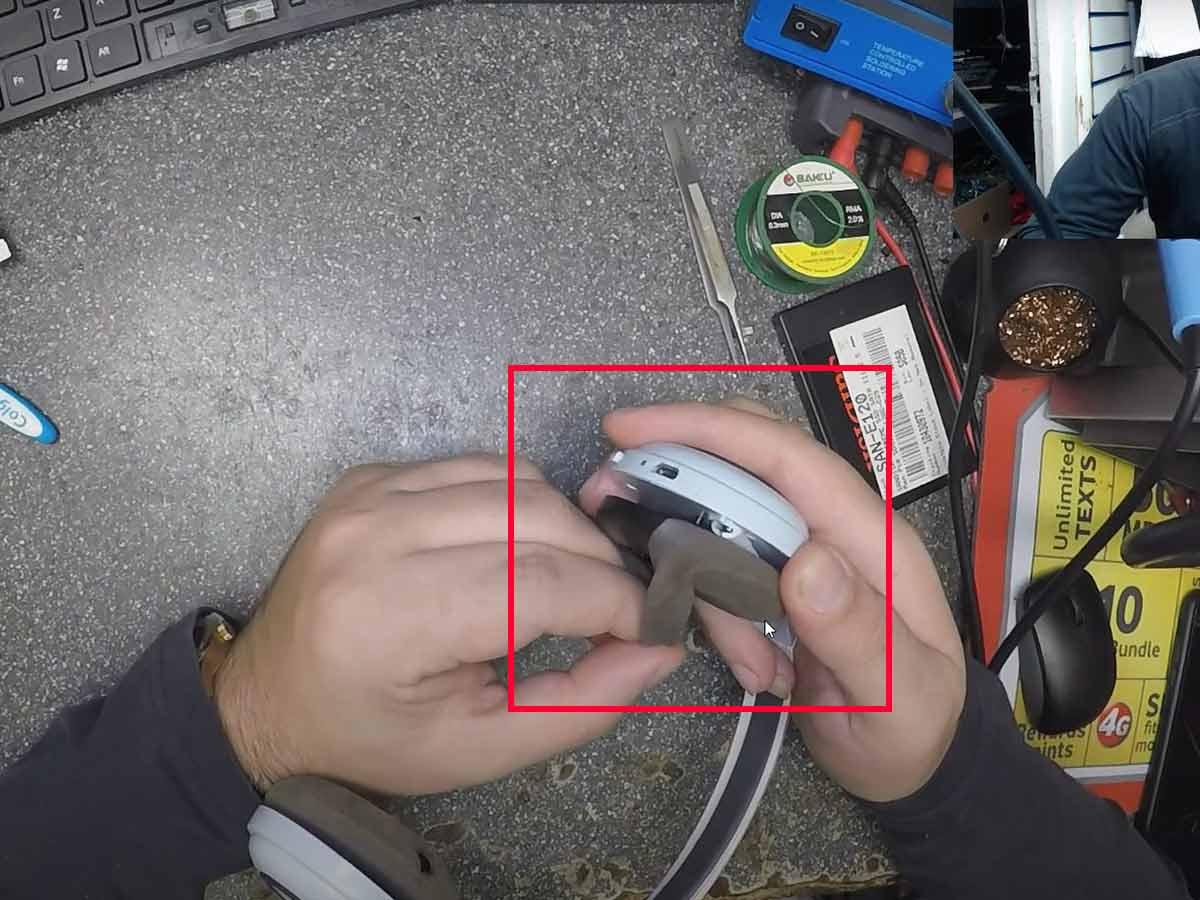
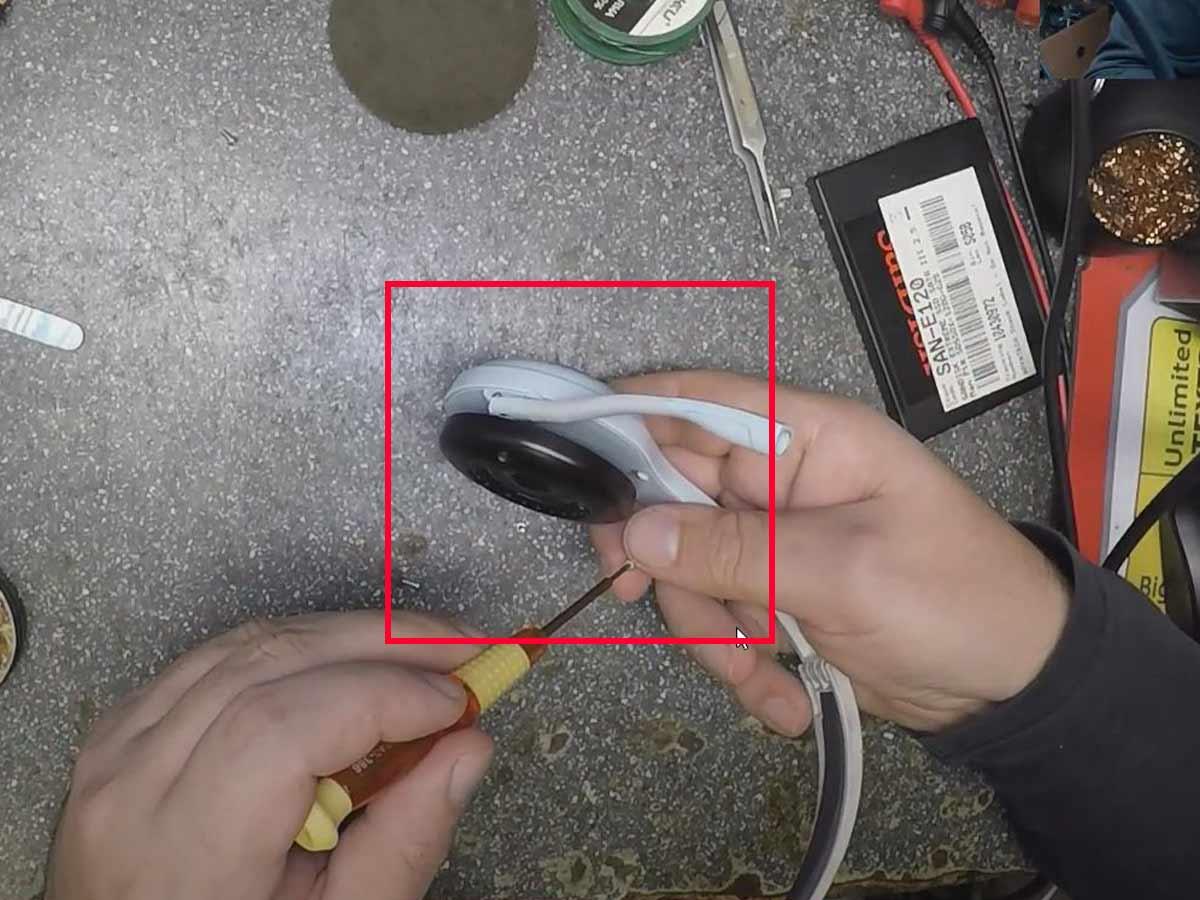
- Remove the left ear pad to expose the left ear cup.

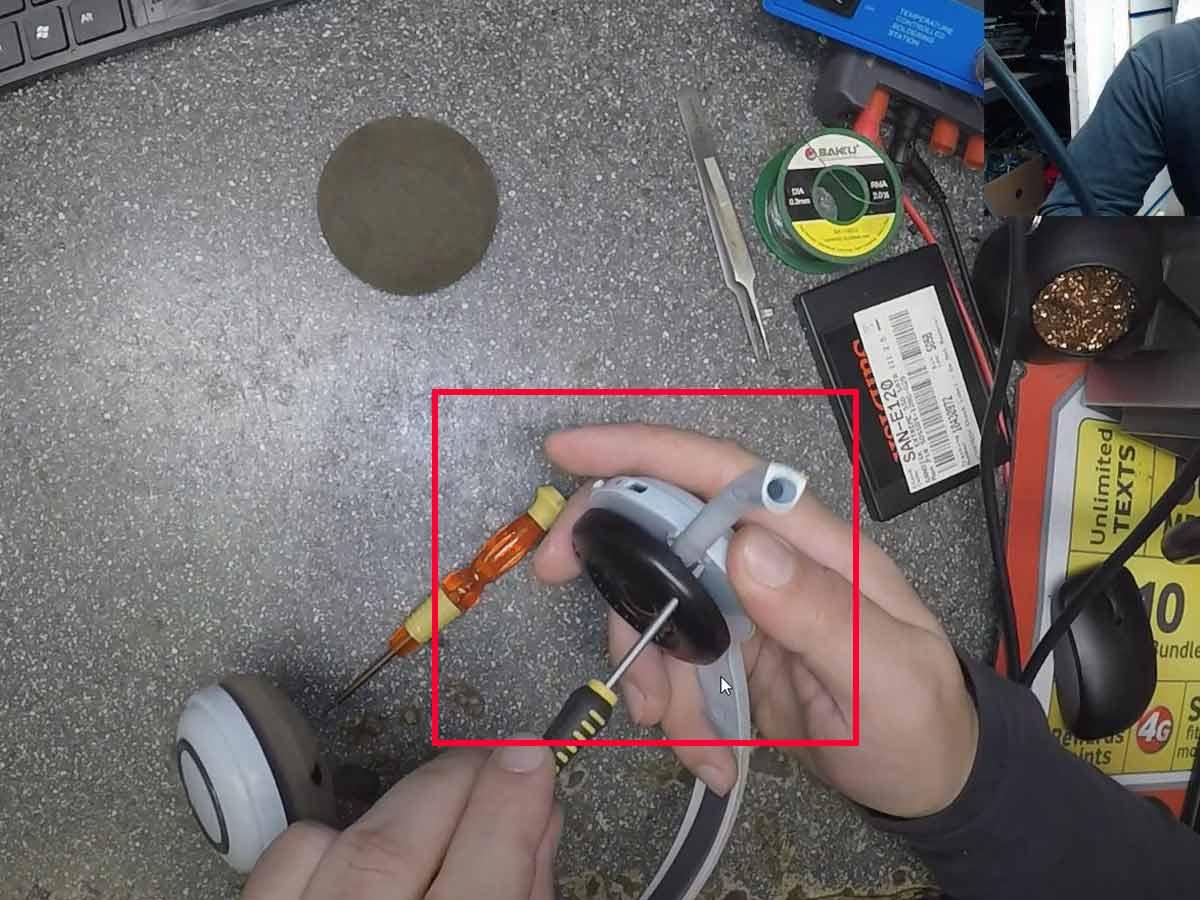
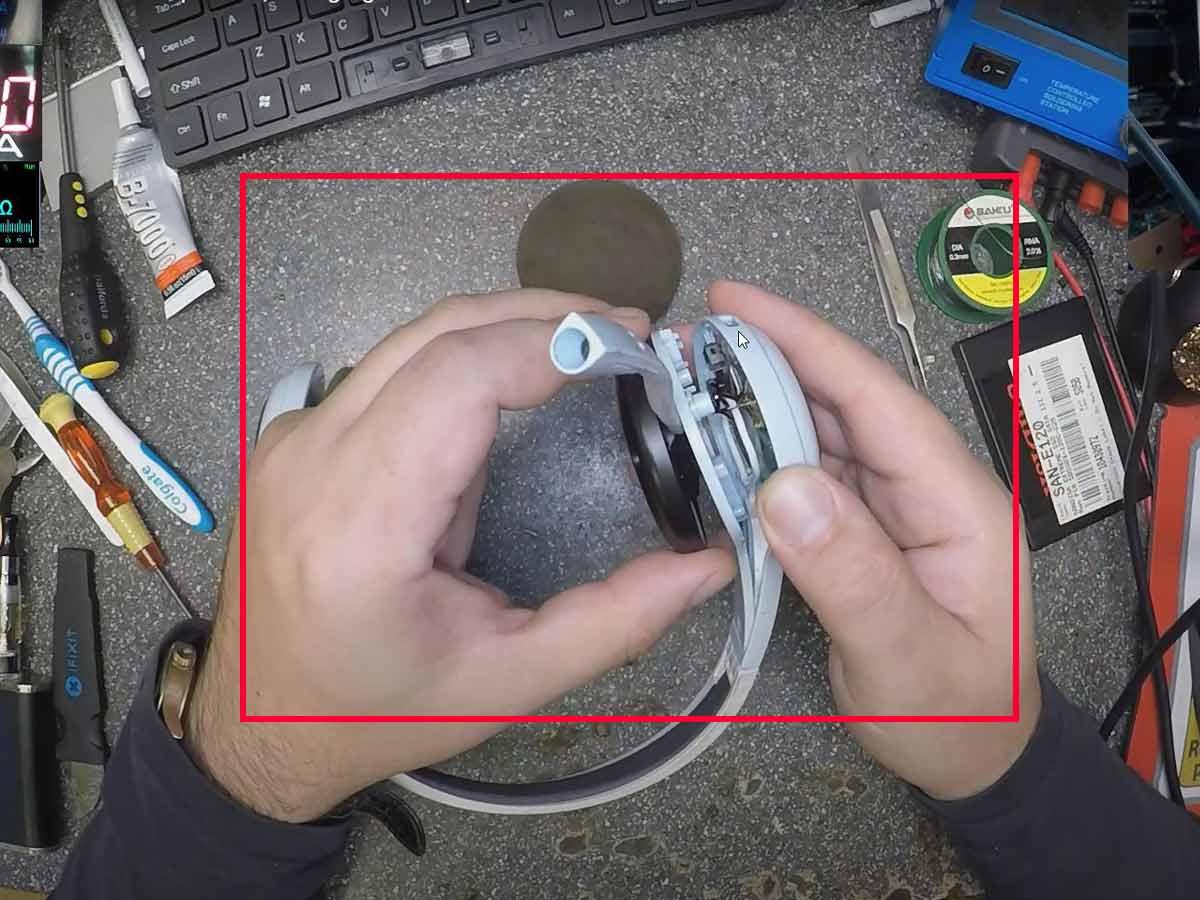
Removing the left ear pad on Logitech headphones. (From: Youtube/Electronics Repair School) - Remove each screw, then carefully pry the headphones open.
Pry the headphones open. (From: Youtube/Electronics Repair School) - Carefully put the microphone to the side to avoid damaging it. Then, look closely at the charging port to identify the issue. Use a microscope if available.
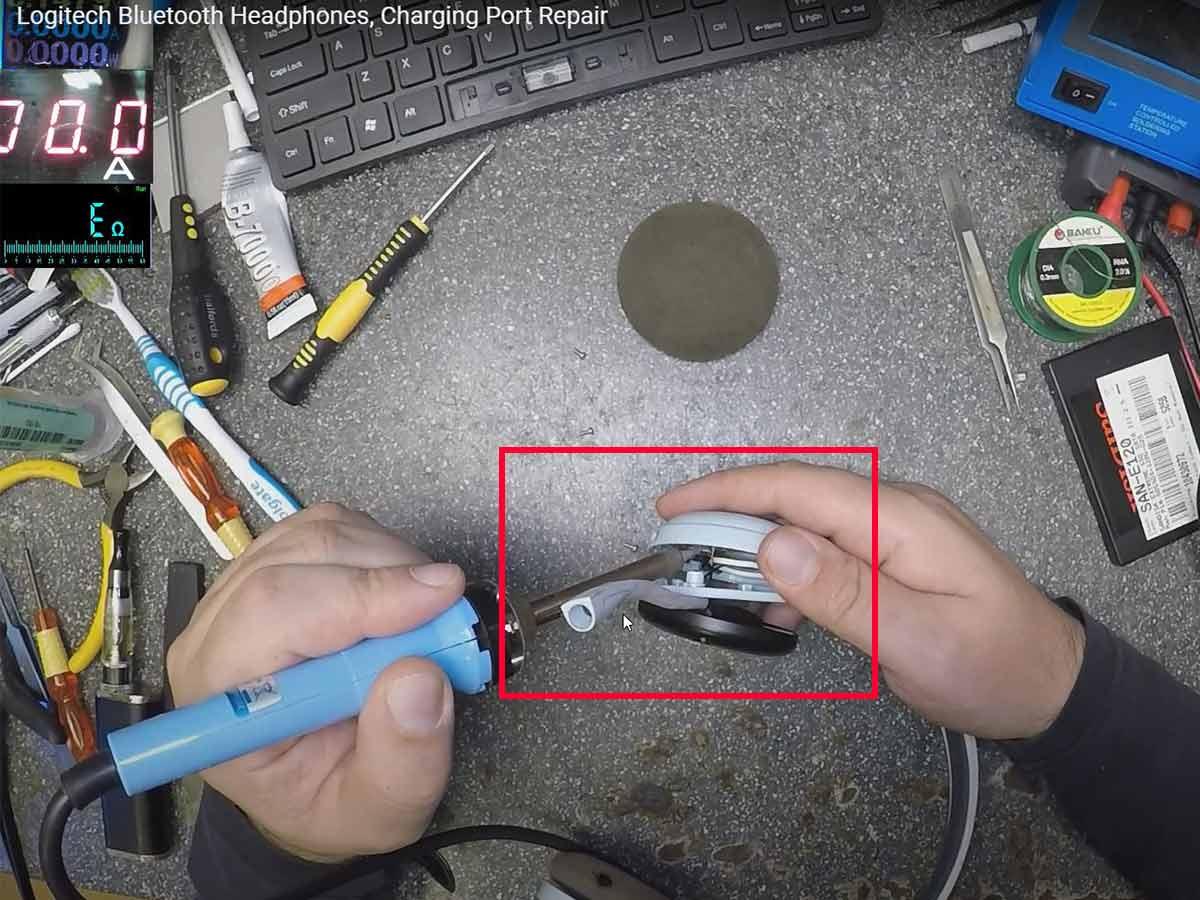
Put the microphone to the side to avoid damaging it. (From: Youtube/Electronics Repair School) - If the pins in the charging port are moving, solder them back into the board to keep them in place.
Solder the charging pins. (From: Youtube/Electronics Repair School) - Return the mic and the left ear cup back to their original position, then secure them with the screws. Put back the ear pad and check if the headphones are charging.
Put back the ear pad and check if the headphones are charging. (From: Youtube/Electronics Repair School)
For Sennheiser
Sennheiser headphones can occasionally experience a glitch where the LED indicator light may flash or remain on, even after charging. This issue usually subsides over time with multiple charging cycles, so it’s recommended to use your headphones regularly until the light synchronizes with the battery.
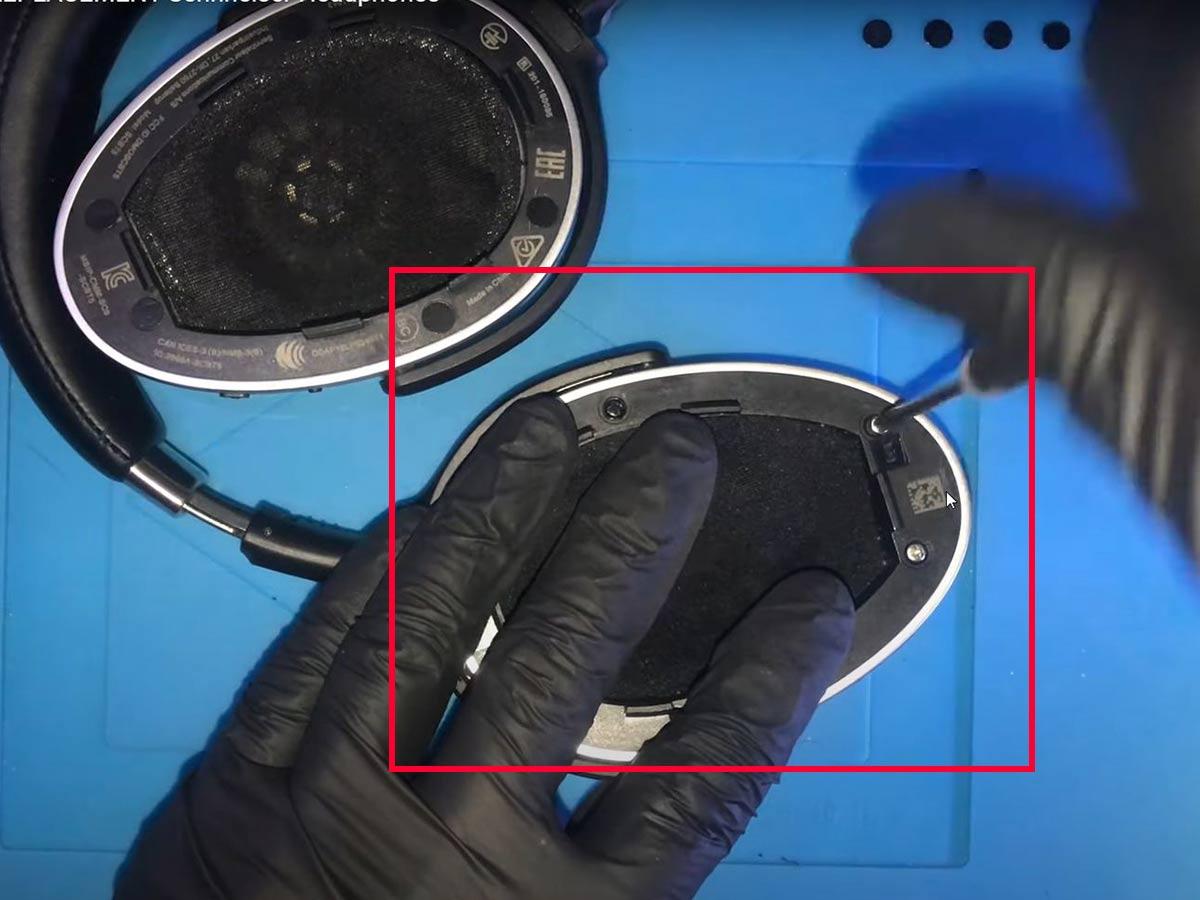
If the headphones don’t work and will not accept a charge, you can try changing the battery inside the headphones. However, be warned that this is a technical process. If you’d like to give it a try, here’s what you need to do:
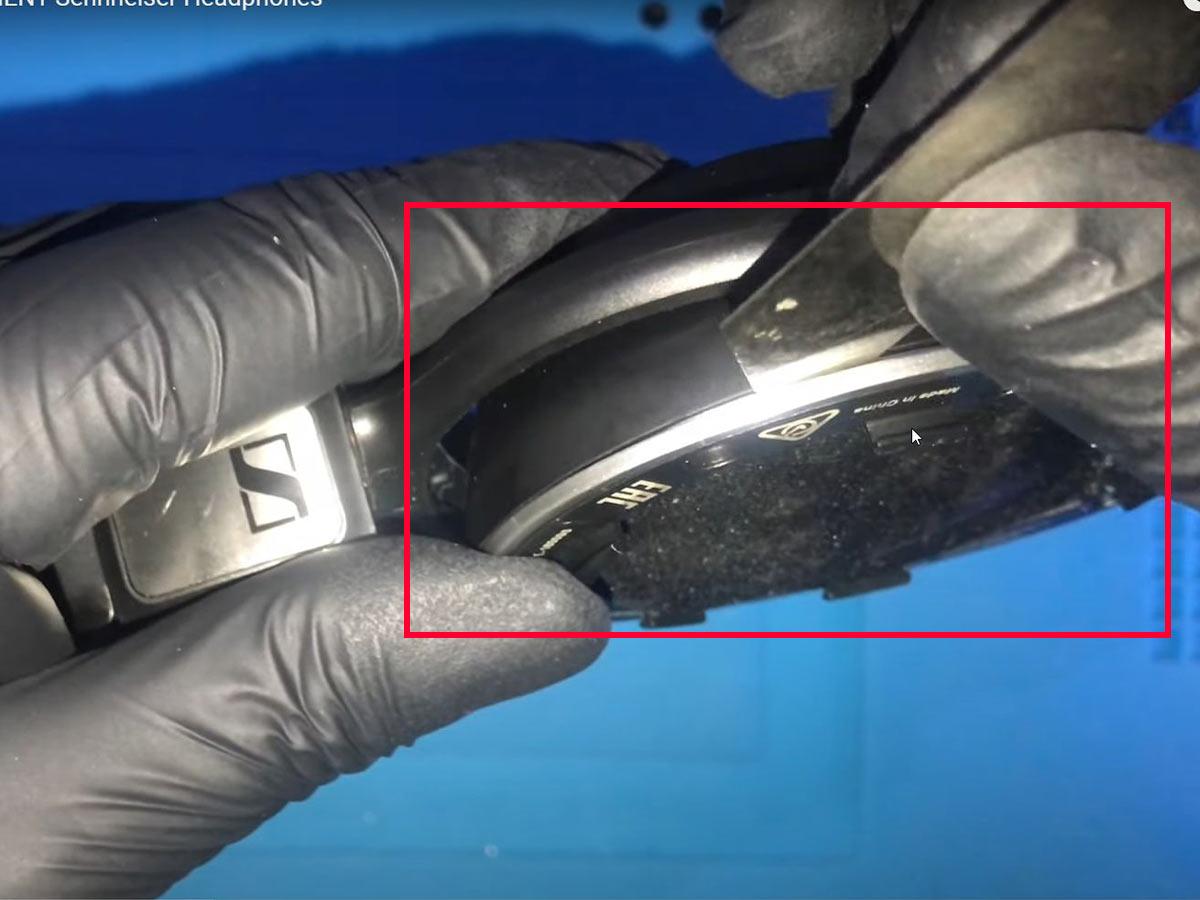
- The headphones’ battery is found in the left ear cup. Open this by removing the ear pad and the four screws on the cup.
Remove the left ear pad and the four screws on the cup.(From: Youtube/Oniyaki) - Carefully remove the top part of the ear cup, making sure that you don’t pull the attached wires.
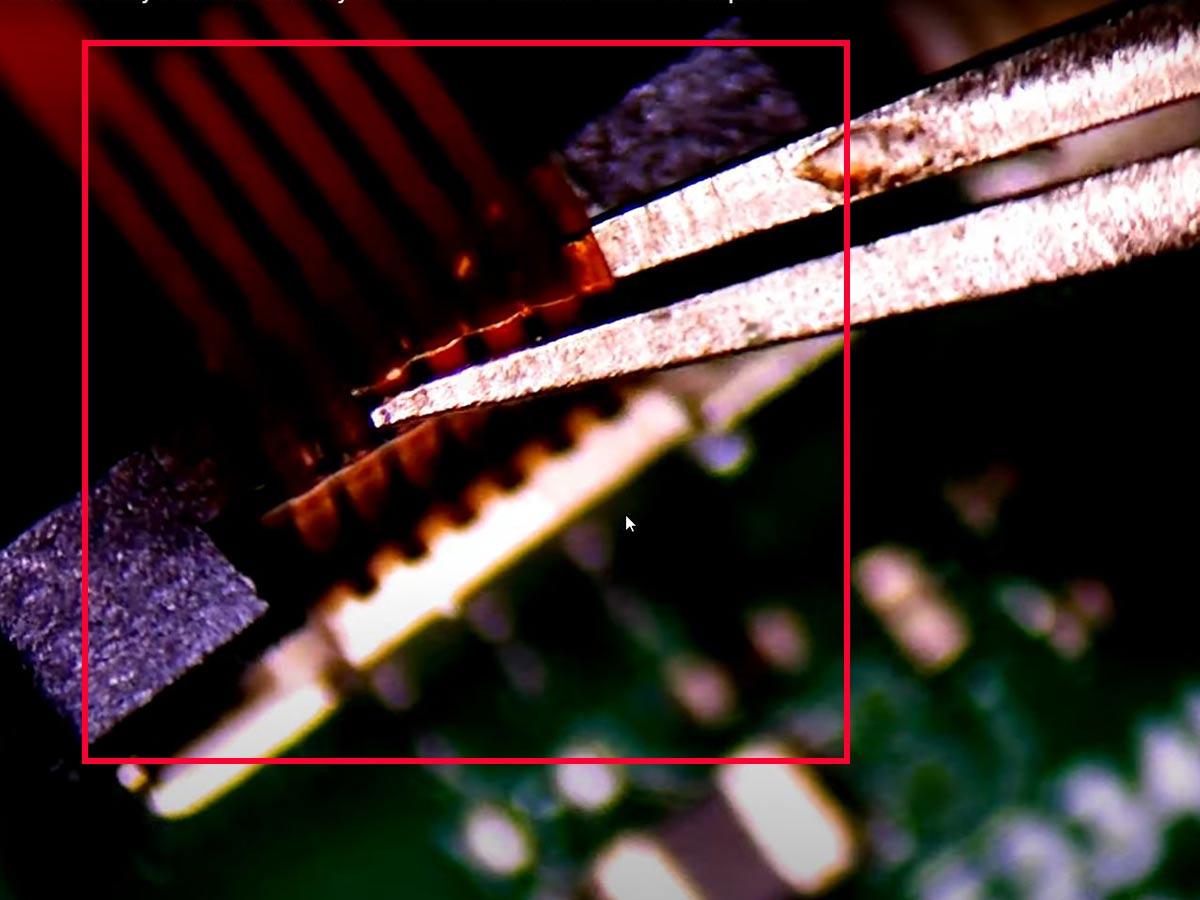
Remove the top part of the ear cup. (From: Youtube/Oniyaki) - Using a tweezer, gently disconnect the battery clips from the board.
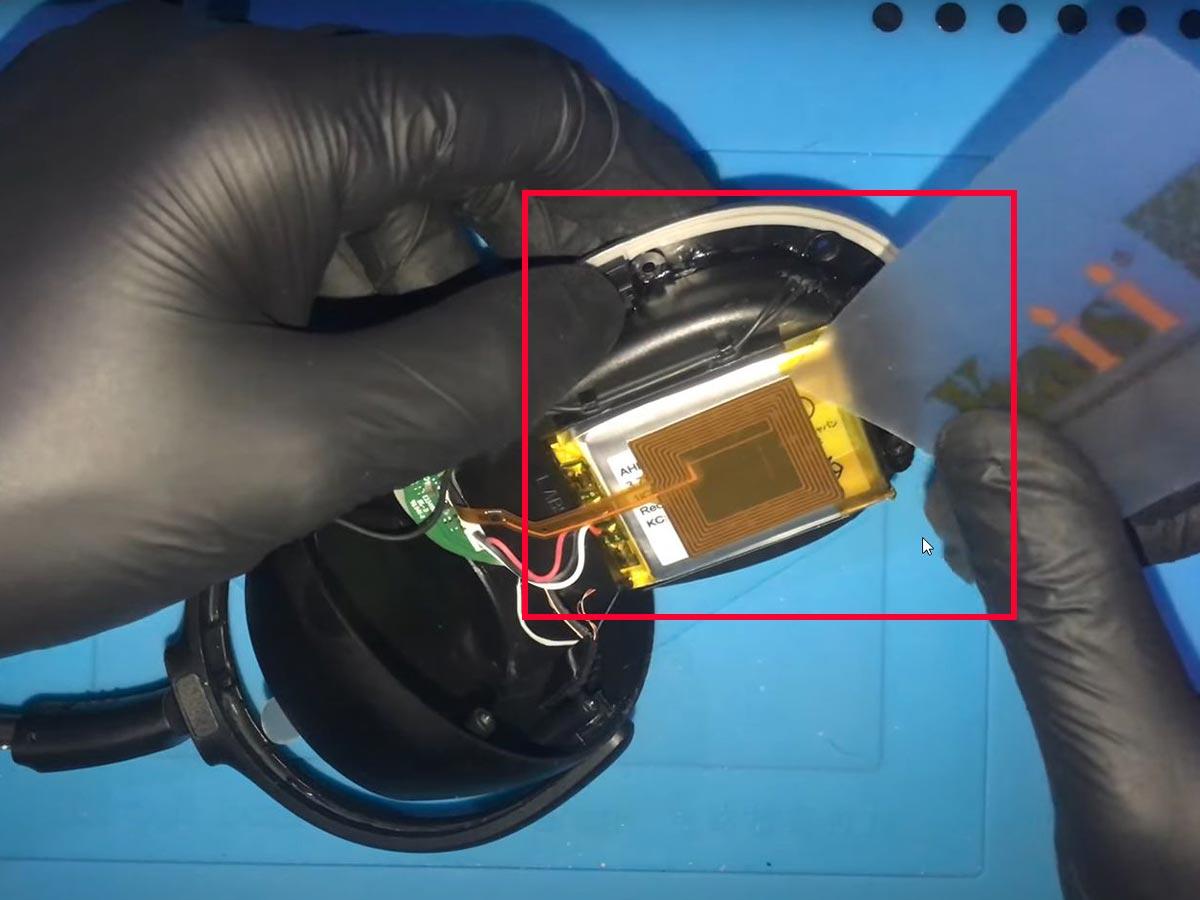
Disconnect the battery clips from the board. (From: Youtube/Oniyaki) - Then, with a flat, sturdy object, carefully lift the battery out of its position. Completely remove the battery and the disconnected wire.
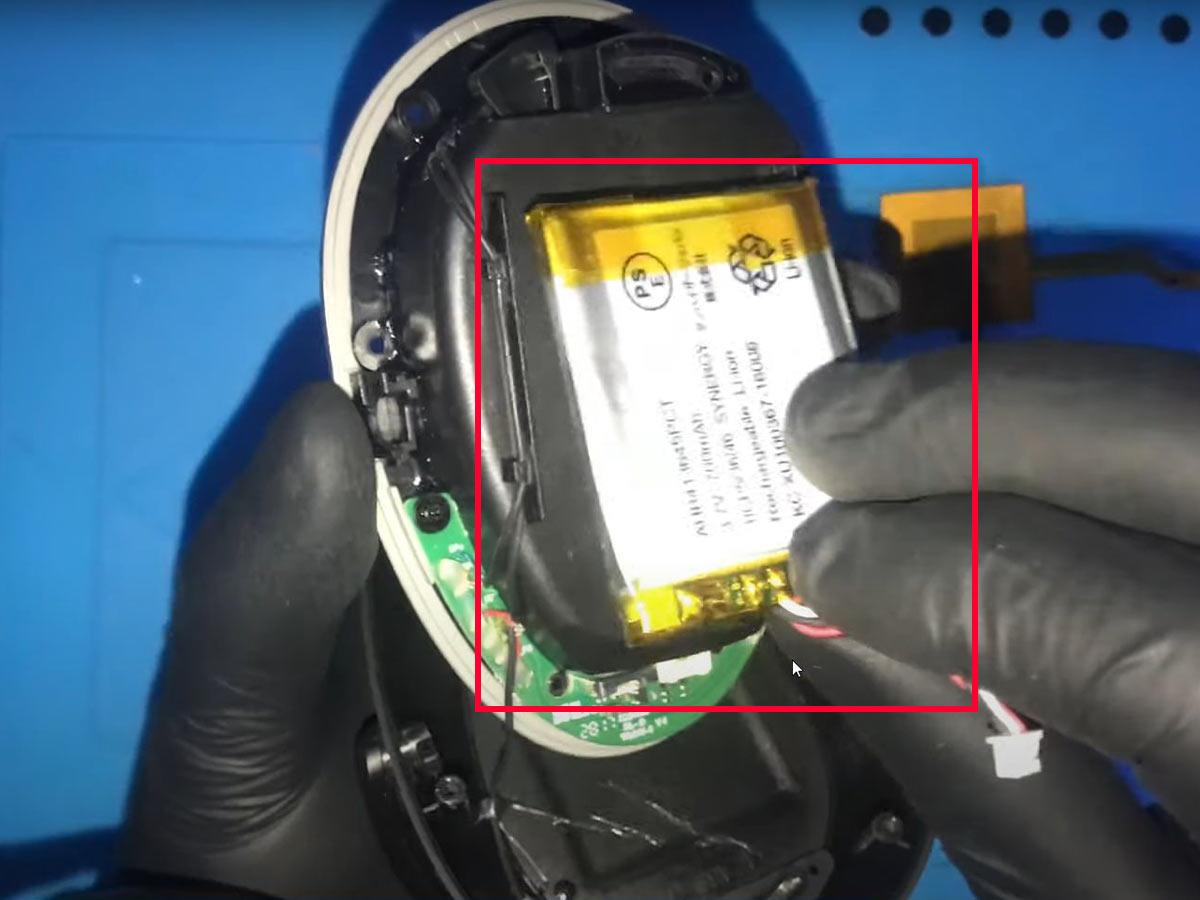
Remove the battery and the disconnected wire. (From: Youtube/Oniyaki) - Put in the new battery exactly where the old battery was, then clip the battery wires onto the board.
Put in the new battery. (From: Youtube/Oniyaki) - Close the ear cup and secure it into place with the screws. Then, place the ear pad back before checking if the headphones are now charging.
Close the ear cup and secure it into place with the screws. (From: Youtube/Oniyaki)
For Sony
To fix an issue with your Bluetooth wireless Sony headphones, you can remove the battery and plug it back in. If this doesn’t work, you can move on to replacing the battery entirely.
To troubleshoot the battery inside your Sony headphones, try following these steps:
- Carefully remove the earpad from the right side. Then, remove the small cover that’s sitting on top of the speaker.
- Remove the four screws around the speaker.
- Flip the headphones over and remove the back cover. Remove the touch panel.
- Peel the sticker away from the battery and the cable that connects the battery to the headphones.
- Keep the battery connector unplugged for 10 to 15 minutes before reconnecting it. Afterward, charge your headphones for at least an hour, then try turning them on to see if the issue is fixed. If you don’t want to do this or if this hasn’t fixed your problem, proceed to the next step to replace the battery.
- Pry the battery out of the casing.
- Insert the new battery and connect it.
- Reconnect all necessary components in the order that you disconnected them and seal the headphones.
FAQs for When Bluetooth Headphones Won’t Charge
- Why are my Bluetooth headphones not charging?
- How do I know if my Bluetooth headphones are charging?
- Can you overcharge Bluetooth headphones?
Why are my Bluetooth headphones not charging?
There are various reasons why your headphones may not be charging. Let’s take a look at a few of the most common ones.
- Headset has a faulty battery. The batteries inside wireless headphones generally degrade after two to four years, depending on how well you take care of them. If you’ve only used your headphones for a few weeks and are already encountering charging issues, this might mean that your headphones’ batteries were defective from the start.
- The headphones haven’t been charged in a while. Batteries that have been left uncharged for a long time can stop working due to over-discharging. This happens when the copper in the headphones’ lithium-ion batteries dissolves, leading to short circuiting. Unfortunately, over-discharged batteries need replacement, as they can rarely be charged again.
- The charging cable is faulty. Charging cables can be flimsy and liable to damage over time. With continued use, the delicate wires inside the cable can gradually break from the constant pulling and twisting of the cable. Luckily, this problem is easy to fix, as charging cables are widely available and inexpensive to replace.
- There may be a problem with the charging port. Problems such as corrosion, faulty connectors, or blockage from foreign objects may prevent your charging cable from fully connecting with your charging port. These issues might make your headphones unable to receive the needed amount of electrical current to charge their batteries.
How do I know if my Bluetooth headphones are charging?
Bluetooth headphones generally have light indicators, either on the charging case or the headphones themselves, to let you know if they’re charging.
Usually, these light indicators turn red while the headphones are charging, and green once they are fully charged. Alternatively, some headphones will show a red light while charging that disappears once the battery is full.
Can you overcharge Bluetooth headphones?
Yes, it is still possible to overcharge Bluetooth headphones, though this is quite rare. Most modern Bluetooth headphones use rechargeable lithium-ion batteries, which typically have built-in features to prevent overcharging. These batteries stop charging upon reaching 100%, ensuring that the batteries don’t get overloaded.
However, it’s still recommended not to charge low-power devices like Bluetooth headphones for extended periods of time. Doing so may make the batteries prone to early deterioration, especially for older models, which make use of “trickle charge” to keep the battery at 100%.
Conclusion
Just because your headphones no longer charge doesn’t mean they’re at the end of their life. With a few tweaks and perhaps a new battery, you can breathe new life into your otherwise lifeless headphones.
Now that they’re back up and running, you’ll be able to stream music, watch movies, and listen to podcasts just like before.
Did any of the solutions in this article work for you? We’d love to hear about your experience! Let us know in the comments below.
Jabra Bluetooth earpiece won’t charge after few years. does not look like I can replace the battery. Do I just throw-away and replace?1 I need it for my phone!
I have a brand new set of MIFO 07 – Only used them once – Now they won’t recharge and the right side won’t pair – Any ideas
I have a new pair of bluetooth earbuds, China made, Ningbo Topway Stationary and Promotion CO, LTD. Obviously a promo item in a real nice black zippered case with the company “OPTAVIA” on it. with instructions inside! after charging with the red light on for 24 hrs they do not hold a charge. What to do? Any suggestions? So I think the Li battery ions are not polarized and need to be reset so I quickly use a USB port and unplugged and plugged them quickly 30 times to polarize the ions with a pulse electrical charge. Keeping my fingers crossed that this will work. What do you think?
I had a problem with my new wireless headphone it won’t turn on. But thanks to your instructions i can now charge it. I just needed to change the cable 😅
I think I was able to solve the problem with my Mifo earbuds. Lots of people on internet had same problem.
One or both earbuds not working / not working properly.
Always seemed that they weren’t getting charged – in spite of being in the charging case.
This is a phenomenon I have seen before in cheap flashlights and in remote controls.
An invisibly thin layer of oxidation is hindering proper electrical contact.
I used some tarnish-removing product and also used a Q-Tip (carefully) on the contacts on the earbuds, as well as the contacts in the charging case.
I put them in to charge for a few hours.
They worked well initially, and have continued to work well since then.
It could be that something in their design makes them susceptible to oxidation on contacts. It seems there is a problem with this specific model.
Worked for us for Jabra Elite 3
Any one got any experience of Marley headphones (positive vibrations XL).
It seemed to happen instantaneously, one morning I was wearing them and the next time I tried to turn them on they were dead.
When I try charging them the charging light comes on (but flickering just perceptibly), several hours of charging (with several different cables) and they’re still dead.
I assumed it was the battery, I bought a new one, soldered it in, but still the same problem.
Any ideas?