Effortlessly connect your Samsung Galaxy Buds to your laptop using these simple steps.
Galaxy Buds naturally pair with Samsung products, but they are just as capable of connecting with many non-Samsung brands, including your Windows PC or Mac.
However, users may feel hesitant to mix different interfaces, and some have even reported compatibility troubles when using them with their laptops.
Fret not, because this guide will tackle all your pairing concerns so you can connect your Galaxy Buds to your Windows PC or Mac in no time!
How to Connect Samsung Galaxy Earbuds to a Windows PC or Laptop
Connecting your Galaxy earbuds to your Windows PC works like any Bluetooth device. Here’s how you do it:
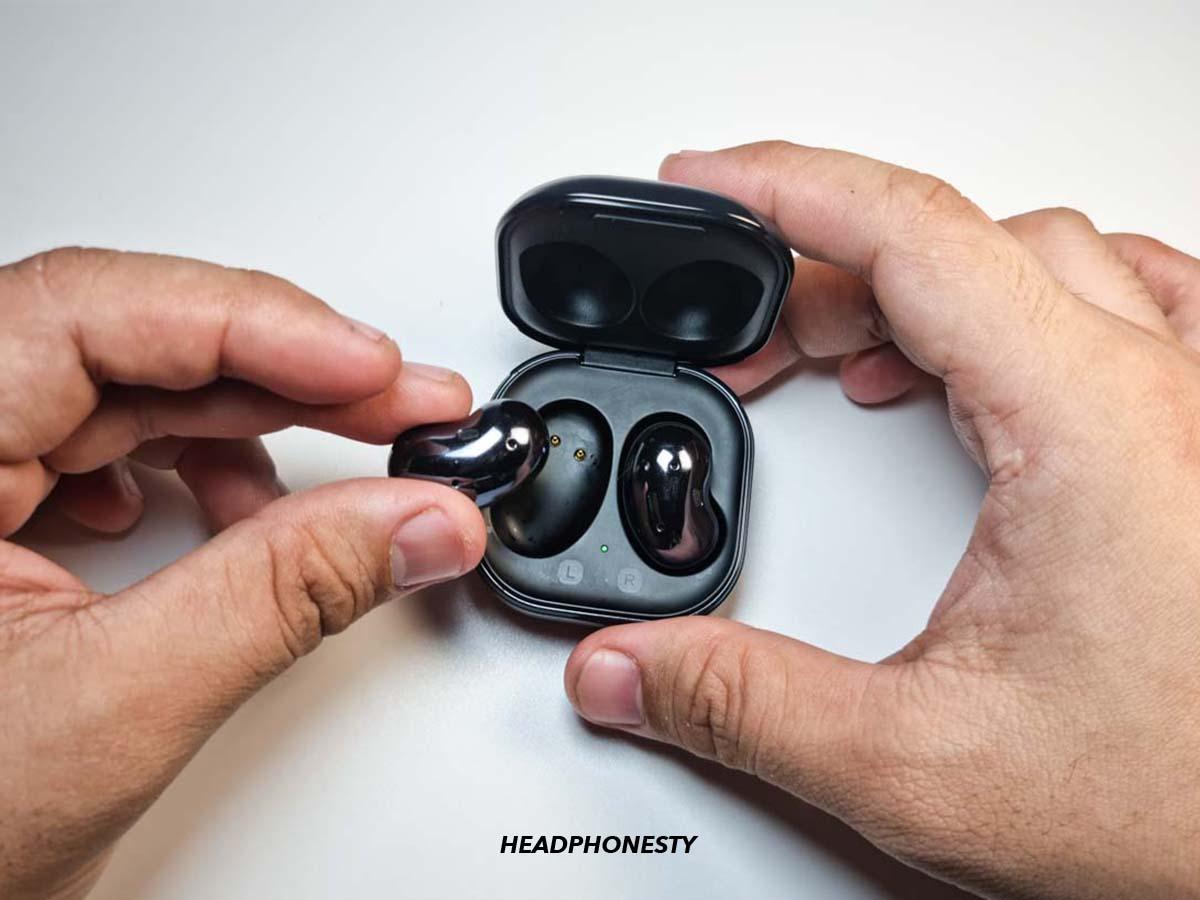
- Close your Galaxy Buds into their case for 5-6 seconds. Once opened again, they should be in pairing mode. If this doesn’t work, you must pair your Galaxy Buds manually. With the buds in your ears, press and hold their touch sensors for 10 seconds. A beeping sound confirms the pairing.
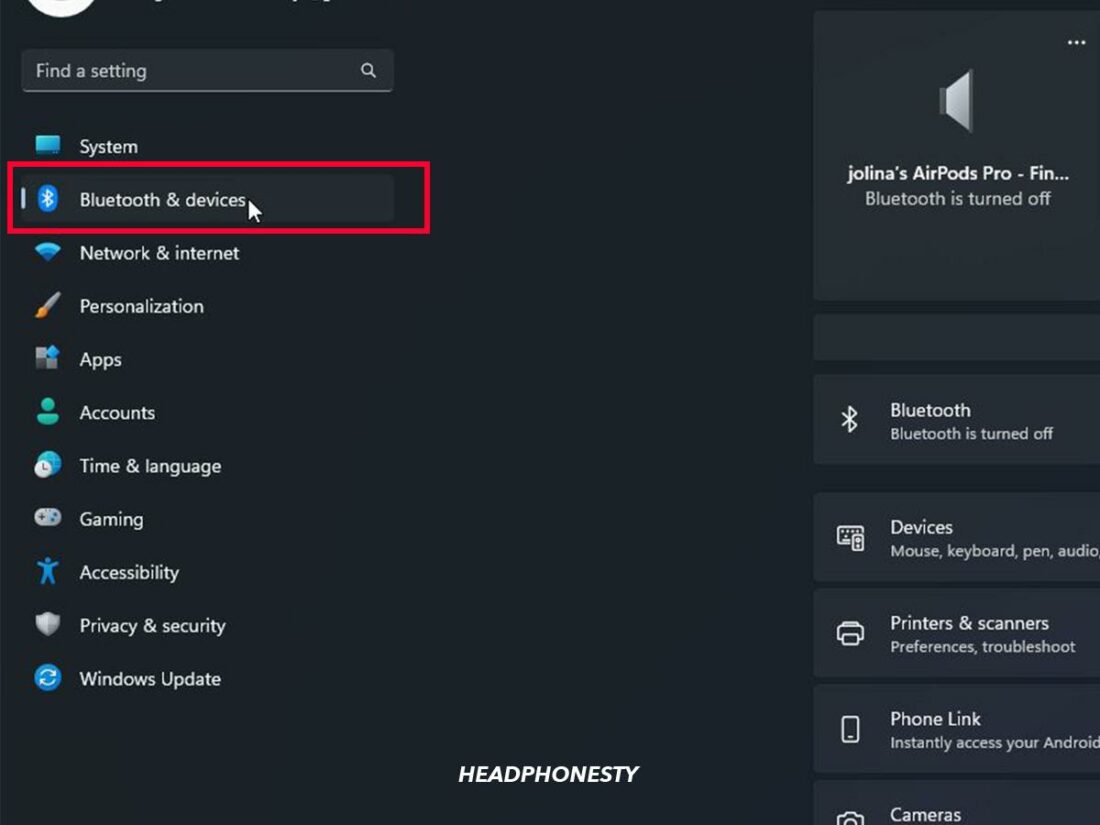
- On your PC or Laptop, navigate to the Settings menu (or press Windows key + I) and click on Bluetooth & devices.

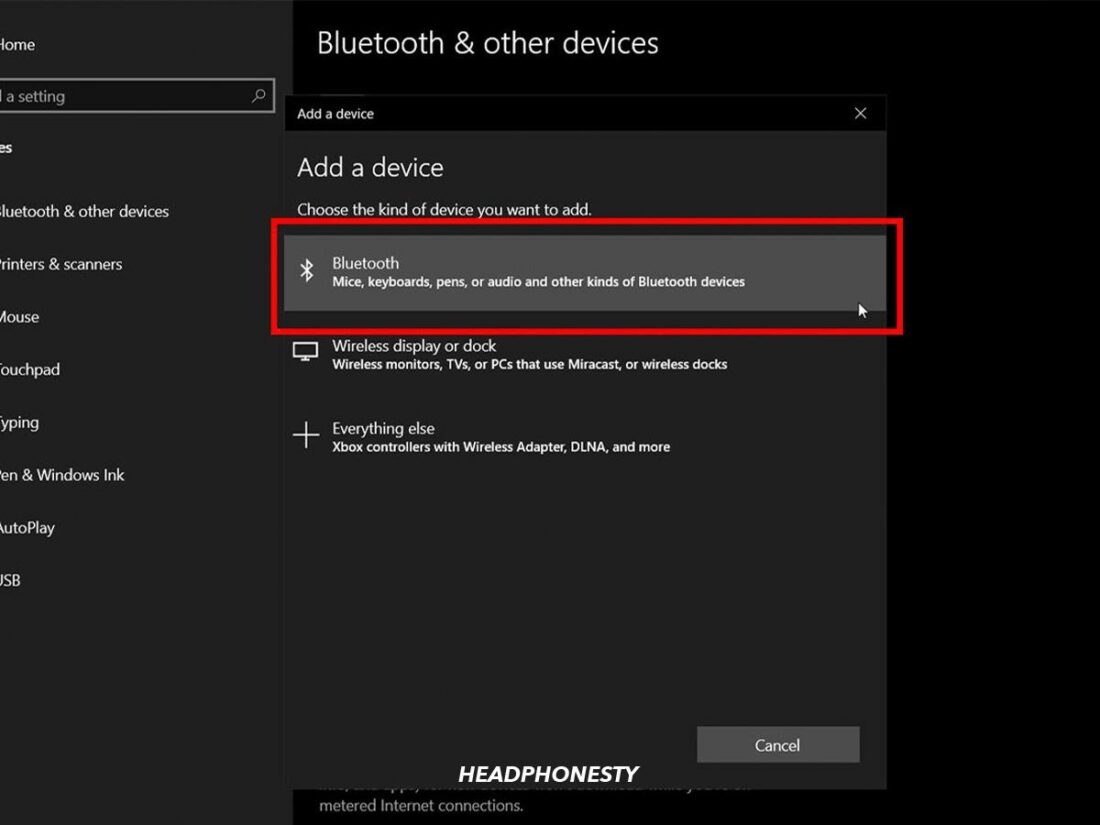
Select Bluetooth & devices. - Select Add device > Bluetooth. You may have to wait several seconds for Windows to discover your earbuds.
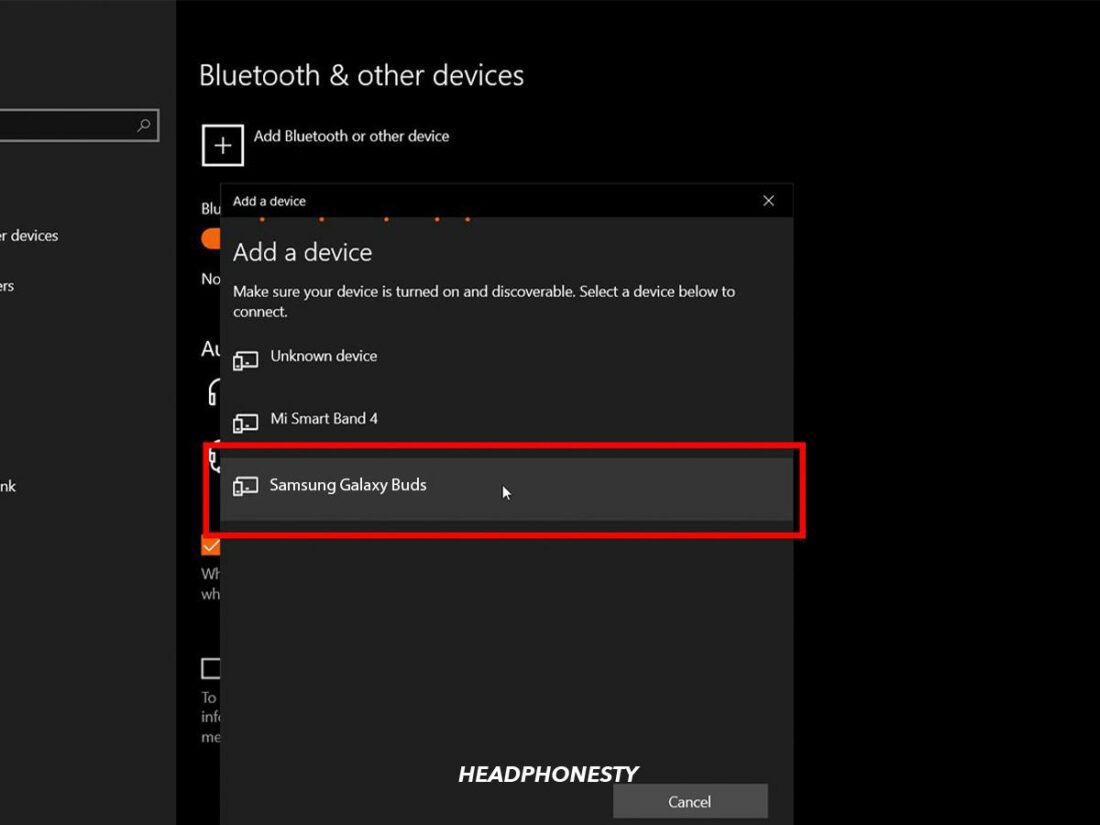
Select Bluetooth. - Once they appear, click on their name, and the two should pair.
Select Galaxy Buds on the list.
How to Connect Samsung Galaxy Earbuds to Mac
As with the Windows process, connecting your Galaxy Earbuds to your Mac is identical to any Bluetooth pairing. Simply take these steps:
- Shut your Galaxy Buds inside of their case. After 6 seconds, they should be ready to pair.
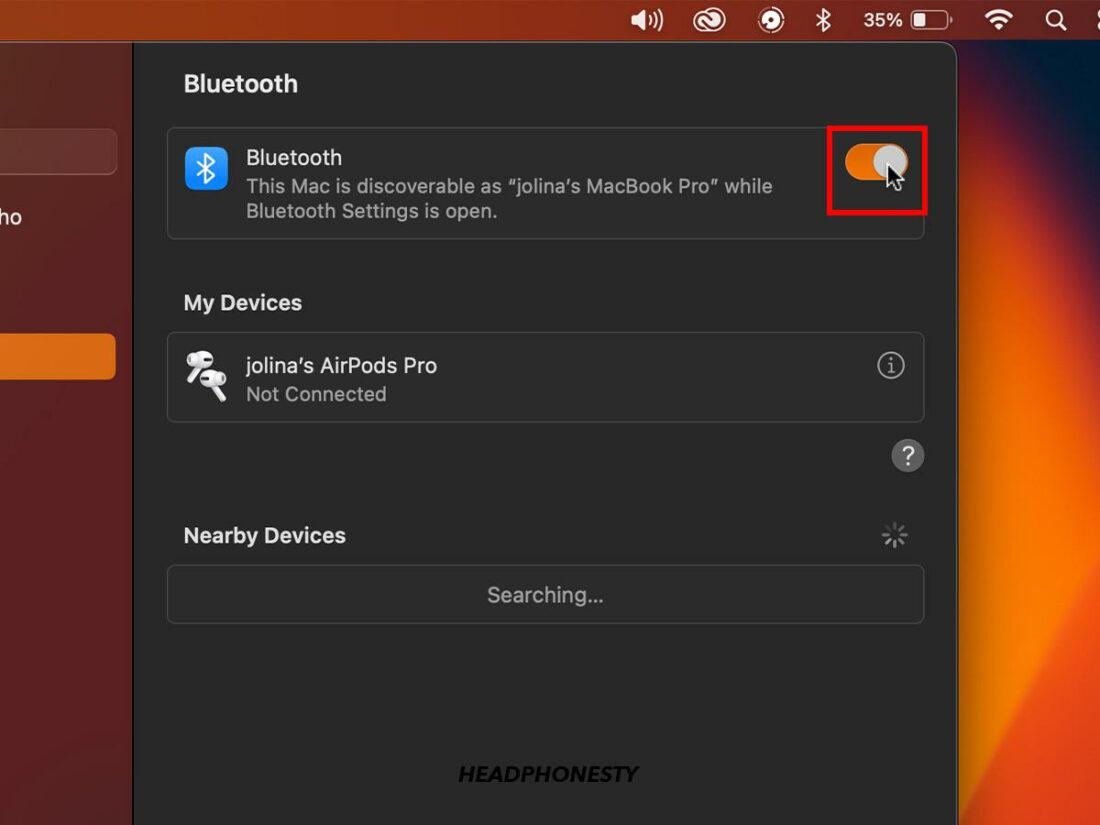
- On your Mac, go to your System Settings, then click Bluetooth. Then, make sure your Bluetooth is enabled.
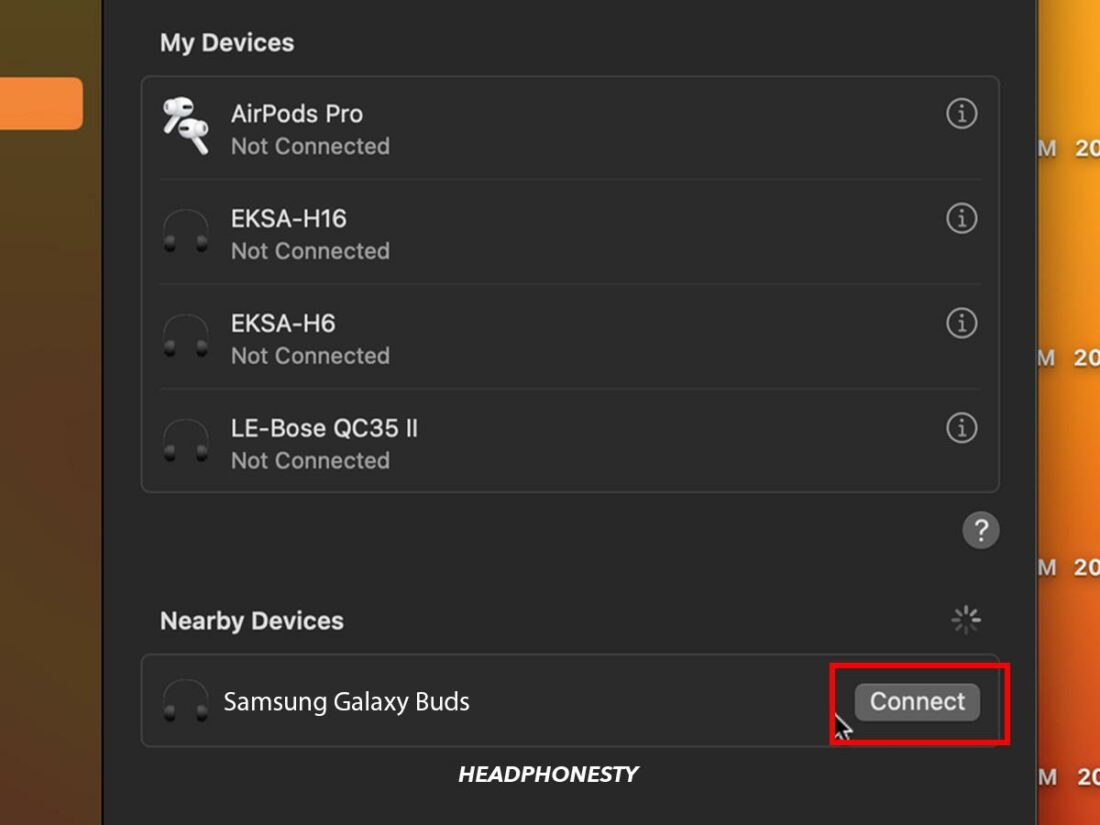
Turn on Bluetooth toggle switch. - Locate the Galaxy Buds under Nearby Devices, then select Connect.
Select Connect.
What to Do if Samsung Galaxy Earbuds Won’t Connect to PC
The best way to solve this issue is by resetting the Galaxy Buds. This is when you revert your earbuds to their factory settings, wiping out any problems that may have developed over time. Follow these steps to do so:
- With the earbuds in your ear, hold both sensors on each bud for at least 10 seconds. A chime sound will confirm that you have reset them.
- Place the Galaxy Buds in their case, leaving them to charge for at least 30 seconds.
- Try reconnecting your Galaxy Buds to your preferred device.
Frequently Asked Questions
- Can you connect Galaxy Buds to two different devices?
- Is there a Galaxy Wearable app for laptops?
- How do I turn on noise canceling on Galaxy Buds on my laptop?
Can you connect Galaxy Buds to two different devices?
Galaxy Buds are unable to connect to more than one device at a time. However, once paired, your buds can easily switch between devices from their Bluetooth settings.
Is there a Galaxy Wearable app for laptops?
The Galaxy Wearable app is unavailable for laptops. That said, there is another app called Galaxy Buds Manager, which functions in much the same way. Unfortunately, this is only for Windows PCs, and your only solution is an Android emulator for Mac.
How do I turn on noise canceling on Galaxy Buds on my laptop?
Using the Galaxy Buds Manager, you can find the noise control settings where Active Noise Canceling (ANC) is an option. Within these same settings, you may customize the app to allow for hands-free ANC control using your touch sensors.