
Do your headphones sound muffled? Here’s the ultimate guide on the various solutions to help you fix your muffled or distorted headphones audio.
Muffled or distorted sounds can easily ruin any listening experience, and can cause you to tirelessly search for the root cause of the problem.
These issues become especially problematic when you’re using the headphones for a work meeting and you find yourself missing out on half of the information being discussed because of the terrible sound quality.
Today, we’re going to look at a few reasons why you may be experiencing muffled or distorted sounds, and how you can fix them.
What Causes Muffled or Distorted Sounds in Headphones?
Sound distortions in headphones are more common than you might think and can appear in many different forms.Let’s take a look at some of the reasons why your audio might sound muffled or distorted.
Damaged wires

The wires inside the rubber housing are considered to be one of the weakest parts of your headphones. They are also one of the most crucial parts since they’re responsible for carrying the electrical signal from the source to your headphones’ speakers.
Over time, these wires can easily become damaged from cable pulling, unnecessary tension, and improper management. Damaged wires can either be seen (through frayed wires) or not (through internal damage). However, both types of damage can cause changes to the performance of your headphones.
Overpowered and blown speakers
The speakers inside your headphones house a voice coil. However, this voice coil in your headphones can only handle a certain level of power. Listening to your headphones at maximum volume for extended periods of time can gradually weaken them, causing the speakers to blow out.
If you’re worried that your speakers have blown, you can test them using a multimeter. Do this by turning off the speakers and connecting the multimeter to the headphone speaker terminal. Speakers in good condition will read an impedance of one, while blown speakers will read an infinite impedance.
Wired or wireless connection issues
For wired headphones, muffled audio can be caused by a loose connection to the audio source. If the plug of your headphones isn’t properly plugged in the audio port, sound quality will be inconsistent.
For Bluetooth headphones, it can be caused by mismatched codecs.
There are different kinds of Bluetooth codecs and each has its own pros and cons. But for some audio devices, codec selection is limited.
If the audio device doesn’t have the same codec used by the headphones, it can result in switching to a lower-level codec, which can impact audio quality. Performance may be unpredictable due to the difference in codecs being used
Outside of codec use, it could also just be the result of low battery levels. When your headphones have low battery levels, they won’t have enough power to consistently perform at a tip-top level. This affects how reliable the wireless connection is, and even the sound quality.
Moisture damage
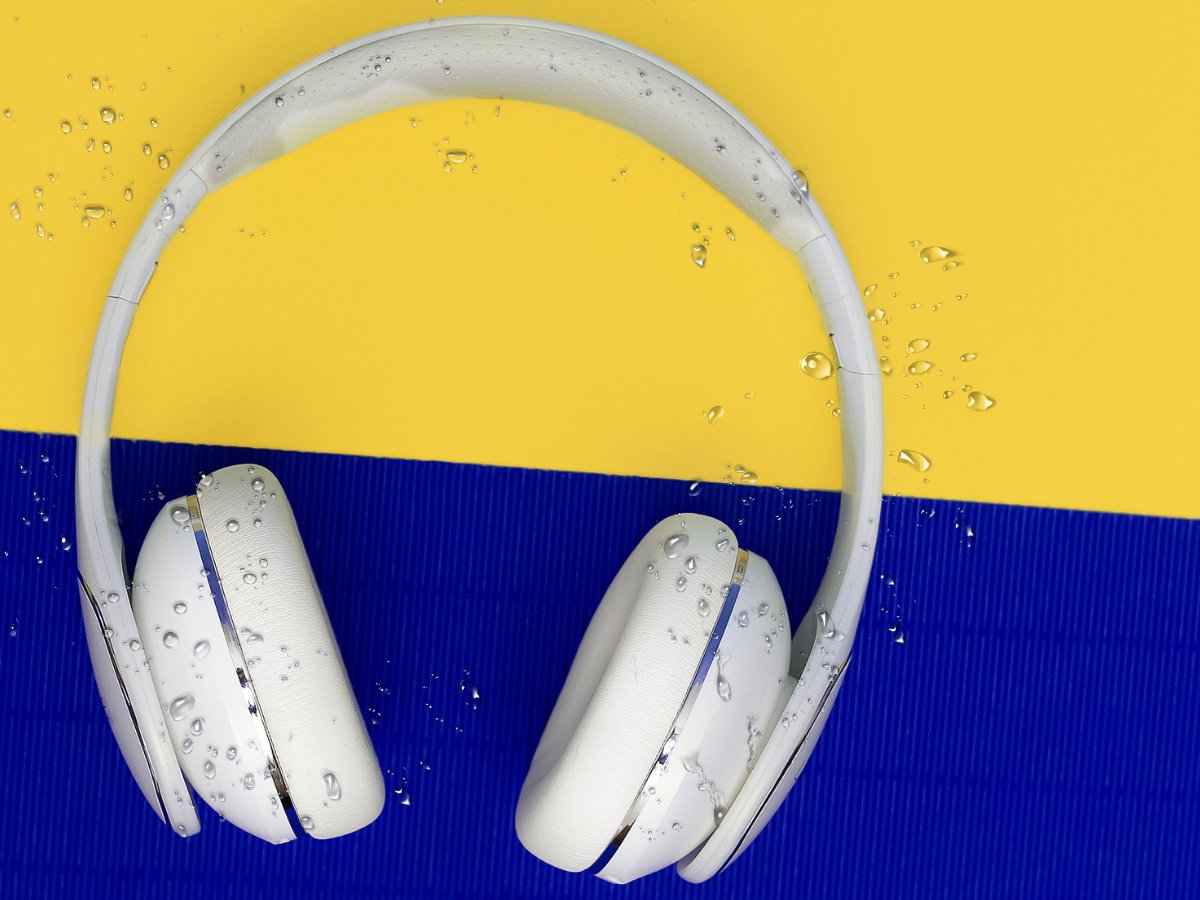
As with most electronics, headphones and water do not work well together. Moisture, when it comes into contact with the electrical components of your headphones, can cause irreversible damage.
Moisture can be in the form of a liquid, or any excessive moisture in the air.
Headphones can actually be water-resistant, and this feature is becoming increasingly more popular in consumer electronics. However, those that are, come with an IP rating. This rating determines how susceptible the device is to foreign bodies like dust, dirt, and moisture.
Although the headphones may be marketed as water-resistant, it’s a good idea to check how much water the headphones can actually resist through the IP rating. Going beyond that limit can destroy your headphones.
Accumulated debris
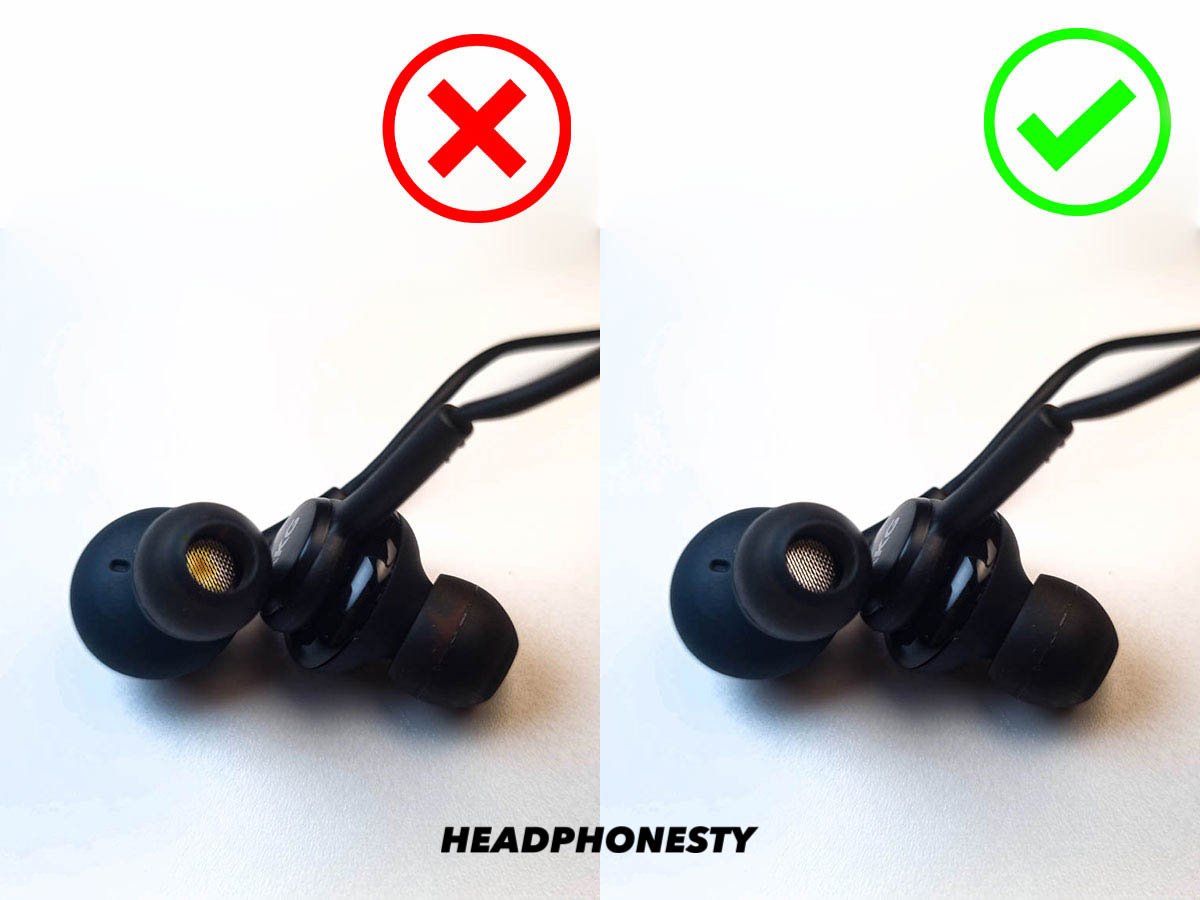
Foreign bodies like dust, earwax, and lint, can actually cause a build-up within the headphones. Because of this, it’s recommended to clean your headphones every so often to ensure there is no physical build-up of solid materials.
Dirt built up inside the connection point and the headphones’ speakers can easily be cleared away using compressed air or a gentle rub around the compartment with a dry cotton swab.
Audio source issues
If the above issues aren’t what’s causing the distortion, it’s possible that the issue sits with the audio source instead of the headphones.
To be sure, test your headphones with other audio sources like a laptop or smartphone to see if the results are consistent.
What to Do When Your Headphones Sound Muffled: Headphone Issues
Now that you’ve found the cause of the problem, you’re ready to start implementing a solution.
The below solutions are relevant to the problem, so not all solutions are a guaranteed fix to all problems.
For dirty headphones and audio port
Keeping your headphone jack clean is important in ensuring the connection between your headphones and audio device is clear. All you need is a paperclip and some sticky tape.
- Unfold the paperclip so that it’s straight.
- Wrap the sticky tape around the end of the straightened paperclip. Make sure that the tape is secure so that it doesn’t come off.
- Gently insert the paperclip into the jack and remove any debris.
Read our article for more tips on keeping your headphones cleanfor more cleaning hacks.
For poor wired connection
If the connection is still unstable after the headphone jack has been cleaned, it could be caused by corrosion. To clean away corrosion inside the jack, you will need an interdental toothbrush and some 70% isopropyl alcohol.
- Dip the brush in the 70% isopropyl alcohol until it’s moist, but not soaking wet.
- With your device off, insert the brush into the headphone jack. Move the brush up, down, and in circles to ensure you reach everywhere.
- Leave the device to sit for at least an hour to fully dry.
For more advanced steps, take a look at our article on how to fix a loose headphone jack.
For poor wireless connection
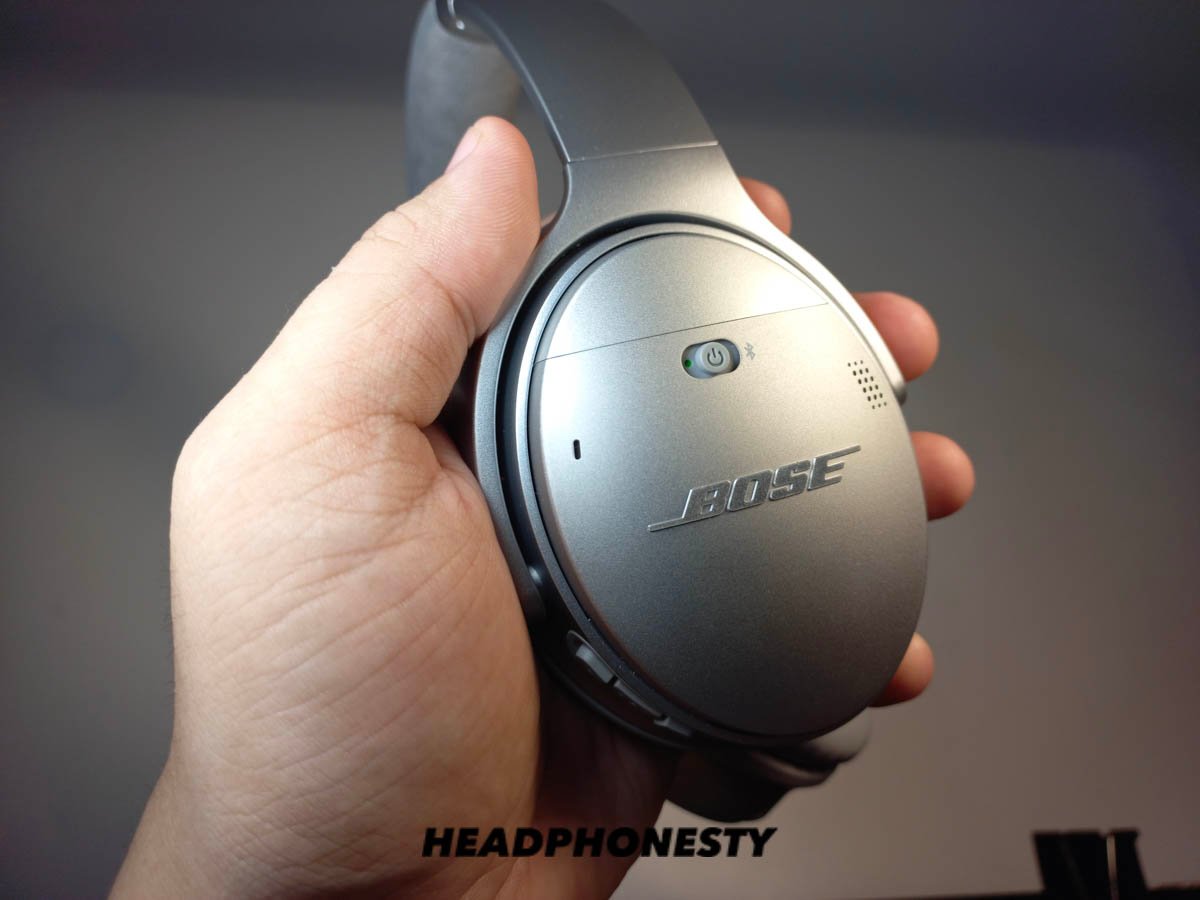
Unfortunately, if your sound issues are caused by codec incompatibility, there is no way to bypass it. However, you can try resetting your headphones first to see if that helps with fixing the issue.
To reset your headphones, you generally just need to hold down the power button until the light indicator on your headphones starts to flash.
For instructions on resetting your headphones based on the brand, check out our article on resetting Bluetooth headphones.
For damaged wires
You can repair damaged/fraying wires using Sugru Mouldable Glue. It’s an adhesive putty made from silicone rubber that can be used for electrical repairs, and much more. Because it’s moldable, flexible, durable, and waterproof, it serves as a simple but effective fix for repairing headphone cables.
To repair frayed headphone wires, follow the steps below:
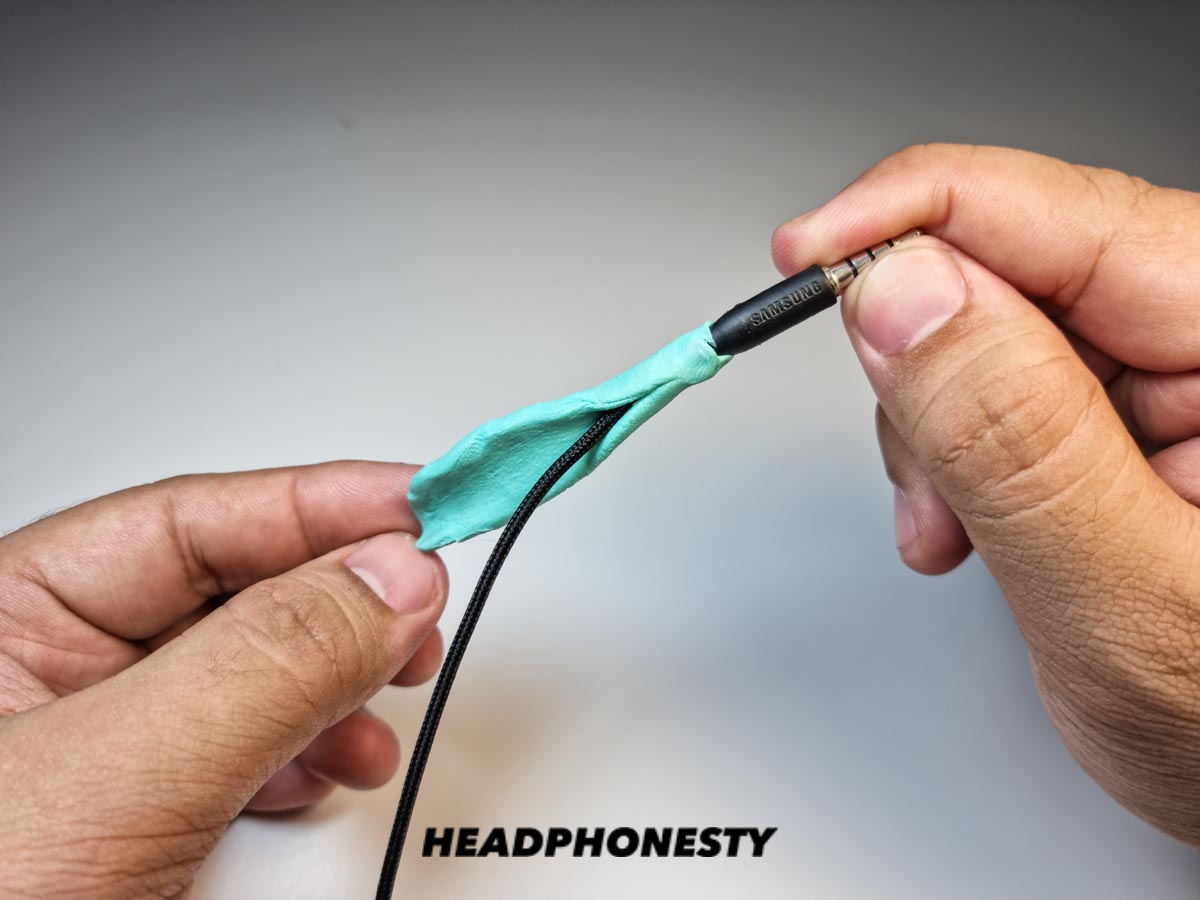
- Start by cleaning the wire with isopropyl alcohol to remove any dust, dirt, oil, and debris. Lightly dampen a clean cloth, and wipe the area clean. Leave it to dry.
- Sugru Mouldable Glue has a putty-like texture. Roll the material in your fingers to soften, then mould it around the wire using your fingers. Once in place, it will set in 30 minutes or less. At this time, you have the option to adjust if needed.

Wrap damaged wire with Sugru - Once in place, leave it at room temperature for at least 24 hours for it to set permanently.
For blown speakers
If your headphone speakers are blown, the only option to fix them is to replace them with new ones.
- Firstly, if applicable, remove any wires or batteries from your headphones. Then, remove the ear pad on one side of the headphones.
- Remove the screws that hold the speaker in place. And remove the broken speakers.
- Using a soldering iron, disconnect the wires from the broken speaker.
- Install the new speaker and reconnect the appropriate wires using the soldering iron.
- Once everything is back in place, repeat the above steps for the other speaker. Then, test the headphones to make sure everything works as expected.
For moisture damage
Moisture damage can easily cause a wide range of problems to the electronics inside your headphones. Luckily, there is something you can try and save them. To do this, you will need 91% isopropyl alcohol and some silica gel.
- Lightly dampen a cloth with the 91% isopropyl alcohol and apply it to the areas that came into contact with water to remove any foreign objects.
- Place the headphones in an airtight container with silica gel for 12 hours or more to allow them to dry.
- When the headphones are dry, remove them and perform an audio test. If you’re having trouble with AirPods, check out our separate guide for what to do when AirPods sound muffled. For Beats headphones, it could be a matter of battery or software issue. Check out our guide on how to make Beats headphones louder for solutions.
How to Fix Muffled Headphones Sound When Connected to Windows PC
The below solutions are for when your audio sounds fine on all devices aside from computers that are running Windows.
Review the computer’s audio enhancement settings
Windows, by default, allows you to adjust the sound of your computer using audio enhancements. This is often a valuable feature but these audio enhancements can alter various traits of your computer’s audio. It can sometimes do more harm than good.
Audio enhancements, like surround sound and equalizers, can cause distortions because they alter how loud the audio is and the intensity of the frequencies. Because of this, they may not work the same with all platforms and headphone speakers.
Follow these steps to disable any unwanted audio enhancements:
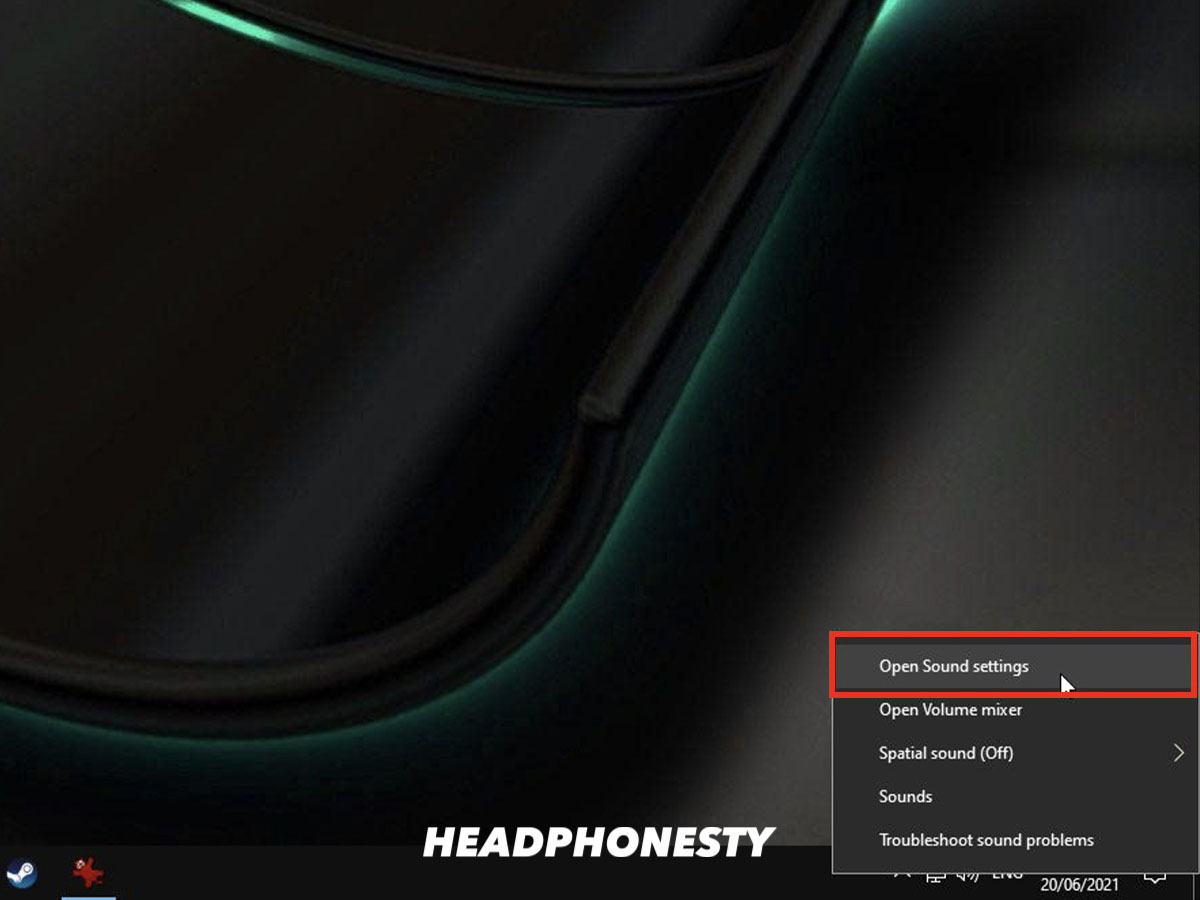
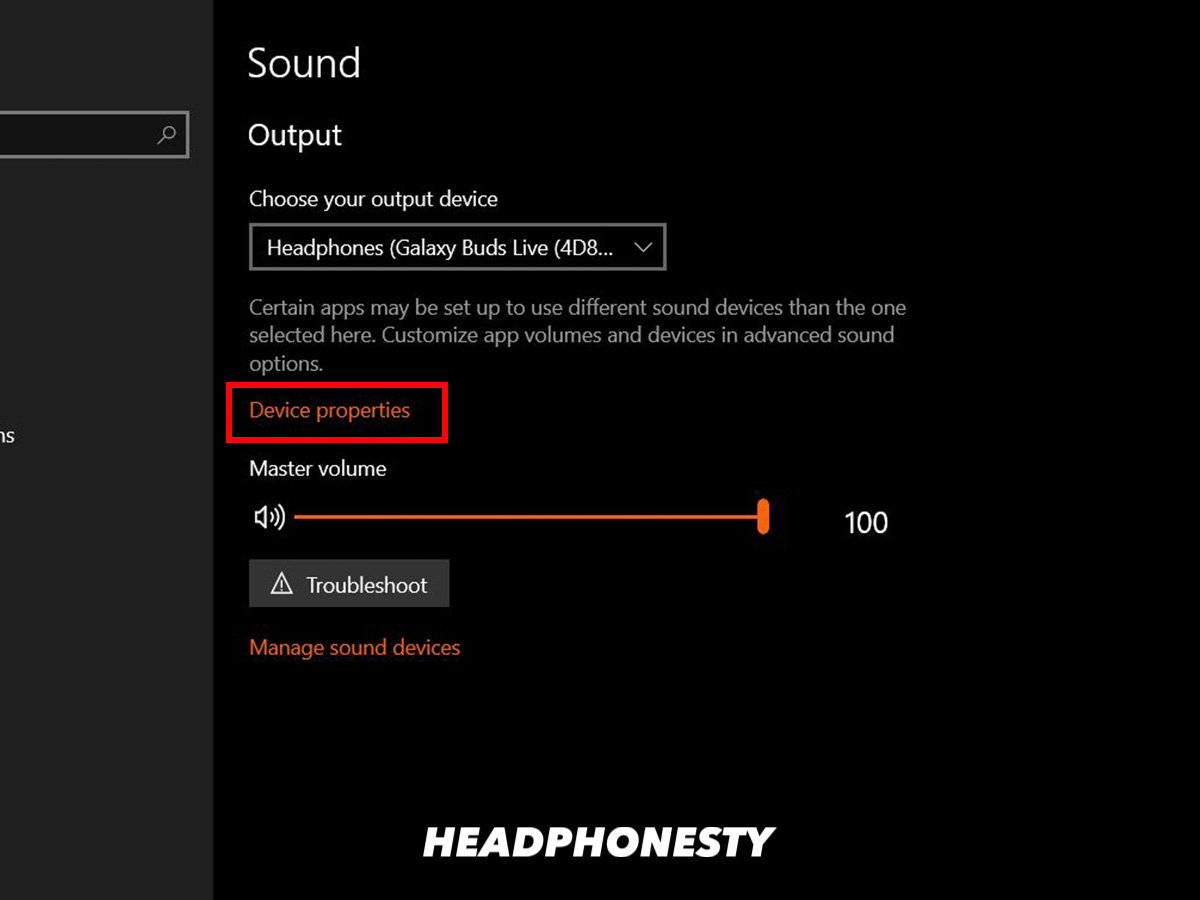
- Right-click the Speaker icon in your taskbar and select “Open Sound Settings”
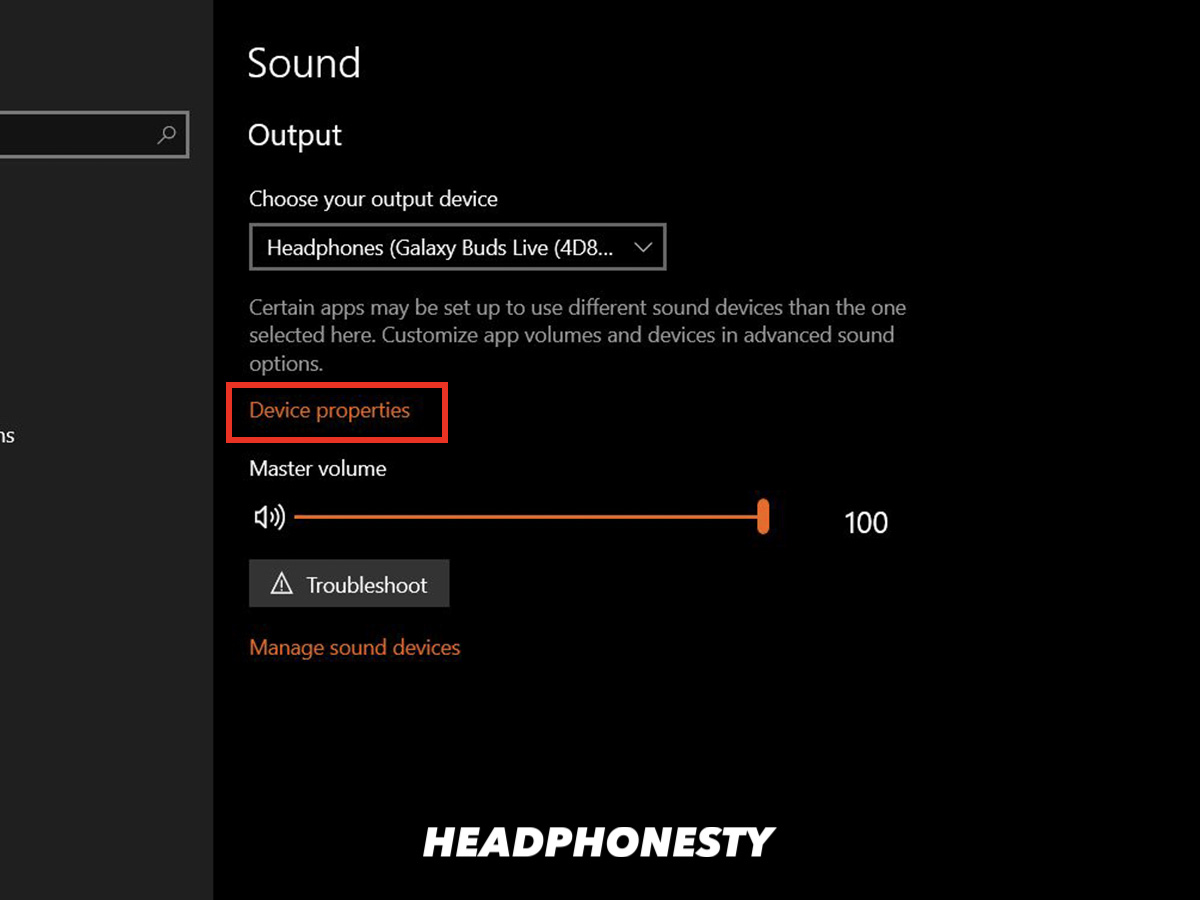
Open Sound Settings - Click on “Device properties”
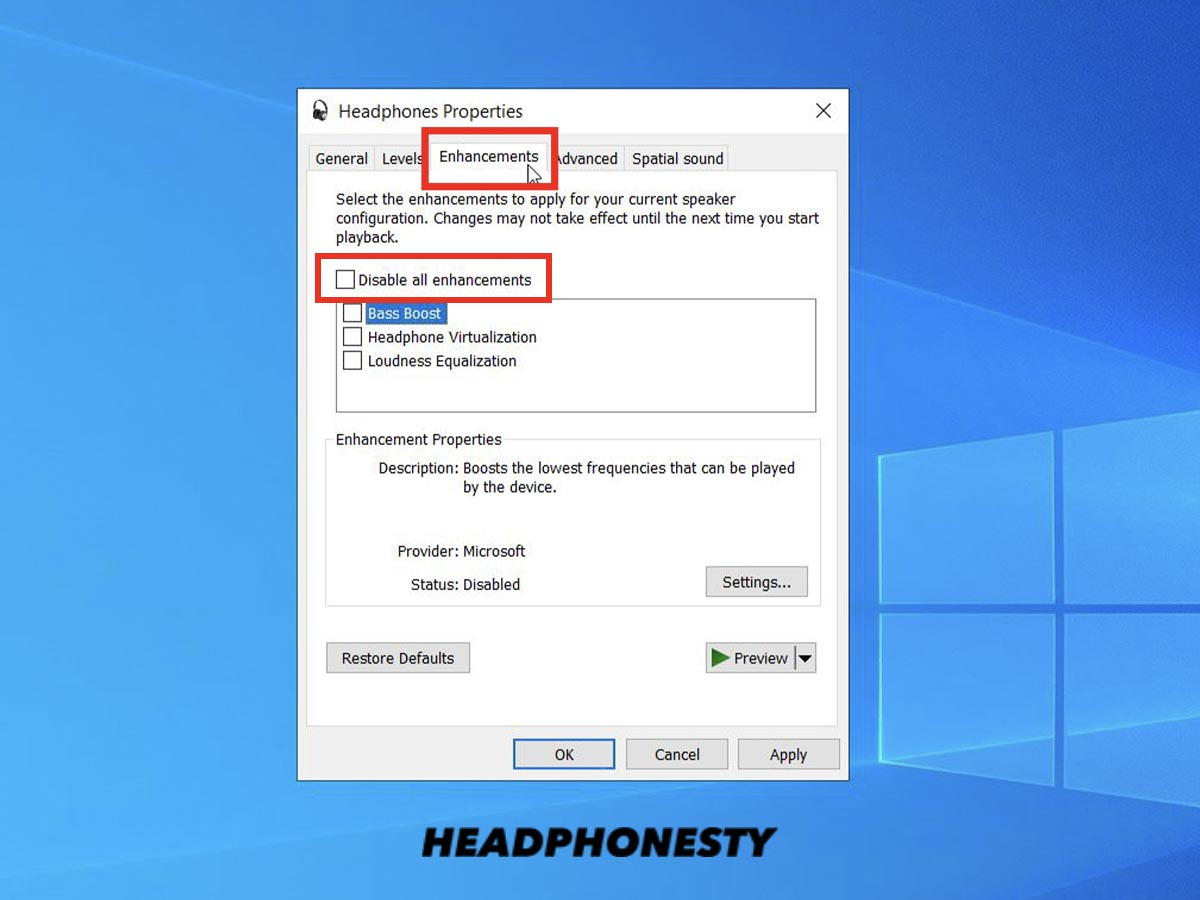
Open Device Properties - Click on the “Enhancements” tab, then “Disable all sound effects”.
Disable all sound effects.

Check if there’s any issue with the audio driver
If the audio drivers on your computer are out-of-date, you may be missing out on important compatibility patches and bug fixes. Use Windows Update to check for any updates needed.
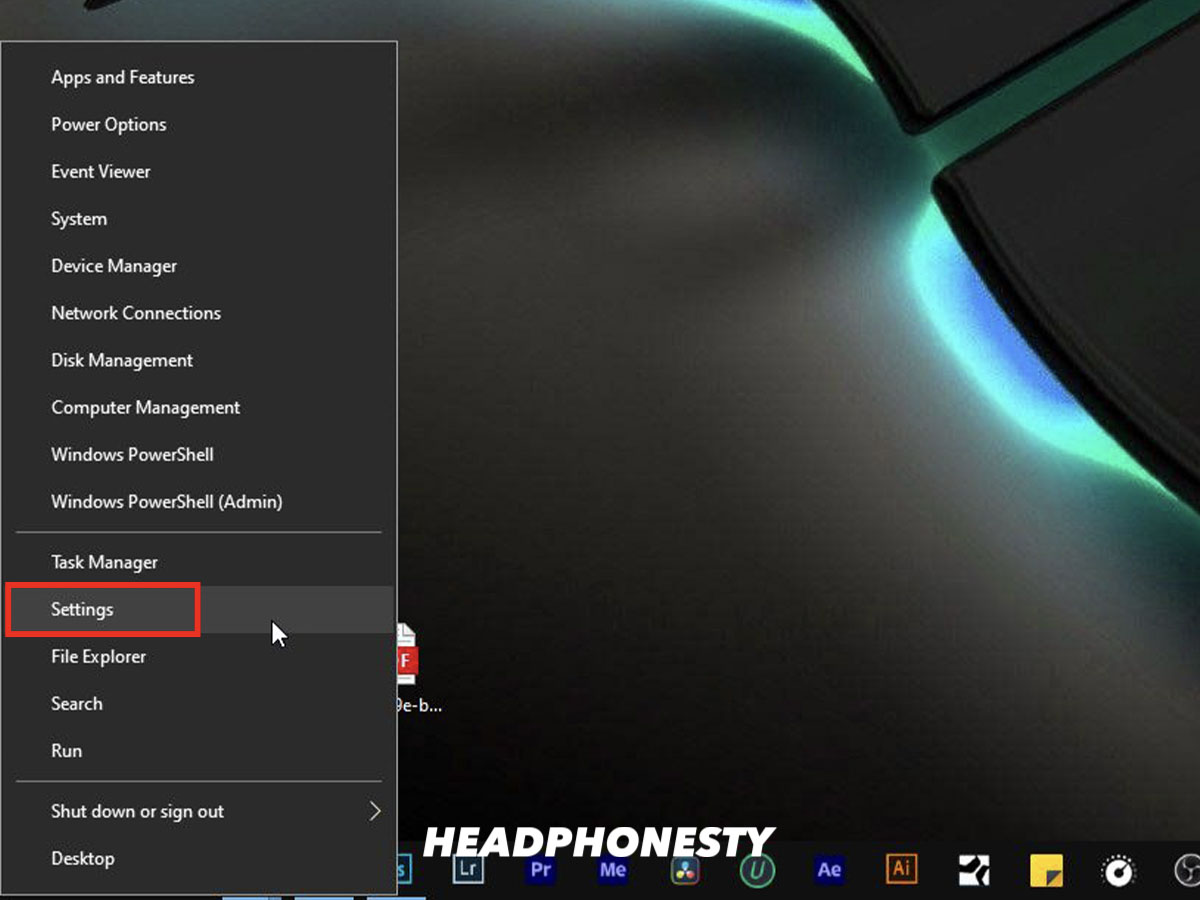
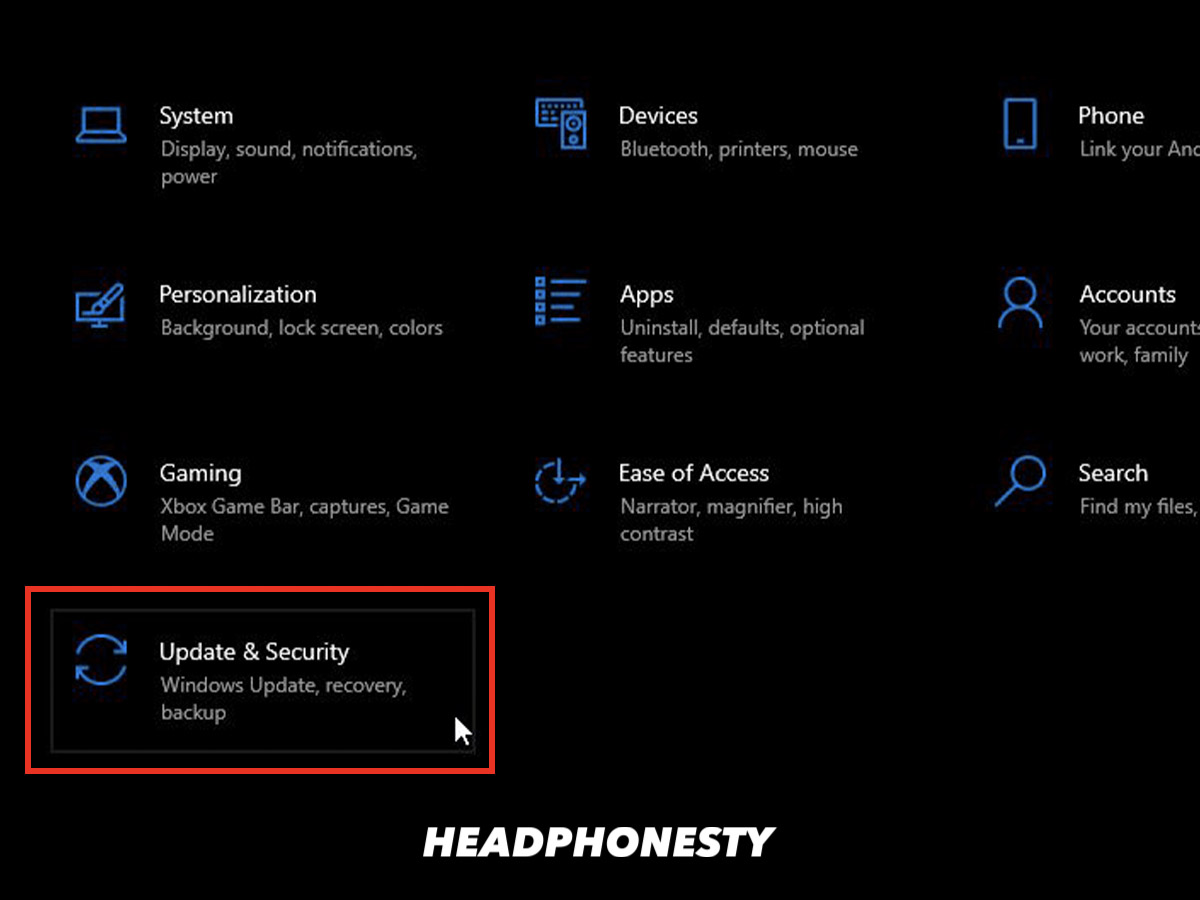
- Right-click on the Start button and click “Settings”.
Accessing Settings - Click on “Update & Security”.
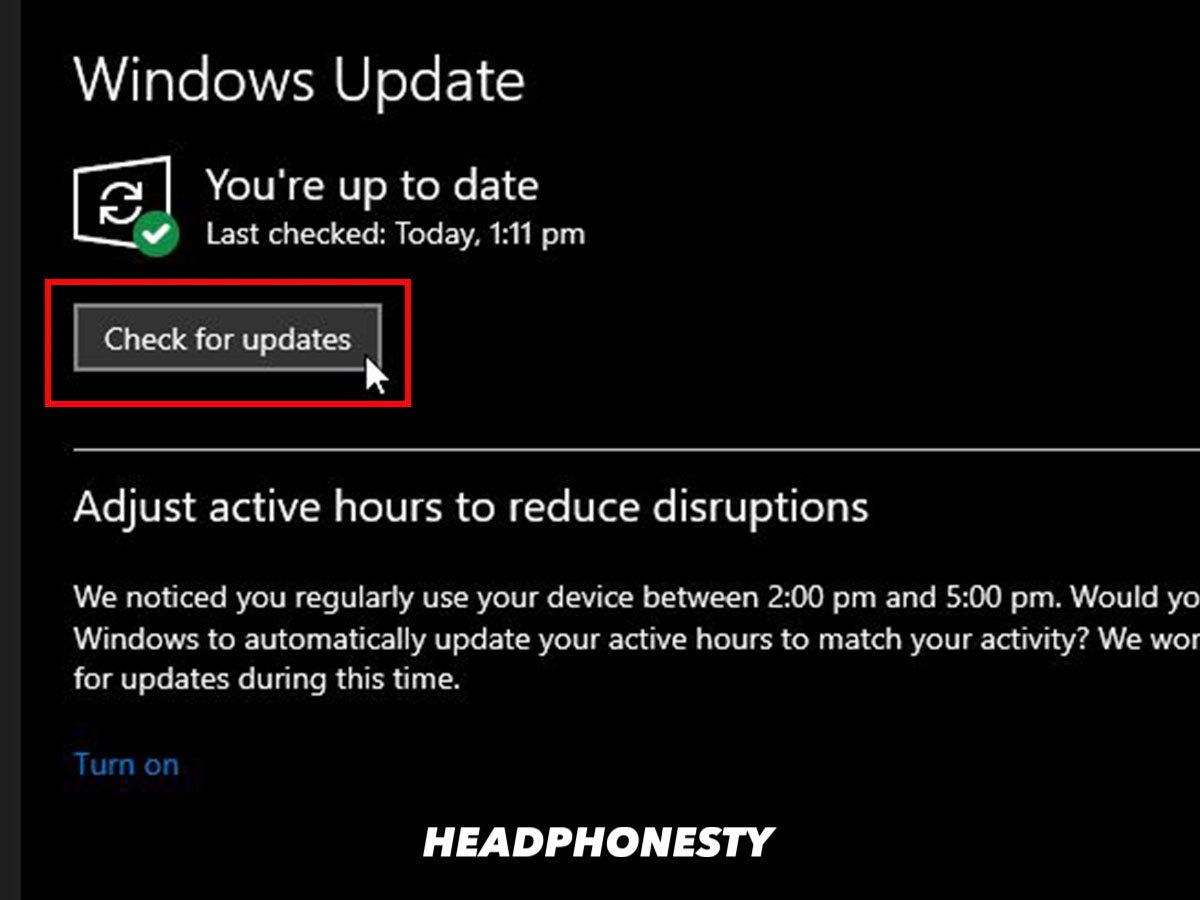
Going into Windows Update - Click on “Check for updates”. Windows will check for any pending updates that need to be downloaded and installed on your computer.
Checking for updates


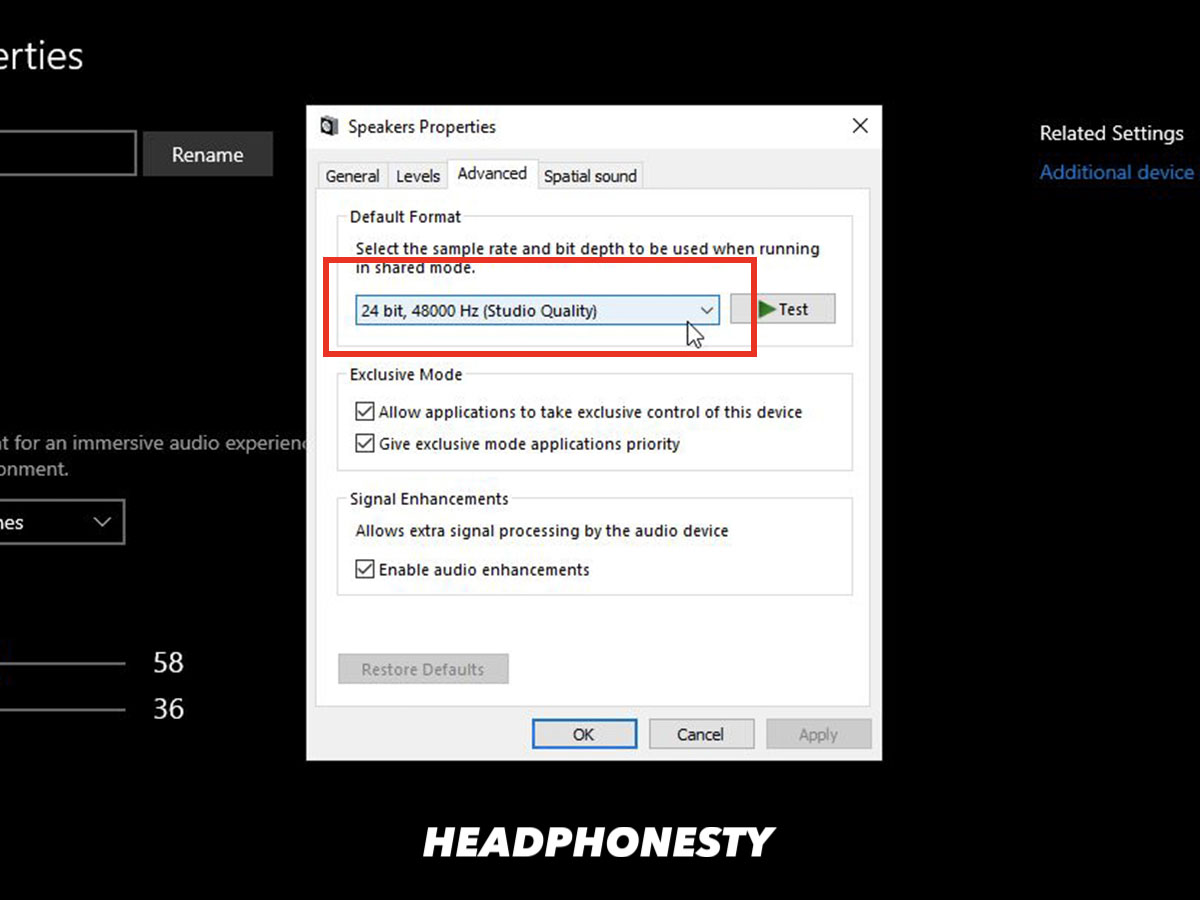
Set the audio to 24-bit format
In some instances, changing the Default Format in which Windows processes audio can resolve issues relating to audio.
- Right-click the Speaker icon in your taskbar, and select “Open Sound settings”.
Accessing Sound settings - Click on “Device properties”.
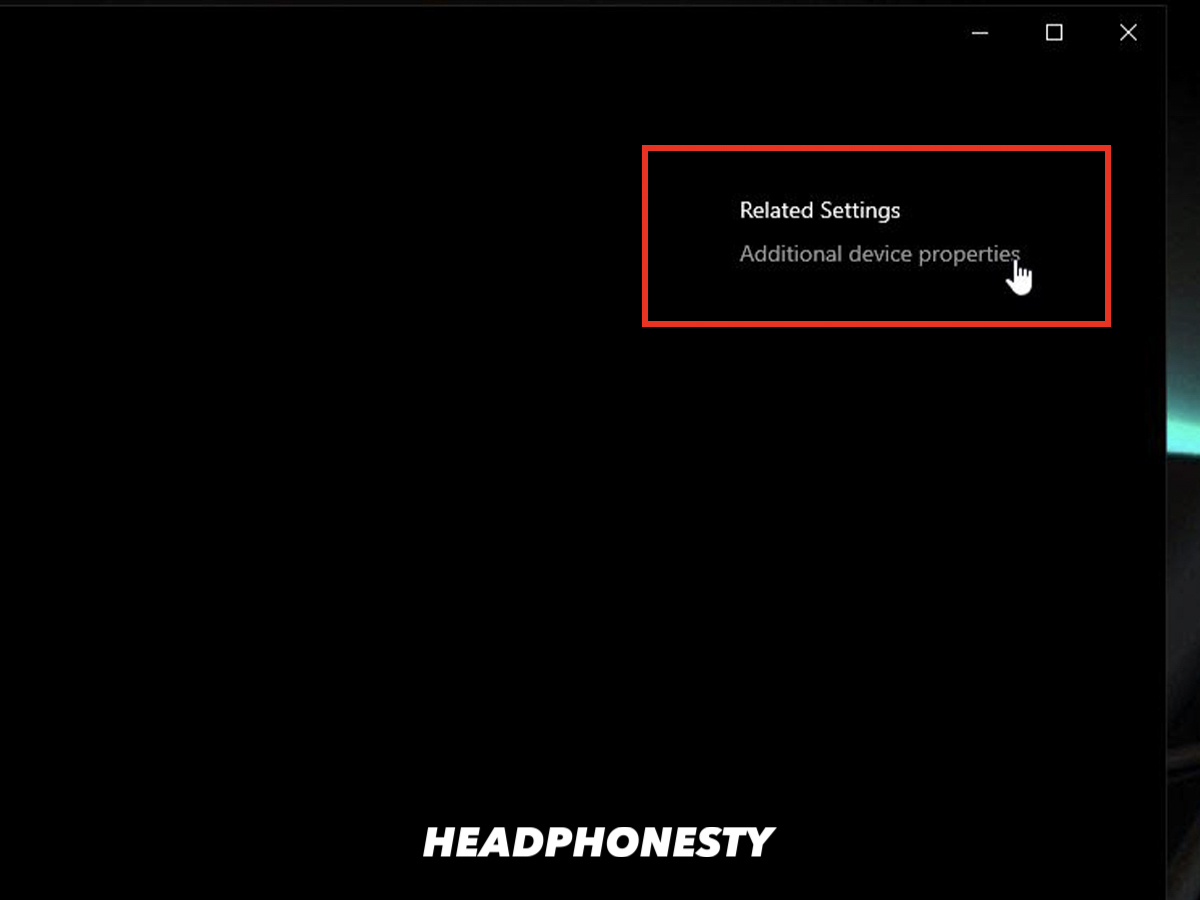
Going to Device Properties - Click on “Additional device properties”.
Accessing Advanced device properties - In the new window, go to the “Advanced” tab, and make sure 24 bit is selected in the drop-down.
Switching to 24 bit
Run the troubleshooter
If the above-mentioned steps didn’t work, you can leave the problem detection to Windows itself.
Here’s how to access that:
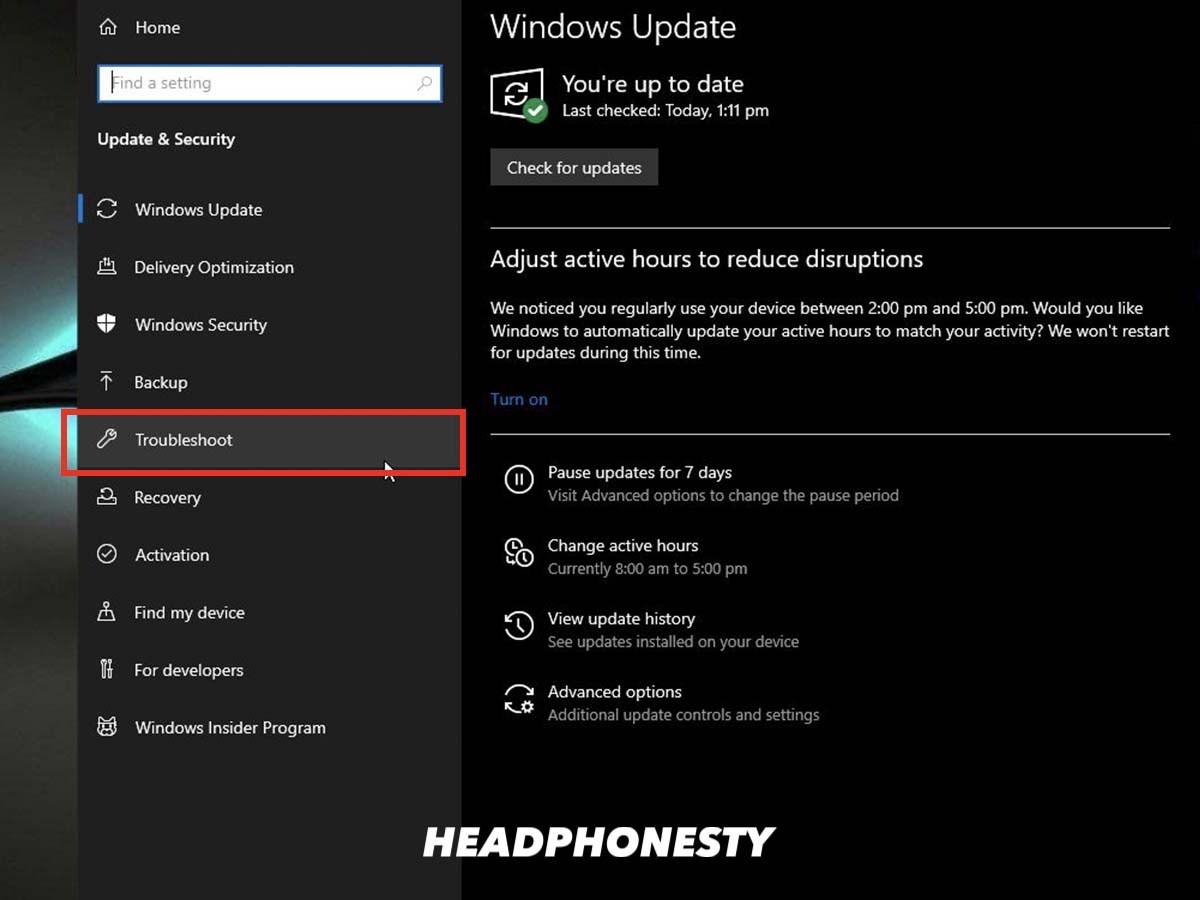
- Right-click on the Start button and click “Settings”.
Going to Windows Settings - Click on “Update & Security”.
Accessing Windows Update - In the left panel, click on “Troubleshoot”.
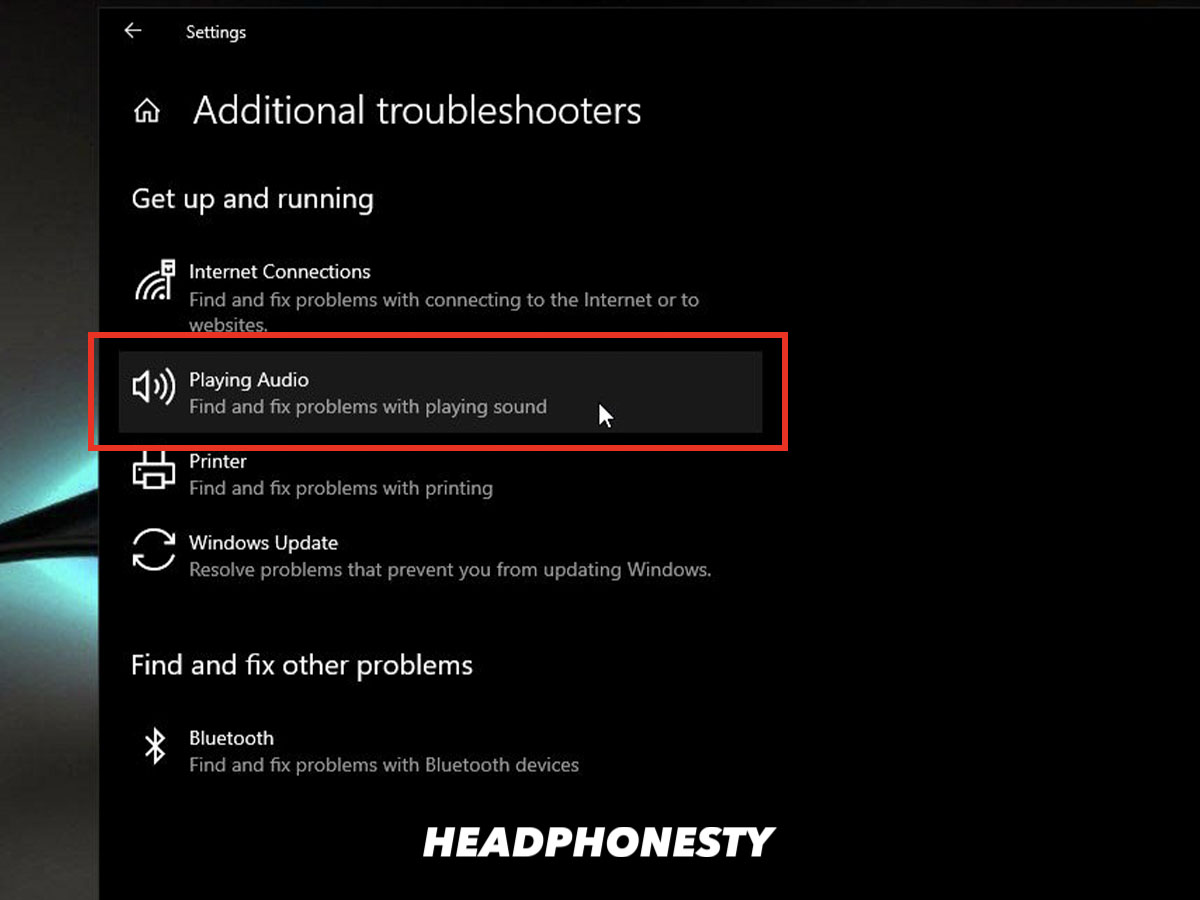
Accessing the troubleshooting tools - Click “Playing Audio”, then “Run the troubleshooter” and follow the prompts.
Run the audio troubleshooter
How to Fix Muffled Bluetooth Headphones Sound When Connected to Mac
Similar to Windows, you may find that your headphones work fine on all devices aside from Mac computers. In this case, check out these tips:
Make sure you’re connected properly
If you’re using Bluetooth headphones, make sure they’re connected properly to your Mac.
- Put your headphones into Bluetooth pairing mode. Some headphones have a dedicated Bluetooth pairing button, but for those that don’t, try holding down the power button until the light indicator on your headphones starts to flash.
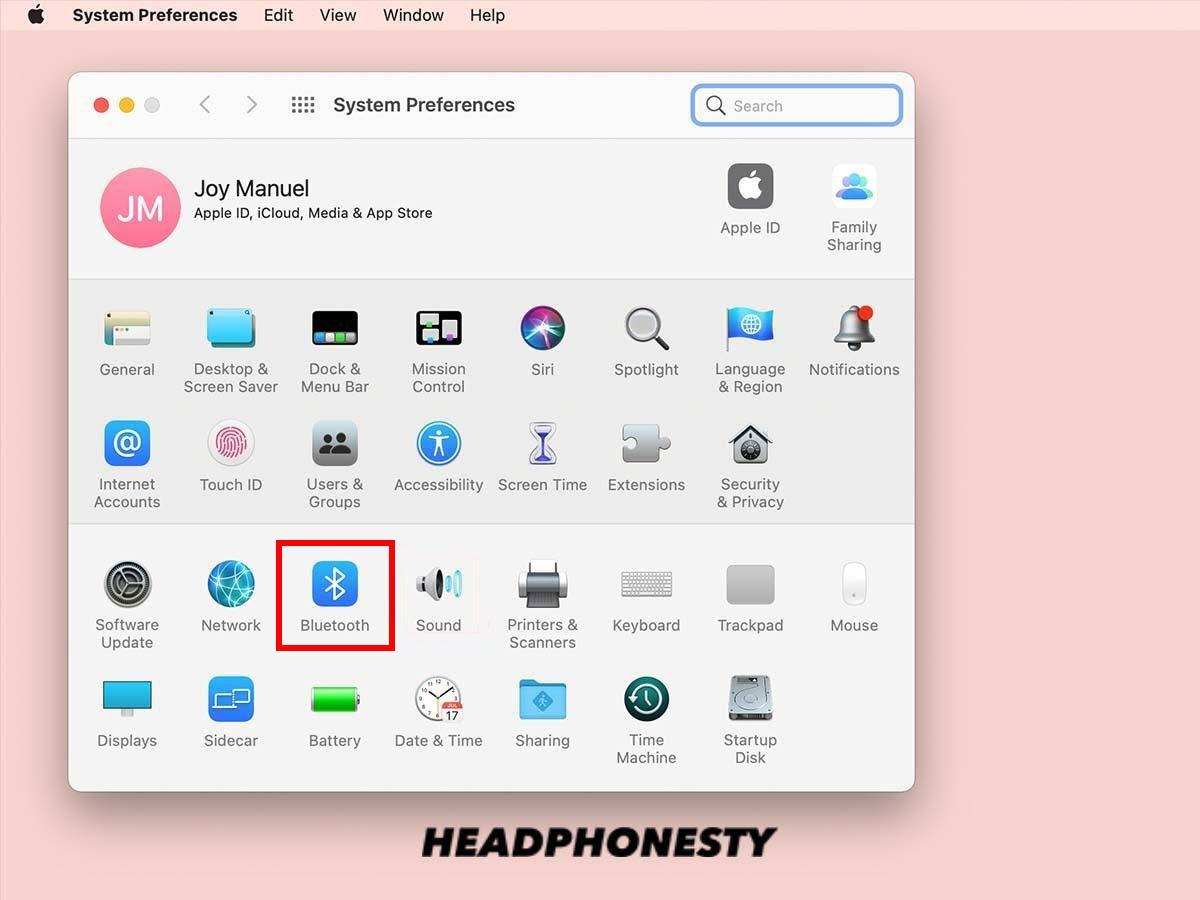
- On your Mac, go to the Apple menu and select “System Preferences”.

Go into System Preferences - Click on Bluetooth, then if it’s disabled, click to enable it.
Bluetooth Settings on Mac - When enabled, in Bluetooth you will see your headphones appear in the “Device” section. Click on Pair. Your devices will then pair with each other.

Check out our full guide on connecting your Bluetooth wireless headphones to a Mac.
Check and stop any apps that may be using your microphone
Mac, by default, tries to use the AAC audio codec with connected audio devices. In some instances, Bluetooth devices will revert to using the SCO or SBC codecs, which are both lesser in quality compared to that of AAC. This generally happens when the Mac assumes the built-in mic of your headphones is being used.
To prevent your Mac from doing this, you can stop apps that are making use of the microphone. To do this, follow the below steps:
- Go to the Apple menu, and select “System Preferences”.

Accessing System Preferences. (From: YouTube/HelpCloud) - Click on “Security & Privacy”.
Checking Security & Privacy. (From: YouTube/HelpCloud) - Review the apps that have microphone access, and close them.
Try using Tooth Fairy
Tooth Fairy is an app that helps you switch between Apple devices with your headphones. It also has a feature that forces your Mac to use the preferred codec, AAC, over either of the two codecs it might fall back to.
- Open Tooth Fairy and select your audio device.
Opening Tooth Fairy and selecting the device. (From: YouTube/At Tech) - Click on “Advanced…”
Accessing the Advanced settings. (From: YouTube/At Tech) - Ensure that “Improve sound quality by disabling audio input from device” is enabled.

Conclusion
Nobody likes a poor listening experience. Hopefully one of these solutions has solved the audio pains you were facing so you can listen to your music without any issues.
Did one of the solutions in this article work for you? If you found another way to solve these problems, how did you go about it? Let us know in the comments, we’d love to hear about it!
This is a really thoughtful, brilliant article. I just got a new computer setup, and all sound coming from my headphones were coming out “distant” like it was playing in an empty warehouse. But your suggestion to disable enhancements worked perfectly! Thank you! 🙂